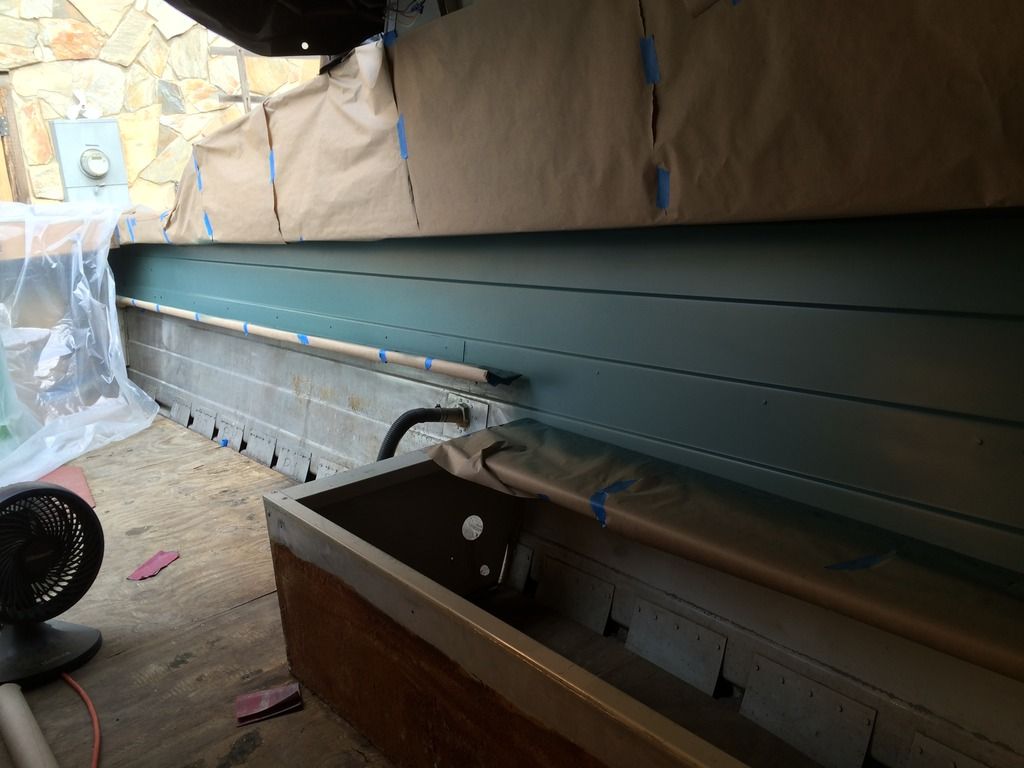
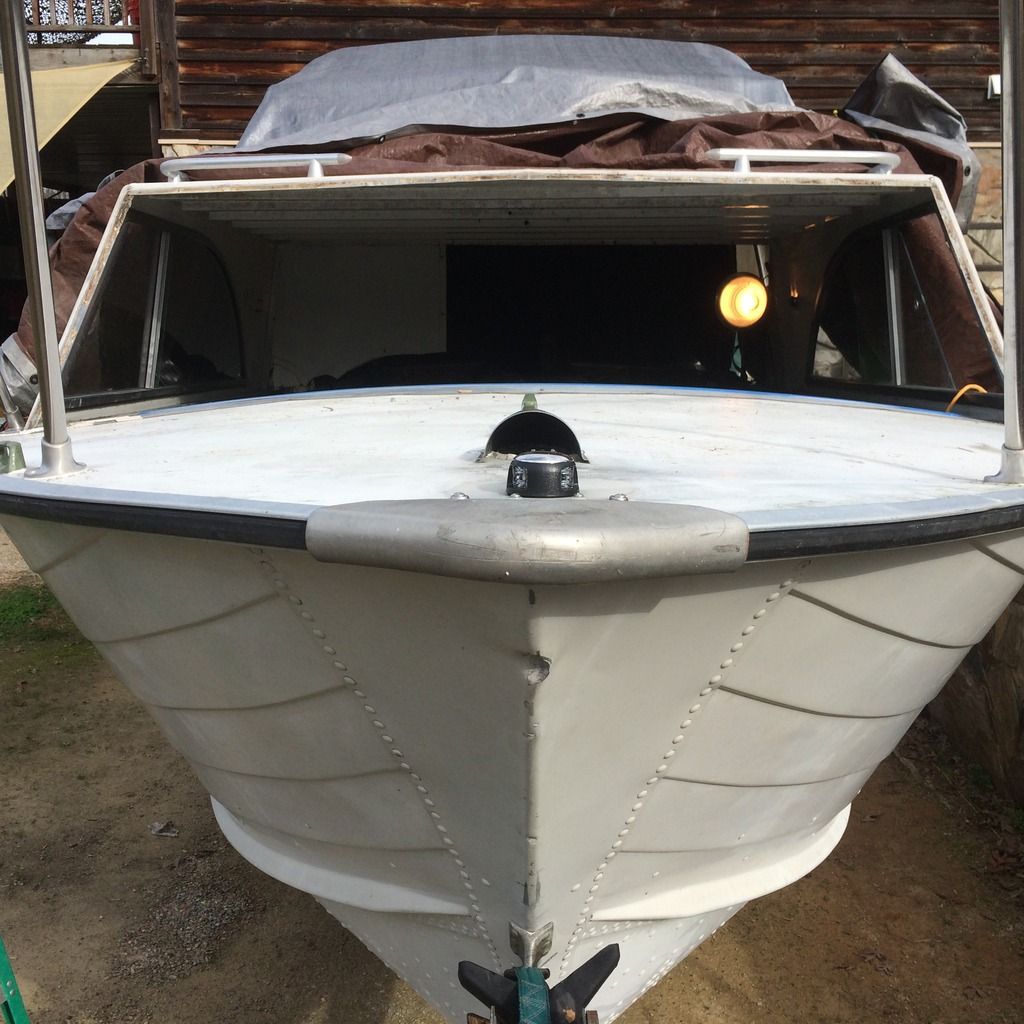
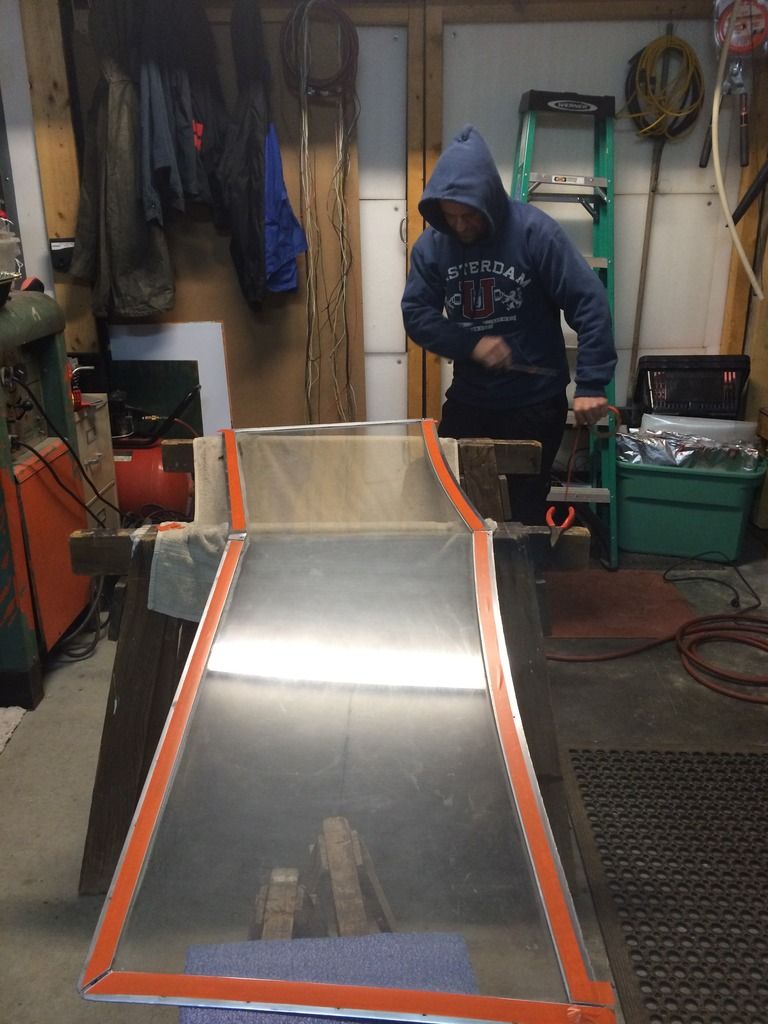
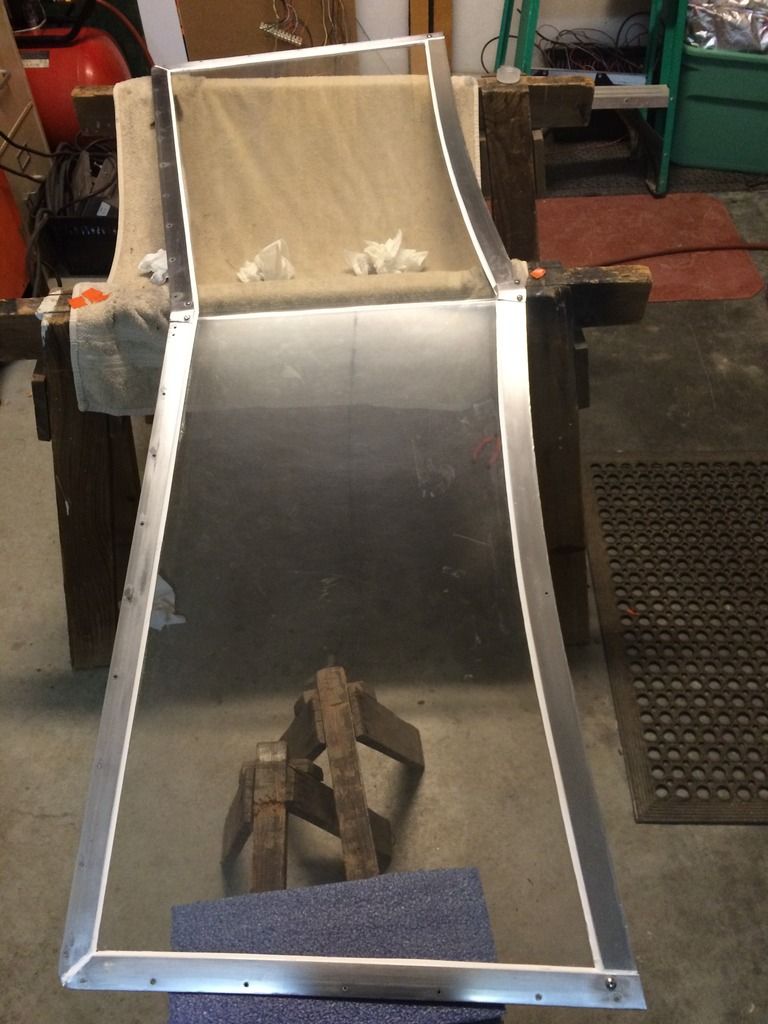
1972 Starcraft Chieftain Restoration

smevil

Petty Officer 2nd Class
Joined
Apr 5, 2011
Messages
123
Thanks everybody as you can imagine after wanting this exact style boat for going on several years, Then finding one close (thirty miles) was perfect, but from a storage facility for dues past rendered felt almost to good to be true, So once I had to start dealing with States and their processes:facepalm:, getting in touch with last owners was nerve racking to say the least, And yes if it had been stolen I would have been heart broken, but I would not have wanted one under those circumstances anyway, but with both fingers crossed I went with the right way to do it. Now I feel good, real good. Plus I already got allot of time and effort involved, So from here on out I can now call it ALL MINE. Thanks again with all advice. SME :happy:
 

oldhaven

Chief Petty Officer
Joined
Aug 30, 2015
Messages
568
Congratulations on resolving the title issues successfully. And for getting so far in the restoration so quickly. As someone at the beginning of a similar project, it is encouraging to see the results, despite the obstacles you faced.

Ron
 

classiccat

"Captain" + Starmada Splash Of The Year 2020
Joined
Dec 20, 2010
Messages
3,405
Congratulations on making her your own! :thumb:
 

smevil

Petty Officer 2nd Class
Joined
Apr 5, 2011
Messages
123
Nice day out, got to put down some primer.
059_zpsqo2jorxp.jpg
 

smevil

Petty Officer 2nd Class
Joined
Apr 5, 2011
Messages
123
Still kicking around here, had a great weekend over thanksgiving, good food, good people,and great weather, Got to finish sanding the right hand side(fri) put down primer(sat) painted both sides(sun). Pretty happy with it, but I'm my worst critic, my daughter said it was awesome so I'll totally going with that one.


Watermann

Starmada Splash of the Year 2014
Joined
Jan 12, 2013
Messages
13,753
Glad the weathers holding out well enough for you to do the painting. What was stuck to the those outside side compartments?
 

smevil

Petty Officer 2nd Class
Joined
Apr 5, 2011
Messages
123
Thanks, there was a shag carpet but now just left with 1/8 of heavy glue, tried a couple tricks but the best thing I got was to soften glue with MEK and get a 12" number forty drill bit and chuck it up and spin it length wise, it will load up on the flutes of the bit and ball up. That what i am hoping for.Thanks SME
 

smevil

Petty Officer 2nd Class
Joined
Apr 5, 2011
Messages
123
Got the FWD windshield out today, the lower seal is 100% toast, looking for any ideas that have passed the test of time as a replacement for that seal, and the T bolts were bent over so had to cut them short to remove any tricks on replacing these.

IMG_1966_zpsif3sn1bd.jpg
 

Watermann

Starmada Splash of the Year 2014
Joined
Jan 12, 2013
Messages
13,753
I used Sikaflex to create a "wet seal" for the lower cabin windshield, it was the easiest and best way I could think of.

In my thread I posted the t-bolt solution I came up with. I used SS all thread with square nuts. Slide the nuts into the channel, screw the all thread into them and you can bottom the all thread into back of the channel finger tight to hold them in the correct position to line up with the holes. Then once through the holes on the inside I used nylocs to secure them and used a cut off wheel on my grinder to cut them down, then put the end caps on them to keep from being poked.

Let me know if I made that too confusing.
 

smevil

Petty Officer 2nd Class
Joined
Apr 5, 2011
Messages
123
OH no perfect explanation, checked out the silaflex but am going back with an oldie but a goody, PR1422B 1/2, Its a pressure/fuel cell sealant used in aircraft. I have dug that stuff out of every dark corner of a dozen Twin Otter.s and in every position possible and it lasts for over 150 years with no degradation. but I am going with your t-bolt idea. Thanks again SME
 

smevil

Petty Officer 2nd Class
Joined
Apr 5, 2011
Messages
123
Moved on to some walls and fwd dash, overall really happy with the paint job, it was allot of work to just spray in 5 min and be like "well that's what I got".


Watermann

Starmada Splash of the Year 2014
Joined
Jan 12, 2013
Messages
13,753
My hats off to ya for being able to work up inside that cabin! :yo:

Looking good so far.
 

smevil

Petty Officer 2nd Class
Joined
Apr 5, 2011
Messages
123
Ok, was still working the FWD windshield all seals were bad had to dig them out and pot in all new sealer, had a bunch of tiny stainless bolts that held in windshield, most broken removed and shot it back in with rivets for about a dollar.

057_zpspqyeujjb.jpg


062_zpsoxgtmngd.jpg
 

smevil

Petty Officer 2nd Class
Joined
Apr 5, 2011
Messages
123
Brought the dash panel inside, its cold and wet outside this week.
212_zps7hquknjb.jpg


016_zpsstz9z4dt.jpg


019_zpshtb6myf2.png
 

Watermann

Starmada Splash of the Year 2014
Joined
Jan 12, 2013
Messages
13,753
Hey you're still at it I see. Keep plugging away and moving forward :encouragement:
 

smevil

Petty Officer 2nd Class
Joined
Apr 5, 2011
Messages
123
Ok, went with a 2 inch lip around the bottom to break up the sharp angle.
030_zpsg90x2ta9.jpg
 

oldhaven

Chief Petty Officer
Joined
Aug 30, 2015
Messages
568
That's a great simple and attractive solution to the sharp edged original that seems a bit like a design afterthought.
 

smevil

Petty Officer 2nd Class
Joined
Apr 5, 2011
Messages
123
Thanks everybody, We brought the dash inside while it was cold out, got allot more done inside the boat but need to stop and remember to take some pictures.


077_zpskcyjugns.jpg


129_zps6ps5drwm.jpg
 
Top