Time to get started on the starcraft resto.

SigSaurP229

Commander
Joined
Oct 1, 2008
Messages
2,123
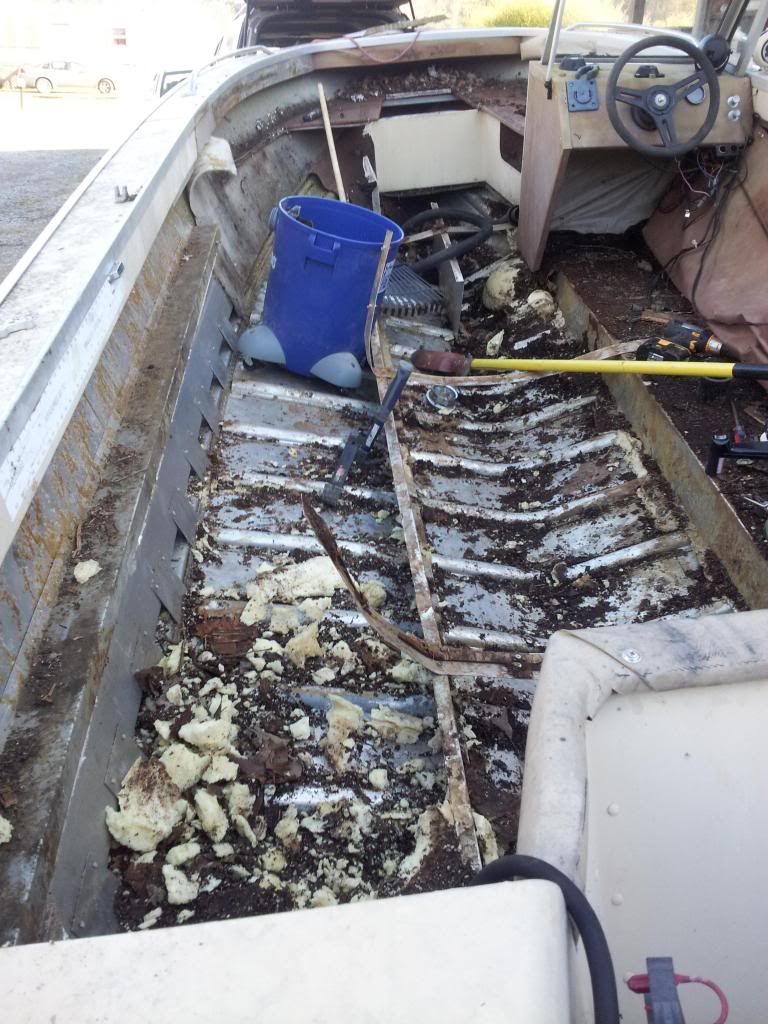
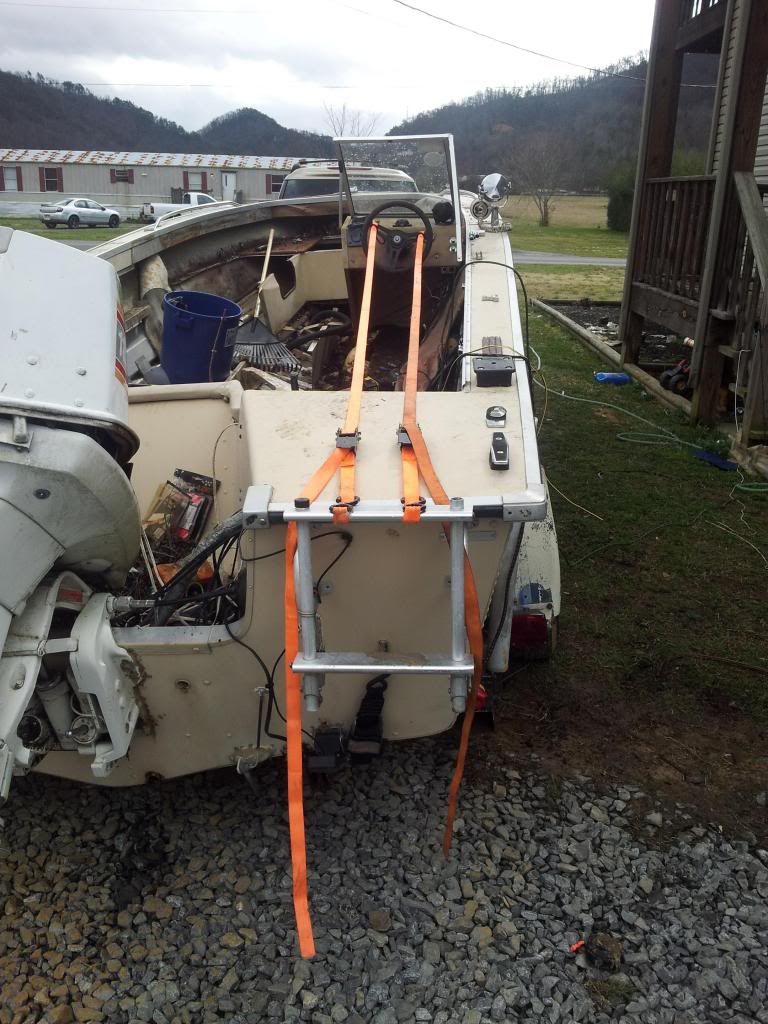
As some of you know I decided to join the Starmada and I am only three hours into the resto, and I already have questions. More related to the future than now but I would like to have my ducks in a row so I can get her cleaned up and start on the rest of this soon.

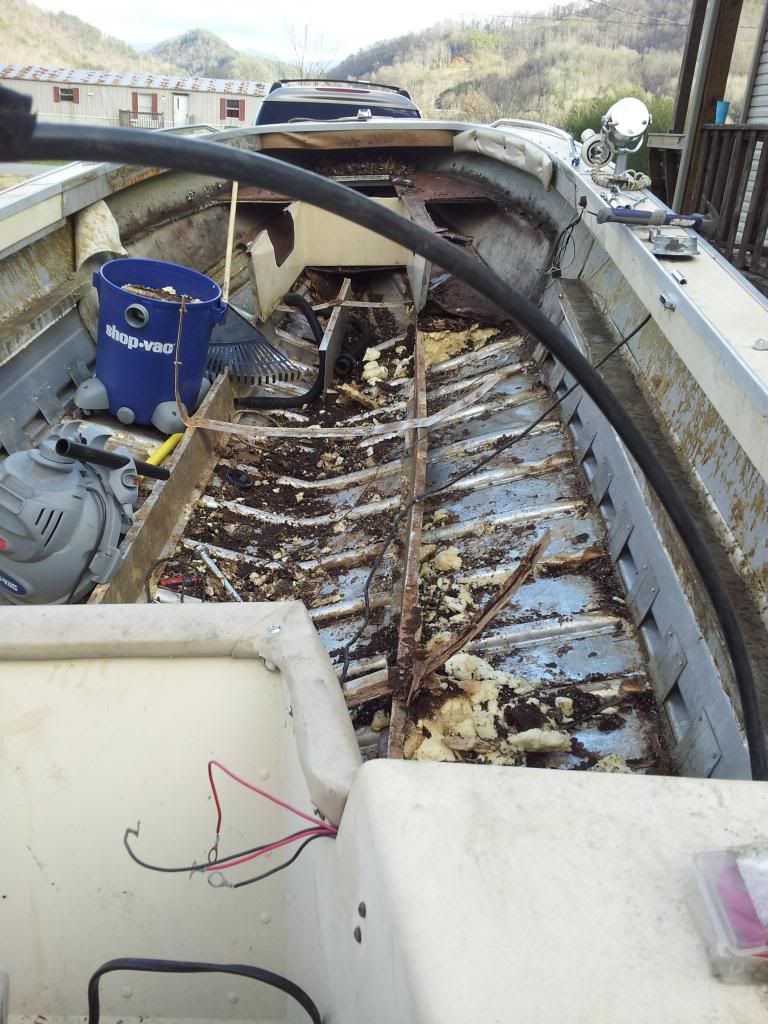
I Currently the boat has the pour in foam is that used for structure? I am curious because the stringers sure seem to have alot of give.

I am pretty sure I pulled up a cross brace when I pulled up the 3 layers of rotten carpet and ply. I'i am not even close to fully done yanking stuff out yet.

BUT I am looking at the bright side there will VERY little grinding.


20130224_105015_zps92492483.jpg


20130224_104957_zps137e39b0.jpg

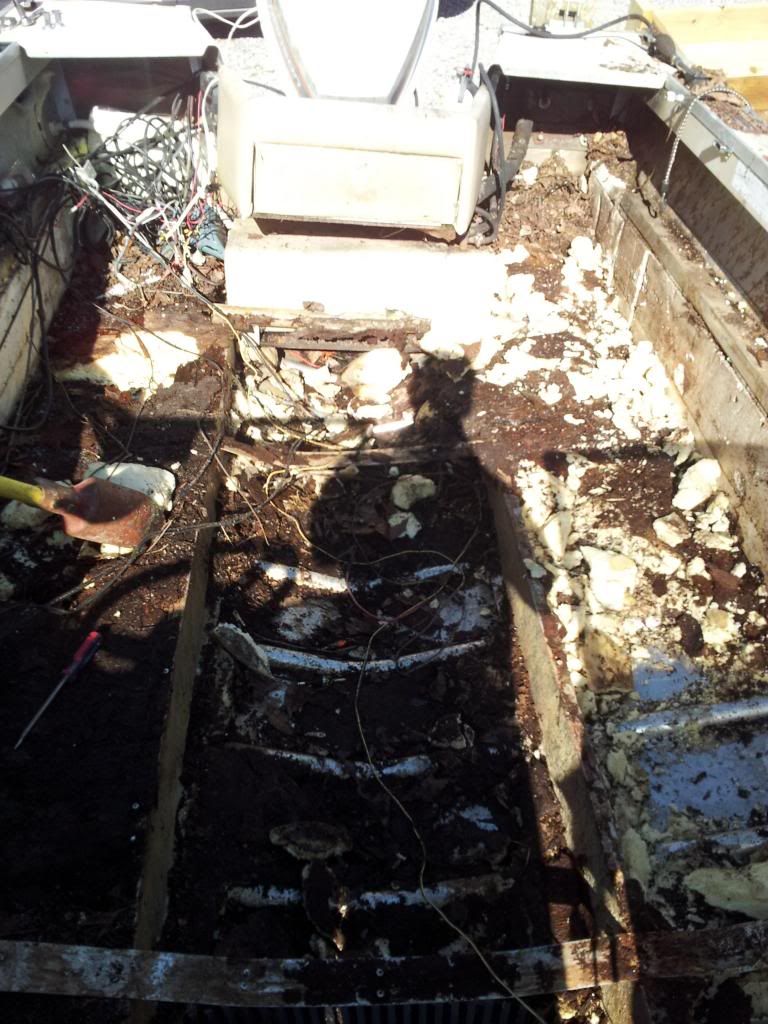
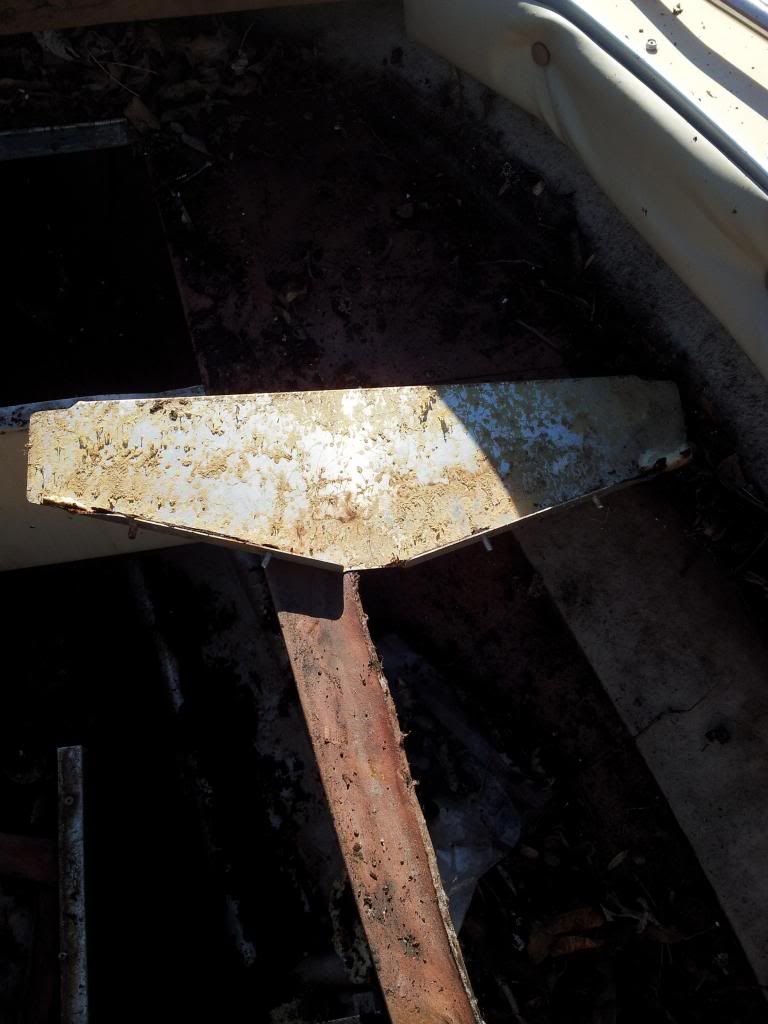
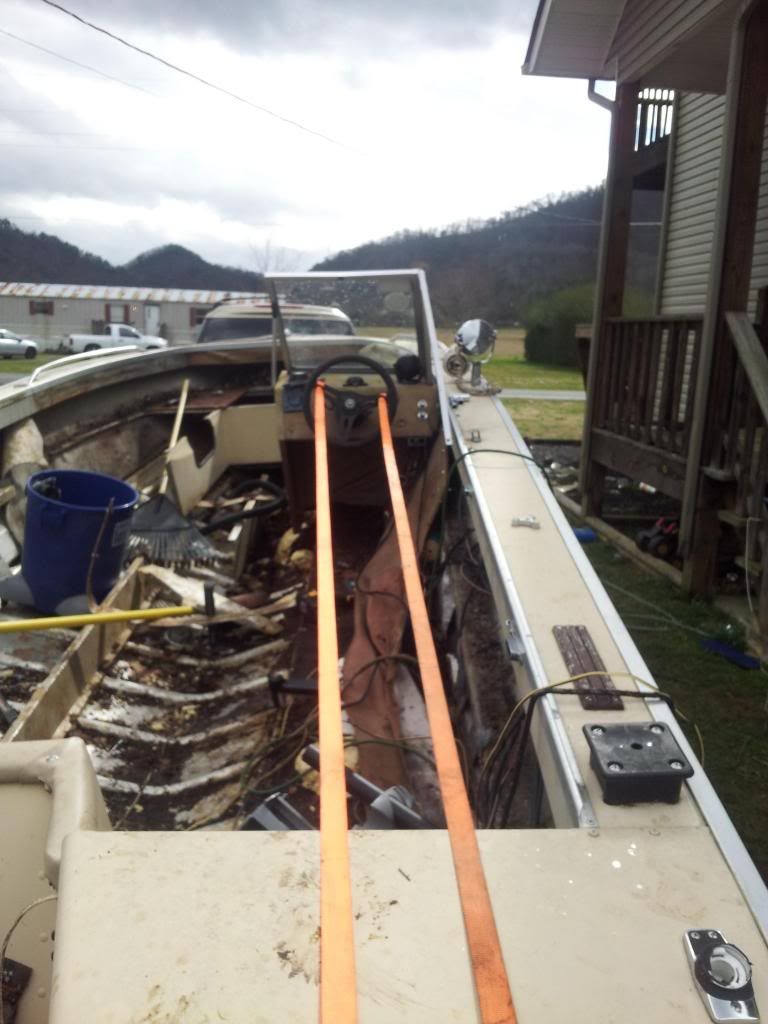
I am pretty sure this piece is supposed to be attached to the hull so my question is does this mean I have a hole in the hull, and what I am going to have to do to repair this?

20130224_104912_zps1c0f8227.jpg


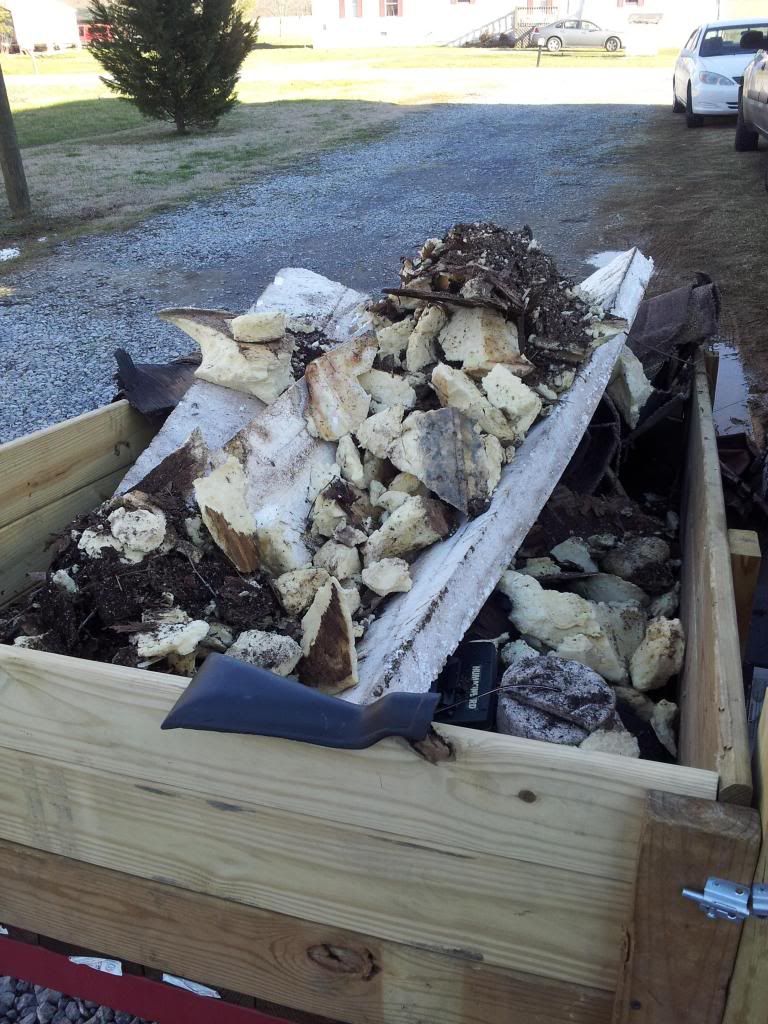
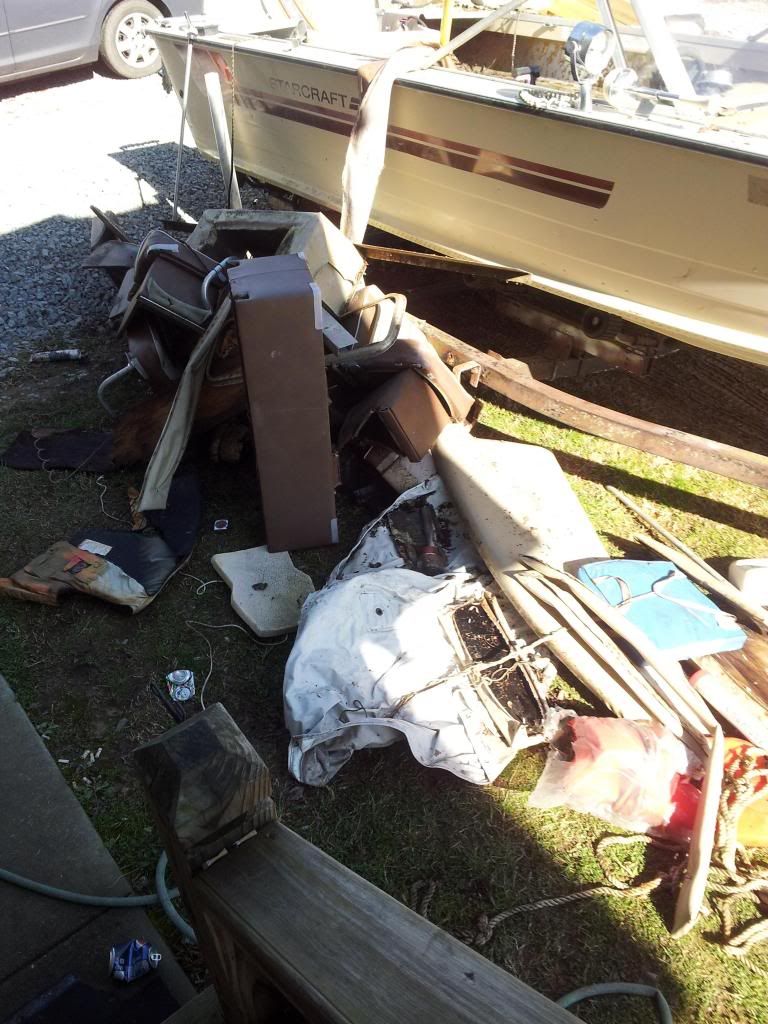
This is the pile of stuff on my utility trailer

20130224_104857_zps6aae3162.jpg


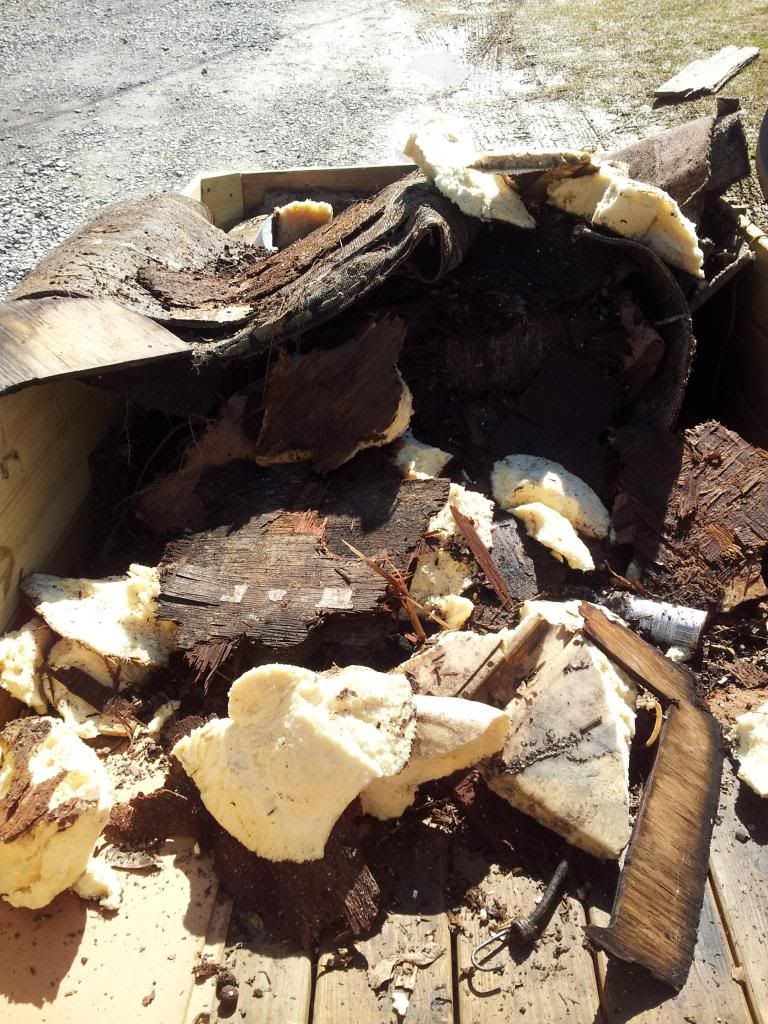
Here is the stuff for templates.

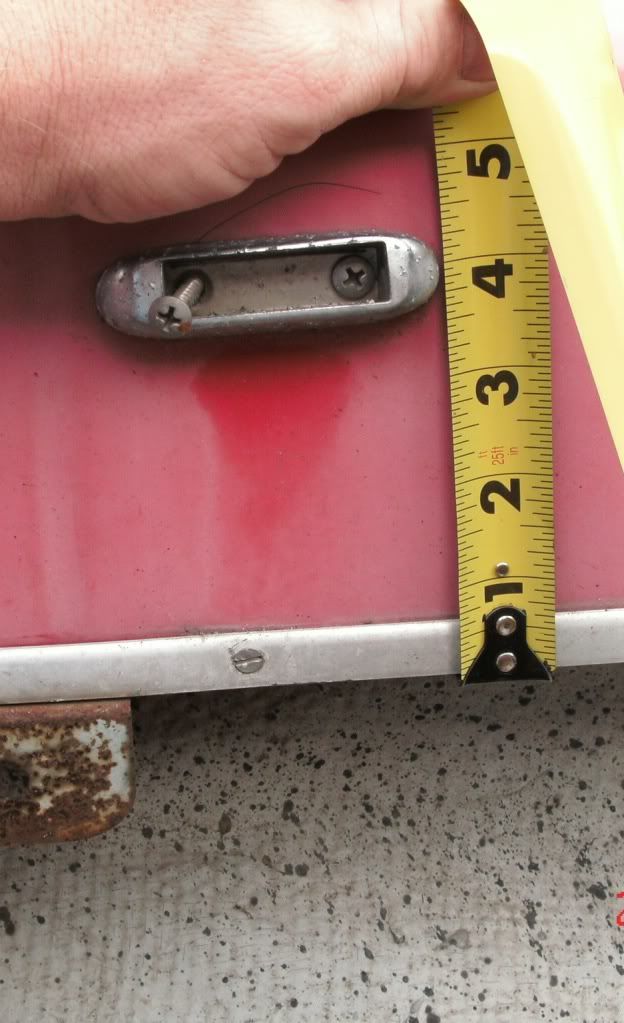
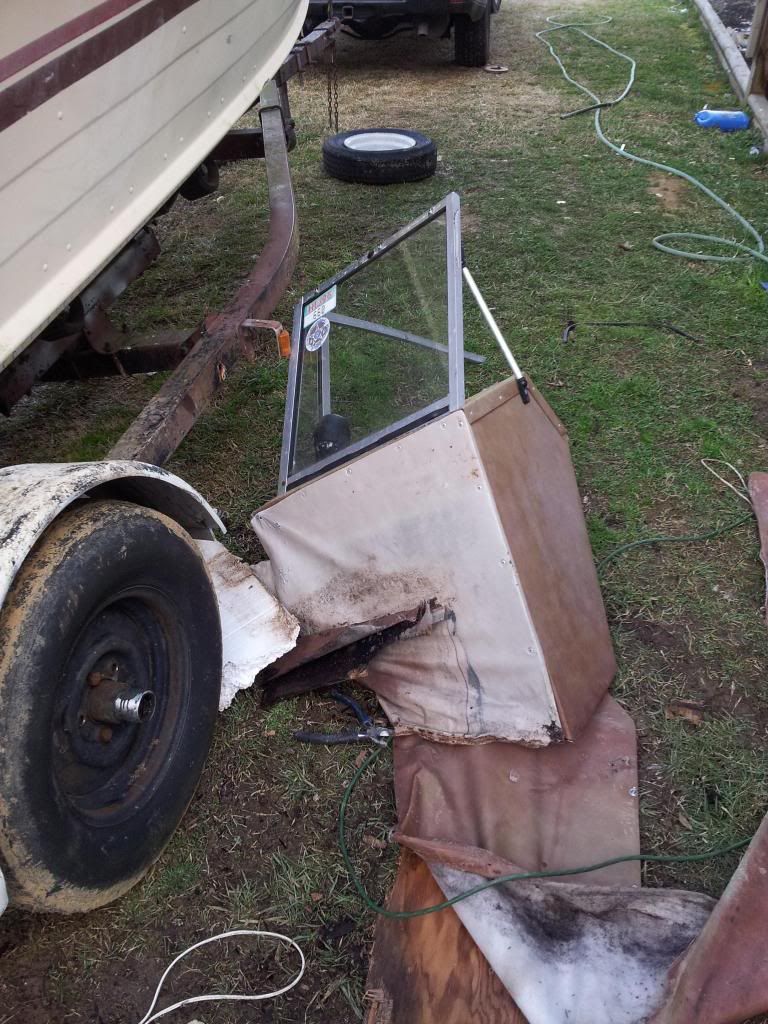
On the awesome side I did find the original bow snap cover.

Luckily no HOA to deal with because it is getting cleaned out in the driveway before I put it in my shop.
 

GA_Boater

Honorary Moderator Emeritus
Joined
May 24, 2011
Messages
49,038
Re: Time to get started on the starcraft resto.

You weren't kidding about a soft floor. No patterns there unless you don your CSI hat and piece it together. Have you started this years garden? :)

On the stringers - They are not firmly fixed and can be flexed from side to side until the floor is screwed/riveted to them. Jason even temporarily took his out during the demo/cleaning because he was constantly tripping over them. They're like a rock when the new floor is put in.

No experience with an SS, so that bulkhead looking piece doesn't ring a bell with me. Except I seem to remember seeing a similar thing in some of the larger SCs with under deck fuel tanks. Or age is playing tricks again.

I saw the snaps for the bow cover on the other thread, so good to find the cover.

EDIT - I forgot to say that the bulkhead thingie is prob riveted to a rib, so no holes in the hull. Hope I'm right on that.
 

dozerII

Admiral
Joined
Oct 25, 2009
Messages
6,527
Re: Time to get started on the starcraft resto.

Hey Sig good to see you are on the move, the bulkhead piece is the end support for what used to be a ski locker, there should be another one. That is just like the mess I had in my 84 16 SS, you can see the same bulkhead in this photo.

IMGP1792.jpg


The floor of the bulk head was 3/16 in luan ply that covered with carpet, that was just mush.

The foam is not structual on the 16 or 18 as the hull ribs are very close together. If you bump the ply thickness up to 5/8 and double it underneath were your seat will attach you will have a very strong floor. I have always used pink or blue foam and or pool noodles for floatation other than my current project.

Good luck
 

North Beach

Commander
Joined
Sep 29, 2008
Messages
2,022
Re: Time to get started on the starcraft resto.

SS your floor will go back together exactly like mine did with whatever variations you choose like plywood type, glass/no glass, etc.
 

SigSaurP229

Commander
Joined
Oct 1, 2008
Messages
2,123
Re: Time to get started on the starcraft resto.

I am really intimidated by the idea of glassing the floor I know it is going to add time and expense but I am really hoping this will be the last boat I ever buy and I am only 30.

That foam is a real pain to get out. So far the best way that I have found to get it out is just taking a hammer and a flat bar and just tapping on it.

I had that thought when I stepped in it and my foot went through the floor that I would be having a tough time as there most certainly will be no templates to work with.


How do I pull the steering wheel to get the driver side console out?

Am I ok to start drilling the rivets to pull the bow area out?

I kind of lucked up in the fact that I found a place about an hour from here that has Arauco ply 1/2" for $17 dollars per sheet, and 3/4" for $30 per sheet
 

jigngrub

Fleet Admiral
Joined
Mar 19, 2011
Messages
8,155
Re: Time to get started on the starcraft resto.

No need to glass the decking in a tinny, epoxy resin (3 or 4 coats) will do what you need without itching or fumes.

Go ahead and disassemble the bow area, it won't hurt a thing. Take pics of everything as you take it apart so you can see how to put it back together later.
 

SigSaurP229

Commander
Joined
Oct 1, 2008
Messages
2,123
Re: Time to get started on the starcraft resto.

Well we aren't at the exciting part yet but I thought I would give a little more before I headed into work. The port side is starting to get there.

20130224_162919_zps9ce69a22.jpg


I am watching my trailer fill as I keep progressing.

20130224_162911_zps81bee501.jpg
 

jbcurt00

Moderator
Staff member
Joined
Oct 25, 2011
Messages
24,829
Re: Time to get started on the starcraft resto.

Shooting pix w/ a tape measure visible can be helpful during put back too:
Gunnel.jpg
 

SigSaurP229

Commander
Joined
Oct 1, 2008
Messages
2,123
Re: Time to get started on the starcraft resto.

Thank you for the tip curt I really appreciate it.
 

Watermann

Starmada Splash of the Year 2014
Joined
Jan 12, 2013
Messages
13,747
Re: Time to get started on the starcraft resto.

To get your steering wheel off, your going to need a puller if it's stuck. Take the center cap off and remove the nut. Try to wriggle the wheel side to side while pulling to see if it's loose, if not go and rent a puller from an auto parts store. Normally I go to O'Reilly's and they charge you for the puller then give you your money back when you return it so it costs nothing. Above all do not try to pry the wheel off. Great looking boat you have there and very much worth the effort, time and money.
 

ezmobee

Supreme Mariner
Joined
Mar 26, 2007
Messages
23,767
Re: Time to get started on the starcraft resto.

You're not likely to need a puller. Loosen the nut about half way (that's if you're intending to reuse your steering system, if you're not, just remove the nut the whole way). While you pull the wheel towards you, bang on the nut with a hammer. 90% chance it'll pop right off. (leaving the nut somewhat on will help keep you from boogering up the threads)
 

jbcurt00

Moderator
Staff member
Joined
Oct 25, 2011
Messages
24,829
Re: Time to get started on the starcraft resto.

+1 for Ez's method

Might use some penetrating oil around the tapered steering stub.

If you are careful, have the nut flush to the end of the stub, and use a metal hammer. Metal on metal often loosens rusty connections better then a deadblow or rubber mallet. The risk of damaging the stub, the nut &/or the threads is much greater though, so you must be careful...

Using a brass drift minimizes the chance of damage, but you'd have to have another set of hands to gently tug on the wheel while you hit the brass drift....
 

Big P

Cadet
Joined
Feb 25, 2013
Messages
11
Re: Time to get started on the starcraft resto.

I'm really enjoying this thread. I just purchased a 1984 Starcraft 16ft with a 50 suzuki, it has been left outside and uncovered for a long period of time. The floor is basically gone I removed what was left of the flooring and am now trying to figure out what have and what I should have. The seats I think will be usable, controlls seem to be ok, the engine needs a coil and a starter solenoid, (i'm told) Both batteries are ok. The floor will be my first thing to correct, I have it covered and am waiting for it dry out. I have the same questions about flooring. I have read not to use treated plywood because it reacts with the aluminum, if you use exterior plywood it is suggested to but resin or varnish or it, but if you are going to put carpet over it wouldn't the glue be a good coating for the wood as far as sealing it?
Just like the previous post I'm just starting on this and anything anyone has to offer as far as information I greatly appreciate it.
 

jigngrub

Fleet Admiral
Joined
Mar 19, 2011
Messages
8,155
Re: Time to get started on the starcraft resto.

I'm really enjoying this thread. I just purchased a 1984 Starcraft 16ft with a 50 suzuki, it has been left outside and uncovered for a long period of time. The floor is basically gone I removed what was left of the flooring and am now trying to figure out what have and what I should have. The seats I think will be usable, controlls seem to be ok, the engine needs a coil and a starter solenoid, (i'm told) Both batteries are ok. The floor will be my first thing to correct, I have it covered and am waiting for it dry out. I have the same questions about flooring. I have read not to use treated plywood because it reacts with the aluminum, if you use exterior plywood it is suggested to but resin or varnish or it, but if you are going to put carpet over it wouldn't the glue be a good coating for the wood as far as sealing it?
Just like the previous post I'm just starting on this and anything anyone has to offer as far as information I greatly appreciate it.

You should start your own restoration thread BP, that way the answers to all of your questions will be in one place and easy for you to keep up with.

It can get confusing when you start talking about more than one rebuild in a thread.

Looking forward to watching your restoration Big P.
 

SigSaurP229

Commander
Joined
Oct 1, 2008
Messages
2,123
Re: Time to get started on the starcraft resto.

No updates as of yet as I am working but I am shopping at work.


I have a question I know everyone is talking about using and exterior grade ply such as fir, or Arauco.

I wanted to bounce this off of everyone, I have stumbled across a great deal on 5/8" Birch at $17 per sheet what does everyone think about using it as a floor seat bases and general trim out stuff?

Does anyone remember how much epoxy they used, to do the floor and transom, I was thinking about
2.5 gallons or so.

I haven't yet measured out the transom and right now I am basically guessing on the floor because I have absolutely 0 template to go buy on the current boat.

How many boxes of pool noodles or how much sheet foam?
 

jbcurt00

Moderator
Staff member
Joined
Oct 25, 2011
Messages
24,829
Re: Time to get started on the starcraft resto.

$17 sheets of 5/8" Birch are likely not to be made w/ waterproof glue, it's much more likely to be an interior grade of plywood, not exterior.

Not ideal for a boat
 

North Beach

Commander
Joined
Sep 29, 2008
Messages
2,022
Re: Time to get started on the starcraft resto.

No need to glass the decking in a tinny, epoxy resin (3 or 4 coats) will do what you need without itching or fumes.

Go ahead and disassemble the bow area, it won't hurt a thing. Take pics of everything as you take it apart so you can see how to put it back together later.

Correct you dont have to go the glassing route but I experienced no itching or fumes whatsoever.....
 

jigngrub

Fleet Admiral
Joined
Mar 19, 2011
Messages
8,155
Re: Time to get started on the starcraft resto.

I'd skip the birch plywood, yeah it's cheap... but it won't be doing you any good when the plies start separating in a couple of years.

You'll probably want to skip the pool noodles too, they're the most expensive floatation you can put in a boat unless you can get them for $1 each. The pink foam is less than half the price of noodles when you figure pounds of floatation per dollar.
 

Big P

Cadet
Joined
Feb 25, 2013
Messages
11
Re: Time to get started on the starcraft resto.

You should start your own restoration thread BP, that way the answers to all of your questions will be in one place and easy for you to keep up with.

It can get confusing when you start talking about more than one rebuild in a thread.

Looking forward to watching your restoration Big P.

10-4! New Thread coming!
 

SigSaurP229

Commander
Joined
Oct 1, 2008
Messages
2,123
Re: Time to get started on the starcraft resto.

I got a little more progress done today. I got the steering wheel pulled, the drivers side console out. The motor is almost derigged to come off. Throttle and shift cables disconnected, I need to disconnect the steering on the motor. I still have alot more foam to dig out but am making slow steady progress.

It is alot slower than I would have liked as basically there is no floor left it all just falls to muck and mush and mulch.

So without further waiting

Here is my redneck steering wheel puller.

20130226_113539_zps3dd9a5e2.jpg


20130226_113545_zpsf84c63fd.jpg


Console out.


20130226_163436_zps0487ebc4.jpg


More foam dug out

20130226_163430_zpse36837b4.jpg


Slow steady progress. So far the tool of choice has been half of a post hole digger it is a pain in the rear to clean the foam from underneath the stringers.

I don't know if I am supposed to post links here but there is a local store that I can get a case of 32 pool noodles for $32 dollars. So would I still be better with the foam sheets from lowes or home depot?


I have been holding out on drilling the bow area because I am so nervous I am going to mess something up. When I drill the rivets to I drill the whole rivet or just the center portion out?

Anybody happen to know off hand what size bit I should be using.

Somebody please tell me the clean up is the worst part.


Ohh and as for the last pic, I know the trailer is NOT safe to pull in that condition but trailer work is coming so please give me a little slack there.
 
Top