1976 18' Starcraft Holiday Restoration

GreenHoliday

Seaman Apprentice
Joined
Aug 5, 2016
Messages
42
I'm a new member to the forum, but I've been reading up on similar projects for some time. I am about to start a restoration of a '76 18' Holiday. The previous posts have been invaluable in our planning. You guys are great.

Background:
My dad got this boat on the cheap when he was looking for a trailer to use for our existing Starcrafts that are used and stored in Canada. This boat is in better shape than the '76 16' Holiday and the '64 18' Sunchief (I think) that we currently have. All of the boats need work. The problem is that we use these boats at a remote cottage in Canada 600 miles from where we live in Ohio. It is tough to get work done on them because our time up there is limited and it isn't feasible to work on them up there. Now that this boat is in Ohio, I figured I should clean it up before we haul it up there... probably for good.

Goals:
This one probably won't be a showpiece. I will probably take some minor shortcuts, but hopefully nothing that makes everyone's skin crawl. We use our Starcrafts primarily for fishing, but also transporting people and goods to/from town (~20 miles), hauling firewood, etc...

The deck has been replaced, but it is springy and I want to do it properly.

New paint all over.

It's missing an aft corner piece and the transom below is showing some rot. I'm not sure how bad the rest of the transom is, but it will be replaced because no one wants to have a transom failure in October in northern Ontario when there isn't a soul within 20 miles.

New dash and general cosmetic work.

We will have one of our newer 115 hp outboards transferred to this boat once it is up there, so we will probably sell the current OB or put it on the '76 16' Supersport that is gutted and also sitting at my parents' if/when someone in the family gets real motivated. (That boat was also a recent purchase that was going to be scrapped... my dad only wanted the trailer, but it was a package deal). In short, I'm not worried about the motor for now.

Plan:
2 layers of exterior grade 3/4" plywood sealed with spar varnish for the transom.

3/4" exterior grade plywood for the deck sealed with spar varnish on all sides and then painted with rustoleum industrial and a non-slip additive.

New foam below the deck.

Reupholster 2 rear seats and sidewalls.

New seats up front.

Rustoleum industrial enamel with hardener for the hull.

Not sure what I'll do with the canvas yet... we have the original lid but it needs some work.

The list will grow, but those are the basics. Oh yeah, and completely redo the trailer.

So now my initial questions as I put together my supply list in preparation for our first real weekend of work:

1) How much gluvit can I expect to use on the inside seams of the hull? I expect to do the other boats at some point, but I'd rather not have a pile leftover.

2) Am I making a mistake by only spar varnishing the transom and not epoxying then coating with spar for UV protection?

3) Should I roll and tip the hull or spray, assuming I would be spraying with an 8 gallon compressor and a Harbor Freight HVLP gun? I have no experience spraying, but it can't be that hard. I don't need a flawless application... no one is going to be checking this boat for orange peel.

4) Is there any reason for me to get 4200 or can I do this entire boat with 5200? 5200 seems to be more readily available. Just looking for durability.

5) I'm not sure if we will go with pedestal seats up front, but what are thoughts on reinforcing the deck where the seats would be placed? Should I add additional support above or below the deck (or not at all)?


That's it for now. At the risk of angering everyone, I am posting this without initial pictures. Sorry. I will add some pictures when I get to the boat next weekend. It is being stored 100 miles away from where I live.

I hope this doesn't turn into a drawn out process, but my realistic side tells me it might. I appreciate any answers to my questions.
 

Watermann

Starmada Splash of the Year 2014
Joined
Jan 12, 2013
Messages
13,798
:welcome: aboard GH,

Yeah you have some serious work ahead of you but oh so rewarding. Besides money, having help is the key to getting the work done in a timely manner so it doesn't become a long drawn out process.

You'll need the quart size can of gluvit for your 18'r, I think they call the 2 Lb size. I mix mine in one of the large plastic coffee cans that have the finger grooves to hold on to and a 3" chip brush will slide in between the hand holds inside to rest while you move about to the next area to apply it.

I'm a spar guy who likes to use Helmsman clear gloss oil based. If epoxy was such a great thing and spar would fail then why would putting spar over epoxy resin make sense?

An 8 gallon compressor will not work with an HVLP gun to spray on the paint, it won't be able to keep up. But if you strip the whole boat bare the set up will be able to shoot the SE primer on as it's such a light coat and it will come out way better than using rattle cans.
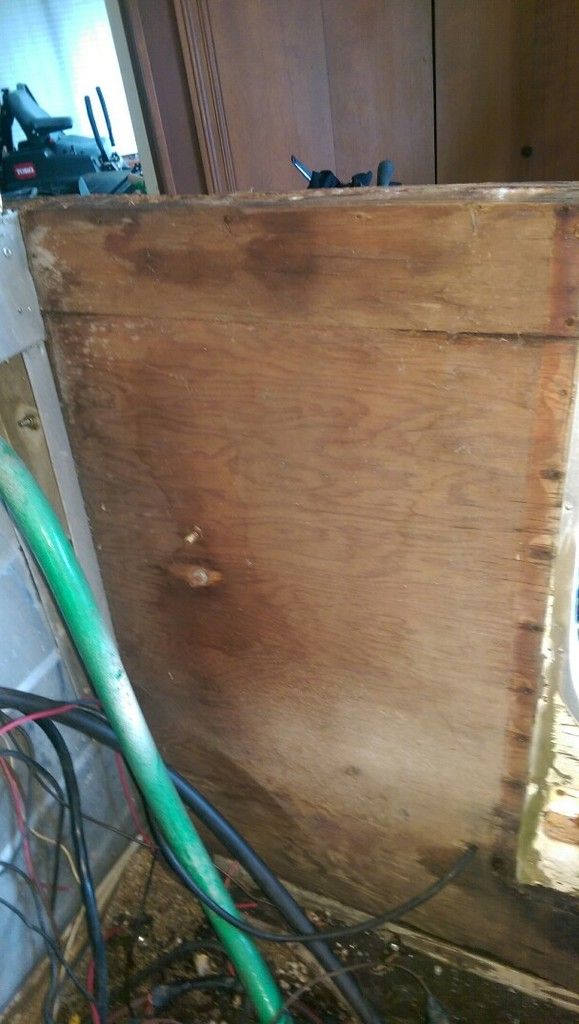
I only use 5200 for anything and everything needing sealant in my boats.

Are you planning on removing the holiday's bow deck? I would not recommend putting a pedestal seat on a bow deck that is the same height as the top of the gunnels, it's going to be way too high off the water and make the boat tippy for the person standing there when someone else moves in the boat.
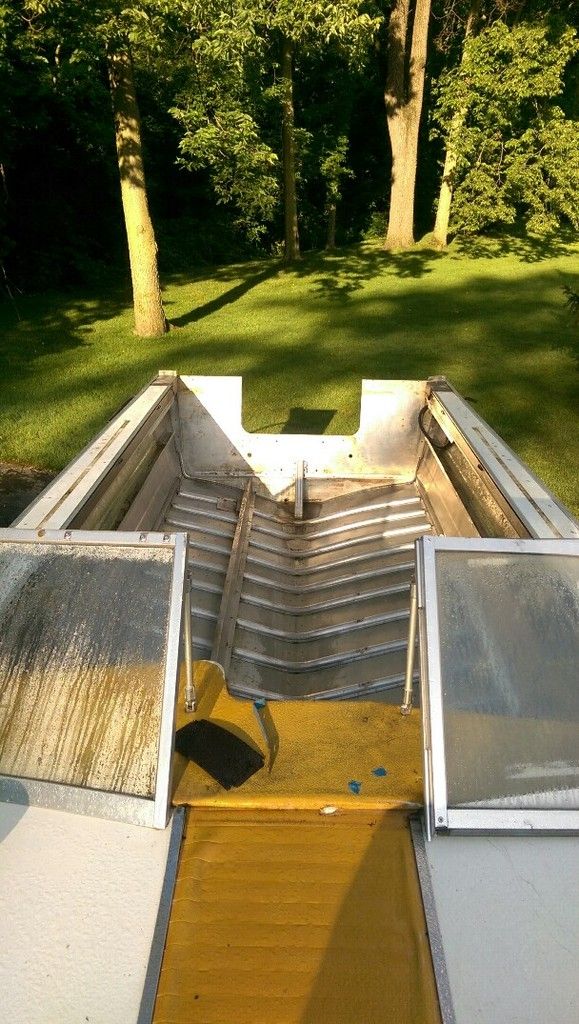
 

GreenHoliday

Seaman Apprentice
Joined
Aug 5, 2016
Messages
42
Just when I thought I wasn't going to get any responses... thanks Watermann! I was about to order some 5200 and a tube of 4000UV for anything I thought might be less than 100% permanent (I don't know exactly what that would be without looking at the boat). I guess I'm a little hesitant being a first timer coupled with the permanent nature of the 5200.

The bow deck will be staying right where it is. I was referring to the main seats in the boat. I am very tall (and not very thin) so I can barely wedge myself between the wheel and the existing lounge seats. I would need cooking spray, a crowbar, and a helper to accomplish that feat with the canvas up. To be more clear, I am keeping the two rear seats by the splash well and was contemplating new lounge seats up front, but I think I am sold on getting 4 new pedestals instead (would be nice to have the option to take them out when we need more room for fishing). Admittedly, I haven't done a lot of research on them, but they never seem very stable to me... I have some time before the seats go in, but I would like advice on whether the deck needs reinforced (above or below) a 3/4" ply deck. No one in my family is little, so I'd rather error on the side of being too beefy. I would prefer a smooth deck free of raised plates if possible.

A couple more questions I thought of:

1) I plan on installing the new deck with 3/16" 1 grip large-flange blind rivets. Do I need to be worried about drilling new holes in the stringers? I recall reading that too many holes in the stringers can cause them to crack eventually. I have looked for answers but have been unable to find any tricks to re-using the old holes.

2) Should I buy some Marine-Tex for our initial weekend of stripping and hull sealing just in case? Part of me feels like it could help if there is a larger leak that Coat It (alternative to Gluvit) wouldn't seal on its own (thinking of the common bow seam leak that several have encountered). The other part of me feels like this would be putting a Band-Aid on a bullet wound and ignores the fact that I might need to re-rivet.

3) I initially didn't plan on varnishing AND painting the transom, but I have read that many have done both and have done so in different order. I already have Helmsman and Rusto industrial. If I decide to do both, should I apply 2-3 coats of spar, scuff, then paint OR paint then 2 coats of spar over the top? I am leaning towards the first approach.

4) Does anyone have any general advice on polishing trim and/or trying to buff out the foggy windshield?

I'm working on this next weekend with a family member and we both freed our schedules for three days. I'm trying to get all of my ducks in a row so we can get a lot accomplished. I have to admit I'm not thrilled about the prospect of roll and tipping this boat. Luckily the existing paint is in pretty good shape and will only need spot sanding and SE primer before clean metal primer and paint... no need to strip the whole thing. I'm going to largely follow this painting procedure: http://forums.iboats.com/forum/boat...and-hull-repair/606811-aluminum-boat-painting

I know the lack of pictures drives people crazy. I will have them up ASAP.
 

Old Irving

Petty Officer 2nd Class
Joined
Nov 29, 2015
Messages
151
GH,
Welcome to the wonderful world of restoring these boats.

You can look at my thread for placing rivets through the deck into the stringer. Out of about 200 rivets, I hit the existing hole about three times. Don't count on using the same holes, it will drive you crazy. I marked the transom and ran a line from the transom to the end of the plywood sheet above the stringer. I don't think you need to be worried about the stringers cracking.

I used epoxy on my deck and transom. The only area I painted over the epoxy was the portion of the transom which gets exposed to the sun in the splash well. I put some Kilz white primer to protect it. I used the kilz on some Opti sailboats and after three years it is still in good shape.

Also do a water test by filling up the bare hull with water. This will save you a lot of head aches in the future. If you replace any rivets in the hull make sure you use closed rivets not the open ones you use for the deck.

Good luck and keep us posted.

Bob
 

Watermann

Starmada Splash of the Year 2014
Joined
Jan 12, 2013
Messages
13,798
Sometimes the mob is all wrapped up in their goings on and it takes a while to see a new thread pop up.

If you spar first then make sure it's all gassed out and dry before painting over. It's always a good idea to break the surface tension on something by sanding before applying any sort of sealer or paints. I also believe in a good coat of primer but normally use the same oil based alkyd formula primer which is what the rusto pro is and tractor paint that I use.

For sure glue an underside backer of 3/4" ply on the decking where your pedestal seats are going to be and most of use T-nuts on the underside as well, gluing them in place so all you have to do is run the machine screws through to secure the mounts above deck.
 

Candutch

Chief Petty Officer
Joined
May 8, 2015
Messages
637
Welcome to the Starmada GH! I think you are making the right decision switching to pedestals. Something I learned on my resto was that the Pedestals are rated for use in certain areas so make sure you check the ratings. I mounted permanent pedestals for the helm and front passenger and made the rear two removable so I could move them to the casting decks.
 

GreenHoliday

Seaman Apprentice
Joined
Aug 5, 2016
Messages
42
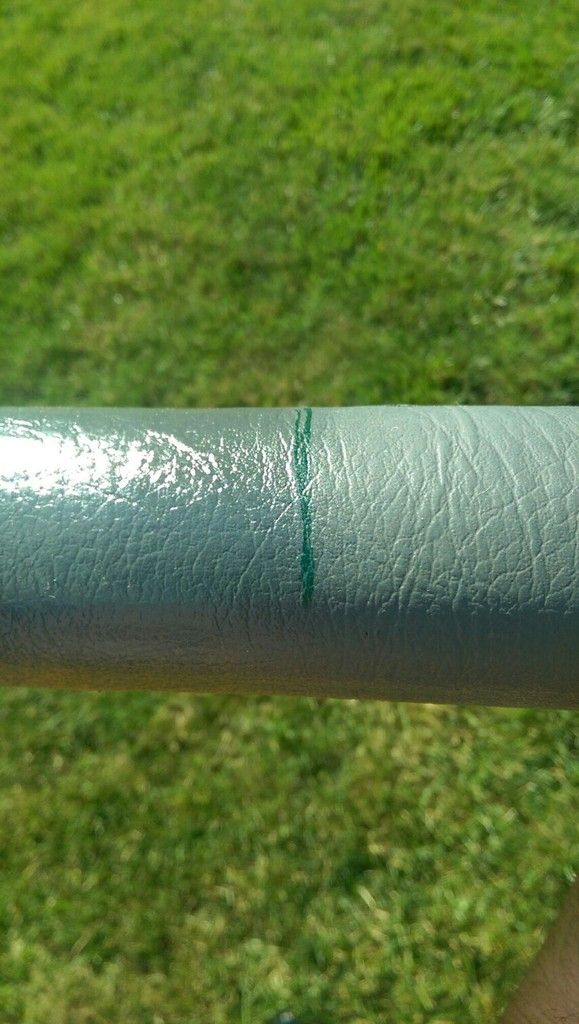
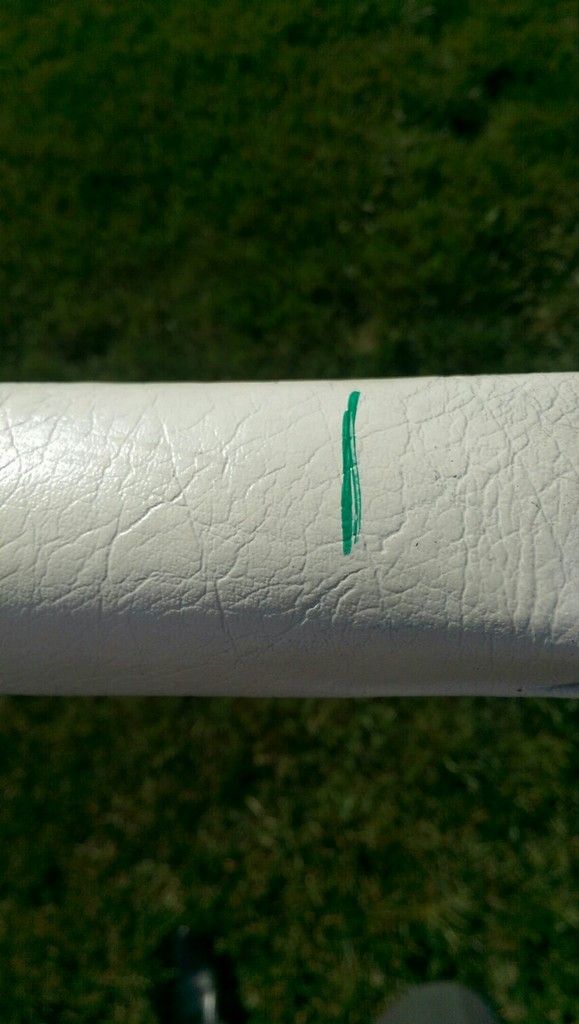
I think I have to make a third post before I can upload photos (or I'm not doing it right on my phone), so here goes. I still don't have full pictures of the boat but I am going to post some pictures of a little experiment I did with vinyl spray paint on one of the junk trim pieces I yanked off the boat last fall. The topic has been touched on in several posts but I've never seen any close-up pictures. Hopefully, the forthcoming photos will show Duplicolor vinyl spray paint vs. regular old spray rustoleum. The test piece sat in the garage and outside off and on over a 6 month period. I also used a screwdriver periodically for a scratch test. I am actually pretty surprised at how good both products look and hold up to abuse (even with very minimal prep work/cleaning). Here is what I found:

The duplicolor looked a little too flat for my taste (like rhino skin) so I put a coat of rustoleum gloss clear coat (with UV protection) over part of it. Now it is preeeeetttty shiny... maybe too shiny, but I still prefer it over the flat duplicolor alone.

The rustoleum by itself was glossier than the duplicolor. The portion sprayed with rustoleum and then covered with clear gloss barely looks different. I don't think you can even tell from the picture.

As far as durability goes, I would rate the duplicolor ahead of the rustoleum, but only marginally. I scratched all of the pieces to the point where I thought the vinyl would rip. There were definitely scuffs, but I think anything would have them at that point. The texture of the vinyl showed through well with both products. The duplicolor seemed to absorb better and look a little less "plasticky" to me.

In sum, I think either coating would be adequate for my side panels that are ugly, but in great shape. If you look closely at the one picture, you'll get a preview of the original color... the dreaded mustard. I will use the duplicolor with the clear coating for added UV protection.
 

GreenHoliday

Seaman Apprentice
Joined
Aug 5, 2016
Messages
42
Hopefully these pics load properly. I will adjust my approach if not. Off-white is rustoleum. Right of the green line has gloss top coat. Duplicolor is the gray. The side with gloss top coat is self-evident.
 

Attachments

  • IMAG0062-1140x2016.jpg
    IMAG0062-1140x2016.jpg
    367.1 KB · Views: 1
  • IMAG0061-1140x2016-855x1512.jpg
    IMAG0061-1140x2016-855x1512.jpg
    269 KB · Views: 1

ezmobee

Supreme Mariner
Joined
Mar 26, 2007
Messages
23,767
I painted all the combing pads in my Hydra-Sports with the white Duplicolor vinyl paint last spring and it has held up pretty nicely for a whole season +. Certainly looks much better than the nasty mold/mildew stained stuff it covered up.
 

Watermann

Starmada Splash of the Year 2014
Joined
Jan 12, 2013
Messages
13,798
That vinyl paint stuff does look good, I'm just not sure that it would be cost effective over what the material costs. It would be great on consoles though where wrapping would be a huge pain and tough to make look right.
 

GreenHoliday

Seaman Apprentice
Joined
Aug 5, 2016
Messages
42
That's probably fair enough, WM. Pleated marine vinyl is $20/yd and I got a BOGO deal on the duplicolor. I think 2 cans for $10-12 total. I was more interested in saving the time of rewrapping the panels. I am also a fan of salvaging things where possible instead of adding more to the junk pile. No doubt this is one of the shortcuts I warned of.
 

GreenHoliday

Seaman Apprentice
Joined
Aug 5, 2016
Messages
42
I actually have some of their vinyl arriving tonight to recover my rear seats. Gives me a lot of reassurance that you used the same stuff on your builds.
 

Watermann

Starmada Splash of the Year 2014
Joined
Jan 12, 2013
Messages
13,798
If I knew that spray on vinyl looked as good as it does in your pics, I would've tried it on my SS dash piece, it has a vinyl type texture to it already. I painted it with Krylon Max since it's plastic that stuff is supposed to stick. If it ever gets ratty I'll give the duplicolor a try.

You can see the marine vinyl I used on the side panels with 1/4" synthetic batting under it.

IMAG2832.jpg
 

Furrylittleotter

Petty Officer 2nd Class
Joined
Oct 16, 2014
Messages
167
Welcome aboard. I'm no expert on restorations but I do like old tin. Post some pics.

Neil
 

GreenHoliday

Seaman Apprentice
Joined
Aug 5, 2016
Messages
42
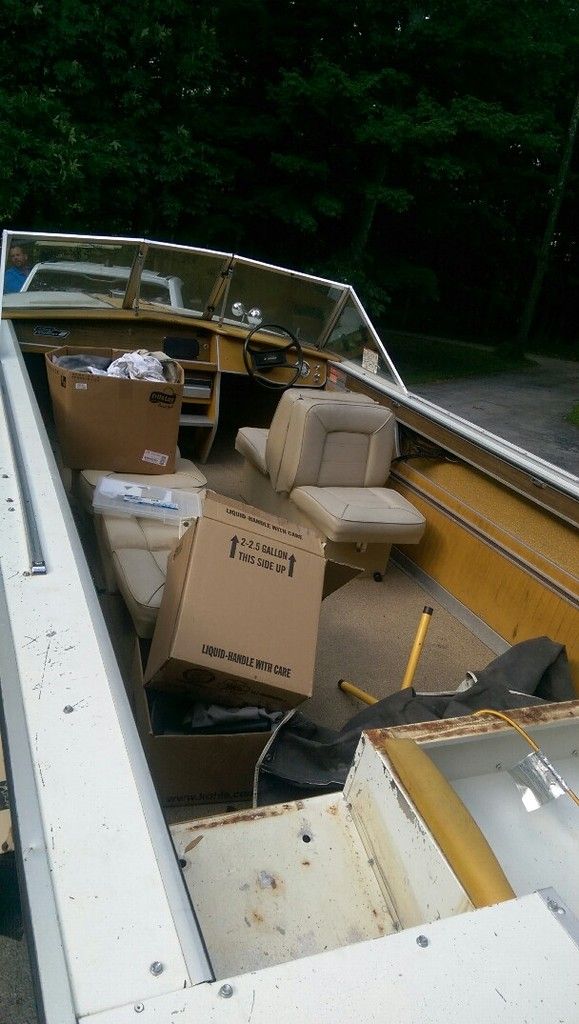
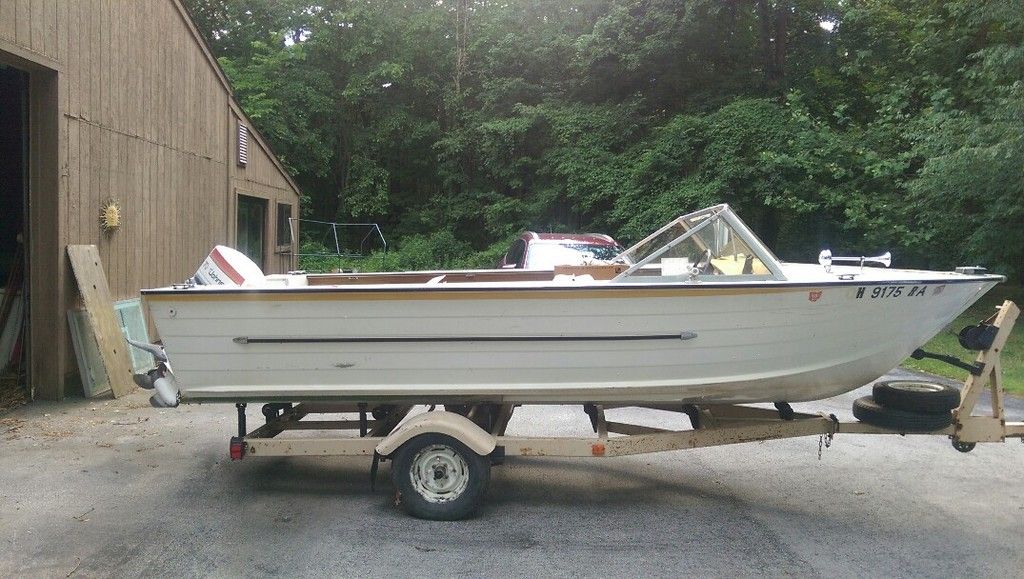
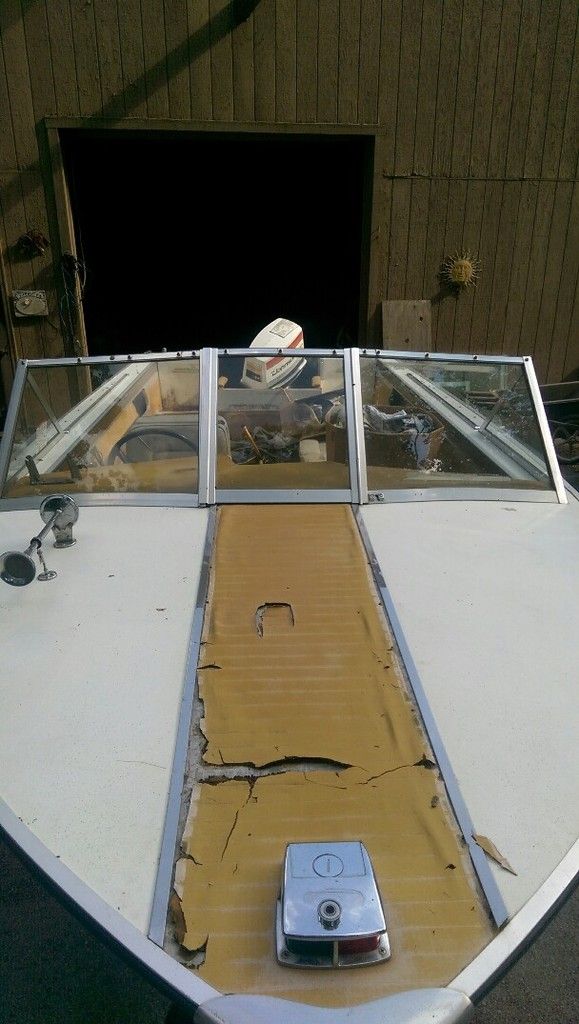
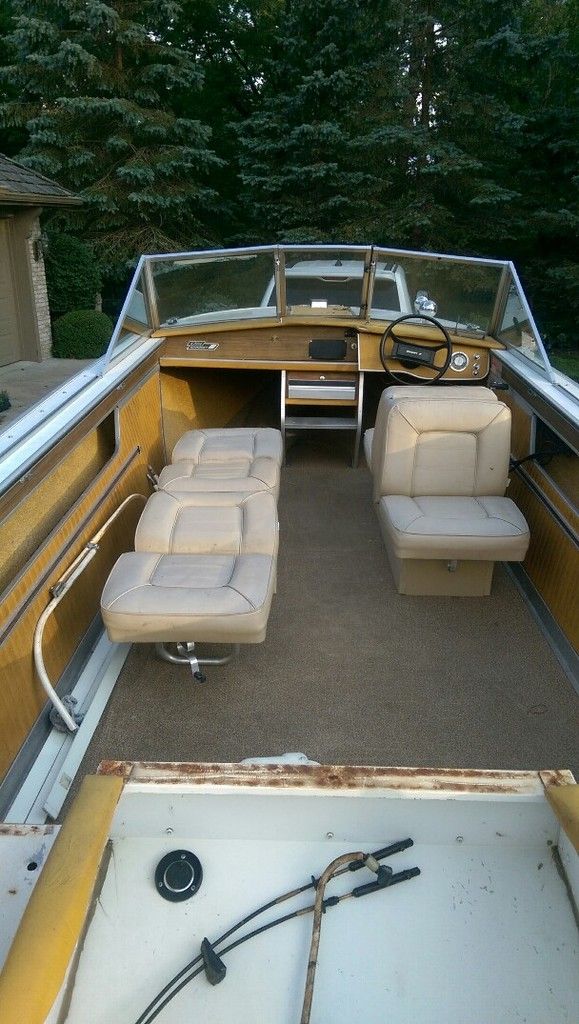
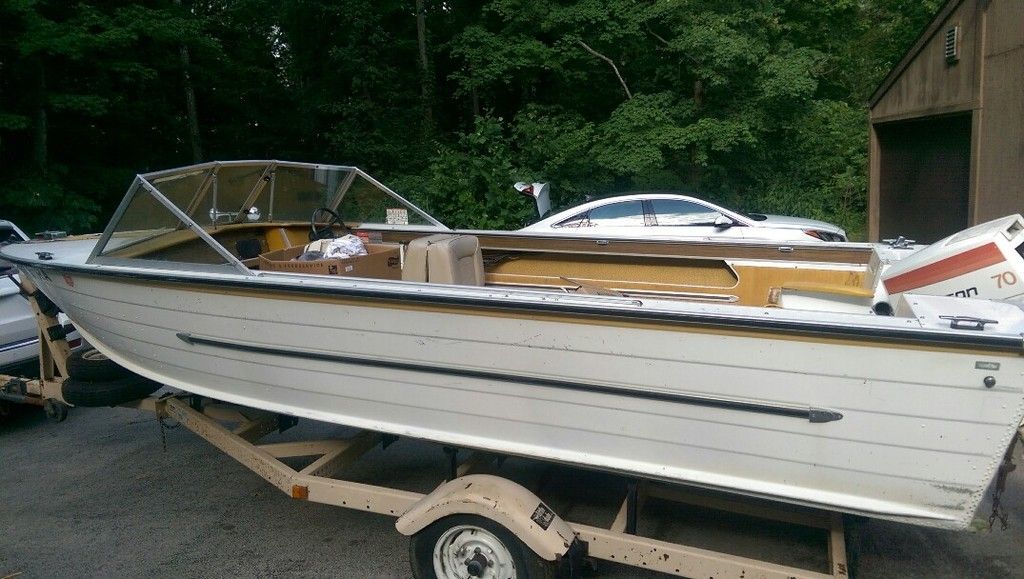
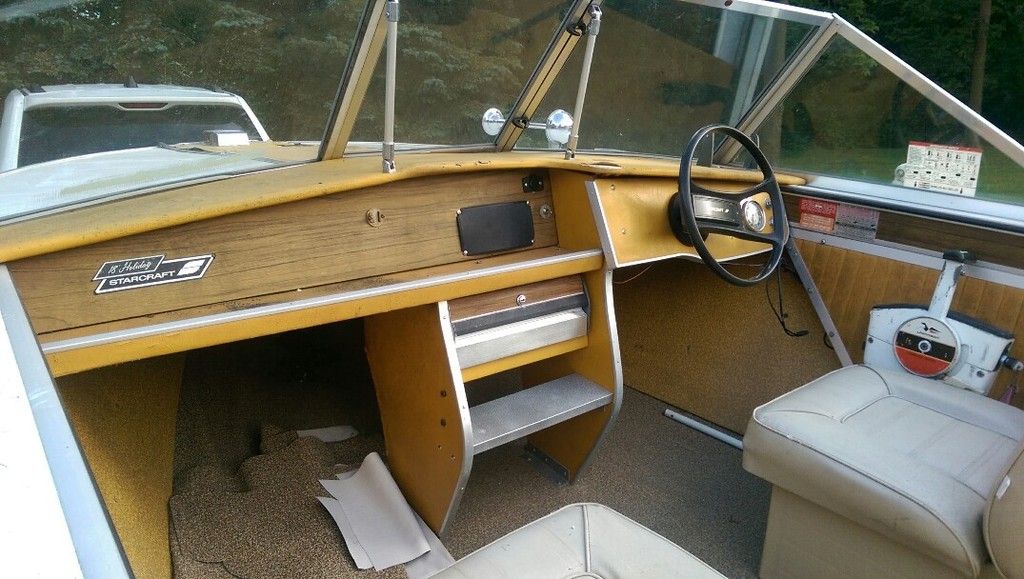
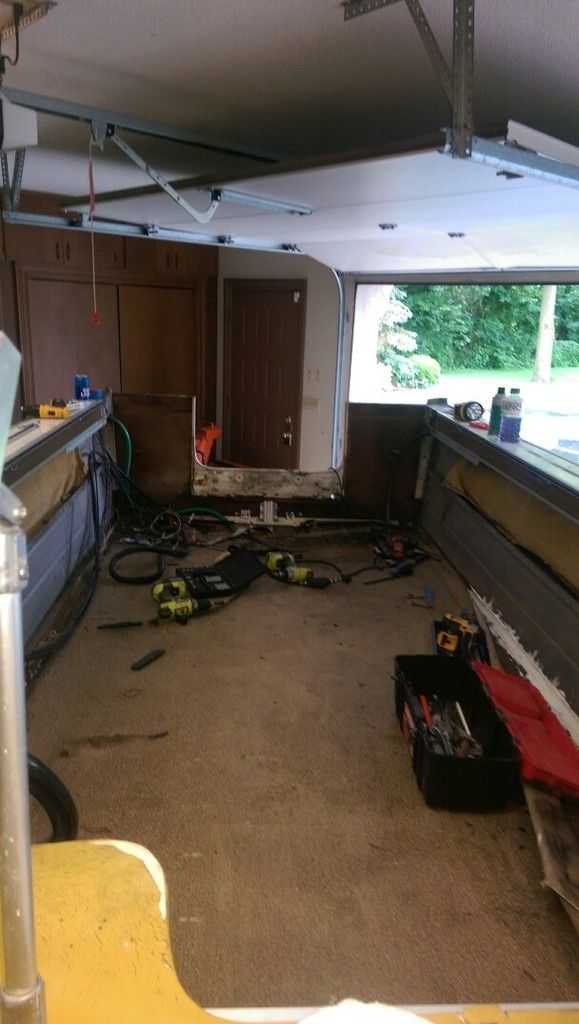
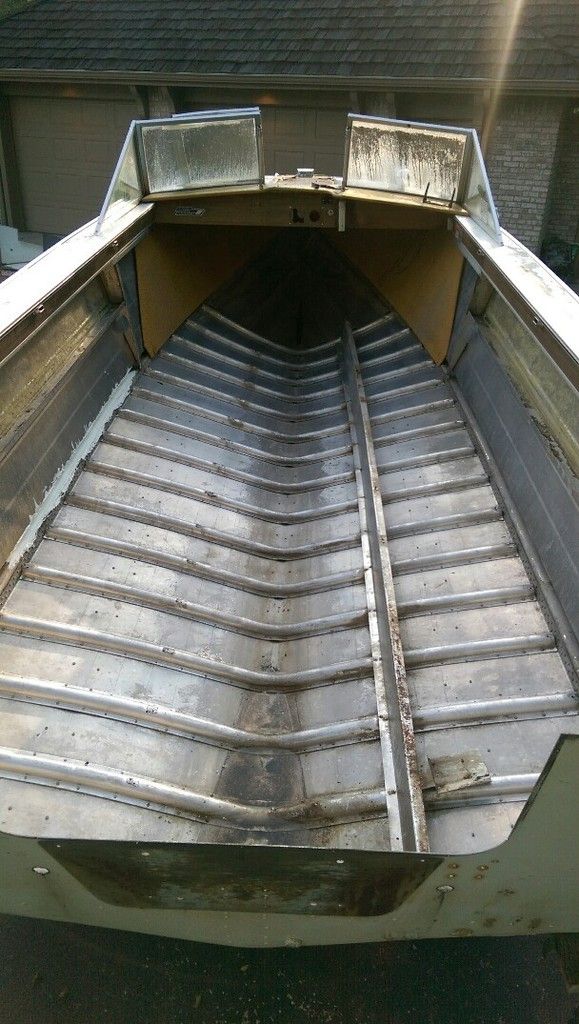
Lots of updates and photos coming. Here are the before pictures from Thursday night. The boat was actually in better shape than I remembered.


GreenHoliday

Seaman Apprentice
Joined
Aug 5, 2016
Messages
42
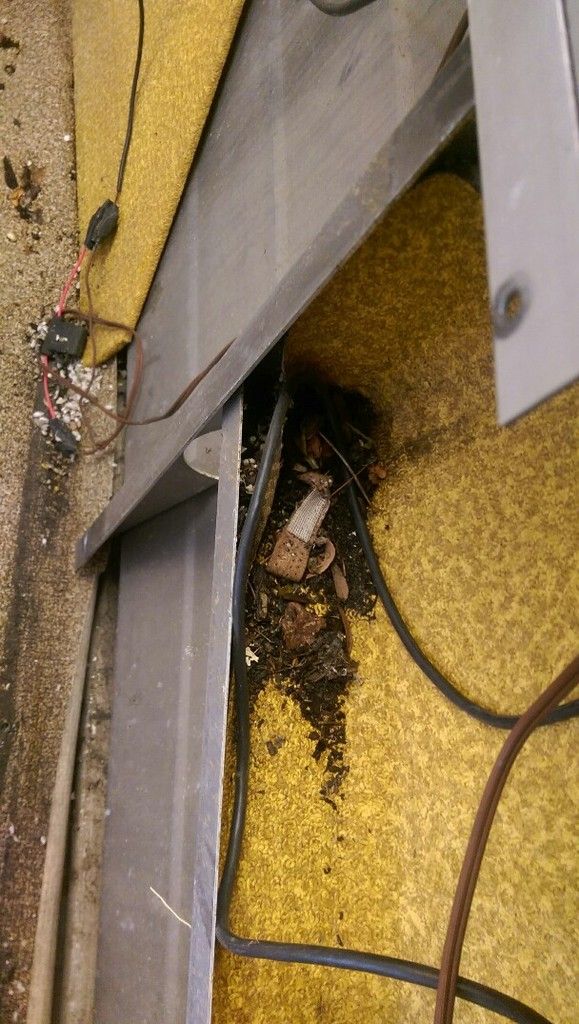
We got to stripping. Took off the left side panel and found one of PO's band aids, seen here and here... gross.


Then took off right side panel and found another band aid from PO... even worse.


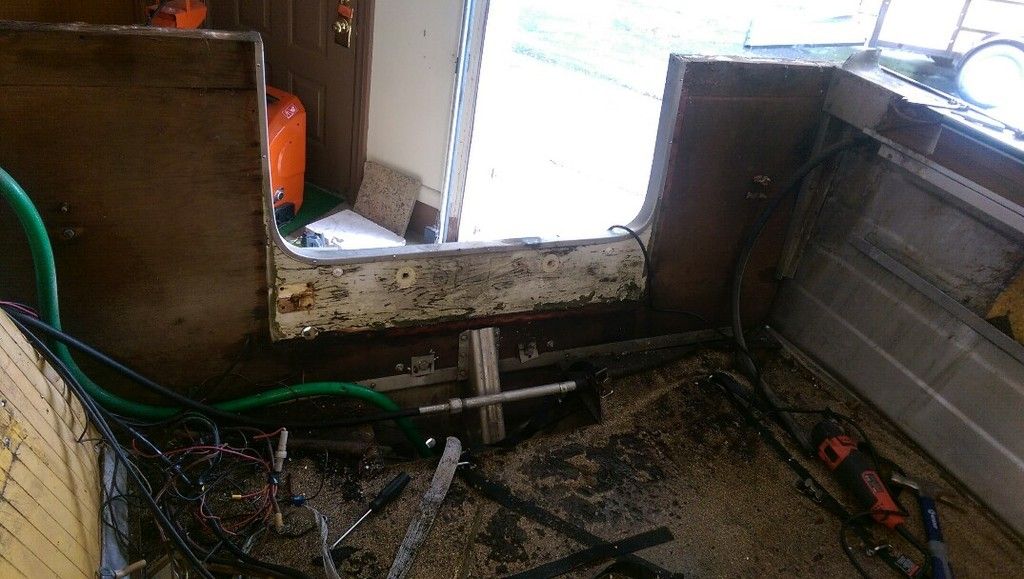
The transom came out really easily other than the fact that every screw stripped and every bolt seemed to be seized.


Maybe I'm overreacting, but I didn't like what we found when we pull off the deck yesterday. Will post those bittersweet photos soon.
 
Last edited:

Watermann

Starmada Splash of the Year 2014
Joined
Jan 12, 2013
Messages
13,798
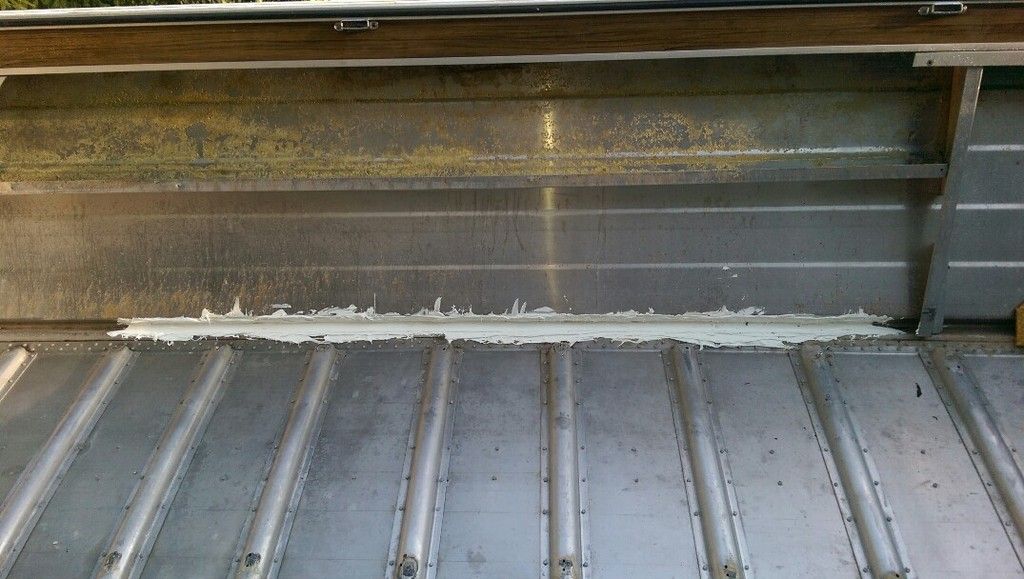
Oh jeez another case of the split out spray rail. "Gee I know, lets put some goop in there and call it fixed." :facepalm:

IMAG0094-1075x608_zps1ykxqozp.jpg


Many guys who come around ignore me or say their boat is fine when I tell them what can and will happen to their older SC that don't have the braces installed to prevent this sort of crack from developing. For my Chief I made and installed my own hull stiffening braces that isolate the spray rail.

I read 2 first hand accounts of guys using their boats with compromised side panels and decking. They went like this: "I was going along in some chop when I noticed that I could see daylight out the side of my boat and when I stopped the boat began to fill with water."

Dealing with the existing crack is a challenge but not impossible, it will require some patching and riveting to ensure the boat is safe in the future.

Here is the fix to keep it from happening elsewhere in your Holly and keep that from opening up further. Some have just made a couple braces to isolate the crack itself, few if any have done the full retro fit like I did. The second issue are rib end cracks which are much easier to repair but just as important.

IMAG1238.jpg
 

GreenHoliday

Seaman Apprentice
Joined
Aug 5, 2016
Messages
42
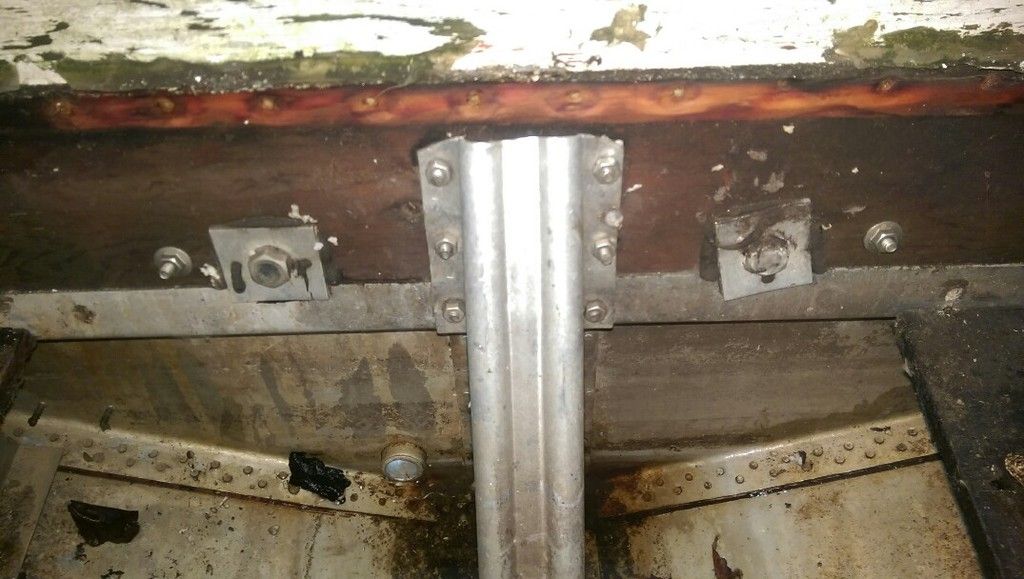
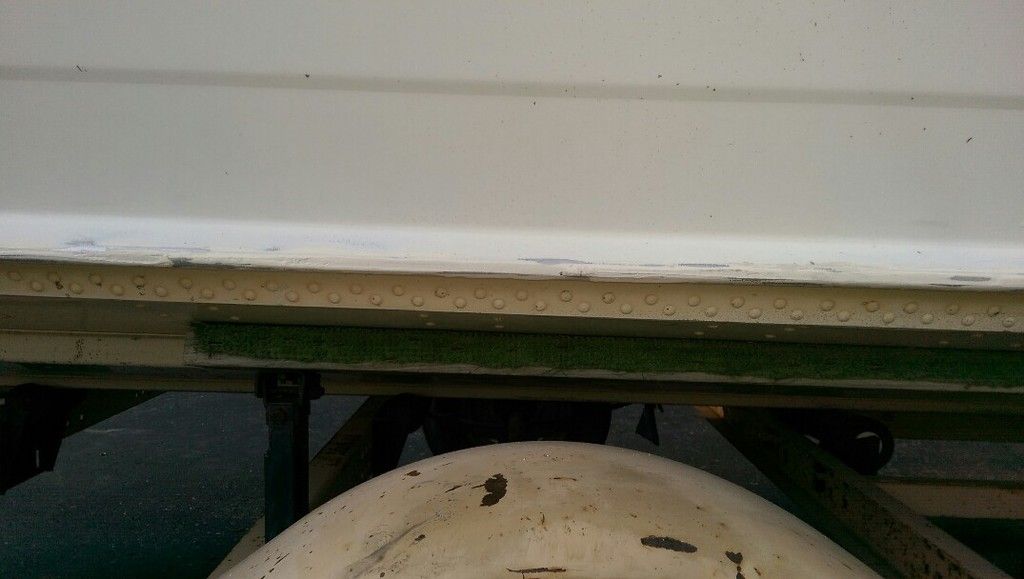
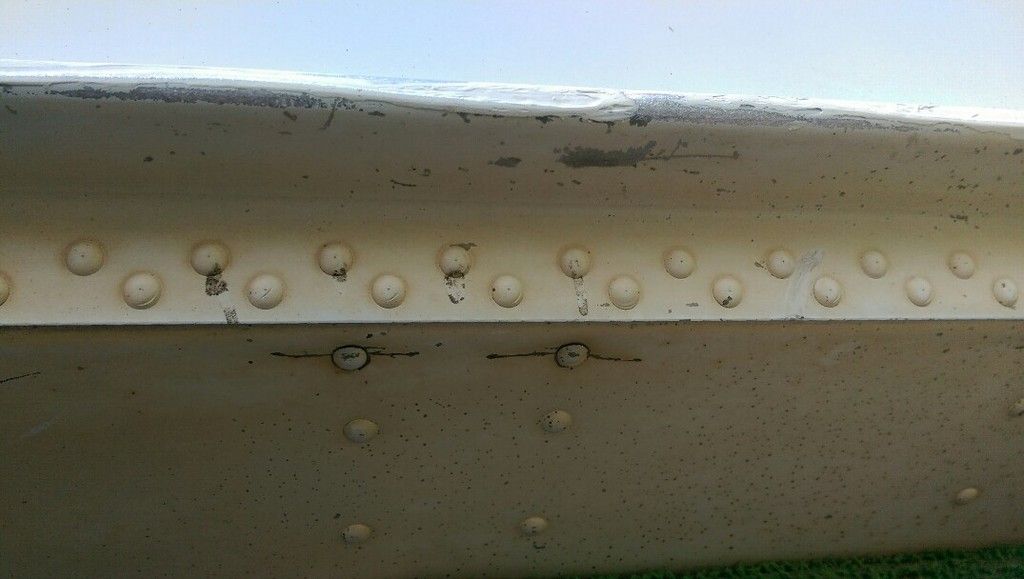
I'm no structural engineer. I was fearing bad news but that is probably worse than I expected. The next pictures will probably throw gas on the dumpster fire. The left stringer was out. Like out, out. No rivets. Floating under the deck. It has three cracks where it was riveted to three ribs. The right stringer is crack-free but definitely missing some rivets and some of the remaining rivets are crap. I think our plan for the weekend is to carry forward with the deck and transom cutting and sealing. I will have to research and properly prepare for the hull reinforcement - expect a lot of questions when that time comes...

I'd appreciate any advice on the stringer repair. My first instinct is to rivet/sister some stock aluminum to it and then rivet through the new stuff.

This project isn't off to a great start. Also pictured is the outside of the crack.


Top