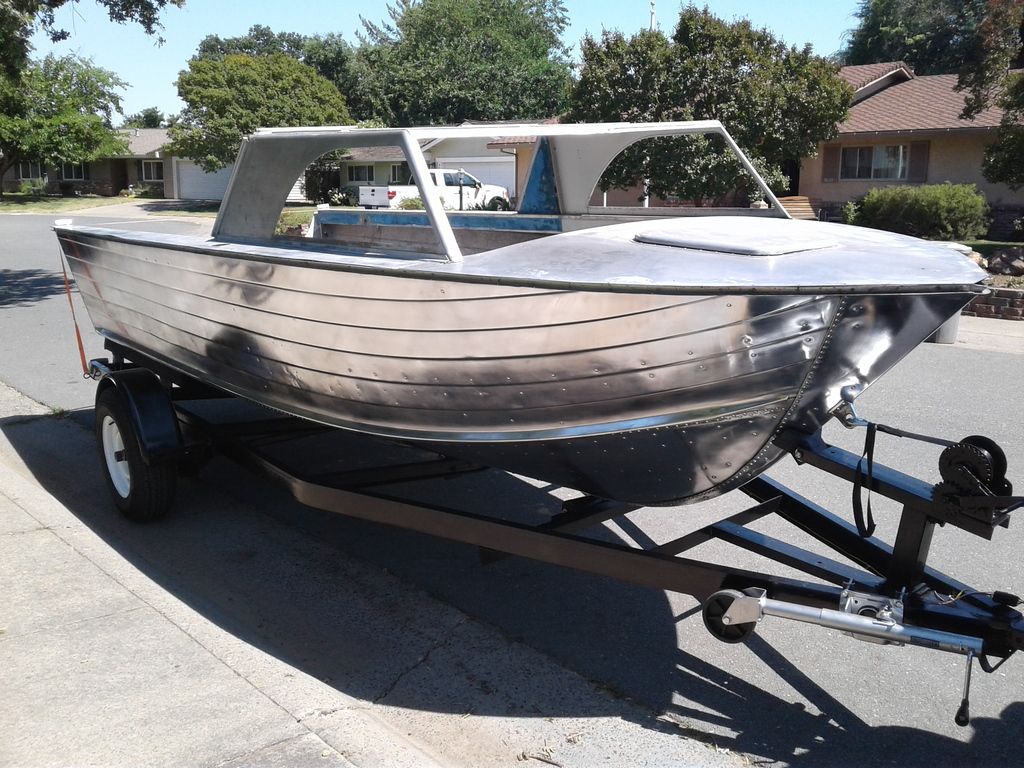
1973 Starcraft Chieftain 18ft/OB

Watermann

Starmada Splash of the Year 2014
Joined
Jan 12, 2013
Messages
13,753
Industrial tractor paint with catalyst hardener is all I've used. It's the same formula as the rusto pro.
 

Madison IV

Cadet
Joined
Mar 29, 2017
Messages
15
I was on the POR15 website, they have really expanded their product line. They have many colors, UV top coat paint, bedliner, clear metal protectant etc. Ive always been happy with Rusto, but never used the hardner, might go that route. I've seen the stiffner mod, I'm not sold on it, but it wouldn't hurt anything as long as it's installed right. Ill have to dive deep into the debate, what's the best thread for that? Two things on my mind that Id appreciate feedback on: im about to do the transom, but haven't choose an engine setup yet. I wasn't planning on locking in a type or set up untill next year, but with the bolt holes in the transom, I may need to make that choice. Short of welding up all the holes in the skin, or attaching a transom plate, is this a choice i have to make now? I have a functional CMC tiltntrim, so I can hang anything off the back, but what if i spring for a dual motor set up? Second: lots of discussion on noodle vs pink board vs styrofoam, and how much is required. One thread even talked about testing it. Has anyone tried sinking their boat yet? I'm not opposed to doing it at the launch ramp with the boat still connected to the trailer. I just don't see being able to stuff enough foam under there to keep her from going all the way down, but that's the debate.
 

ezmobee

Supreme Mariner
Joined
Mar 26, 2007
Messages
23,767
I think you're safe to finish the transom without knowing what motor you're gonna hang on it. My motor of choice would be a Johnson/Evinrude 140 Looper post 1985.

I think we've all come to an consensus on flotation and the pink/blue/green extruded polystyrene is the method of choice. How much is basically as much as you can get under the deck. You may be able to get some behind the side panels as well and perhaps up under the gunnel.
 

Madison IV

Cadet
Joined
Mar 29, 2017
Messages
15
Was going to order Coosa Bluewater 26 in 4'x8'x.75" for the transom. Instead of cutting twice and laminating, thought about ordering the 1.5" (for two transoms), and splitting the cost with someone. If anyone near the bay area is in market for a new outboard starcraft transom, let me know in the next few days. Cost is $450 for the 1.5", out the door ($225 per transom)
 
Last edited:

laurentide

Lieutenant Commander
Joined
Jul 24, 2011
Messages
1,869
I was mostly joking about the "debate" on the spray rail reinforcement (like many of my jokes it fell flat), but an easy way to make the decision is to carefully inspect all of the rib end rivets. Make sure there are no cracks around them, inside and outside the hull. If you're sure there are no cracks, don't worry about the mod. That's just my advice with no warranty implied or given...
 

Watermann

Starmada Splash of the Year 2014
Joined
Jan 12, 2013
Messages
13,753
I've seen the stiffner mod, I'm not sold on it, but it wouldn't hurt anything as long as it's installed right. Ill have to dive deep into the debate, what's the best thread for that?

There's not a specific thread about hull stiffener braces, it just comes up each time someone strips their boat and we're reminded that these early models weren't yet equipped with the braces. I don't like horror stories about boat sides splitting out so I added them, it took one extra day of work for peace of mind on that topic.

The SC engineers were sold on the braces...

Personally speaking IOs are most prone to rib end cracks and side splitting due to the weight but the main reason is the boat being used for years with transoms, decking and side panels that are compromised by rot. So if you find a boat that was not neglected and then abused you have little to worry about.
 

ezmobee

Supreme Mariner
Joined
Mar 26, 2007
Messages
23,767
Personally speaking IOs are most prone to rib end cracks and side splitting due to the weight

See now I would have thought the I/O hulls would be more pristine due to spending most of their time broken? :laugh: <shots fired>
 

laurentide

Lieutenant Commander
Joined
Jul 24, 2011
Messages
1,869
...the main reason is the boat being used for years with transoms, decking and side panels that are compromised by rot. So if you find a boat that was not neglected and then abused you have little to worry about.

I agree with this assessment of the reason for the failed spray rails. Anecdotally, I think we've seen more failures with I/O setups here, but that's not real scientific.

To elaborate, in my own estimation and that of others here (none of us structural engineers to my knowledge), these hulls are structurally reinforced by the plywood and how it ties into the transom, splashwell, decks, and side panels. You have a thick transom that stiffens and holds shape that's connected to the splashwell. The splashwell provides side to side support up high with its "header"--the part above the slider doors--as well as keeping water out of the boat. The decks keep the hull bottom stiff along with the ribs and stringers. The side panels--and this is important--tie everything together and keep the length of the hull from flexing, which is what we generally assume to be the cause of spray rail failure. The side panels attach to the deck, the aluminum shelves on both sides of the boat, and indirectly to the spashwell with a support column at their aft end.

So all the wood is important (or, in your case, coosa board). In our Chieftains, the bulkheads also provide structure for the cabin.

I hope that makes sense.
 

Madison IV

Cadet
Joined
Mar 29, 2017
Messages
15
I plan on giving her a real close inspection in the next few days, once she gets clean and sanitary. So far, i havent seen any structural damage, or loose/missing/replaced rivets in the hull, ribs or stringers. The only exception were the standard cracks in the splash well that were already welded, and a respectable impact to the lower port bow area which almost definitely needs repair. There was a thread with a patch in this exact area. Ill post pictures once I get things sorted in a few days
 

Madison IV

Cadet
Joined
Mar 29, 2017
Messages
15
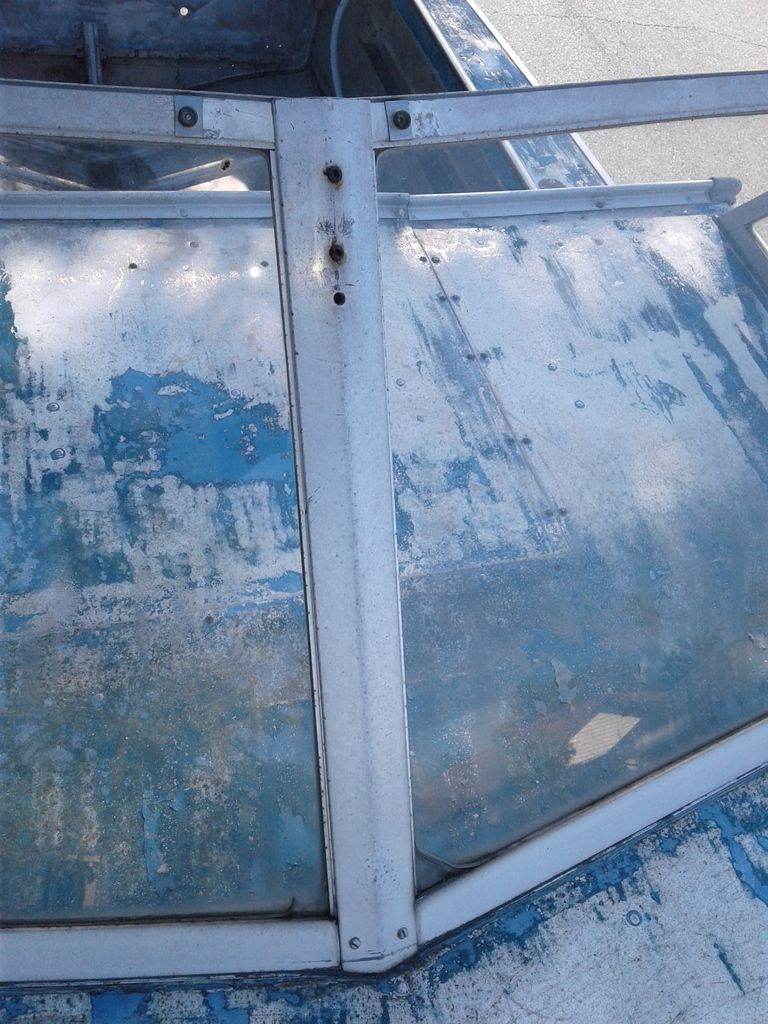
Happy "Ferrous Metal Free Day"! Decided to hold off doing the transom until the whole boat is stripped down, cleaned and passivated (decided not to paint her). Removed all the windows and the last of the misc fittings. Upper windshield even had two steel security screws. I don't think someone was going to steal the WS, P.O. nice weather coming up, so I'll be able to bring my wood boat outside for a few days, and hopefully block the Chief in the garage so I can strip the bottom and work on the trailer at the same time.

I see a lot of Chiefs getting aluminum angle from Lowes or the Depot. How is that holding up in a marine environment? I'll be needing quite a bit, most, if not all of it actually. I don't have the stringers or any of the trim.
 

Watermann

Starmada Splash of the Year 2014
Joined
Jan 12, 2013
Messages
13,753
Lots of tough work ahead I'm afraid but this stage is where you either fall in or out of love with your non ferrous tub! :lol:

I bought my angle and tube AL from a local fabrication and machine shop for less than half the price HD wanted for it.
 

Madison IV

Cadet
Joined
Mar 29, 2017
Messages
15
Definitely in love. The more paint I take off, the less I want to put back on. Decided to go full monty, and will spend some extra time prepping the bare hull the best I can. I figure if I experience corrosion issues with my existing pits (corrosion removed), it'd be pretty easy to paint it if I have to.
 

Madison IV

Cadet
Joined
Mar 29, 2017
Messages
15
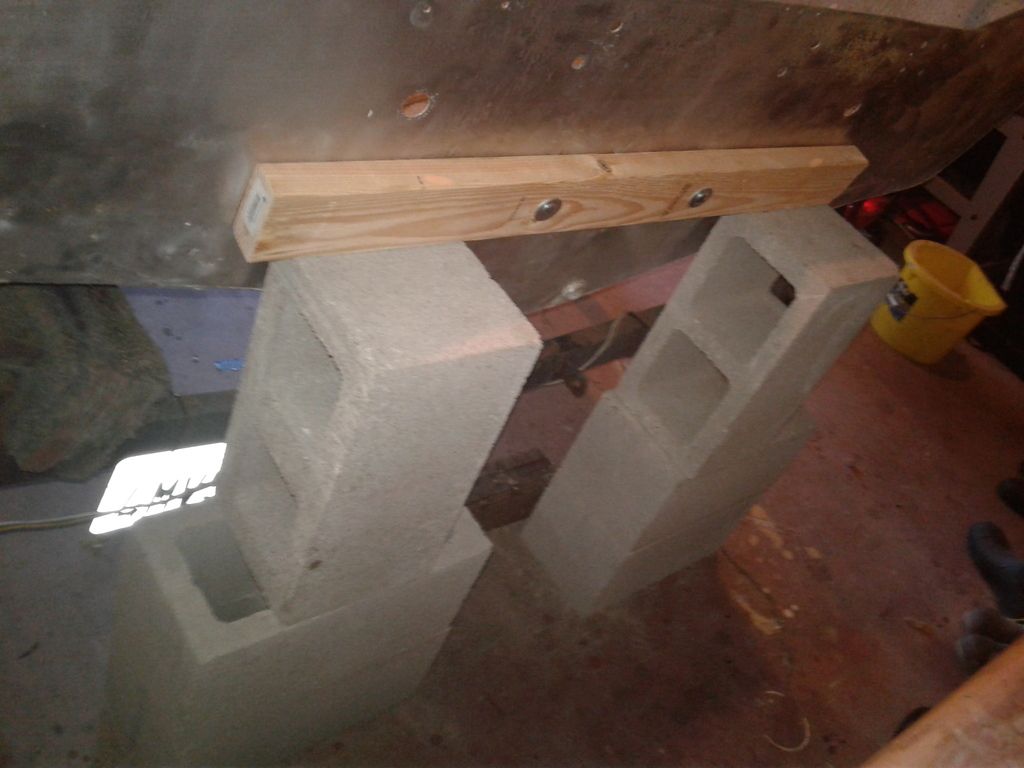
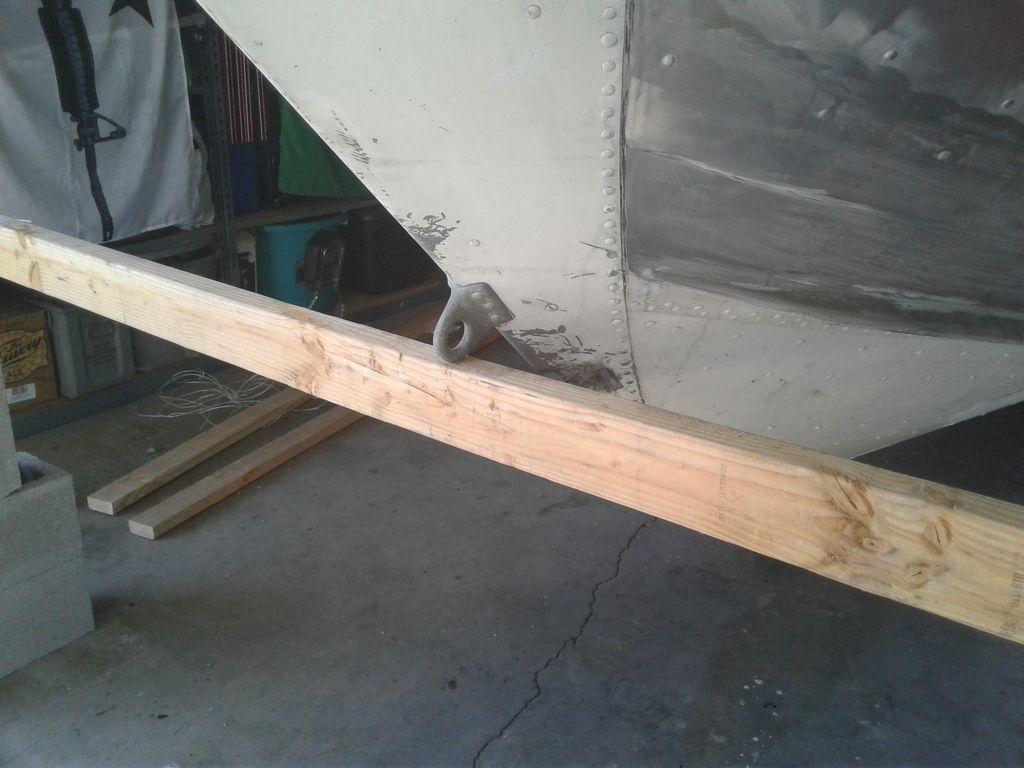
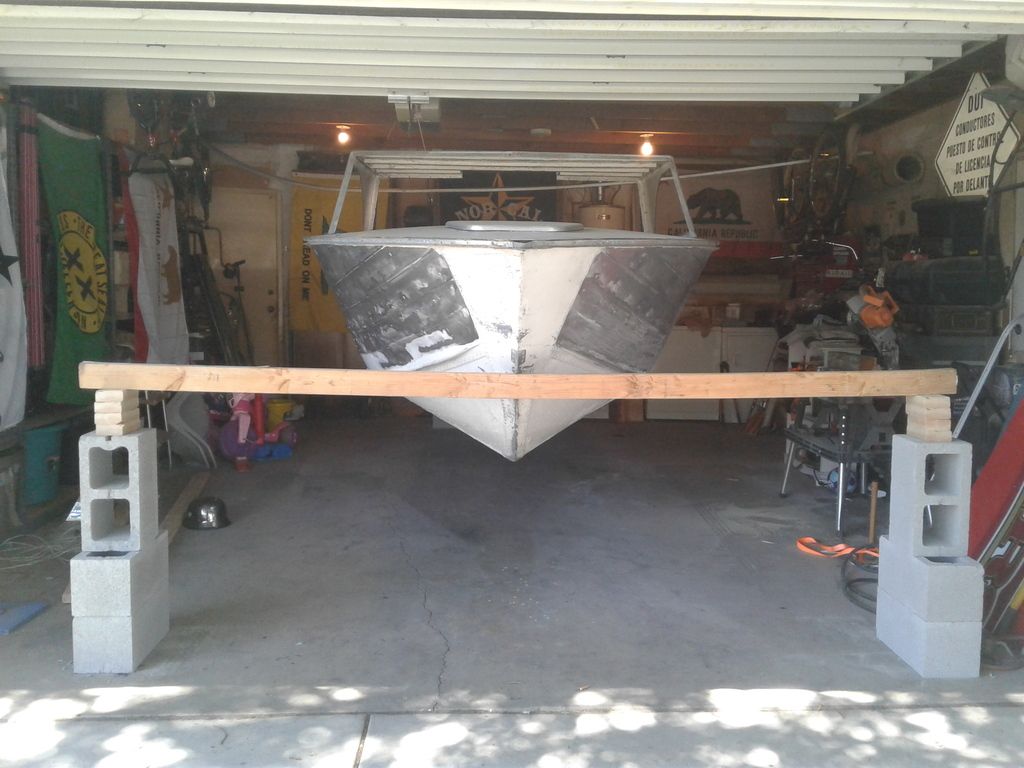
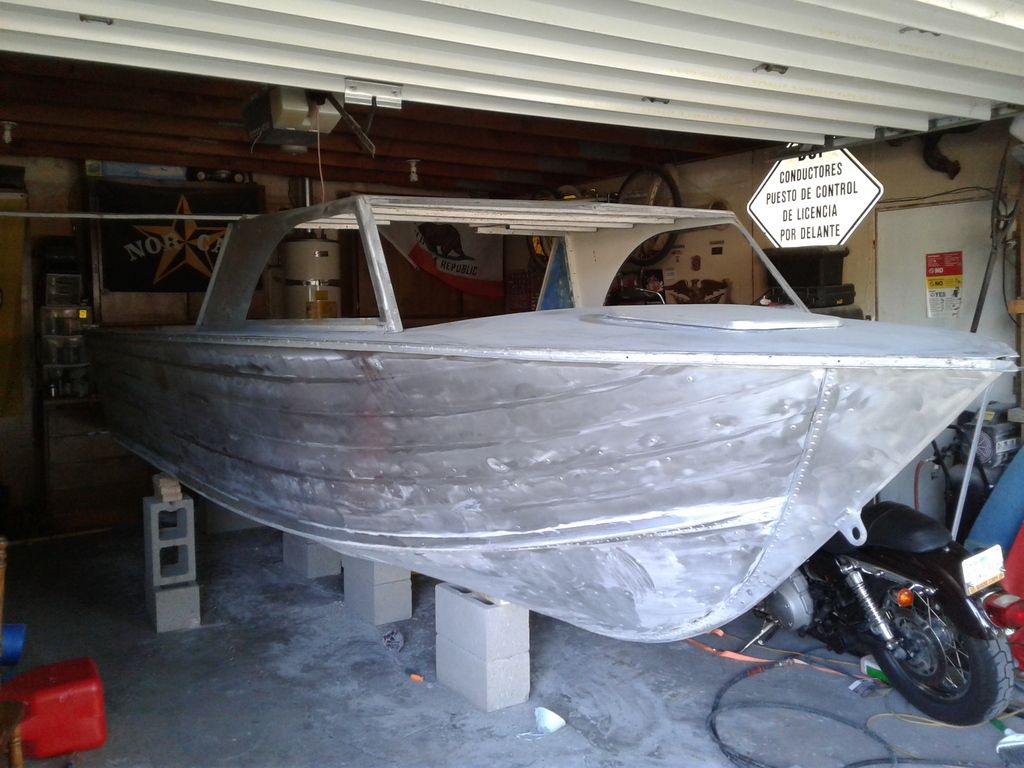
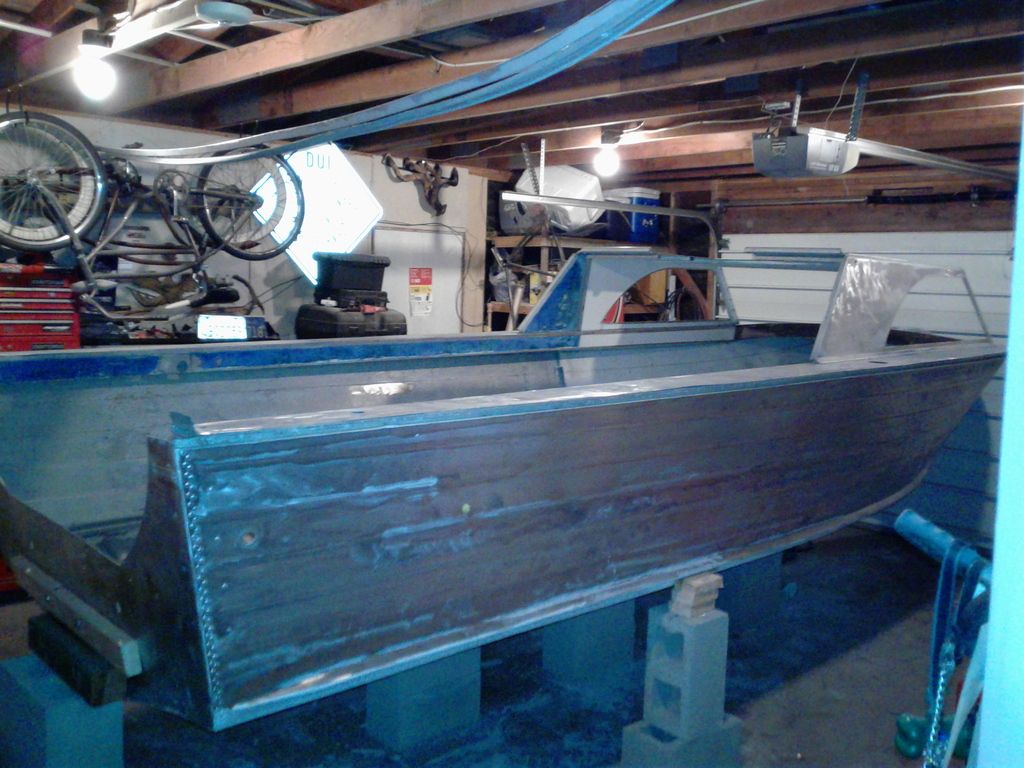
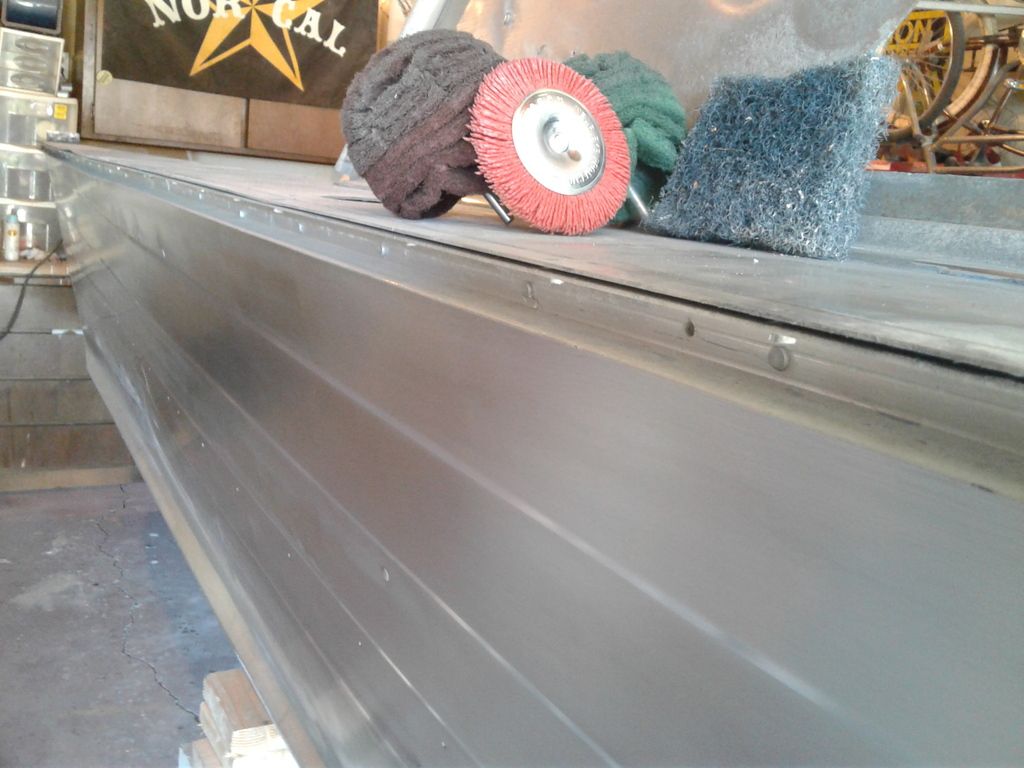
Update: Lots of good weather and boating the last few weeks. Finally blocked the Starcraft in the garage as follows: backed the trailer/boat into the garage. Using a floor jack, I raised the rear of the boat off the bunks and blocked with a 2x4 (recommend a 4x4) bolted to the transom through existing holes Then jacked the bow off the trailer and blocked with a 10ft 2x4 (recommend a 4x4), with the purpose being for clearance to remove the trailer Once the trailer was removed, i used the floor jack to lower the hull onto a less shady blocking system This method worked safely for me, as the boat being completed gutted only weighs 350ish pounds. Once more or less safely blocked, I stripped the remaining paint from the hull. Now, I'm trying out different methods and tools to semi polish the hull I'll work on this for a week or so, strip and paint the trailer, marry the two together again, and finish stripping the inside of the hull
 

Ejipner

Petty Officer 2nd Class
Joined
May 26, 2017
Messages
114
Looks great, I just picked up an old islander, I'm following your thread. Great set up
 

Watermann

Starmada Splash of the Year 2014
Joined
Jan 12, 2013
Messages
13,753
Looking good on the paint removal from the hull. You should replace all the 5/32nd blinds in the gunnels since you have the rub rail off. They used steel mandrels that rust out and become loose.
 

Madison IV

Cadet
Joined
Mar 29, 2017
Messages
15
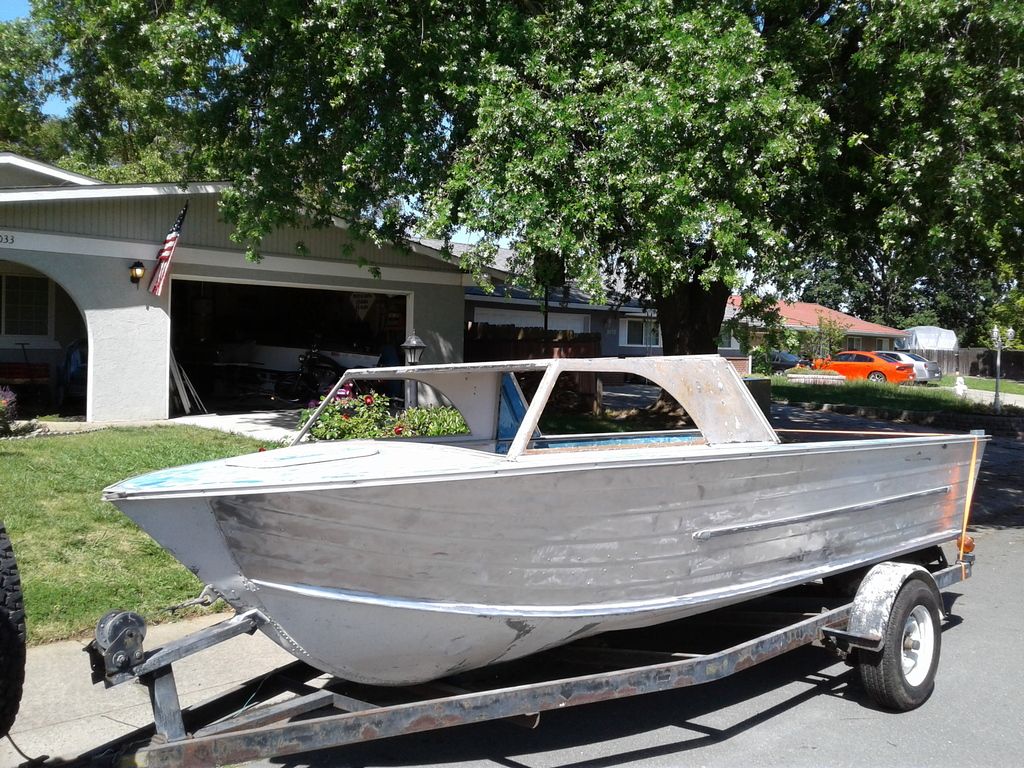
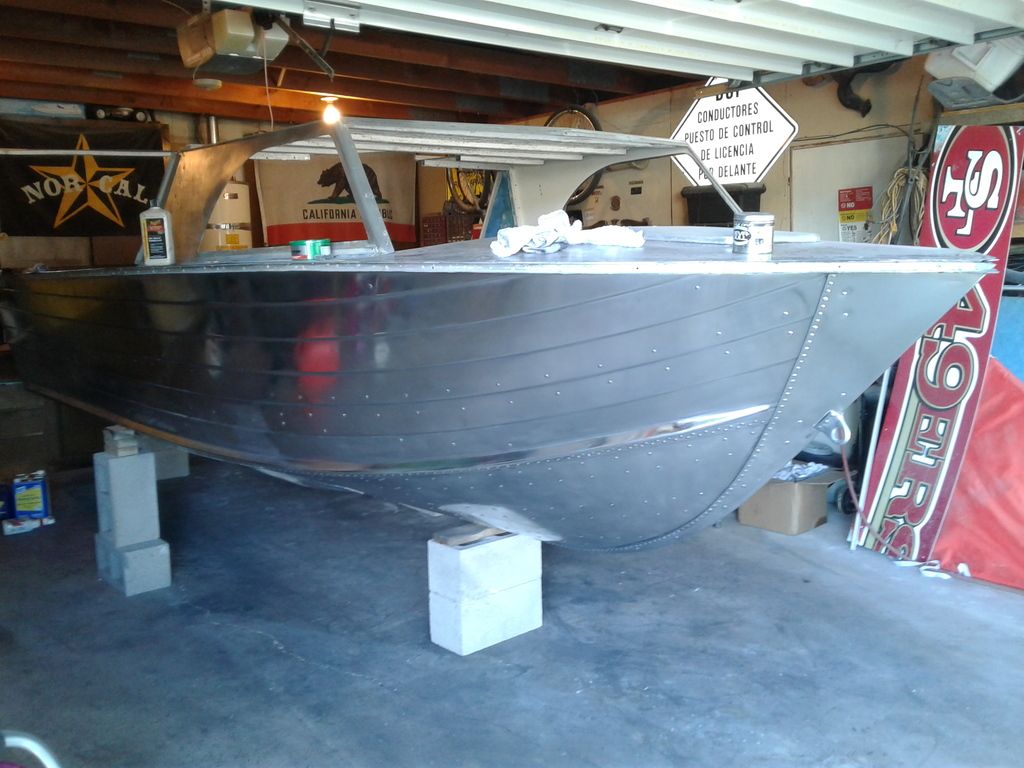
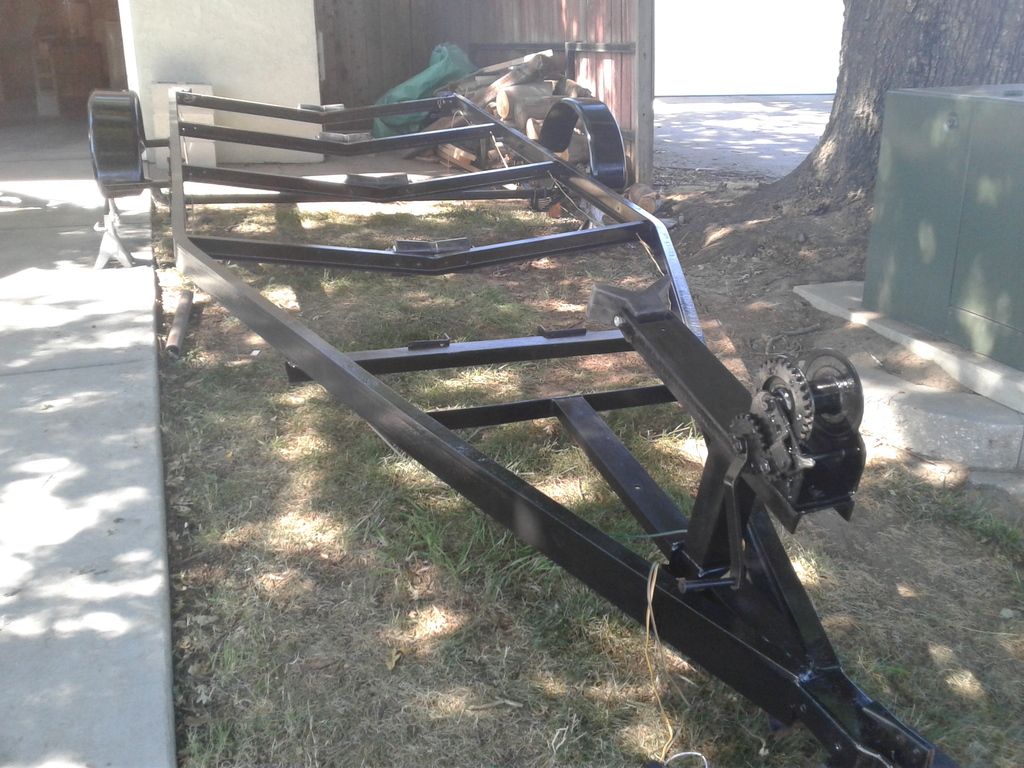
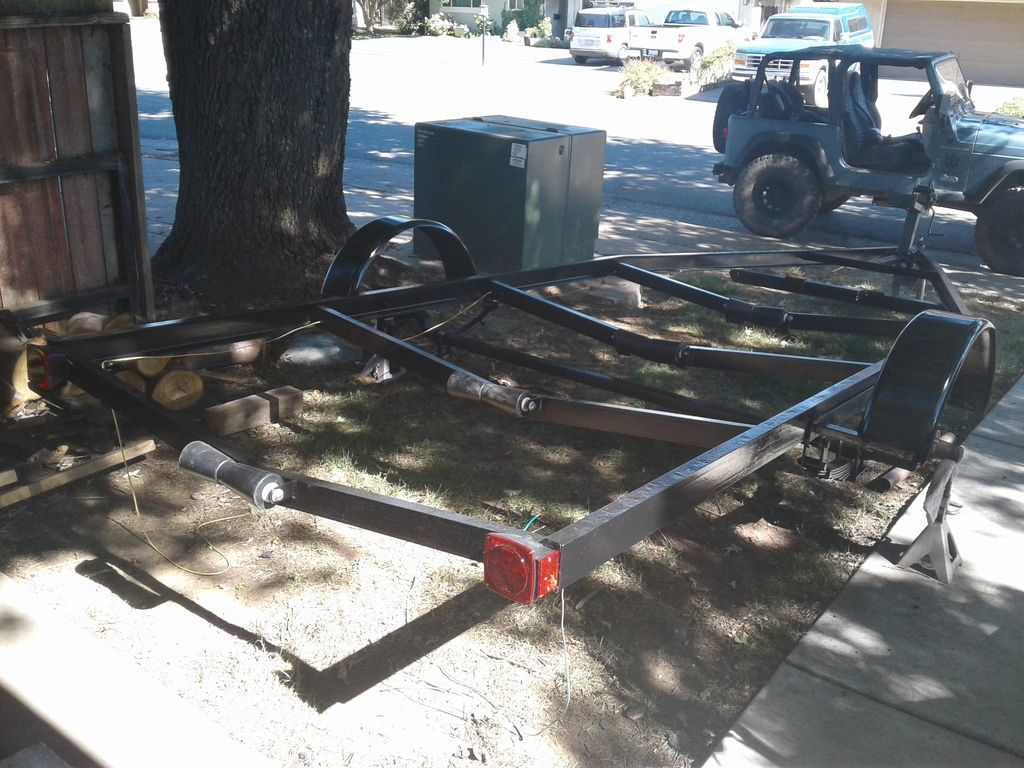
Thanks for the heads up on the rivets, those will all get replaced. It's hot as he'll bout now, so work is slow. Here's a sneak peak of the show and shine Also been working on the trailer. Wire wheeled, primed, and painted. New bow stop, 12" rollers/shafts, led lights are almost done, and new bunks/bolsters and winch strap to install once its below 100?.
 

Watermann

Starmada Splash of the Year 2014
Joined
Jan 12, 2013
Messages
13,753
Nice, hey any sort of progress is good, keep moving forward. :thumb:
 

Madison IV

Cadet
Joined
Mar 29, 2017
Messages
15
..... and back on the trailer where she belongs. Still need a bit of buffing to get the remaining compound out. Next up is polishing the top, striping and painting the inside, then putting her back together. I'll do a more detailed write up on my striping/polishing technique soon.
 
Top