16' Starcraft Super Sport rebuild

Joined
Jan 30, 2012
Messages
26
Well my old project (http://forums.iboats.com/forum/owner...ying-starcraft) was a bust. I ended up stripping her down to almost bare metal and found that around several large holes was a lot of rotten metal. It would have taken a lot of cutting and welding in patches. With what I would spend in metal I figured I could find a new boat. And that is what I did.

I happened across an ad for this gem. A week with several phone calls and tons of pictures, then 1000 miles, a day of driving, and $500 later I was backing her into my driveway.


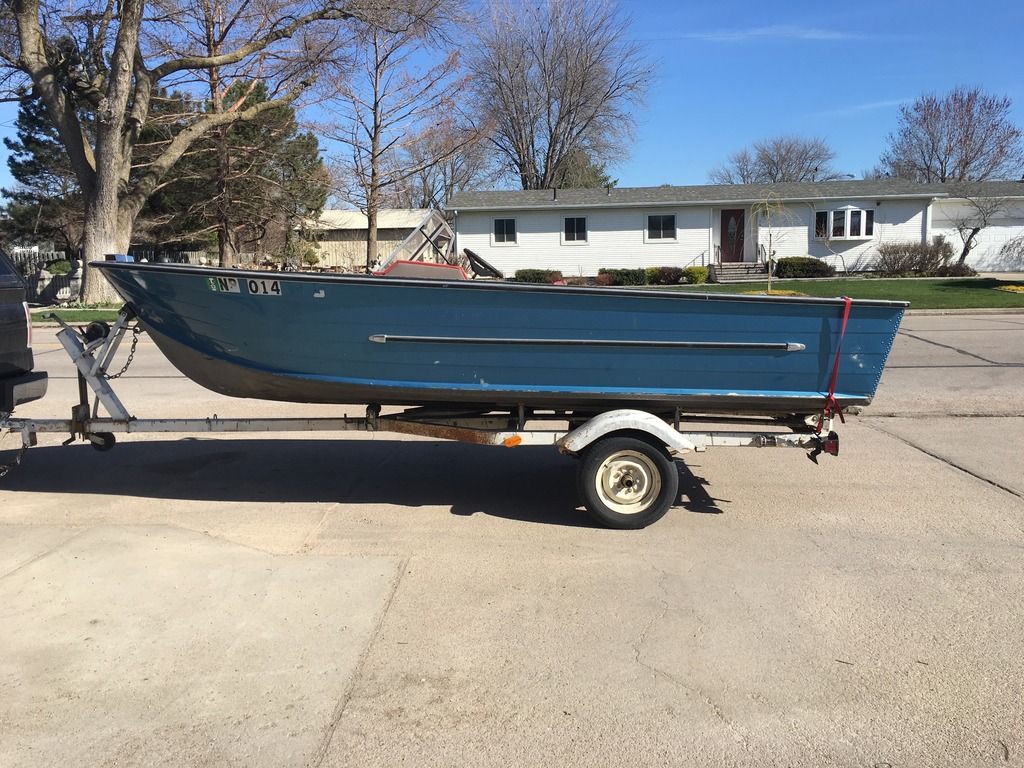
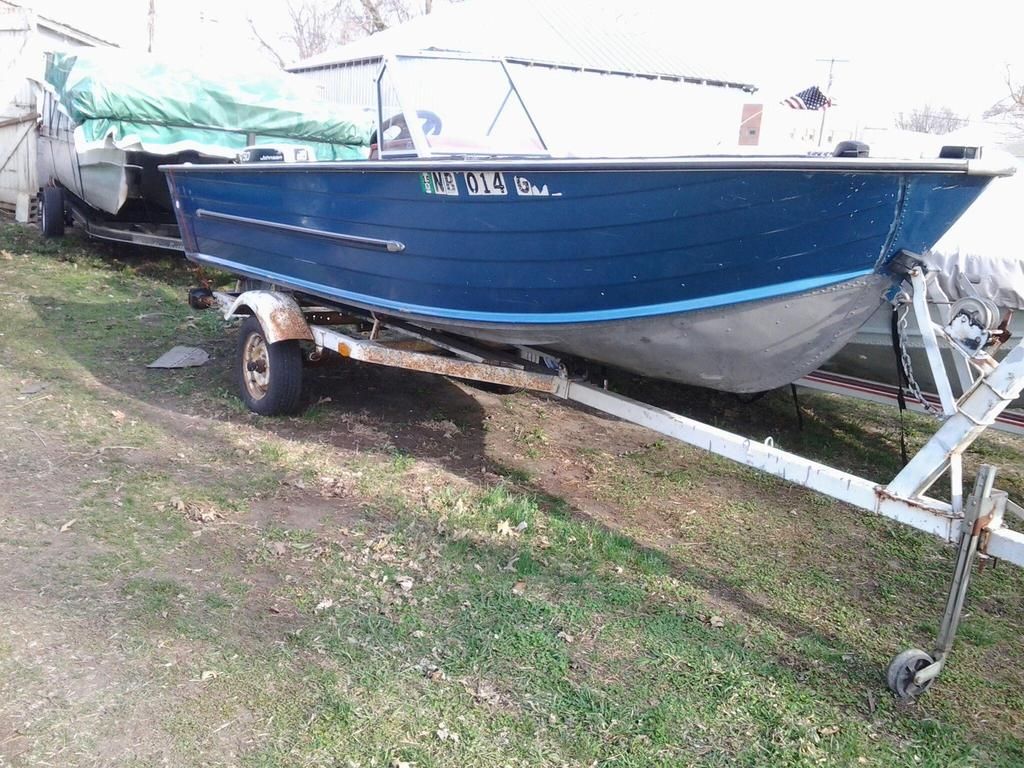
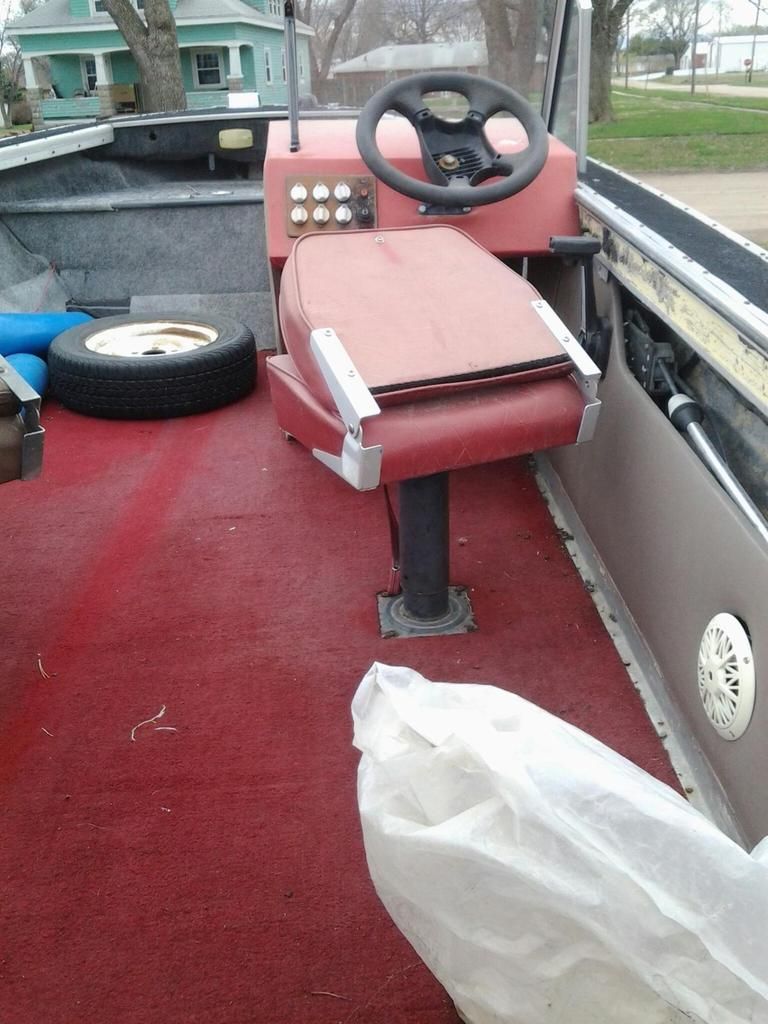
She was in decent shape. There was a crappy tossed in transom and some worn out interior, but the hull was in good shape.This is more along the lines of what I wanted. An open bow, walk through windshield, blue paint, and an interior in need of repair. Here are some pics from the ad.


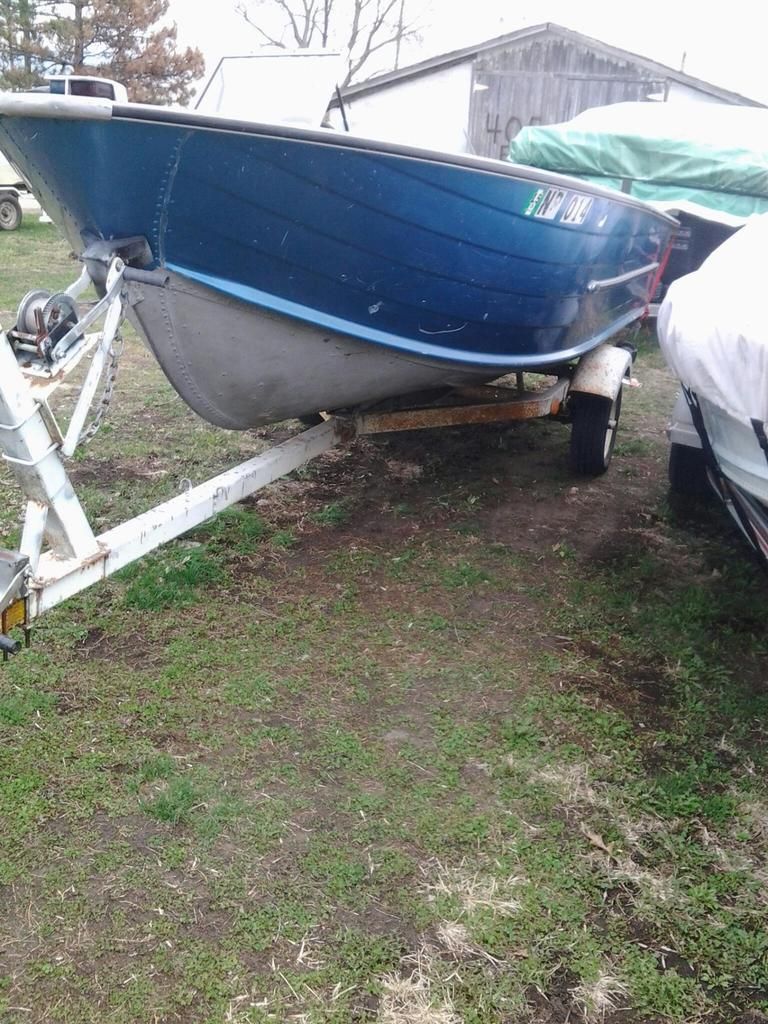
The trailer was a steal too. Lights worked when I picked her up even though the PO said they didn't and they are still working as I type. The tires were in decent shape and the bearings tight. There were ZERO issues pulling it home.
 
Last edited by a moderator:
Joined
Jan 30, 2012
Messages
26
I decided the first thing was to get the transom out and get a new one in. Luckily I had already build a transom for my old Starcraft, which just happened to slide right in.
cfPR7A1AOFPofYYoBVP4nP4f8GvkAAAAASUVORK5CYII=
There was a little corrosion but nothing major. I was not able to poke through on any of the spots. After some scraping, sanding, taking a wire brush to the bad spots, and washing it really didn't look bad at all. Sorry there isn't a picture, I forgot to take one. I sprayed on some aluminum primer with Moeller Zinc Aluminum primer and a couple coats of grey spray paint to stop any future corrosion and to seal up any tiny holes that may exist. This catches me up to last weekend.

With the itch going full strength I cleared my schedule for the weekend and got to work. My goal was to get the transom bolted in, the trim on, and the motor hung.

I started by getting the transom wood in and set where it would live. Took some hammering but this is how she rests. She's coated with several coats of Man of War Spar Urethane and I didn't account for the added thickness.
pOgAAAAAAAAAAAAAAAAAAAAAAAAAAAAAAAAAAAAAAAAAAAAAAAAAAAAAAAAAAAAAAAAAAAAAAAAAAAAAAAAAAAAAAAAAAAAAAAAAAAAAAAAAAAAAAAAAAAAAAAAAAAAAAAAAAAAAAAAAAAAAAAAAAAAAAAAAAAAAAAAAAAAAAAAAAAAAAAAAAAAAAAAAAAAAAAAAAAAAAAAAAAAAAAAAAAAAAAAAAAAAAAAAAAAAAAAAAAAAAAAAAAAAAAAAAAAAAAAAAAAAAAAAAAAAAAAAAAAAAAAAAAAAAAAAAAAAAAAAAAAAAAAAAAAAAAAAAAAAAAAAAAAAAAAAAAAAAAAAAAAAAAAAAAAAAAAAAAAAAAAAAAAAAAAAAAAAAAAAAAAAAAAAAAAAAAAAAACH5BAEAAJ0ALAAAAAAQABAAAAjwADsJFGjAwYQJDgwMXNipAIcpVc6cqTLFQwGGEWagYeMGj5uPaGZEGNigxpo3bx4xYvTI4xopDQR6UMPojh08j3LmxJPGQycGUszM aHiRh2dKt1QYQCBxoYUUAIx6UFnUk5Gb6w4kCCjyR8cZAgx8VE1J5wYCRB8IBHHD44oiaZ28ZLFRgsEATao2LAHUBQylJiU2DGES4sBAV6EWXFiT6VAmgQ50XIoDogAnRAQkcOlyCVNmTJdEg0mhEACF1A8qRQ69KU YYJcGBgiiI5DrTMlQoKEBYWFGoyEGR06ERYgFRh2unAkDGhNxmH87hQQADs=
But she eventually made it in with only a few scrapes. You can see the old transom laying the grass, it was just a 2x10 crudely cut to fit. I think all 4 bolts on both sides would have missed the wood.


Lots of 5200 later... Wait lets hold up for a minute here. Somewhere on this site I read a comment that said to wear gloves because the 5200 will never come off. To that person I thank you! I am pretty sure I am going to be buried with the 5200 that got on my arms. Even gasoline didn't take it off. For everyone who does this in the future, wear sleeves and gloves! Anyway... The original transom cap trim piece for this boat had been cut into two pieces by the PO. After some shopping from my supplies from the parts boat I had a nice trim piece to use! Did I mention that I forgot to accommodate for the added thickness of the Man of War? That sure made things a pain in the a$$ to get that trim piece on. After a few hours of bending, hammering, clamping, and cussing I got it on there. Before I started I covered the top of the transom wood in a thick layer of 5200, so if the screws don't hold the trim on the 5200 should.


Still need to fill some holes and drill out the drain tubes. That's for another day when I have another tube of 5200 opened. Most importantly, she's ready to hang the motor!!
j2xgwDMBDSsnVA69OtCogRQzID4UOTOFEwAHkGJSmhPzgRIAFU7lagXmBJGuXwEwEMPlz8AaBEagAjDrBQAkcUj5iCtQwK0FSzhciBsQADs=


The motor issue was how to hang it without killing myself. Getting the motor on, centered, and leveled was complicated by the fact that someone before I owned it cut the front ears off the bracket so it would slide right off the boat if something wasn't supporting the weight. My idea... I have a tractor, why do any lifting. So here's the set up.


After running out of daylight I clamped the motor on and backed the boat into the barn to finish everything. Here's the motor clamped while my buddy and I drilled holes.


That was it for the weekend. Spent 3 hours looking for throttle cables that were in the boat the entire time. Then got her covered and back in the driveway before the rain started. More to come....
 

GA_Boater

Honorary Moderator Emeritus
Joined
May 24, 2011
Messages
49,038
I think this Starcraft is a Super Sport, not a Jupiter, hunter.

You're getting at it!
 

Watermann

Starmada Splash of the Year 2014
Joined
Jan 12, 2013
Messages
13,753
Welcome back to the fold HFC, sound like you got a great deal on your new SC and I'm sorry to hear about the old one being wasted. So does she have a side console from an SS and open bow, sure looks like a modified 16' SS to me too. So you're plans... I see you going to it straight on to get the boat back on the water as soon as you can.
 
Joined
Jan 30, 2012
Messages
26
Now that I see some pictures it definitely is a Super Sport. Thanks for pointing that out! I just assumed it was a Jupiter with the bow cut out since it was so similar.

The plans are to completely redo her. The PO put bondo and some kind of rubber paint on material, like bedliner paint, all over the bottom of the hull. I am not sure if they were covering up something or what, but that will all get removed next winter. For this season I will leave it. However I do want to inspect the inside of the hull to see if I see any patches. This means the floor and interior is coming out asap.

For the rebuild I have a new walkthrough windshield, a custom built under deck 20 gallon fuel tank, and some custom built consoles that I had made for the Jupiter before I gave up on her. Here are some random pictures when I was testing things out on the Jupiter.

The windshield. Its from a speed boat and has some really long side windows that I need to shorten.


The custom built fuel tank. As you can see it fits below the deck. I will have to get pictures later when I am installing it of how its supported and hwo it gets its air space. But that was all thought out and planned for.


The final idea.
 

Watermann

Starmada Splash of the Year 2014
Joined
Jan 12, 2013
Messages
13,753
If you ask, I'm sure a mod can change the title of your thread for you. :mod:
 
Joined
Jan 30, 2012
Messages
26
I was just signing on to see if I could change it or not. I will do that! Thanks Watermann!

GA-Boater, would you change it to say Super Sport please?
 

jbcurt00

Moderator
Staff member
Joined
Oct 25, 2011
Messages
24,863
Be careful planning to redo the interior before getting the rubbery carp off the hull bottom. That is often a sign someone used it to hide all manner of ugliness.

Some repairs could be made after the foam, deck and interior are completed, but some repairs will be difficult to be 100% they are leak free once completed. Or if other leaks arent immediately apparent from the down side once stripped...
 
Joined
Jan 30, 2012
Messages
26
Jbcurt00 I'm hoping I can tell if anything is covered up when I rip out the interior. There isn't even paint on the inside so it should be pretty obvious. I'll post pictures of what I find on here
 

jbcurt00

Moderator
Staff member
Joined
Oct 25, 2011
Messages
24,863
Yes, but if the bottom paint hides corrosion, it may not be evident from the inside. Same w some chine and rib end cracks in the hull. Hard to see anyway so only looking on 1 side they may not be evident.....

Just more to think about when you get it torn open.
 
Joined
Jan 30, 2012
Messages
26
That's a good point! I thought about having someone sandblast (with walnut shells or baking soda) everything off because it has to weigh quite a bit. I'll have to make some calls and get prices.
 
Joined
Jan 30, 2012
Messages
26
Wow it's been a year already since I last posted on here! It's been a busy year! I ended up buying a home and nearly completely renovating it. My girlfriend is an avid fisher, outdoorsy, and fully supports my wanting to fix up this boat... And wantsbto help...so I proposed to her! Couldn't let her get away!

With all that and Old Man Winter the boat was put on the back burner. That's changed starting now... What's new from last year? Well to start last weekend I sold my other boat to help fund this project so there's a little money in the bank to work with! šŸ˜ 
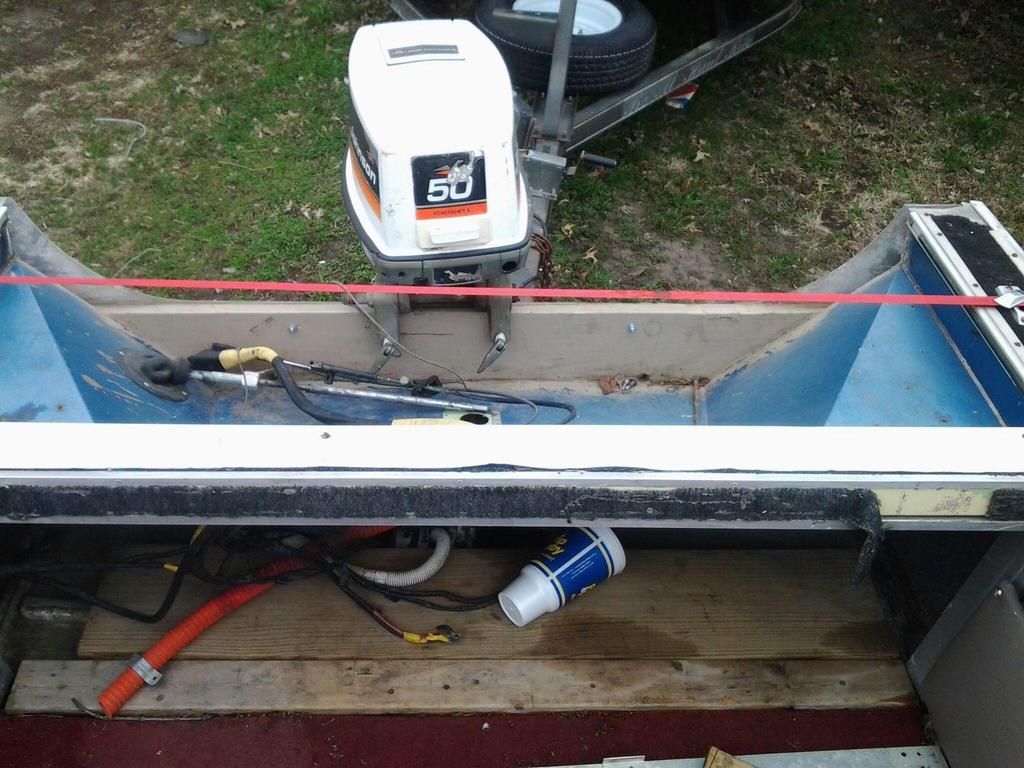
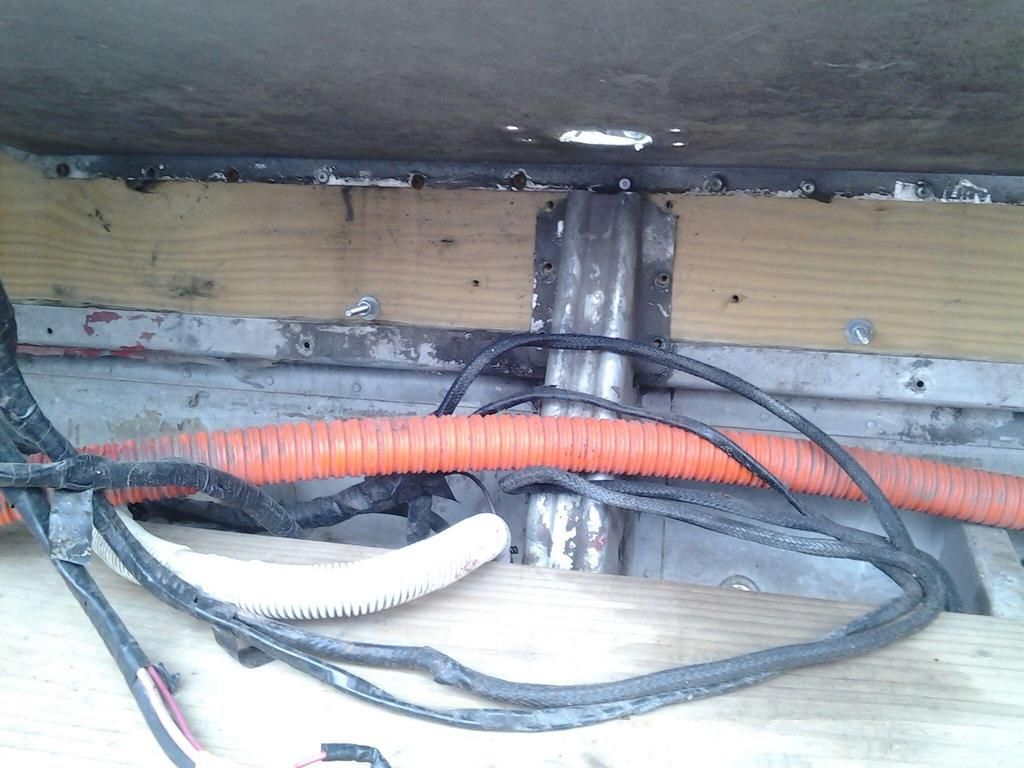
That's a GREAT start since all my other money goes towards the wedding planning. Anyway, last summer I got the entire interior stripped before I put her away. She's got NO damage visible from the interior so once I can get the exterior scraped of that bed liner I will see what repairs there there are.

Good news is my dad invested in a tig and plasma cutter and I got a free sand blasting kit! This project just got a whole lot easier!!

Watch for more to come!!

Well I will post pics when I can figure out how to from my cell phone or transfer them to a computer.
 

Watermann

Starmada Splash of the Year 2014
Joined
Jan 12, 2013
Messages
13,753
Welcome back :wave:

It's the perfect time of year to get working on the boat.
 
Top