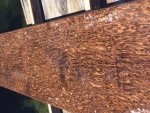
Just purchased this week and have finished the tear down... Have a few rivets to replace and hope to work on new floor this week. Boat was dry in initial water test outside of one missing rivet. Thinking of skipping gluvit... More to follow.
 hoto:
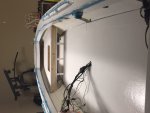
hoto: Well, we got the cup holders all installed today. And rerouted the depth finder wiring and hooked that up; works okay so far! Sliced off the expanding foam level with the deck in the area that I did last night. Am hoping my wife will have time to spray the rest of the boat tonight or tomorrow.
Making progress, a little at a time. :joyous:
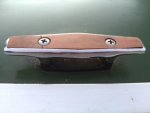
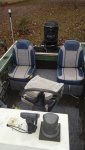
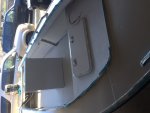
Forward cup holders installed.
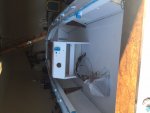
Aft cup holder installed. Can be used by passenger or tiller operator.
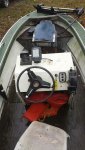
We have da powah! Or at least 12v to the depth finder.
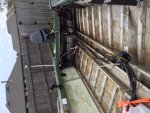
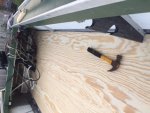
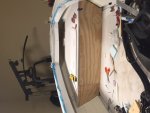
Expanding foam really expands! Needs that delicate touch...
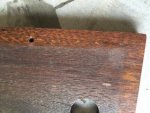
Excess sliced off. Forward part of boat is now complete as far as foam installation is concerned.
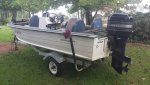
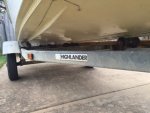
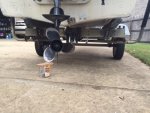
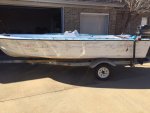
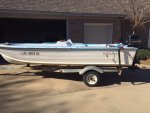
Also, anybody have any pointers on setting up this trailer for the boat? Seems to be resting on keel rollers. Think I will get longer bunks and bring them towards the center line, with front raised higher than back.


Your Mariner is a 16 but I still would consider using 4 bunks over just 2. Here is what my Chief's bunk trailer set up in like. I also added another cross member up front with an adjustable keel roller and side rail guide ons after this pic was taken.