1963 16' Star Dust I believe

Tnstratofam

Commander
Joined
Aug 18, 2013
Messages
2,679
Hey Ted I just read through your thread and you have done some amazing work. I don't know how I missed this build but I'm definitely subscribed now. The boat is looking awesome and she is certainly well built. Keep up the great work.

Dave:tinfoil3:
 

StarTed

Senior Chief Petty Officer
Joined
Jul 14, 2015
Messages
694
Thanks for the input Dave.

I'm on hold presently waiting for paint to harden while the wife is making sawdust.

Got side tracked making a couple of jack stands for the '48 Pontiac. I'm planning for it to be my next project. Lathe work boring out the seam of a 3" pipe for a 2 1/2" one to slide inside. I also finished assembling a folding aluminum table I made to use in the boat when wanted.

Been reading up on painting enamel over epoxy. The epoxy has cured for many months now so it shouldn't prevent the paint from drying.

Still haven't decided what primer I want to buy and how much. Rustoleum or the Tractor Supply stuff to match the paint. I'll probably get a gallon if Rustoleum or a quart if the TS stuff unless someone convinces me to use something else.

Three adult turkeys and 6 little ones out in the neighbor's field this morning. Seems kind of late for little turkeys this time of year.

If any interest, I'll take some pictures of the tables.
 

StarTed

Senior Chief Petty Officer
Joined
Jul 14, 2015
Messages
694
Got a little more done.


Sitting out in the sun to speed up drying the deck primer.


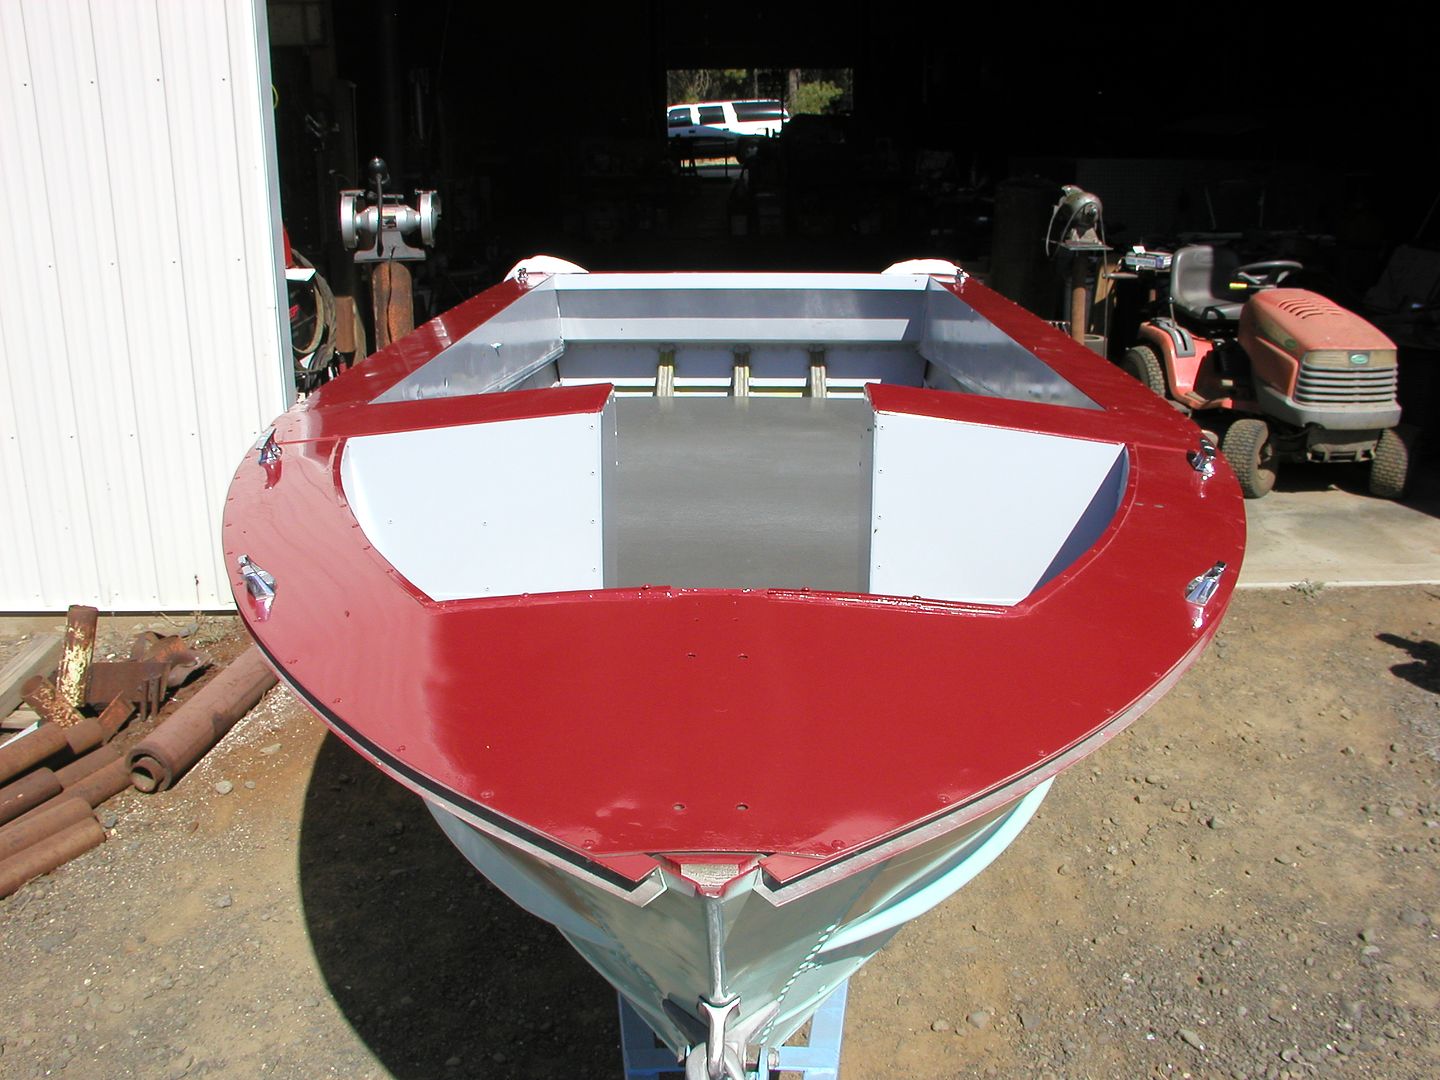
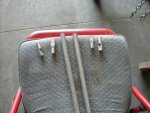
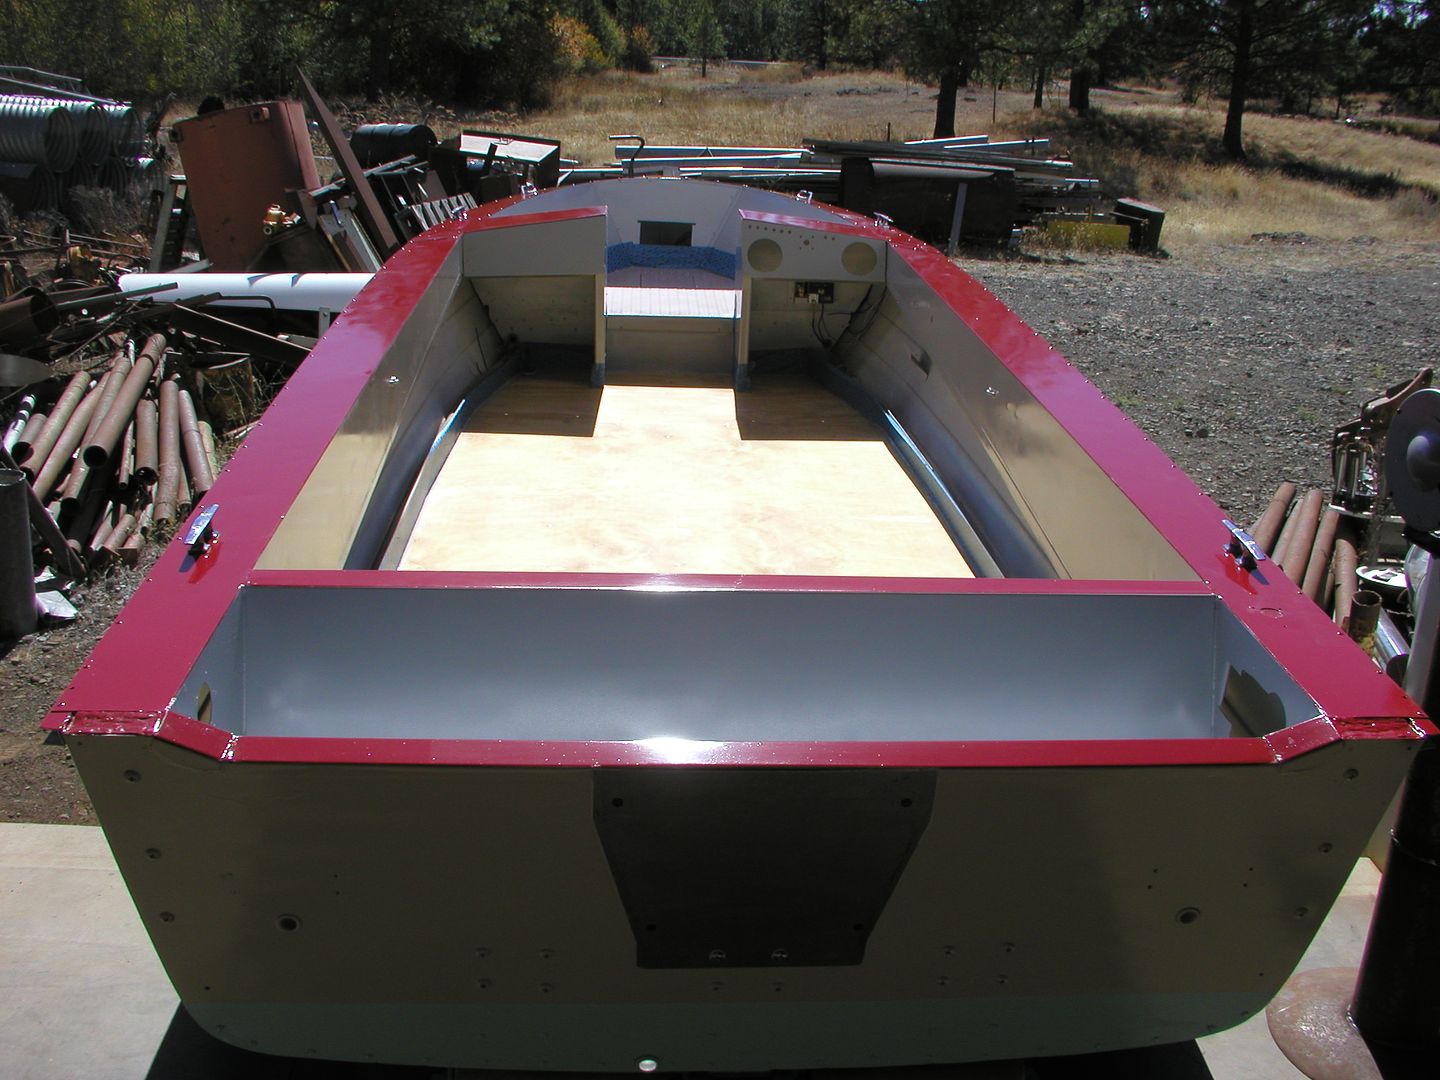
Now it's painted complete with non skid beads.

I'll let it set for a few days before getting inside to mount controls and wiring.

My wife wants to travel back to the west side of the state to attend a granddaughter's 18th B-day. They'll celebrate a little early doing it on this coming Sunday. Don't look forward to all that traffic.

The following weekend I'll be back up in the mountains doing volunteer trail work for the forest service. We'll be lopping, lopping and lopping along. In addition I'll be stocking a lake with golden trout for the department of fish and wildlife. Keeps me busy.

I'd hoped to get it running in September so I could launch in one of the local lakes but that's not going to happen. The WDFW boat launches close and are gated when the fishing season on them ends after the end of September.

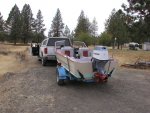
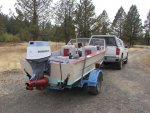
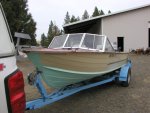
You'll notice that there is no rub rail along the gunwale. It needs an overlap of 1/2" on top to cover the rivets. So far I haven't found any that covers that much.

Does anyone have any ideas or suggestions? There is about 3' of the existing rub rail ground off from the road. The boat is a 1963 Starcraft Stardust 16'.
 

Watermann

Starmada Splash of the Year 2014
Joined
Jan 12, 2013
Messages
13,753
Nice work Ted, she looks great out int he sun. :thumb:

Safe travels.
 

StarTed

Senior Chief Petty Officer
Joined
Jul 14, 2015
Messages
694
Thanks Watermann.

Today it's rainy so I'm working on trail work preparation. The boat is inside staying dry while the paint hardens further. I did use hardener in the deck paint and it feels hard by hand but I'm sure staying off it for now is a good idea.

By the way, I'm still struggling with gunwale trim. The pop rivets need a 1/2" overlap to cover them like the original trim did. Is there some kind of plastic "U" strip that could be used under new trim? I'm wondering what others have done when the trim they need doesn't seem to be available any longer.

I think a black plastic strip wouldn't look too bad. Maybe even an angle piece might work if held in place by new trim. It would have to stick out under the trim a 1/4" or so.
 

Watermann

Starmada Splash of the Year 2014
Joined
Jan 12, 2013
Messages
13,753
I've seen one guy use channel AL for his RR and just call it good. A guy could even paint it black to contrast.
 

StarTed

Senior Chief Petty Officer
Joined
Jul 14, 2015
Messages
694
Thought I might start back on the Starcraft. I built a small painting box so I can paint out in the shop. It's 6' wide by 2' deep and 2' high inside. Should be large enough to paint the outboard motor pieces. It's heated by 4 - 60 watt light bulbs. I put it on legs with castors that make it over 40" high at the bottom. Should work fine.
 

StarTed

Senior Chief Petty Officer
Joined
Jul 14, 2015
Messages
694
Oh, and by the way, I made it so I can fold it up and store it away when not needed.
 

Watermann

Starmada Splash of the Year 2014
Joined
Jan 12, 2013
Messages
13,753
Will be nice to see your resto come out of hibernation.
 

StarTed

Senior Chief Petty Officer
Joined
Jul 14, 2015
Messages
694
The great spirit finally moved me in the direction of my boat project.

Installed the jet pump on my outboard this morning.

Found that I had only primed and didn't paint the mounting adapters so I threw on a quick coat of paint just for kicks.

This afternoon I mounted the outboard on the transom. That probably doubled the weight of this boat.

Now I need to figure out how to attach the cables. It seems that the steering cable will need some kind of attachment to the transom. The attachment I have will need some modification to fit properly. Then maybe I'll fabricate something that I'll like even better.

Sorry, no pics. yet of the latest work.

I tried to copy a photo of the motor in the paint booth but Photobucket doesn't seem to work as it did.
 

Watermann

Starmada Splash of the Year 2014
Joined
Jan 12, 2013
Messages
13,753
So your motor doesn't have a tilt tube for the steering, rather an arm on the motor and a connection to the transom?

The paint booth pic came through fine.
 

StarTed

Senior Chief Petty Officer
Joined
Jul 14, 2015
Messages
694
Got a little more done.


Pieces made to mount the steering, transducer and speedometer pickup and a front piece to fit under the anchor channel.


Place on bow where the front piece will fit.


Front piece set temporarily in place.


Anchor channel attached.


View from above.

More to follow.
 

Candutch

Chief Petty Officer
Joined
May 8, 2015
Messages
637
Very nice, that's gonna make hauling up the anchor a piece of cake.
 

StarTed

Senior Chief Petty Officer
Joined
Jul 14, 2015
Messages
694
Thanks guys for the comments.

The motor does manually tilt but won't need to unless I need to clear something from the jet.


Here's the motor mounted and the steering connected.


A side view


The other side You can see the adapter that I added to mount the transducer and speedometer pitot. It's painted aluminum and should allow multiple mountings without compromising the transom..


The steering bracket mounted to the transom'


This shows how I attached the steering to the motor. Maybe it could have been better but I'll give it a try.

All the red painted angles that I added are aluminum.

Today I connected the throttle and gate control cables as well as the wiring to the motor. I'll take some pictures later.
 

Watermann

Starmada Splash of the Year 2014
Joined
Jan 12, 2013
Messages
13,753
I believe yours is the first resto I've seen here with a jet lower, looking real good.
 

StarTed

Senior Chief Petty Officer
Joined
Jul 14, 2015
Messages
694
I've been poking away on my boat between all my other distractions.

So far I've installed the fish finder, speedometer and bilge pump along with the wiring.

While installing fuses I found that I was getting lots of them to blow for no apparent reason. It didn't matter the amperage so I resolved to using a troubleshooting light in series. Usually I found high loads (short) and then normal. Finally I determined that it was caused by my lighted switches.

I disassembled one of the switches and determined the cause. The LED is wired between a grounded terminal and the common (center connection). When the switch is off the center terminal is connected to the ground (negative in this case). Wiring to the LED is between the ground terminal and the common one. That turns the LED on when the switch is turned on. Not a problem normally.

In my case I was using two switches for the navigation and anchor lights. A diode between the two switches makes all the lights come on with the nav switch and only the anc light come on with the anc switch. You can probably see the problem by now. With either switch off and the other one turned on the fuse blew. These Chinese switches are really single pole double throw switches with internal wiring to make them lighted.

I solved the problem by slipping a small stiff plastic strip over the ground connection inside the switch. Another use for a little of the big roll of white plastic that I bought years ago from Boeing Surplus. I had to modify 3 switches, 2 for the lights and one for the bilge pump.

Now I need to go buy some more fuses, 5 and 10 amp.

I'll need to take some pictures and find a new way to display them in this forum.
 

StarTed

Senior Chief Petty Officer
Joined
Jul 14, 2015
Messages
694
No Title

Took the boat out today but it wouldn't start. Seems my battery that I'm using is not putting out enough juice.

By the way, couldn't get any more edit fixes for the PB pictures to work so I guess my vacation must have put me past the time limit.

The boat is on the charger tonight.

Here are some more pictures.
 

Attachments

  • photo276718.JPG
    photo276718.JPG
    90.8 KB · Views: 2
  • photo276720.JPG
    photo276720.JPG
    117.1 KB · Views: 2
  • photo276721.JPG
    photo276721.JPG
    125.9 KB · Views: 2
  • photo276722.JPG
    photo276722.JPG
    88.9 KB · Views: 2

Watermann

Starmada Splash of the Year 2014
Joined
Jan 12, 2013
Messages
13,753
Oh man that's a bummer Ted, but she looks good on the trailer out in the light of day!

One of the things that's become a ritual for me is to start the boats up and run on the muffs before heading to the water.
 
Top