1963 16' Star Dust I believe

Watermann

Starmada Splash of the Year 2014
Joined
Jan 12, 2013
Messages
13,753
Nice work Ted, well thought out with fine execution :thumb:

I thought about using Tuff Coat but the price scared me off. Spring before last I put some non skid on the tops of my Chief trailer fenders using the Van Sickle tractor paint and catalyst hardener. The non skid stuff I added to the paint was really course so this year for the SS I got some Epiphanies poly beads non skid additives. I used it for the bow deck, tops of the trailer fenders and as a replacement for the step pads. I used the same tractor paint and catalyst hardener, let stew for 20 min and rolled it on. The course stuff on the fenders has been stomped and ground on without mercy by wet, sandy, dirty shoes and has yet to show any wear. I think the paint passed my test for durability with the non skid.
 

StarTed

Senior Chief Petty Officer
Joined
Jul 14, 2015
Messages
694
Thanks Watermann. I wrote it down as a good option. At this point it seems to be the best option.

How well do you think fish slime will wash off?
 

StarTed

Senior Chief Petty Officer
Joined
Jul 14, 2015
Messages
694
Thanks Watermann.

The web sites are informative

This leads to another question. How much beads for a quart of paint? Better yet, to cover approximately 70 square feet?
 

Watermann

Starmada Splash of the Year 2014
Joined
Jan 12, 2013
Messages
13,753
I believe the Epifanes container has the instructions for ratio but all I did was mix small batches and just by looking at it while i mixed the paint. The stuff looks like powdered sugar so it's tough to tell how much is enough until after it soaks up the paint becoming gritty. My brain is locked up at the moment but I think it was Oldhaven who used it on his decking and he might know how much you would need. I know that one of the 20g containers would be more than enough for a quart.
 

StarTed

Senior Chief Petty Officer
Joined
Jul 14, 2015
Messages
694
Thanks Watermann.

I'll be looking for a source.

I see that Van Sickle has 2 types of tractor paint. Acrylic and Alkyd. I assume that the new Acrylics are probably better and more durable by now.
 

oldhaven

Chief Petty Officer
Joined
Aug 30, 2015
Messages
568
Not much of the Epifanes non skid powder is required, and I was surprised and skeptical at first that so little would work so well, but it swells up a lot in the paint. It comes in a 20 gram container and will treat 750 milliliters of paint, or about a wine bottle full or 8/10ths of a quart. That would be a lot of mixed paint for our small boats, since you only use it on the final coat, and I used about two teaspoonfuls, or almost 1/3 of a container of beads to 300 ml of paint. It has to be rolled on with a short nap roller on since it would probably clog a spray gun, but it goes on easily and you are not looking for shine with non skid. I like how it was non reflective on my white deck. It has held up well to the construction stage of my boat, with me climbing in and out tracking in dirt and occasional gravel. I wish I had used it on the gunwales next to the cabin for the times I may need to walk there. I used it in catalyzed mono-urethane. I like the texture because it is not coarse or harsh on the feet, and gives good traction. It is not all that expensive,and it is very easy to use, and since it mixes with your paint, you can get the color you want. IBoats does not carry it to my knowledge, but it is easily found elsewhere if you search on Epifanes Nonskid Beads.
Ron

Great work on the substructure and systems on your boat, and you will not regret the forethought. You must be like me and occasionally can't sleep since you wake up doing pre-planning in your head.
 

StarTed

Senior Chief Petty Officer
Joined
Jul 14, 2015
Messages
694
Thanks oldhaven for the thoughtful input.

That's the problem. Too much pre-planning in the head and I don't capture all of it. I'm not sure that kind of thinking is good for the health however since it seems to increase acid reflux.

Got to get back to finishing up the aluminum sheets to cover the front area sides.

Then there's the wiring and building an anchor system. I'm looking at a heavy aluminum channel that I have here. It will probably be the base for the anchor.

Since my computer crashes I've lost the use of my drafting capabilities on the computer. Oh well, there's always paper and pencil. Now where is that old drafting set? Probably with the slide rule and abacus. :)
 

StarTed

Senior Chief Petty Officer
Joined
Jul 14, 2015
Messages
694
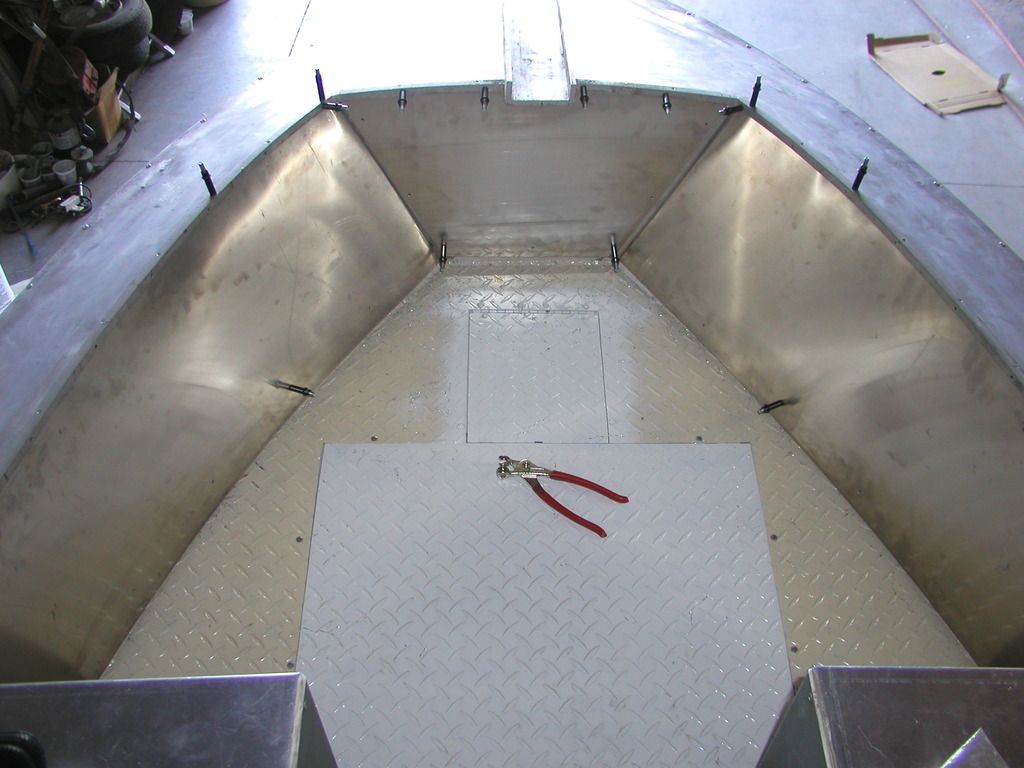
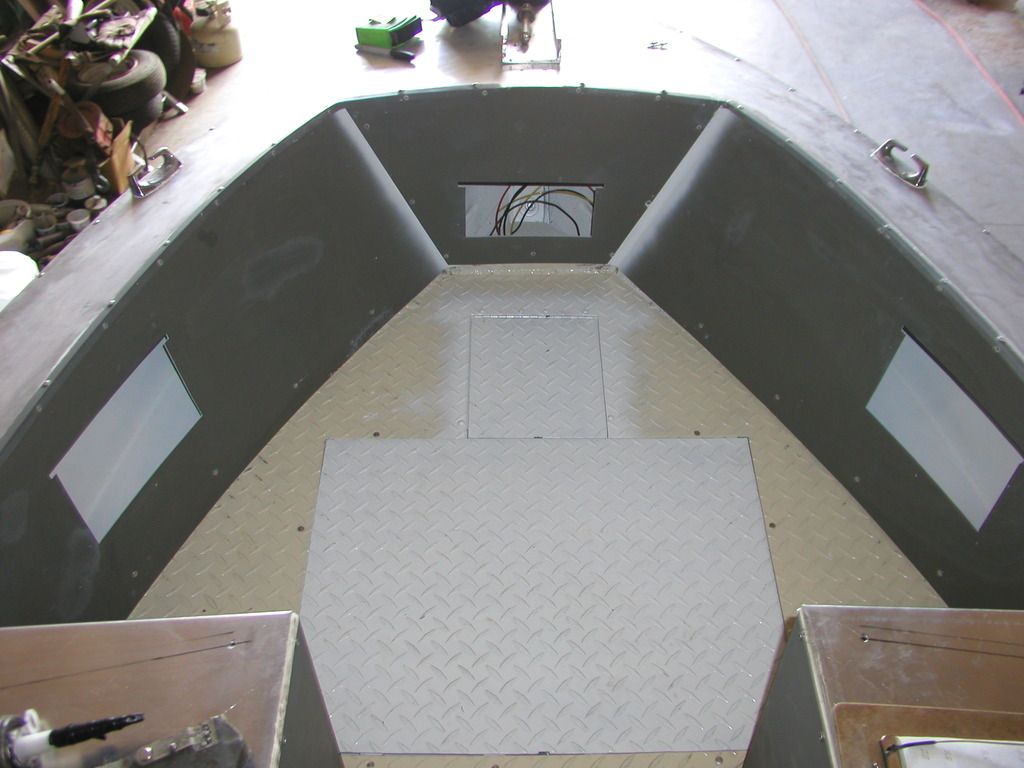
Made a little progress. Cut out and fit the side and front covers for the bow area.


The fit seems acceptable.

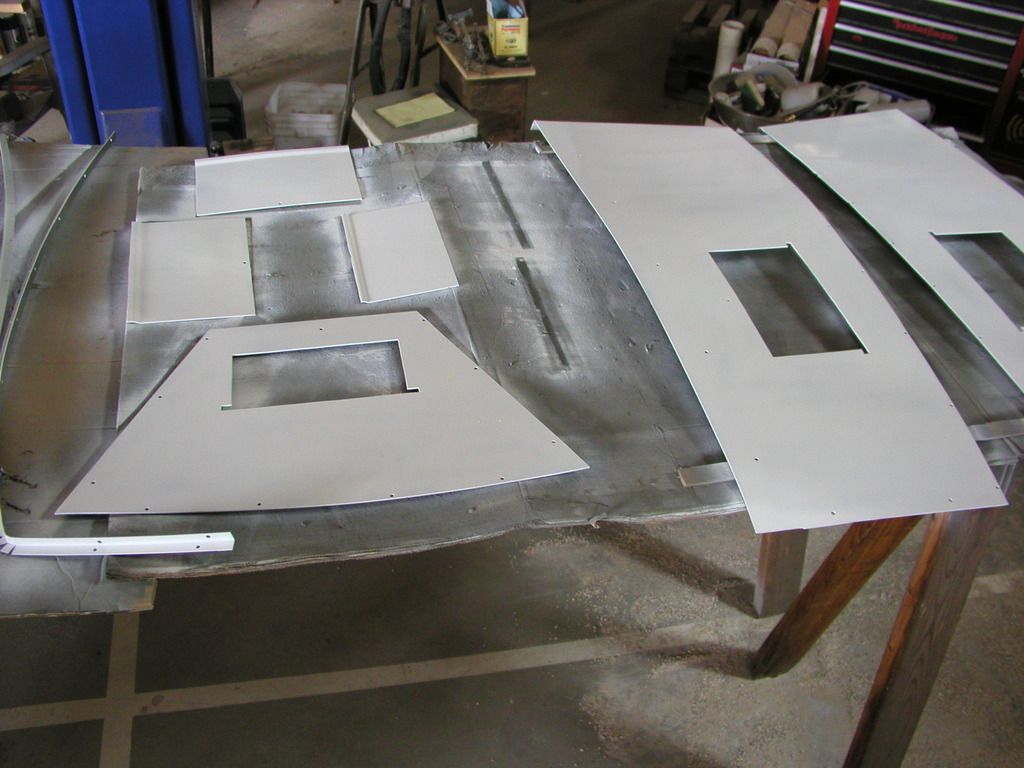
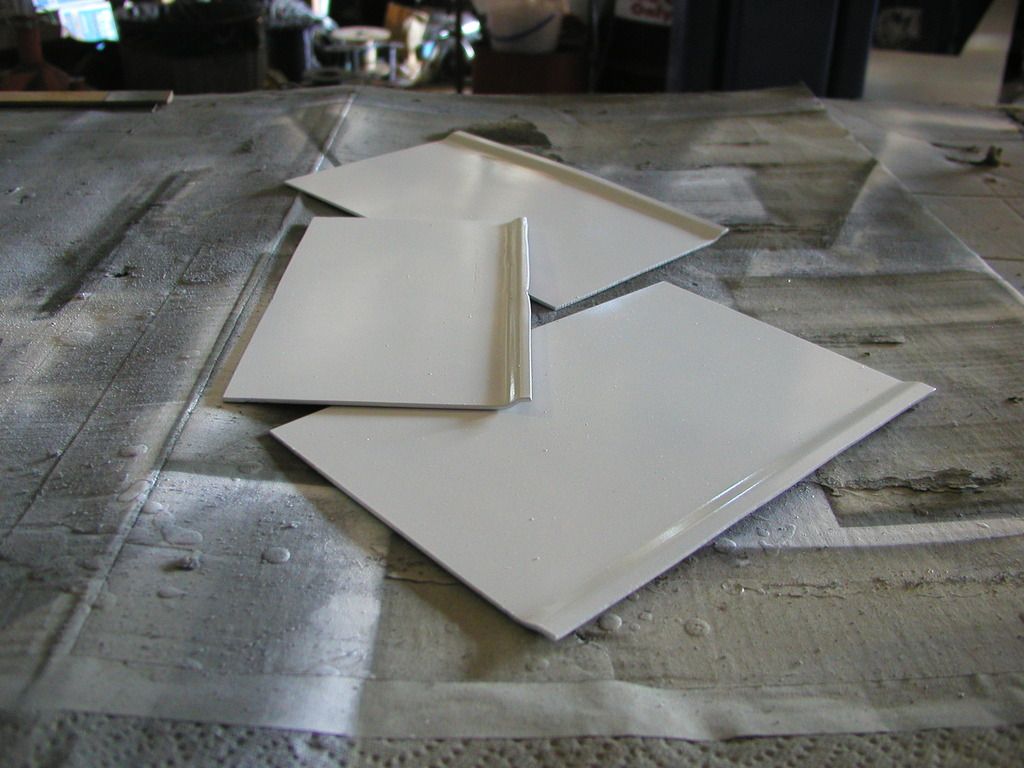
Now I've cut out access holes and covers for the 2 sides and front. I cleaned, etched and prmed the panels on both sides and painted the back sides white.

Waiting for paint to dry.

The 2 side panels will get the covers screwed down because they won't be needed except for work access. The front panel cover I'm still thinking about for some kind of latching system. I may use that area to stow something. Lock or not, that is the question.
 

Watermann

Starmada Splash of the Year 2014
Joined
Jan 12, 2013
Messages
13,753
Nice work Ted, it's fitting with your other tin work great!
 

StarTed

Senior Chief Petty Officer
Joined
Jul 14, 2015
Messages
694
Thanks Watermann,

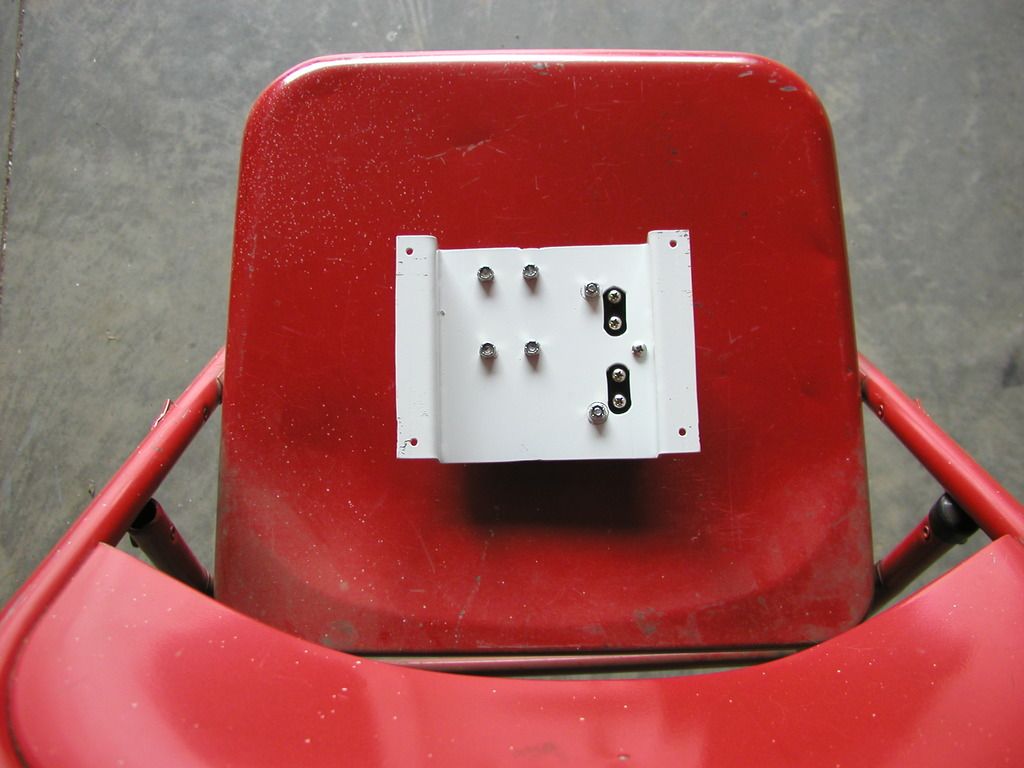
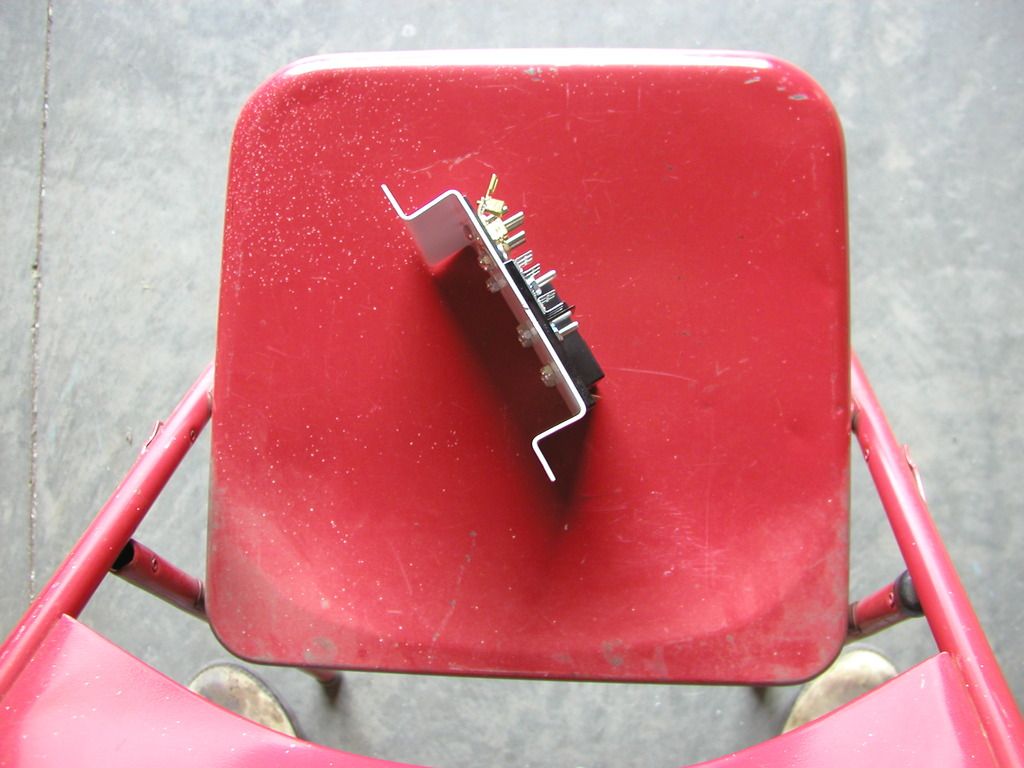
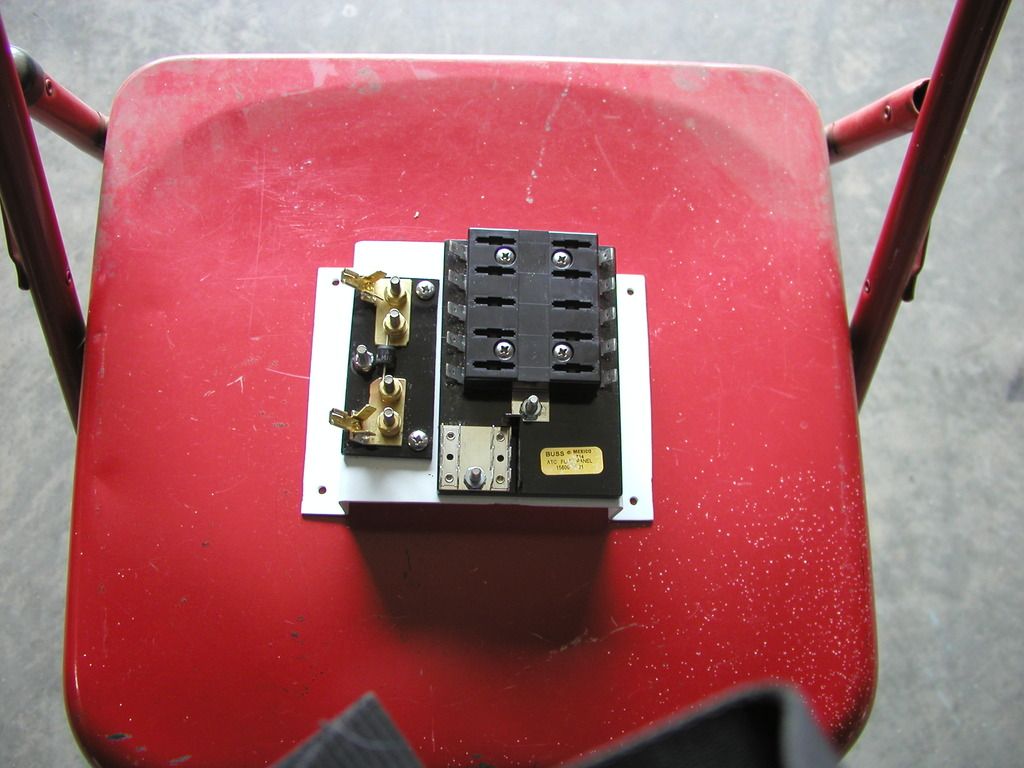
I managed to get a little more done today but it's not that noticeable. No pictures yet as I was making up mounting brackets for the fuse block and heavy terminals for the starter leads on the transom. I used brass parts on insulated material to separate them from the aluminum. I'll get some pictures after mounting the parts. Now I need some SS fasteners

I'll see when my wife will pick them up on one of her trips to town.

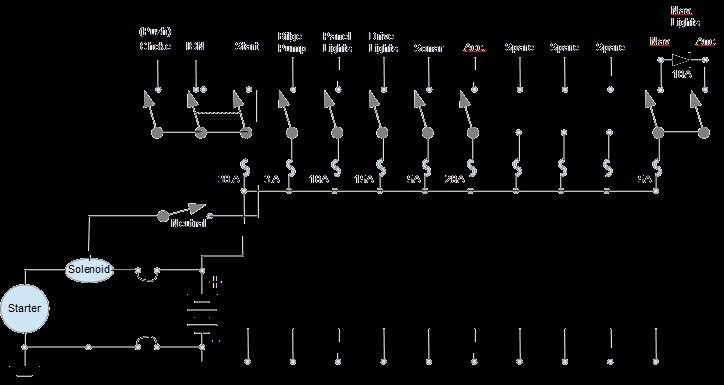
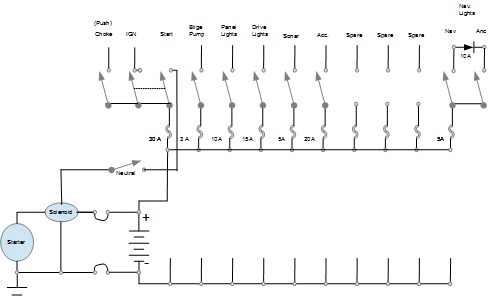
I'm planning to use 2 SPST switches for navigation and anchor lighting. A diode between will prevent the nav. lights from coming on when switching on the anchor switch. I don't think the 0.6 volt drop through the diode will affect the white light very much. The motor should be running most of the time when the nav. lights will be used.

Cut some holes for 2 gauges (too small but that's the largest hole saw I have). Lots of filing coming up.

Switches came in today so now I can cut the holes for them. Need to figure out where I want them and what order to put them in. All those decisions that don't really matter that much.

I've started using a drafting package in "Open Office" that is somewhat different from Visio so there's a learning curve. I'm not sure I can attach a drawing from it through Photobucket. My electrical planning is on it so we'll see.
 

StarTed

Senior Chief Petty Officer
Joined
Jul 14, 2015
Messages
694
Well, here's my attempt to get my drawing to show. I copied it then pasted it in Word and saved it as a JPEG. The colors seem to reverse.


Hope it's readable.
 

StarTed

Senior Chief Petty Officer
Joined
Jul 14, 2015
Messages
694
Made a little more progress today.

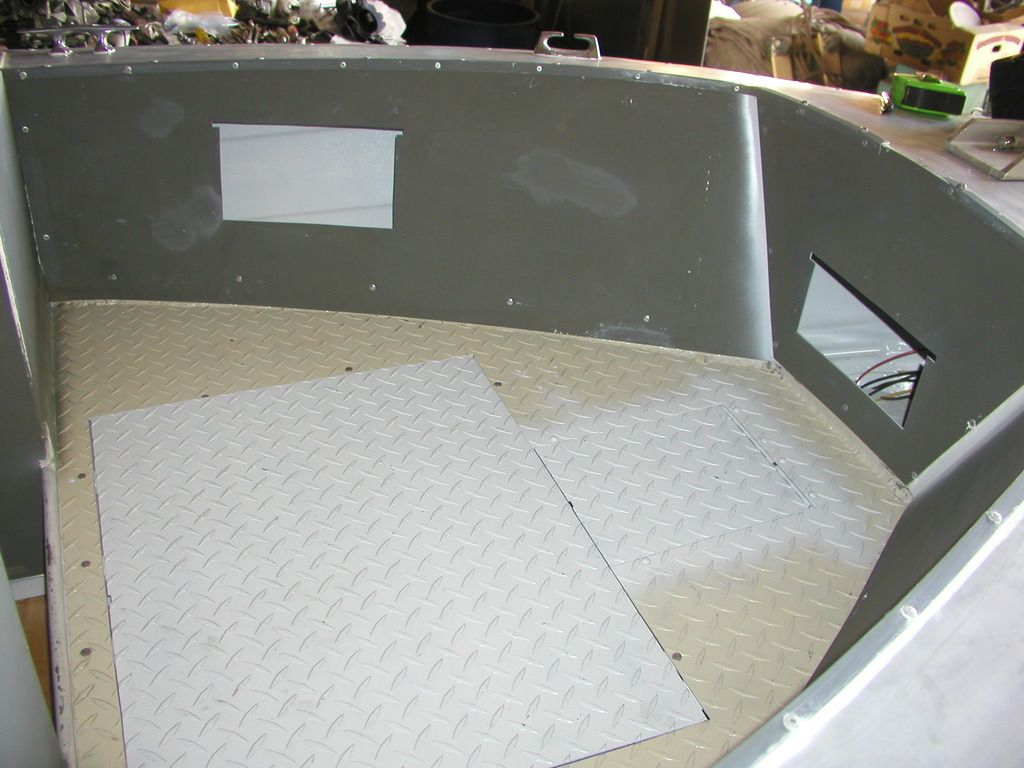
The front panels are in.


The 2 side panels are on the right, the front is in center front and the covers for the access cut outs are behind.


This is the back side of the fuse block mounting.


Bottom view.


Front view of fuse block and mounting. The diode on the left will be between the red and green lights and the white light in the rear.


Front panels installed.


Another view of panels installed.


Panel covers. Note the bends at the top that'll fit through the slots that should make them fairly water resistant.

If anyone is interested in how I made the bends I can take a picture of the simple jig I made to make the bends in a plain 20 ton press.

I decided to install the cleats before installing the panels because the access was much better. Now I'm glad I did because it was hard enough with much better access.

The fuse panel is mounted underneath the starboard console near where the conduits come out. Access should be adequate there.

I also drilled the holes to mount the windshields. I figured a way to bend some aluminum around the hex head of the SS mounting screws to make them like T bolts.

I'm getting close to priming then painting the interior and gunwales.

Still have to mount the brass connection studs for the extended battery cables and engine starter wires. It's all made, just have to drill a couple holes in the transom wood and screw in the 2 SS lab bolts.They'll be sealed with 3M adhesive.

Looks like next week before I can get back to the project. Got to remember a brother-in-law who died unexpectedly.
 

Watermann

Starmada Splash of the Year 2014
Joined
Jan 12, 2013
Messages
13,753
Nice work Ted she's really coming together.

Those cleats are actually called bow chocks used to guide the dock line to a center mounted cleat to keep it from rubbing on the boat, I have them on my Chief. I'm not really sure how you would go about securing a dock line to them.
 

oldhaven

Chief Petty Officer
Joined
Aug 30, 2015
Messages
568
When you started making the brake I was wondering why you would need such a monster for a simple restore, but I can see that you had big things in mind. This is an incredible project.

Ron
 

StarTed

Senior Chief Petty Officer
Joined
Jul 14, 2015
Messages
694
Progress has been slow. It's painting time and that's my least favorite part of the work.

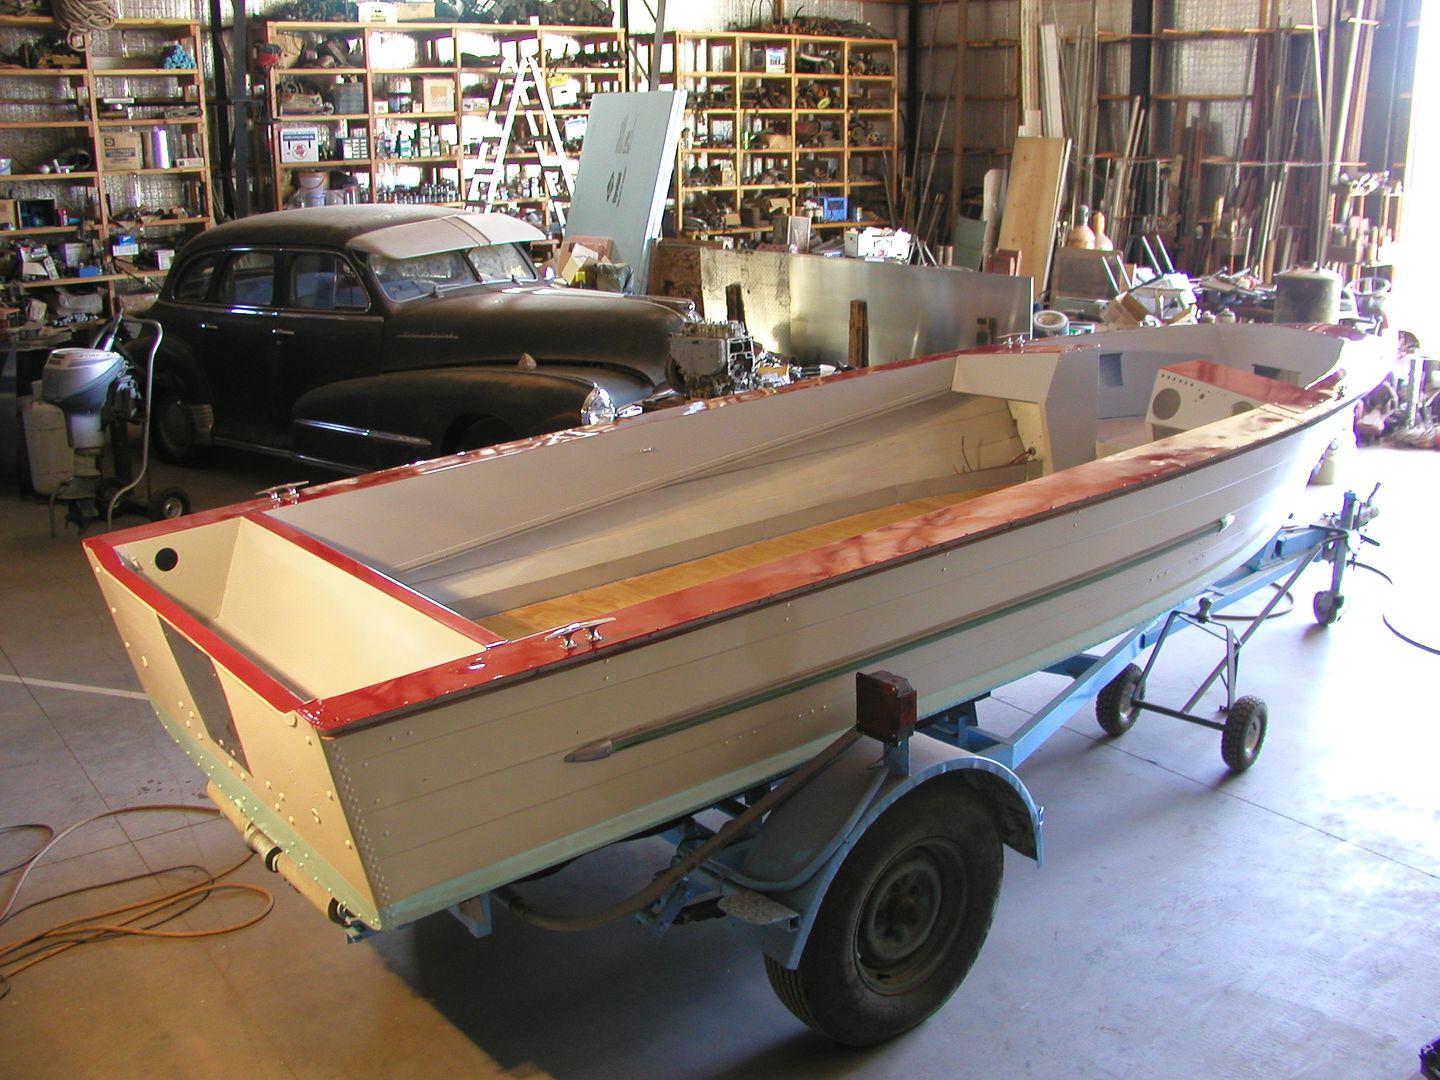
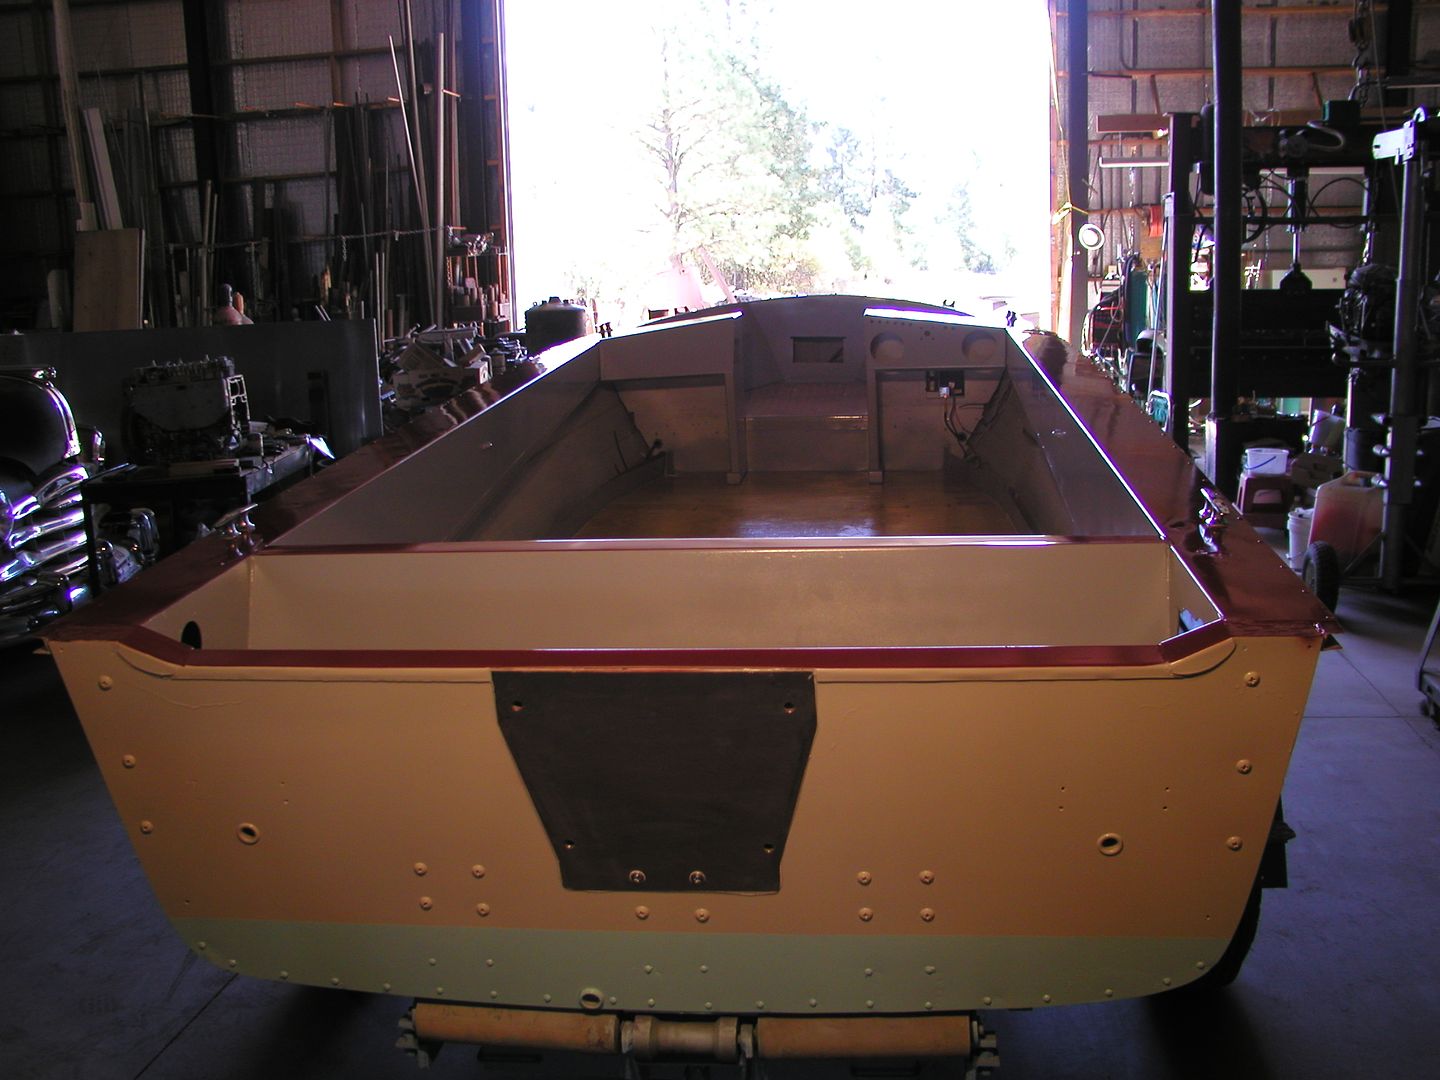
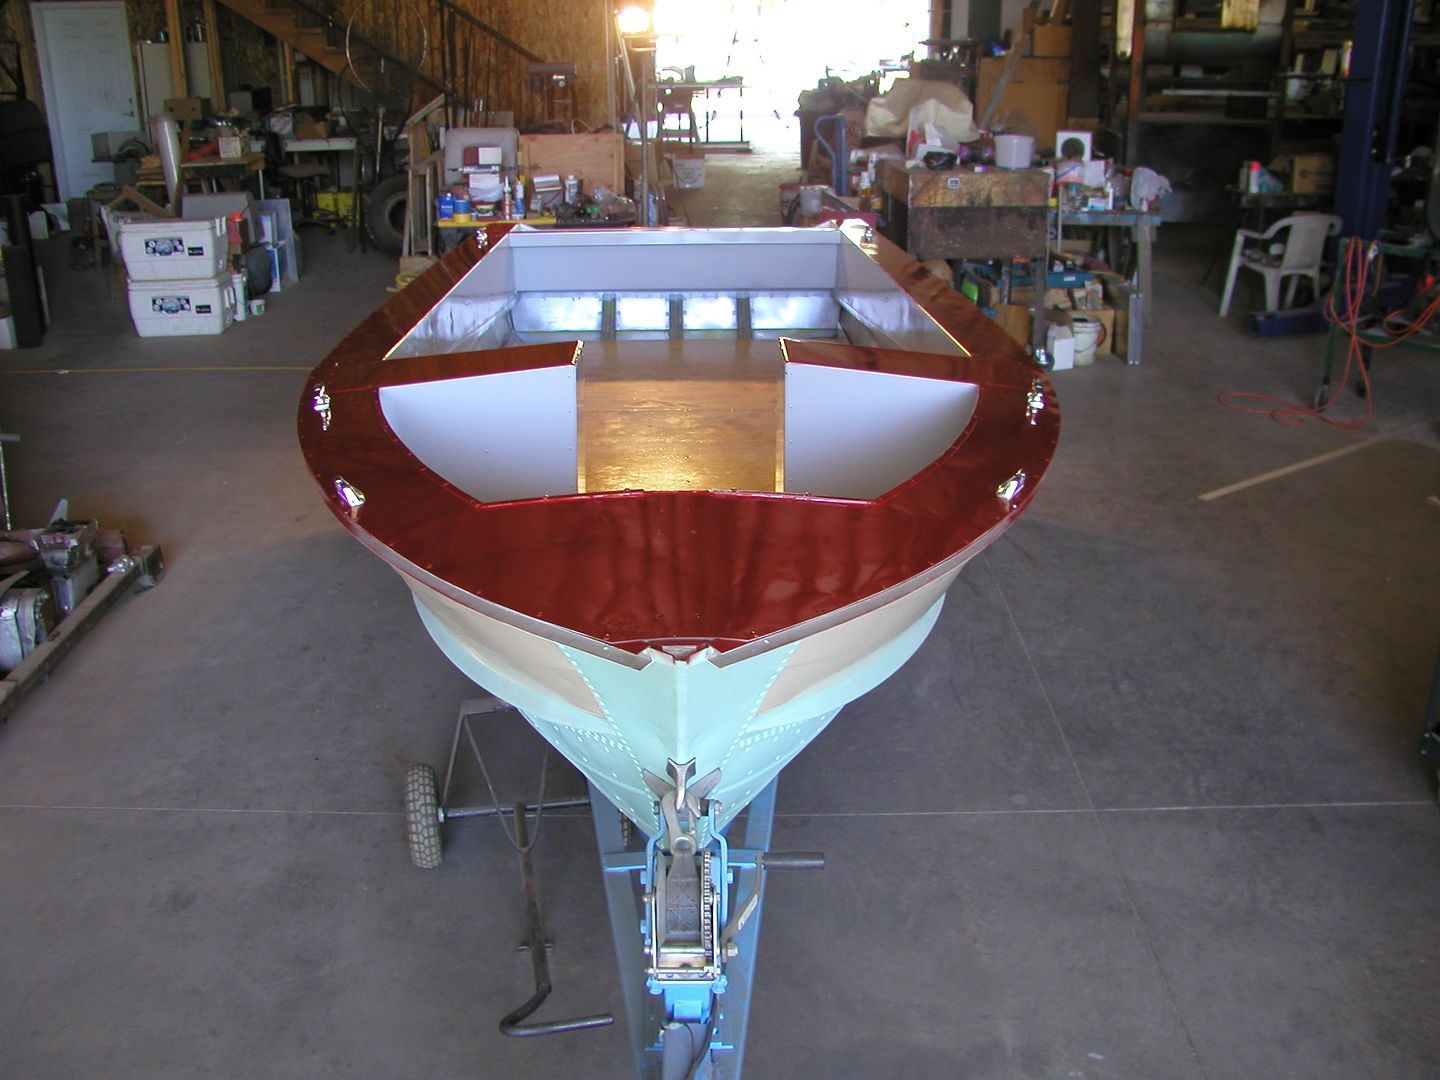
I painted the gunwales a couple of days ago. This morning I cleaned and sanded the epoxy resin on the deck. That brings up some more questions.

Do I need to prime the deck before putting down the paint?

How do I paint it and still stay off the deck with my big dirty feet?

Here are some pictures to update the status.


Side view


From the stern


From the bow.

Guess I'll attack the masking before rolling on the paint.
 

Watermann

Starmada Splash of the Year 2014
Joined
Jan 12, 2013
Messages
13,753
Looks great Ted, nice paint work for sure! :thumb:

Painting the deck, I would scuff the surface with like a 3M scrub pad, wipe clean and use a primer of the same type paint you're going to use. You'll need to loose the grubby footwear prior to entering the boat for the priming and painting occurs. :lol:

Are you going to roll on non-skid paint for the deck covering?
 

Patfromny

Lieutenant Junior Grade
Joined
Dec 2, 2012
Messages
1,197
Nice job on the paint. The boat is really turning out beautiful. I would scuff, wipe down, and prime just like Watermann suggested. Primer will seal the surface for paint as well as provide a sound surface for the paint to adhere to. I will give you a couple of ideas below on how to attack the floor painting.


Cut it all in then work toward the stern. Once you run out of room for your feet, use an "A frame" ladder and an extension pole. Get above the boat on the ladder and role the last foot or so from the ladder. I am of course assuming you will roll the floor. You can let it cure and do the same thing for the second coat or use the ladder and cut it all from there. Then move the ladder around the boat with the pole and roll away. I would wait for the cure before second coat and just wear socks on the second coat.

With a long enough pole, you can probably get the whole boat from outside if you stand it up as much as possible. Make it like rolling a wall. You could also cut everything in twice and then roll from outside with it standing up as much as possible. I cut twice when doing two story foyers and living rooms. That way I don't have to lay the extention ladder onto freshly dried paint.
 
Last edited:

StarTed

Senior Chief Petty Officer
Joined
Jul 14, 2015
Messages
694
Thanks Waternamm and Patfromny for the suggestions.

I was thinking of rolling and tipping the paint on the floor.

I went to Tractor Supply in CDA and picked up a gallon of Majic gray paint and their hardener. Guess I'll need to pick up a quart of their primer.

I've already scrubbed the floor with 120 grit 3M. Boy that epoxy sure is hard.

I also picked up some polypropylene micro beads to put into the paint. Thinking of putting them into the final floor coat only..

The wife was doing some cutting and sanding of her wood projects today so I'll hold off any painting until she's done. The boat's already covered in a layer of wood dust. The wind was blowing through the shop from her end.

Guess I'll start assembling the motor and clean the carburetors.
 
Top