


Expidia
Commander
- Joined
- Aug 26, 2006
- Messages
- 2,328
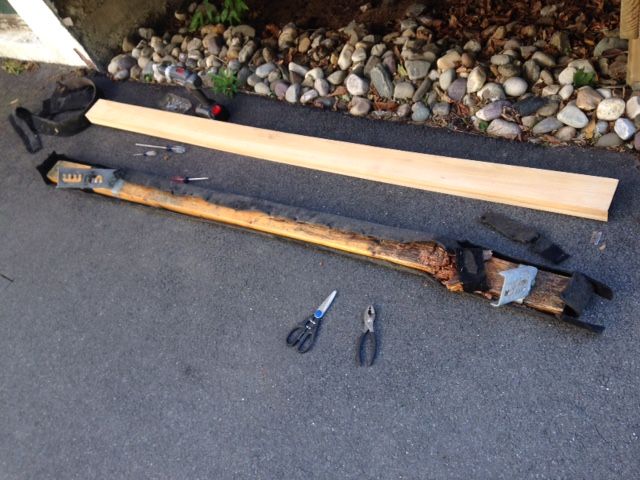
Weather finally broke enough to finish what I started at the end of last season when my right side split in half from water rot after only a few years. I had already replaced both from Shoreland'r after only a few seasons after I bought the trailer. They sent me both at no charge. Then only a few years later the right side broke again. After getting the carpet off, I saw why as one rotted where they screwed in a bracket. They use pine with a haphazard coating of what looks like poly. They are also fully wrapped, so they stay wet all the time.
Last season I went to a lumbar company Curtis lumbar in Ballston Spa NY who has a good selection of hard woods whereas HD and Lowes don't. I got a length of Cypress and had it ripped to the width I needed for like $10 bucks by a local cabinet shop in the area which they gave me his phone.
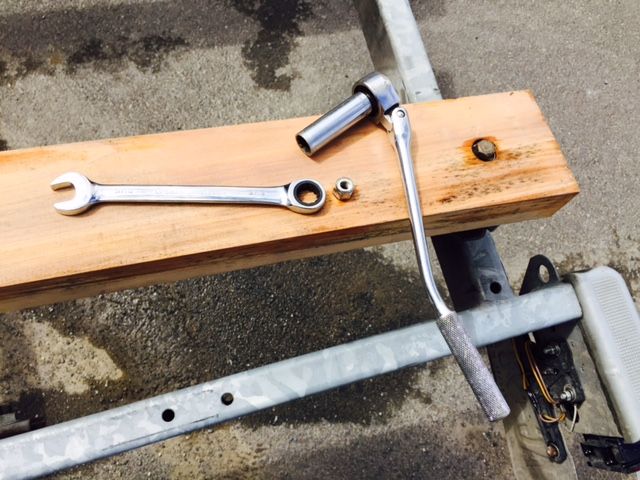
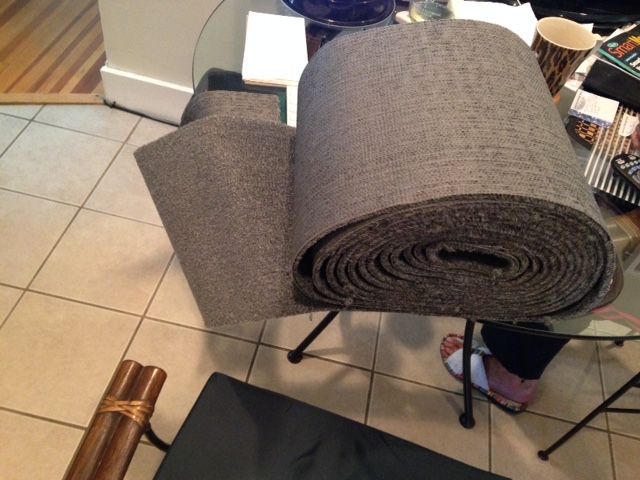
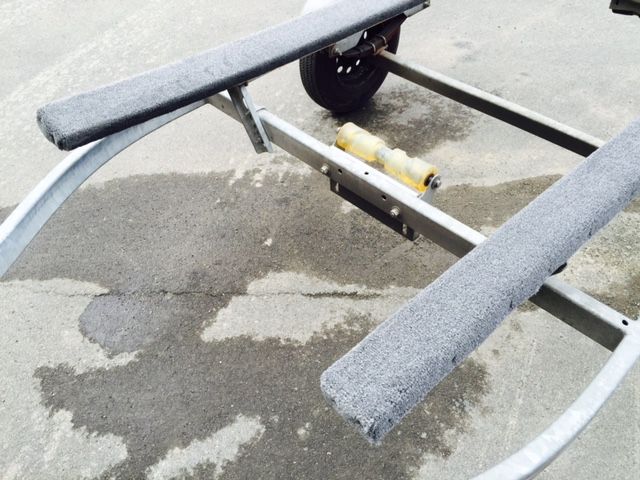
Had to bring it down to a local river launch, so I could float the boat while I was installing the bunks in the parking lot. This time I only went part way down the bunk sides with marine bunk carpet I bought on ebay. I left the bottom open and no poly which traps in the moisture. Used stainless steel T-50 staples and used stainless screws and washers for the bunk ends. Used stainless bolts for the new brackets I got off Amazon last season.
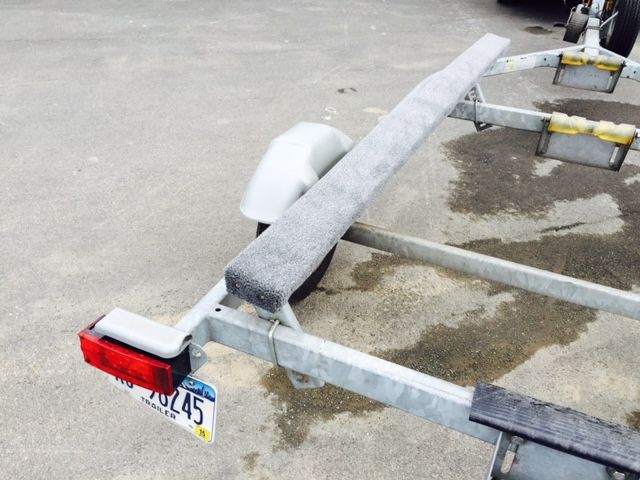
Also shortened them up a bit in the transom area. Was nice to have 6 inches extending out") )) which came in handy for a step, but as with most aluminum boats that are riveted . . . that row of rivets under the boat and along the transom edge tends to tear up the top ends of the bunk carpet in only a season!
)) which came in handy for a step, but as with most aluminum boats that are riveted . . . that row of rivets under the boat and along the transom edge tends to tear up the top ends of the bunk carpet in only a season!
Now It's all dressed up again and ready for splash down :laugh:


Last season I went to a lumbar company Curtis lumbar in Ballston Spa NY who has a good selection of hard woods whereas HD and Lowes don't. I got a length of Cypress and had it ripped to the width I needed for like $10 bucks by a local cabinet shop in the area which they gave me his phone.
Had to bring it down to a local river launch, so I could float the boat while I was installing the bunks in the parking lot. This time I only went part way down the bunk sides with marine bunk carpet I bought on ebay. I left the bottom open and no poly which traps in the moisture. Used stainless steel T-50 staples and used stainless screws and washers for the bunk ends. Used stainless bolts for the new brackets I got off Amazon last season.
Also shortened them up a bit in the transom area. Was nice to have 6 inches extending out
)) which came in handy for a step, but as with most aluminum boats that are riveted . . . that row of rivets under the boat and along the transom edge tends to tear up the top ends of the bunk carpet in only a season!Now It's all dressed up again and ready for splash down :laugh:


Last edited: