1995 Force 120 Tilt Trim rebuild.

pnwboat

Rear Admiral
Joined
Oct 8, 2007
Messages
4,251
To determine the correct propeller pitch, it helps to have a tachometer so you can see how fast the motor is turning. Ideally, you want the maximum RPM's at WOT to be close to the maximum recommended RPM's for the motor which is probably around 5500 for that motor.
 

Facemelter

Cadet
Joined
Sep 12, 2016
Messages
20
Thanks for the info pnwboat.

Been awhile since I was on the boat and had it hammered down. But I remember it being right below 5k at WOT. It had a holeshot that was absolutely terrible, but would run out good on the top end. If I lose a couple mph I wont be heart broken.

I Found the pump/valve body seal kit which includes the valves and seals. Just waiting on them to accept my offer. I also found the hydraulic ram reseal kit. After I hit the boat show this weekend, I plan on pulling it off and resealing it. I have a go pro and will take plenty of pics.
 

Facemelter

Cadet
Joined
Sep 12, 2016
Messages
20
Update. No gopro since I forgot to grab it and my hands got pretty dirty within the first 5 minutes. No way am I headed back into the house with dirty hands. Wife would kill me.

Anyway. I got the trim unit off the motor and got it onto the top of my toolbox so I can work on it. Laid down some shop rags and cardboard on top of that to soak up some of the left over fluid, if you want to call it that.

Most of the fluid was black and brown. Digging deeper into the unit I found some of the fluid has coagulated into this thick greasy type of crap. No way you are pumping that, it was definitely some nasty stuff. Most of the seals look good so far, but I have not gotten into the pump manifold yet. Having a hard time trying to figure out how the valve comes out of it. Once I get the Valve out, then I can get new seals in it, clean it up and get it back on the boat.

The last pic of the manifold. The bottom right valve is the one I need to get out. Anyone have any ideas?

2b26720d-090a-4136-bedb-2bf900367cc5.jpg

b9e1e463-680f-4479-a516-35bfc10455e0.jpg

38588fba-e590-4515-a3ee-07941be687f1.jpg

b7dd7998-bdcf-4018-ada9-69227333d338.jpg
 

jerryjerry05

Supreme Mariner
Joined
May 7, 2008
Messages
17,927
This is my opinion, I would NOT take that pump apart.
​Fit some kind of adaptor to your drill and spin the pump(spin both ways) holding it in paint thinner or some kind of solvent and then flush with oil.
​If the oil coming out of the pump was brown and not red, it's probably 30w motor oil.
The pump has springs and ball bearings that might be real difficult to put back???
​Usually the electric motor is what goes bad in these units.
 

Facemelter

Cadet
Joined
Sep 12, 2016
Messages
20
The motor was working. It ran the entire time it was trying to lift the engine. The second to last pic is of the reservoir, in the little plastic bag is the manifold/valve rebuild kit with some decent instructions. I was a auto tech for 18 years, and if I completely trash this, then I will have to buy a new one. I have some faith.

I am afraid that the nasty crap fluid is gumming up the valve. It takes that white rag pictured to clean it out. I wouldn't use Paint thinner with these being Buna o-rings, but I do not know what other type of cleaner fluid I could use in this unit that wont eat the o-rings out of it.

I do need to pick up some new fluid for it. In my searches on this board I have come across a lot of different answers. Maybe just buy a quart of quicksilver trim fluid and go about my day.
 

roscoe

Supreme Mariner
Joined
Oct 30, 2002
Messages
21,667
It will work fine with quicksilver trim fluid, or 30 wt oil.
My '95 came from factory with 30 wt.
 

jerryjerry05

Supreme Mariner
Joined
May 7, 2008
Messages
17,927
Unfortunately most solvents or cleaners aren't safe for o-ring.
Some solvents make them swell.
​That's why I use Dawn detergent in a lot of my cleanups.
But if the o-ring is left out to dry it goes back to the regular size.

A few years ago a customer came to me an said his carbs weren't getting fuel.
​The carb was one of a few that had o-rings in the needle and seat.
​He had added a fuel system cleaner and it had made the o-rings swell and shut off the fuel.
​Talk about a head scratcher.
 

Facemelter

Cadet
Joined
Sep 12, 2016
Messages
20
OK, I finally got the stupid spool out. It's pretty much just crammed into the body of the pump. Its held in when the pump and hydraulic cylinder are bolted together. Little persuasion from a pair of angled side cutters gripped on the outside o-ring and it popped right out. Taking the rest apart was not bad, the small valve seat under it was a pain since the o-ring was keeping tension on it. Small pick under the o-ring and it came out. The very first pic is the new small valve seat with the o-ring on it.

I got the majority of it put back together. The second pic shows the spool removed from the pump body, Only held in by tension. It also shows the little piece called the sleeve that goes into it. That little o-ring on it, is an absolute pain in the ***. My kit came with two, now I am stopping by a place this afternoon to buy more. Good thing the kit came with o-ring dimensions. NICE...

The last two pics are of the assembly going back together. The check valve is what you see on top, and I think I snapped these before I put the valve seat in.

These parts are steel, and can be polished if they are a little rough. All of these o-rings can be had at the hardware store since they are all standard sizes. And rebuilding it is not hard at all.

f9a3bbd2-c4fa-4686-86f3-4bb7b0a2bfdf.jpg
ecce0c4d-0be4-4a24-a696-3968fa64c0bb.jpg
5c425eff-4d43-4cc3-83c1-335825ae2aec.jpg
b58725b3-d2cc-4806-8218-5a37e78a4775.jpg
 

Facemelter

Cadet
Joined
Sep 12, 2016
Messages
20
Update. Been working on it here and there. I went and bought a vise for my garage (new house) and got to working on the hydraulic Cylinder. I had planned on not buying a vise to work on it, HA, no chance. You will need one.
I ended up making my own spanner wrench. You can buy one from Grainger for about 30 bucks. I made mine out of a steel dowel and a very large open ended wrench, I think it was a 2 inch wrench. Cut the dowel about 1.5 inches long, put it in the holes of the hydraulic cylinder cap, put the wrench on the outside of the steel dowels and welded it together.

Digging into the cylinder showed me some nasty stuff. That coagulated greasy junk I mentioned earlier (think bearing grease) was all over the place. Pics show it pretty good, and you're not pumping this crap no matter what.

lock the cylinder in a vise on the opposite side of where the valve body bolts to it. Spanner wrench the top cap off and pull the rod out. Requires some force, and plenty of fluid goes everywhere. Rags and a helper are a must. The memory piston can be removed with a pair of snap ring pliers. Which mine shows a good amount of junk on it.
7052a1a4-6902-4a4d-bb7f-8ffc8bc5422b.jpg
 

Facemelter

Cadet
Joined
Sep 12, 2016
Messages
20
Once the rod is out clean the cylinder good. Brake clean and fresh trim fluid worked great.

Put the rod valve side up (clamp where the retainer pin goes in) in the vise and remove the three torx screws while keeping tension on the cap so it doesnt go flying.
Remove the cap, springs valves, and check balls. Clean all orifices.
2739c2ba-1e8b-4a0c-b12f-093e6f05574e.jpg
 

Facemelter

Cadet
Joined
Sep 12, 2016
Messages
20
Flip the rod over and use soft vise jaws (aluminum) to clamp the valve in place. I used a long extension in the retainer pin hole to loosen the valve from the cylinder rod. Its tight. Do not bother with the small roll pin and the sprung check valve. Just run the valve open and closed with fresh fluid to clean it. The opposite side of the picture is a small o-ring. Might as well replace it while I am there. Each of these holes was mashed with that junk.

The second pic shows the back side of the valve where you can see the check valve and roll pin. And the gunk caked on the springs. That roll pinned check valve is a pain in the ass to remove. Dont.
4e3bac7c-3861-4753-9d32-19f39c6837da.jpg

0655b8bc-6187-4c25-bd9b-bc820b40f0f6.jpg
 

Facemelter

Cadet
Joined
Sep 12, 2016
Messages
20
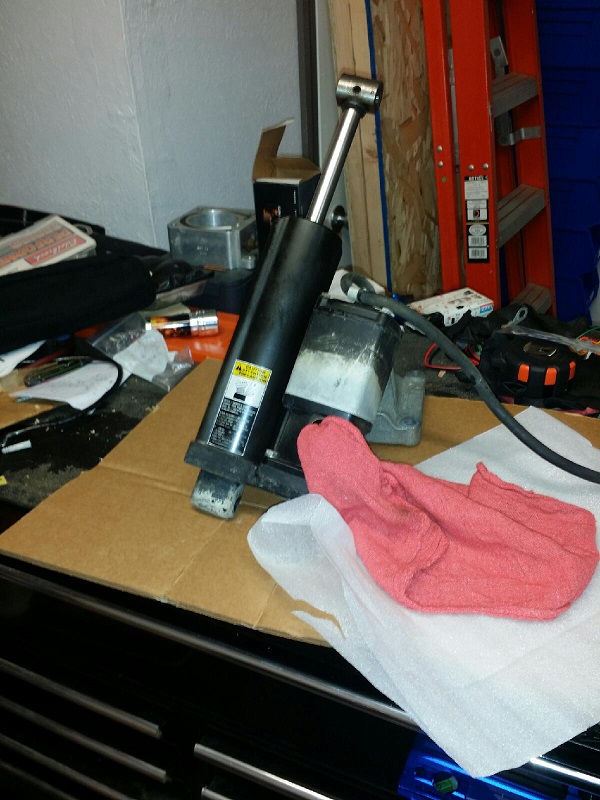
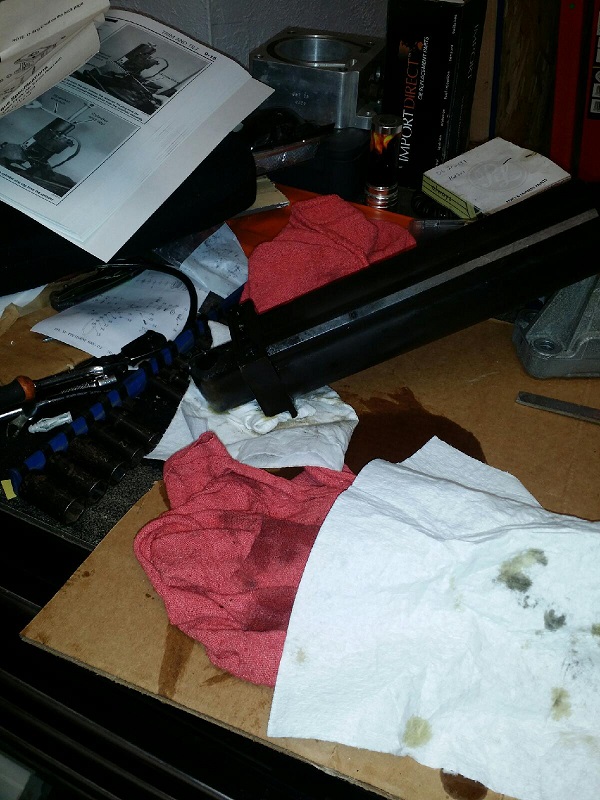
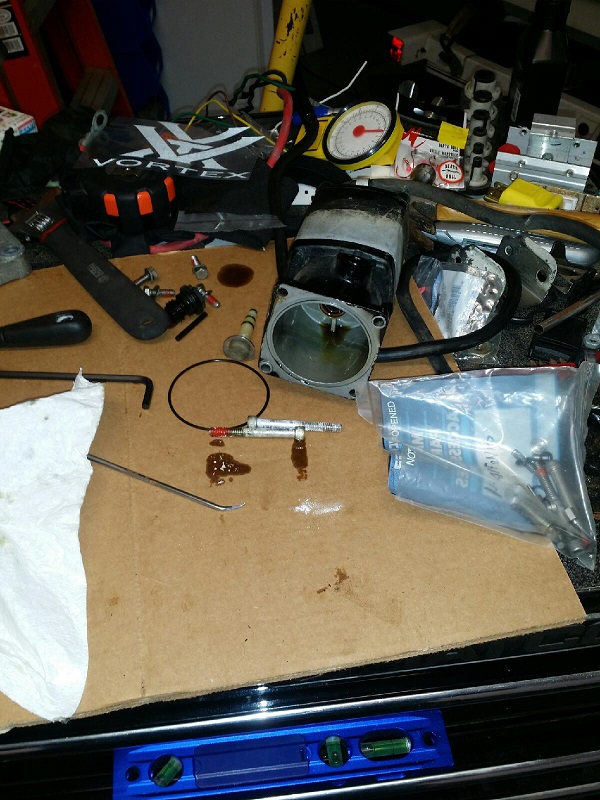
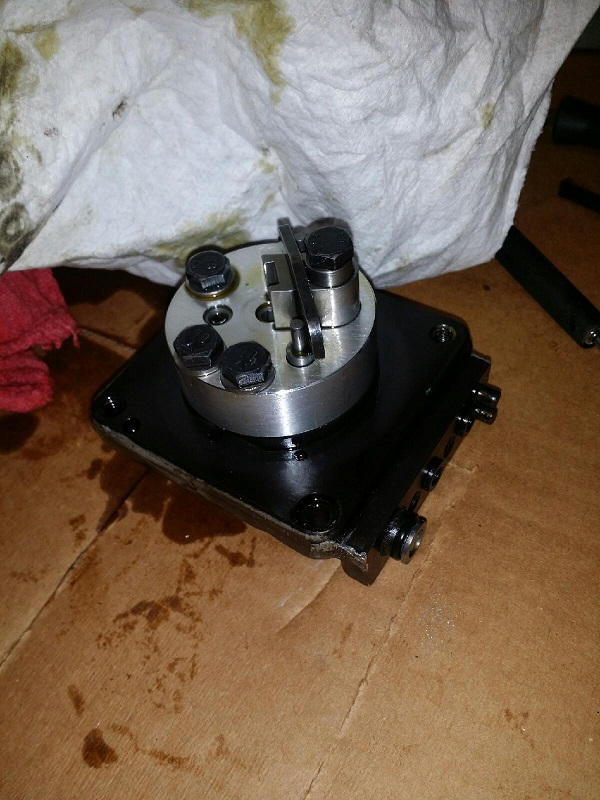
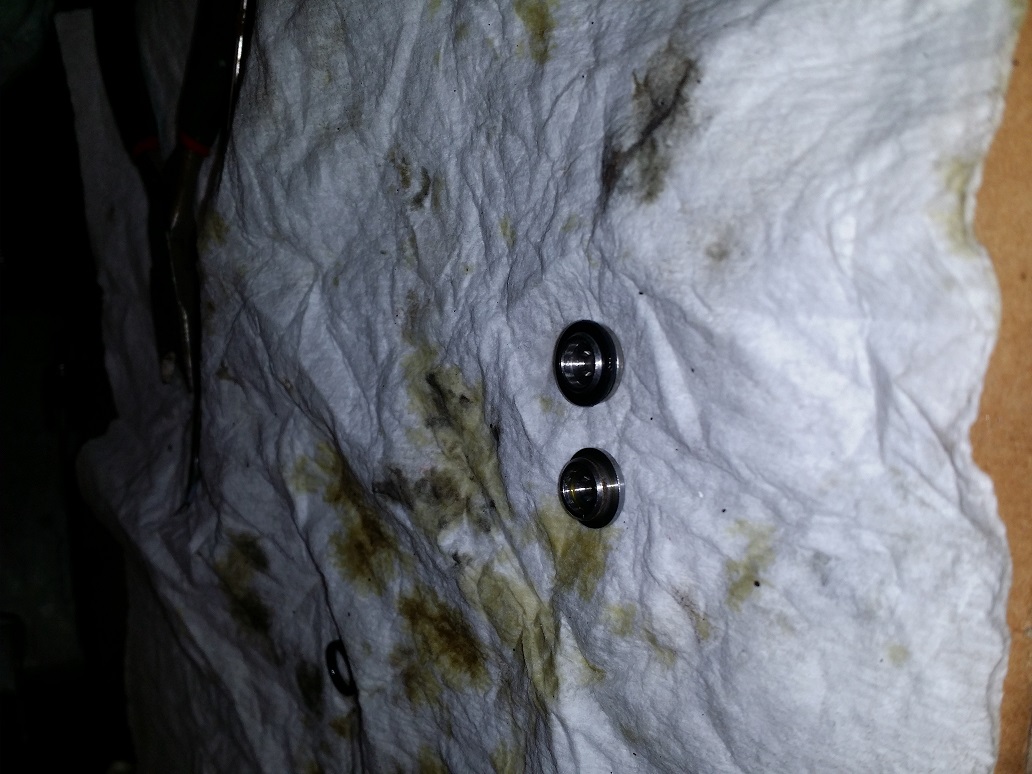
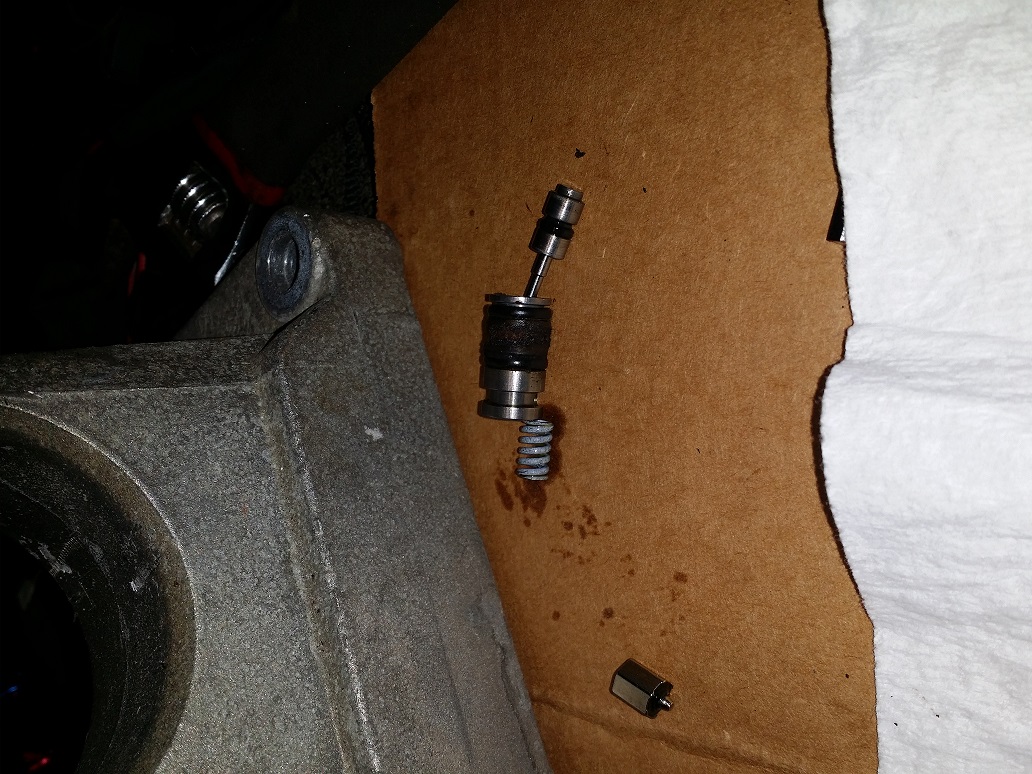
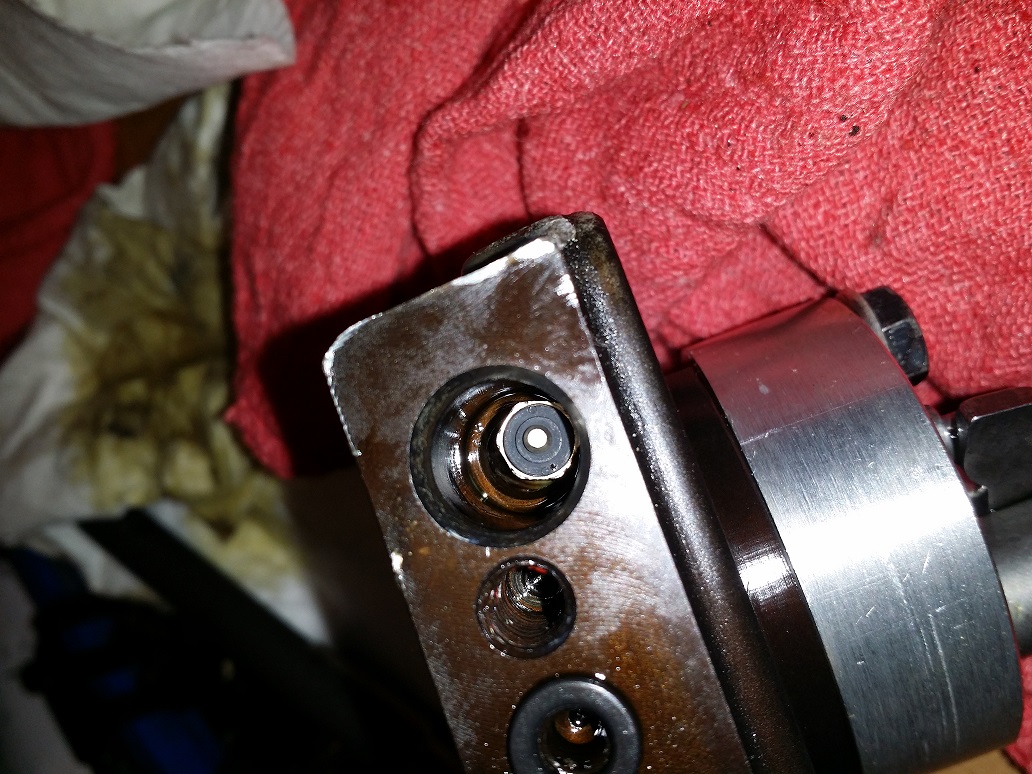
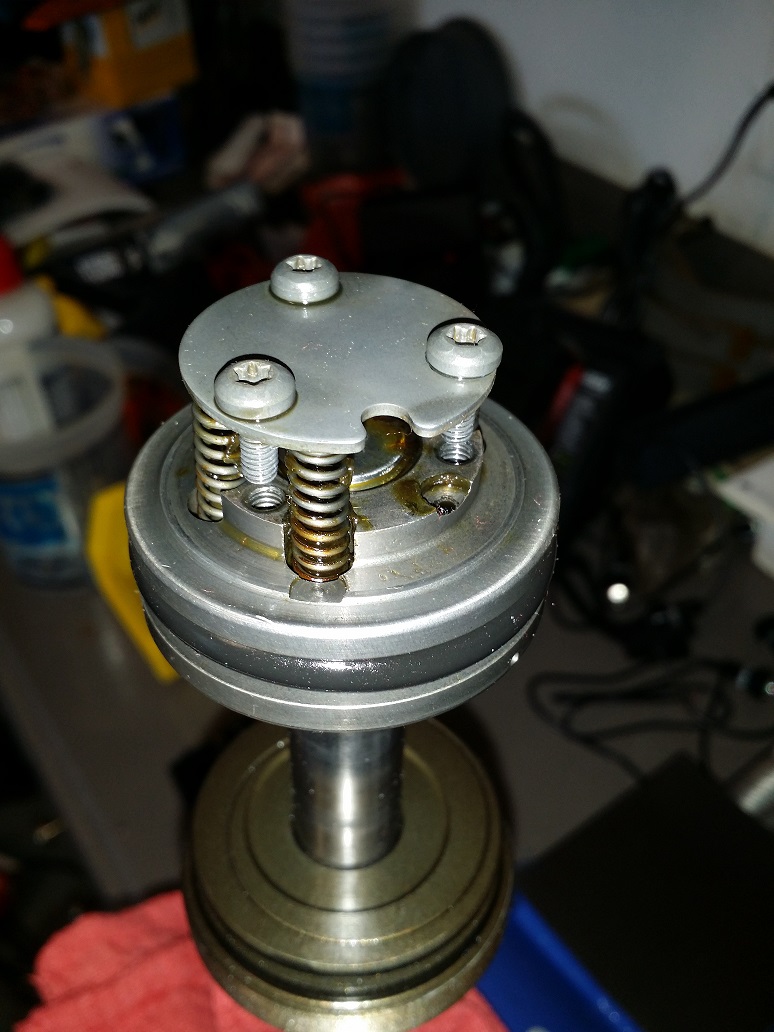
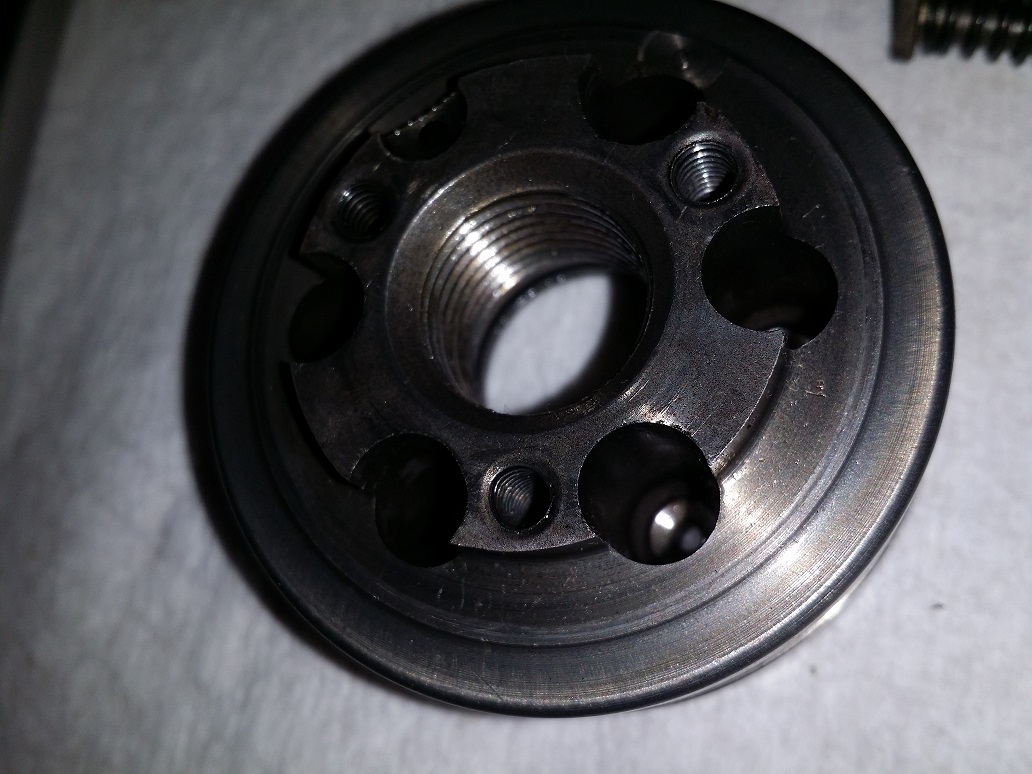
So, I ended up taking apart the manifold/pump. Its driven from the motor and has a small rocker arm that didnt seem to want to cooperate with my demands. So, I tore it apart. The rocker arm bolt goes through the arm bracket, through the pump and bolts to the manifold. 3 other cap screws hold the pump down to the manifold. take those out, and pull straight up on the pump. No gasket under it, its a machined surface fit. The pump is more or less, just a beautifully machined chunk of aluminum. It holds the pump gears, two springs and the two, for the lack of a better term, valves. These two valves were hanging up in the aluminum body and not moving smoothly. Polished those bad boys up, cleaned the rest of the snot out of it, reassembled the pump with the two springs and valves, put the check balls back into the manifold and bolt that bad boy back together. Be careful, this is a precision machined part with very tight tolerance to the manifold and the pump gears. Tighten the bolts in stages while using a 3/16 allen head wrench to check to make sure the gears are meshing correctly and not binding.

Put your reservoir on top, bolt it down, fill it with the correct fluid and bench bleed that damn thing for a half hour.

DONE.
Trim works great. Goes up and down like its new.

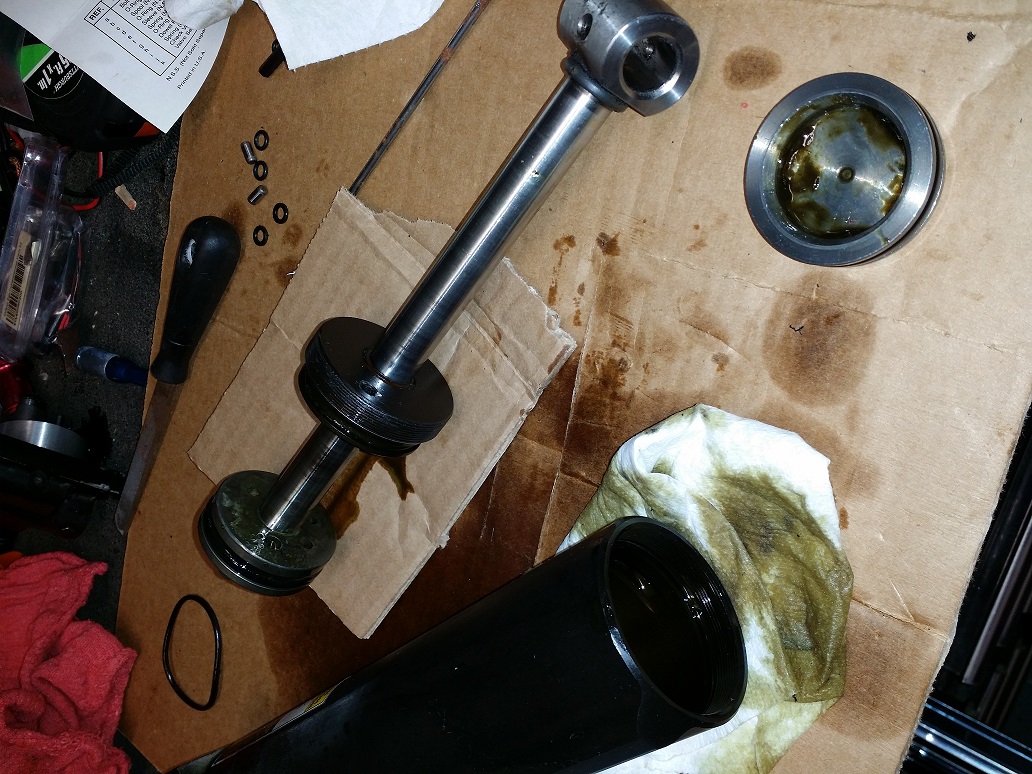
If anyone has any questions, please get ahold of me and I will help you as much as I can. Rebuilding this hydraulic unit is pretty simple. I will be getting together with my local seal guy and putting together a o-ring kit for the hydraulic ram cylinder and manifold. Most of the hard parts wont go bad since they are steel. A little polishing and new o-rings go a long way. Since this unit is gone and discontinued from Mercury, Its hard to find parts and the such for it. But rest assured, I will help you.
 

SkiDad

Lieutenant Commander
Joined
Jul 18, 2010
Messages
1,518
nice work! - sounds like a superior unit to what is on the older engines
 
Top