jerryjerry05
Supreme Mariner
- Joined
- May 7, 2008
- Messages
- 17,926
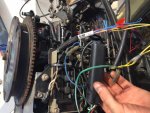
The compression gauge????
The more you spend ?? Usually a cheap gauge is just that.
I spent 160$ back in 1988 for mine from MAC tools.
It's a big set that does MANY types of motors.
The important thing is doing the test right and how close the readings are to each other.
Pull all the plugs and like Nordin said at least 5-7 revs or until the needle stops going up.
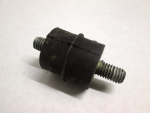
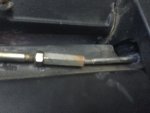
The threads on the screws: at any marine sales place, they sell oil fill pumps.
The fitting they include in the kit usually has 2 different size nipples.
One for ASE and one for metric(jap) motors.
Use the ase when you build your tester.
The more you spend ?? Usually a cheap gauge is just that.
I spent 160$ back in 1988 for mine from MAC tools.
It's a big set that does MANY types of motors.
The important thing is doing the test right and how close the readings are to each other.
Pull all the plugs and like Nordin said at least 5-7 revs or until the needle stops going up.
The threads on the screws: at any marine sales place, they sell oil fill pumps.
The fitting they include in the kit usually has 2 different size nipples.
One for ASE and one for metric(jap) motors.
Use the ase when you build your tester.