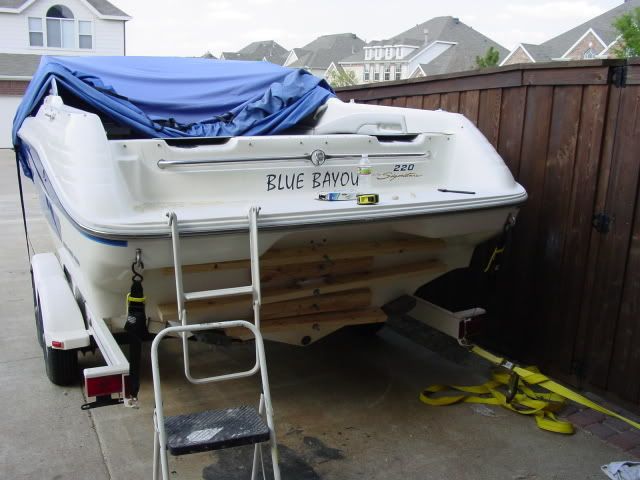
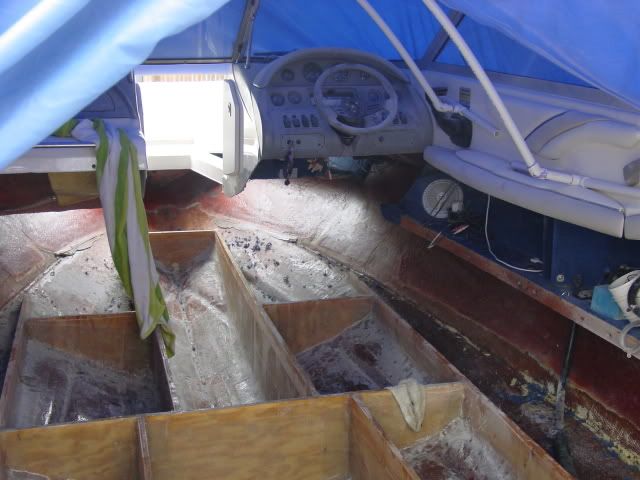
Re: Here I go again!! 1995 Sea Ray 220 Signature Deck and Stringer Restoration
Re: Here I go again!! 1995 Sea Ray 220 Signature Deck and Stringer Restoration
Frisco,
I came across these descriptions for the various fiberglass materials and so I decided to create a bit of a visual for those of us attempting to get our heads around the various types of fiberglass and their uses:
1)
Chopped Strand Mat (CSM) - Short glass strands laid down in a random pattern and held together by a resin-soluble binder. Easily wet out and able to conform to almost any shape, CSM is used as the base layer for many laminates. It is also the most watertight and adhesive of the glass materials. CSM is sold in various widths and lengths. The most common weights are .75 oz., 1.5 oz., and 2 ounces per square foot. Note: Do not use with epoxy.

2)
Woven Roving - Coarse plain weave material made of large flat bundles of glass fibers called rovings. WR is woven in 0-90 degrees; the highest strength is in these directions. Woven roving does not bond well to other layers. It?s best to use alternate layers of CSM as a binder. In fact, most all boats larger than about 20? are built with alternating layers of mat and roving. Woven roving is sold in various lengths and widths; the usual weights are 18 and 24 ounces per square yard.

3)
Cloth - Cloths of various weaves have exceptionally high tensile strength but provide little rigidity. Cloths come in many widths, and also in tapes which are selvedged on both sides to prevent unraveling. Cloths come in various weights from .25 oz. to 10 oz. per square yard.

4)
Dual Bias Mat/Roving (1708 is an example) - This is a specialty material composed of a lightweight mat,usually .5 oz., and two layers of rovings at + and ? 45 degrees, all stitched together. This material reduces lay-up time, conforms better than woven roving, and can be used with any resin system since the fibers are stitched together. It also provides a more efficient use of resin than woven roving as the fabric design avoids the ?lace pattern? characteristic of the woven material.

Interestingly, most materials will NOT allow a resin to attach to them. The resin will encapsulate the material but not actually touch it. Various chemicals, called sizings, are applied to the fibers to allow the resin to bond directly (Generally organo-silane chemistry compatible with polyester, vinylester and epoxy resin systems).
Note: Never allow the materials to become wet; resins will not bond to wet fibers and water will dissolve and wash away chemicals used in finishes.
Fillers:
1)
Thickening Agents - You might know it as
Fumed Silica, or by its trade names, "Aerosilor" or "Cabosil". These are used to thicken the mix and add thixotropic properties. In layman's terms, this gives the mixture ?hang? on a vertical surface.
2)
Bulking Agents - These reduce the density of the putty and make it easy to sand. They include
glass microspheres,
phenolic microspheres, and
wood flour. Glass microspheres are microscopically small hollow glass and phenolic (resin) spheres which add light-weight bulk to the mix. Wood Flour is essentially fine sawdust which is just another type of thickener.
3)
Structural Agents - These are comonly referred to as
milled fibers, which are basically ground up chop strand mat (CSM) and come in a variety of sizes.
Hopefully this brief rundown will help somebody who's trying to wrap their arms around the fiberglass lingo that is so important to understand when doing restoration projects such as these!
-TVB