I just 5200'ed the drain plug in that stuff is insane. There was no need to flare both ends.
Conclusion, buy Seacast and be happy. I would rather get Seacast vs Nidabond and Arjay because I heard they don't hold a screw well and they cost about the same anyways. No clue how to avoid the bubbles I ran into, probably just need to be more careful doing the upside down U cap and not try to get it capped with one continuous piece.
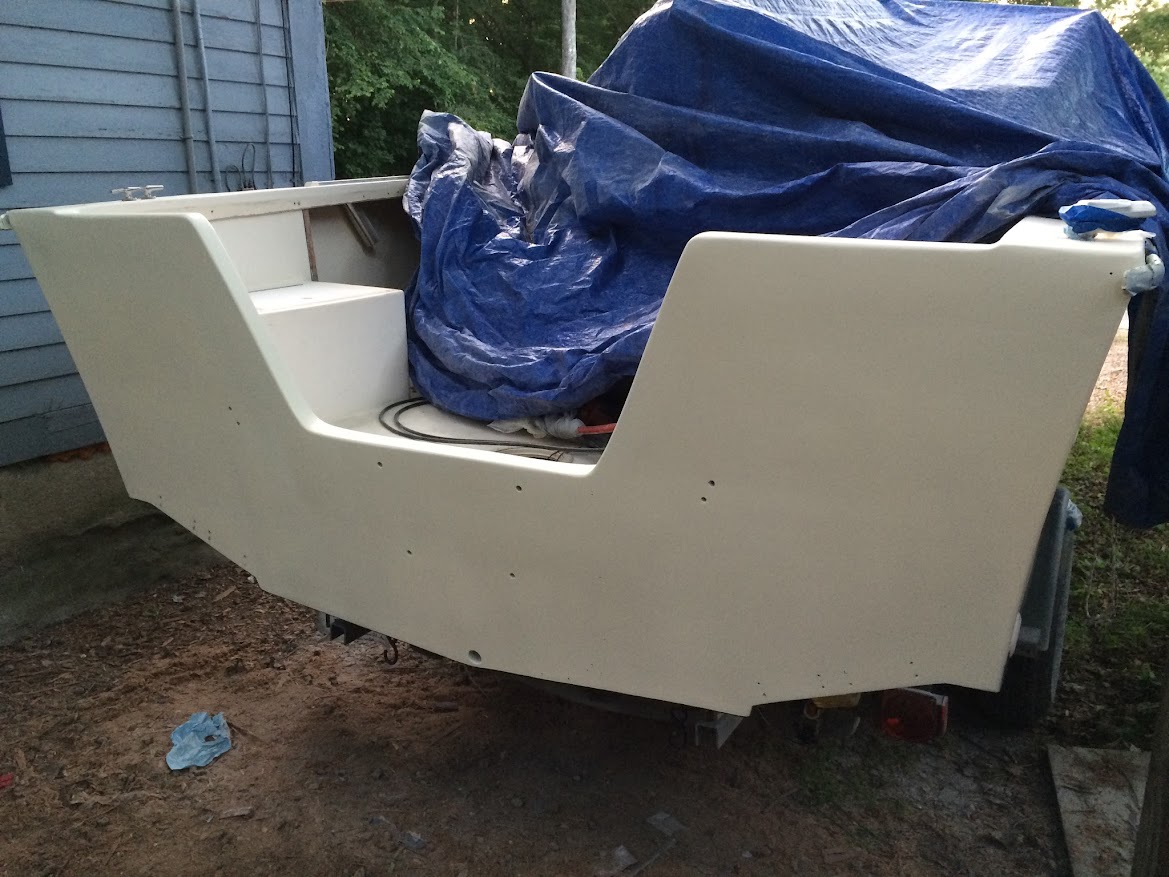
Well I finished the project for the most part and I've been out on the boat twice now. What a gem this boat is. It was worth every penny and I learned so much. Now I can fix my own boat when I break it. I ended up buying a compressor from Lowes, a 20 gallon Kobalt unit that I like. It came in real handy grinding and spraying the gel coat. Having lbifiberglass.com 20 minutes away was nice. I also did a side job of replacing the gas tank. Here are the pics, sorry for being so slow to update the thread.
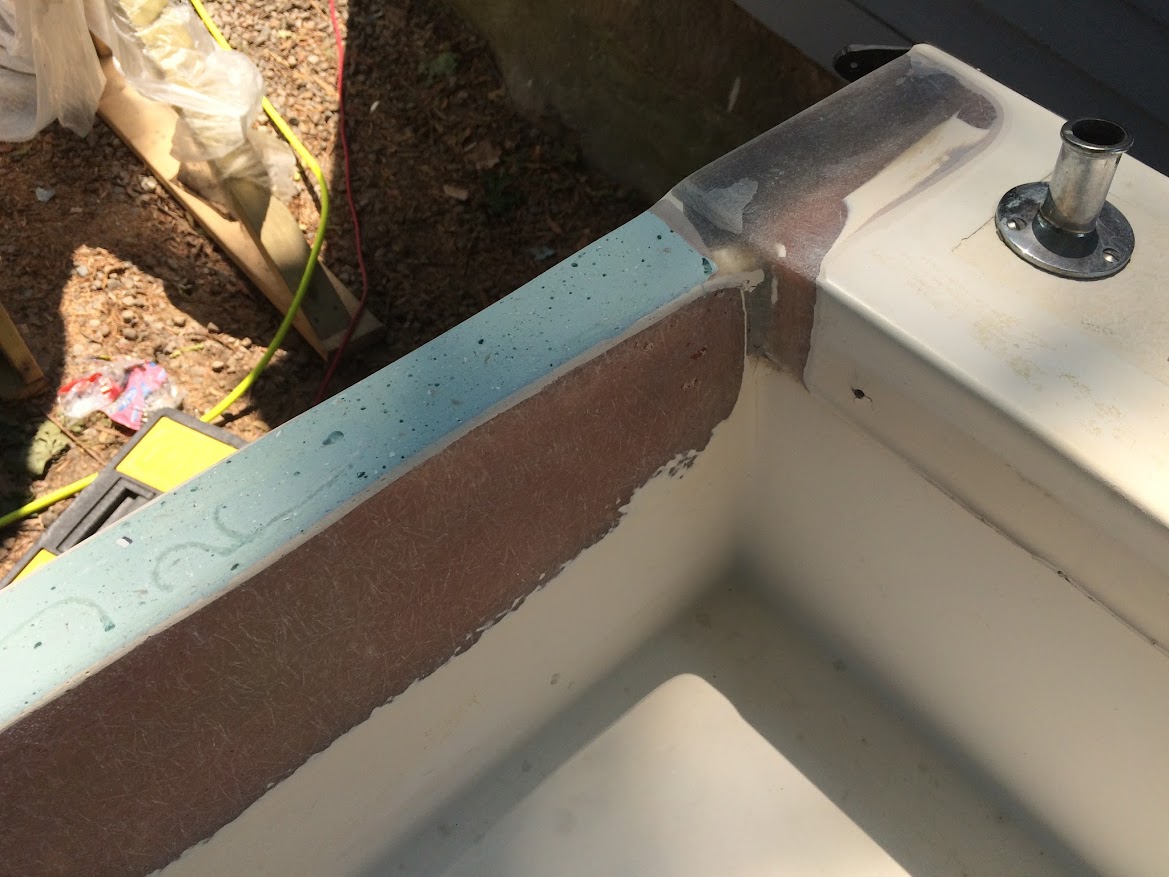

Fiber glassing was a big challenge, it took extra long to dry because I am very bad at mixing it right for the temperature. We used like 3 layers of 6oz cloth and 1 layer of .75 oz mat. I wanted to use 4 layers of 6oz cloth but my helper didn't think we needed it, My die grinder with a 3 inch built in extension from harbor freight and the compressor were a huge help in grinding down the glass around the tape line and grinding the curved parts. I was going to use my electric angle grinder but it was way to clumsy and caused some issues I had to fix with fairing compound.
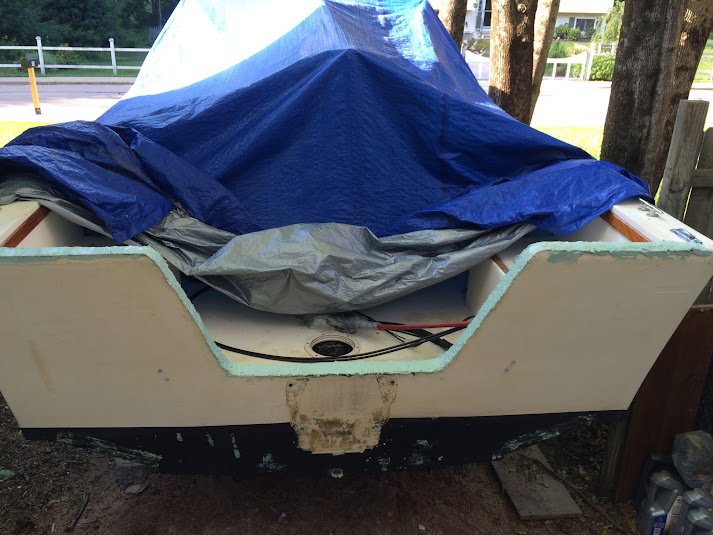
This is my spray on gelcoat job. I actually ran out of gel coat during the 3rd layer right at the end. I messed up the first time spraying it and killed a Harbor Freight 15 dollar spray gun and wasted about a third of the gelcoat. Don't get the Harbor Freight gun, get the Homedepot husky gun. It comes with a bigger nozzle and a wrench so you can actually take it apart to clean it. I could write lots about doing the gelcoat, but I'll leave that for questions if anyone has any. I don't check this post much but I will be glad to help if I do see questions.
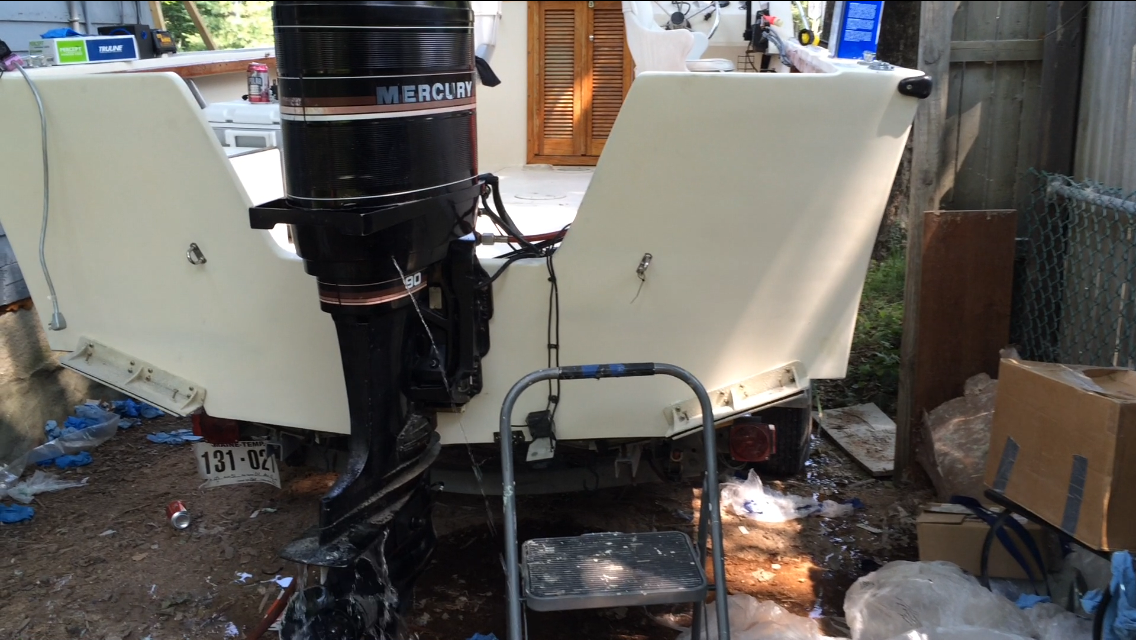
AHH yeah finally got that motor back on, what a pain in the neck lining it back up was Luckily I had some friends to help and I bought them an oyster dinner for helping.


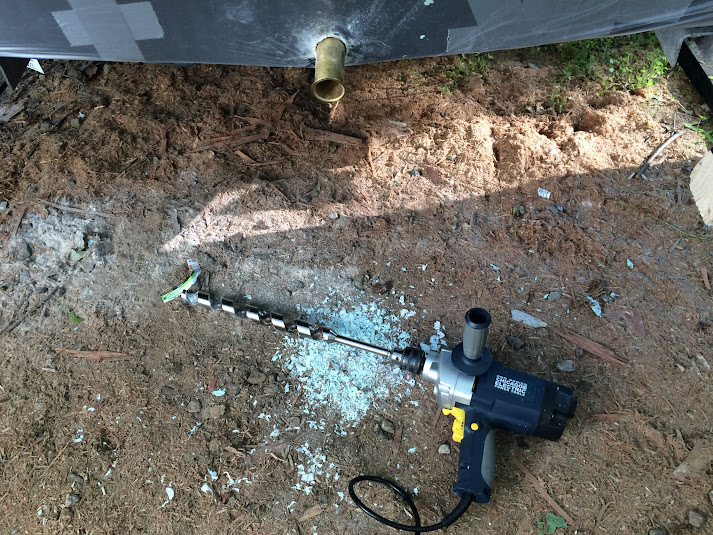
 Will you be installing the plug on the inside or the outside .. You could take a block of wood and have your bud hold it against the sleeve on the outside . then carefully tap around the edges on the inside with a ballpeen hammer . Once you get it started flaring it should work ok .. Use plenty of 5200 ..