1992 Crownline 196br stringers, transom and the whole bit

steely85

Petty Officer 2nd Class
Joined
Apr 18, 2015
Messages
121
Thanks Wood, That makes me feel much better. I have also read, printed and studied your diagrams of the glass layers for the stringers and floors. Nice work. I will be making copies of all of my sketches and graphs to share with the boating world. I like using graph paper and drawing everything to scale.
 

steely85

Petty Officer 2nd Class
Joined
Apr 18, 2015
Messages
121
I have been following atjohnsons thread with his 1993 crownline and I like his idea of using something other than stacked ply wood to mount the motor to. He used pressure treated 4x4's. I wouldn't mind using the same idea, however I was thinking of using stacked (non-treated) 2x4's instead. That way I could cut it with my jig saw before I glued them together as I do not have a band saw. :( I would soak the sides I would be gluing to eachother with Epoxy and use thickened Epoxy to bond them together. I would then wrap them with 4 layers of 1708 and polyurethane resin.

This is what his looks like. The thinnest part towards the bottom attaches to the transom.
20140316_180337_zpswhe8phpi.jpg
 

Woodonglass

Supreme Mariner
Joined
Dec 29, 2009
Messages
25,924
I see no reason that woudln't work. Just predrill and coat all hardware with epoxy or 3M 5200 so no water can get to any bare wood.
 

steely85

Petty Officer 2nd Class
Joined
Apr 18, 2015
Messages
121
I have kind of a silly question. When it comes to carpet. I saved my old stuff but am not sure I want to re-use it. I found this on amazon and thought it would be a cool concept for the floor design. It is an rv patio mat. So there is no rubber on the back side to glue it to the floor. However is there a reason I should not use this? Or any ideas on how I could apply a rubber backing to it so I could? The measurements for the carpet is 18ft by 9ft and costs about 90 dollars.
81AsrPq1WDL._SL1500_.jpg
 

Tnstratofam

Commander
Joined
Aug 18, 2013
Messages
2,679
Steely I just wanted to drop in and say it looks like you've got a good handle on your tear down, and are well on your way to a solid rebuild. I like the looks of the rv mat in pace of plain one color carpet. It would be an interesting design. As far as glueing it to a rubber backing I wonder if contact cement would work?
 

kcassells

Fleet Admiral
Joined
Oct 16, 2012
Messages
8,598

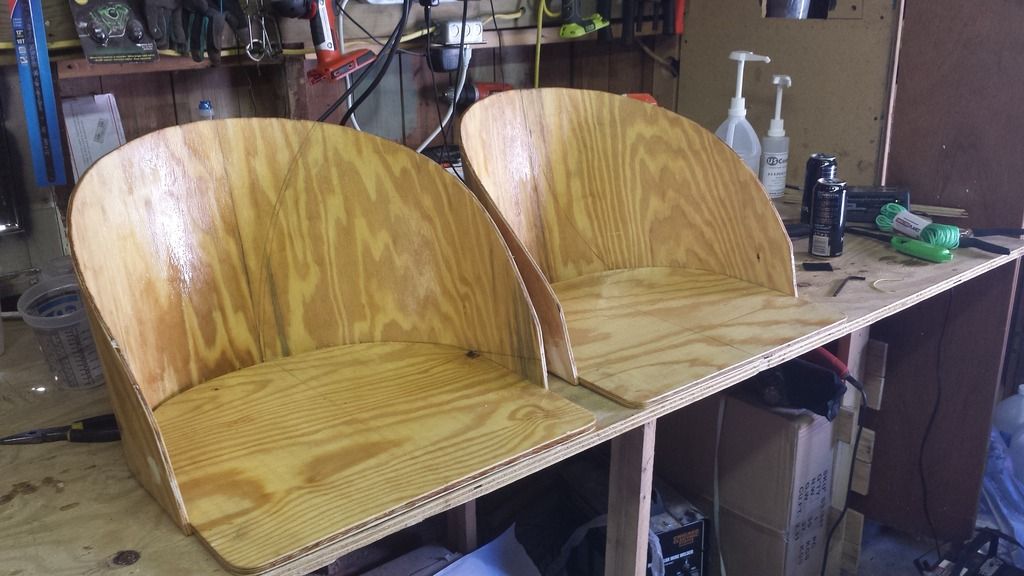
here are the new captain chairs I'm making.


HI steely,
Nice work going on there. Lots of good ole boys to help here. I would like a little more detail on those seats you made. They look Great! Ie; the radius curves, wood thickness etc.
Thanks
KC
 

steely85

Petty Officer 2nd Class
Joined
Apr 18, 2015
Messages
121
Steely I just wanted to drop in and say it looks like you've got a good handle on your tear down, and are well on your way to a solid rebuild. I like the looks of the rv mat in pace of plain one color carpet. It would be an interesting design. As far as glueing it to a rubber backing I wonder if contact cement would work?

I'll have to look into the contact cement thing. My other idea was using the rubber coating they use to waterproof RV roofs.
opt-waterproof_-sealant_grande.jpg

I was thinking paint it to the deck in 2 foot strips then press the carpet to it, then paint another 2 foot strip, and press the carpet down again and so on and so on. I figure it is made for fiberglass campers it must be ok. Thoughts?
 

JaCrispy

Petty Officer 1st Class
Joined
Jul 8, 2014
Messages
391
Pretty sweet looking boat. Anxious to see what you do with the seats.
 

steely85

Petty Officer 2nd Class
Joined
Apr 18, 2015
Messages
121
HI steely,
Nice work going on there. Lots of good ole boys to help here. I would like a little more detail on those seats you made. They look Great! Ie; the radius curves, wood thickness etc.
Thanks
KC

Hey Kcassells,
I left my rocket science books up in Michigan when I moved so I had to go to refer to my "good e'nuff for dummies" book. don't recall the details on the seat but I can get measurements tomorrow. i will tell you how I made the design for it though. I warn you I am pooped and I run the risk at not making any sense. It would probably be better to make a video.

This is for the base:
1st: I measured my original seats and used those for the depth and width. I have lots and lots of painters paper on a roll so cut a piece a tad wider and deeper so I could account for the seat foam I will be adding. I'm guessing about 3 inches total.
2nd: I folded this piece of paper vertically.
3rd: I set a screw into my work bench and tied a string to it. I then wrapped a pen with the other end of the string. This is how I made the diameter for the rear of the seat base.
4th: I placed the paper on the bench and put the pen at a spot that would look good. Made a few practice runs then when I was happy with the pen strokes I made my mark.
5Th: I cut the template out and taped it to my 1/2 or 3/4 inch plywood and traced it with my pencil.
6th: I cut the wood out.

This is for the back.
1[SUP]st[/SUP]: I measured my original seat back and added 3 inches for foam when I install it.
2[SUP]nd[/SUP]: I measured the edge around the back of the seat base. This would tell me how long to cut my wood. U used a seamstress tape measure. (I LOVE this thing) You can measure any angle and any curve.
3[SUP]rd[/SUP]: I cut out the paper to height and length.
4[SUP]th[/SUP]: I had to tie a string to my motorcycle mirror because the diameter for the back of the seat was too large for my work bench.
5[SUP]th[/SUP]: I folded the paper vertically and tapped it to my work bench.
6[SUP]th[/SUP]: I wrapped the pen with the other end of the string.
7[SUP]th[/SUP]: I made a few test passes, made some adjustments by wrapping the pen more or less depending on how much bigger I wanted my circle.
8[SUP]th[/SUP]: I made my mark and cut it out.
9[SUP]th[/SUP]: I cut out my wood.
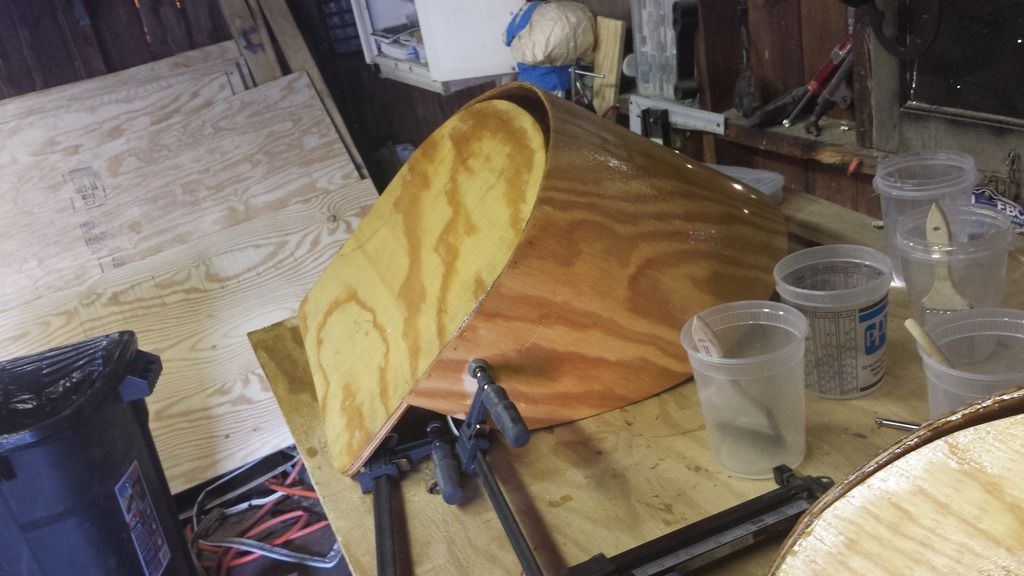
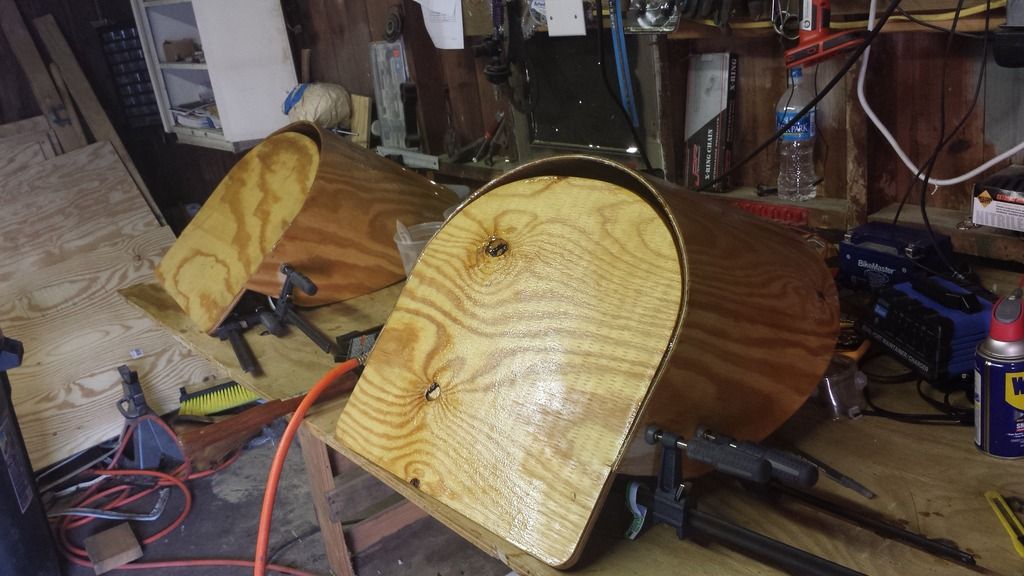
Now the fun part. Curving the back onto the base.
1[SUP]st[/SUP]: go to harbor freight and get their wood clamps. (I got the ones that were like 30? long) They work really well. Can?t beat them for the price.
2[SUP]nd[/SUP]: Measure where you want the back to start. I started my sides about 3 inches from the front.
4[SUP]th[/SUP]: tack a nail there just to hold it for now. It will be removed later.
5[SUP]th[/SUP]: Place wood clamp on the nail and clamp it to the other side of the base.
6[SUP]th[/SUP]: slowly bend it around the outside edge using some clamps to loosely hold in place. It is not necessary to clamp it directly to the base yet, it might crack. I left it like this for a day or two so it created a memory. Kind of like warping plywood.
7[SUP]th[/SUP]: I clamped it the rest of the way to the bottom of the base. I tacked it like that just so it wouldn?t move when I let it sit for another day or two.

Final fitment:
1[SUP]st[/SUP]: clamping it together should have given you a rough idea as to how and where it should sit (according to measurements taken from the front of the seat to where the sides start.) Measure again from the front and find out how much room you have left to play with. I had to slide the base around a half inch so I could make sure both sides started in the same spot.
2[SUP]nd[/SUP]: I made a mark where I wanted the sides to start.
3[SUP]rd[/SUP]: I pulled everything apart.
4[SUP]th[/SUP]: I coated the base with resin. I used epoxy for this because of the joint. If someone falls into the seat I want the joint to hold and epoxy is a better glue the poly.
5[SUP]th[/SUP]: I coated the bottom edge of the back rest so I could tack it in place and the epoxy would help hold it once it dried. You also have to work fast and make sure the back rest is still wet when tacking it in place so when it dries it will help hold the back rest to its shape.
6[SUP]th[/SUP]: I then put the clamps back on so again it wouldn?t pull the tack nails out. It also helped with bonding pressure and forming.
7[SUP]th[/SUP]: I coated the entire back rest with resin so again, when it dries it will help retain its shape.

Getting it ready for glass:
1[SUP]st[/SUP]: I will make a fillet with epoxy, ? chop strands and cabosil to bed my back rest to the base. I left a small crack in the back of the seat I will probably place some PVC pipe so it can drain water off and out of the seat. (Nothing like sitting in a bucket of water)
2[SUP]nd[/SUP]: I will probably glass it with 1208 due to the fact it will probably bend around the corners tighter than 1708. But I am not set in stone on that idea.
3[SUP]rd[/SUP]: I will wrap that with foam and vinyl.

I think that covers it. I'm sorry if i left a step or two out.
 

steely85

Petty Officer 2nd Class
Joined
Apr 18, 2015
Messages
121
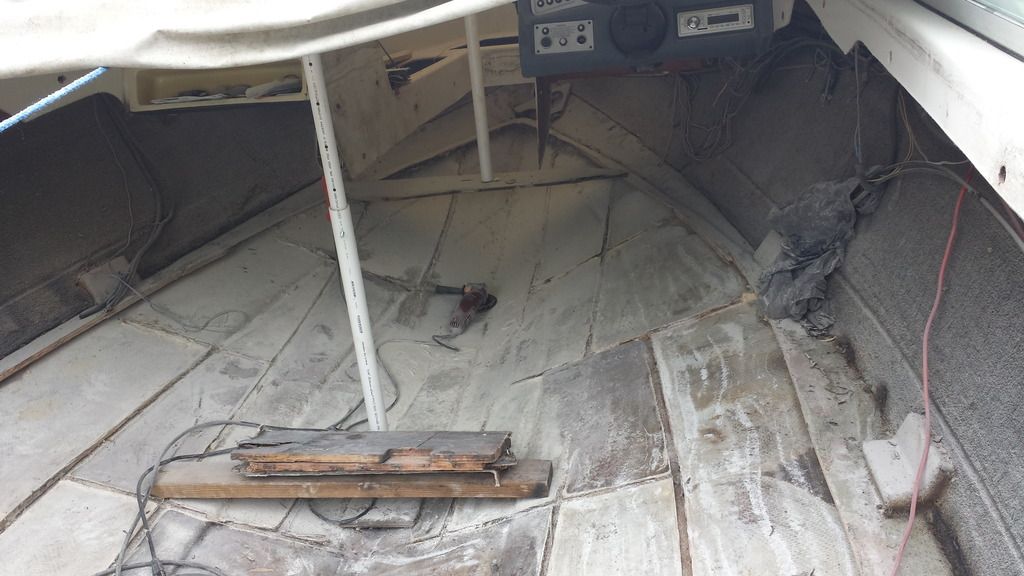
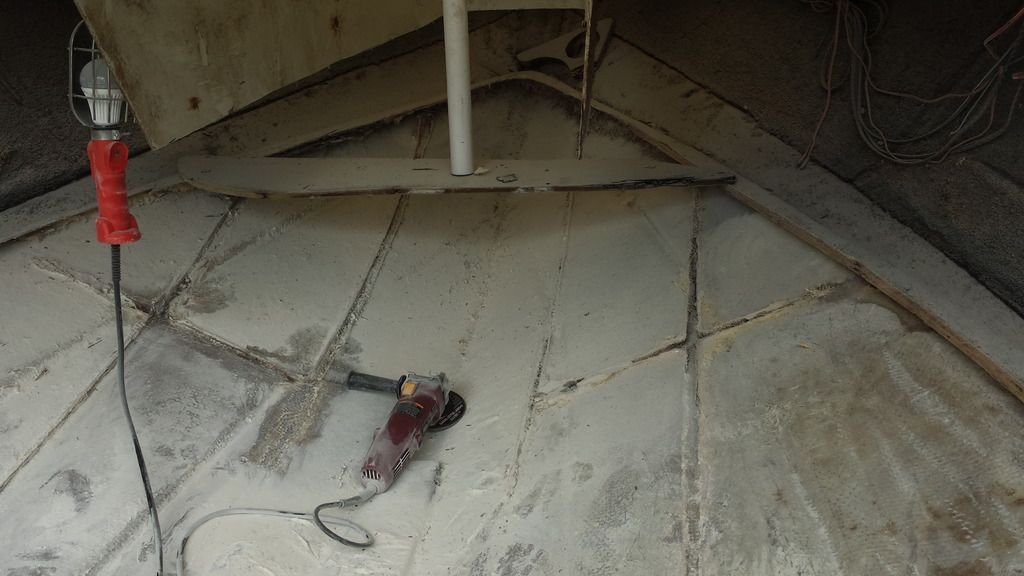
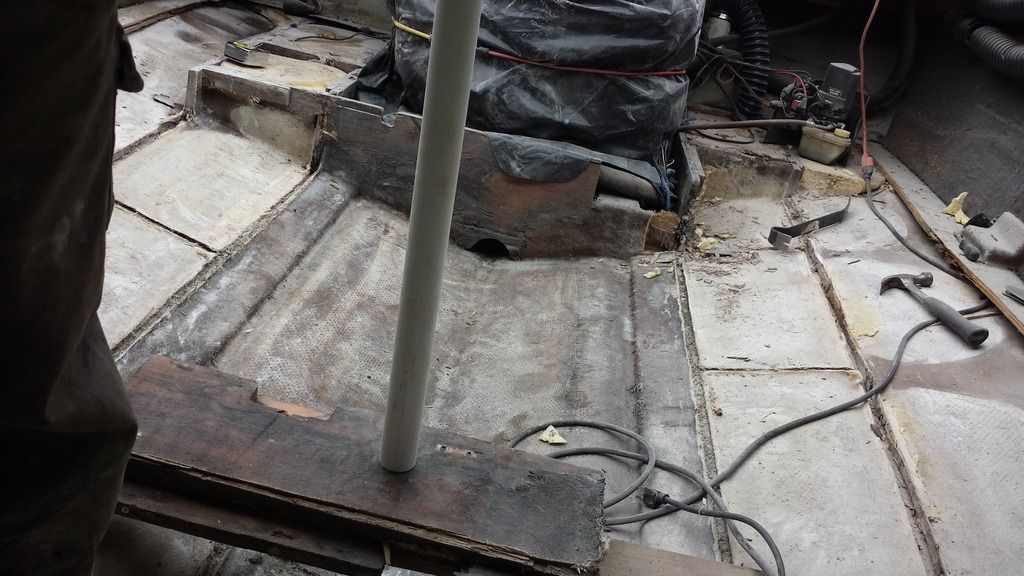
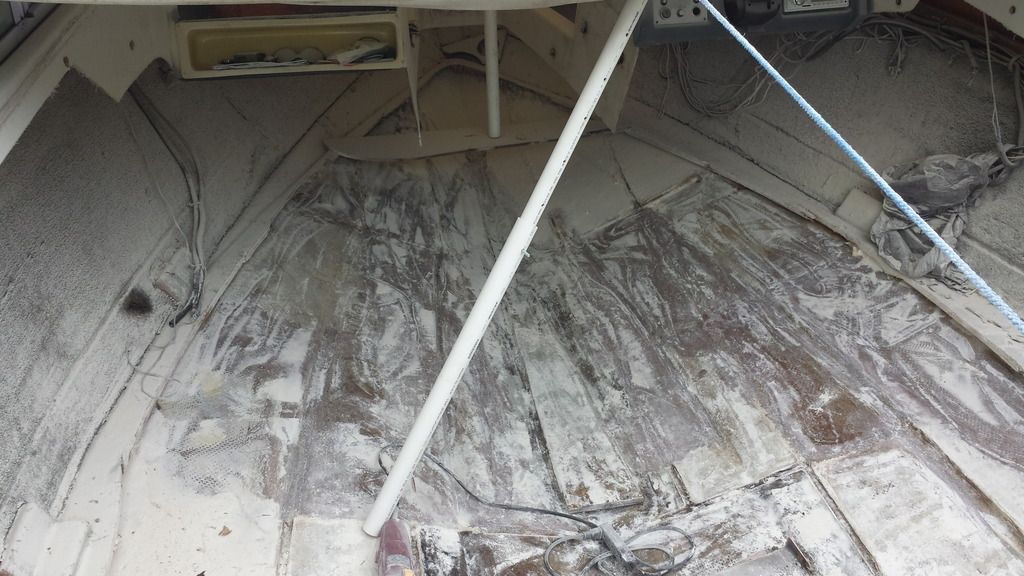
Guess what? I have more photos. I had two hours to kill before I went to work today. I work night shift for those of you that didn't gather that from my posts. So I like to wake up in the afternoon and work on it for a hour or two before I come in. Thanks to my lovely UNDERSTANDING fiance the project is progressing well. We sure miss each other. LOL... Any who, here is the progress I made today.


Getting dusty.


AAAAAaaaaaaa. It's an itchy blizzard of sadness!!!!
 

steely85

Petty Officer 2nd Class
Joined
Apr 18, 2015
Messages
121
Here is an image of the engine gantry I plan on building. However I will be using two 2x8 or 2x10 sandwiched up top. P.S. This is not me. ;D
maxresdefault.jpg
 
Last edited:

steely85

Petty Officer 2nd Class
Joined
Apr 18, 2015
Messages
121
Has anybody used MagicEzy Chip Fix Fiberglass Repair Cream. I'm thinking abut trying it since their royal blue looks pretty close to mine.
 

steely85

Petty Officer 2nd Class
Joined
Apr 18, 2015
Messages
121
Today was another productive day. I got pressure treated 2x10's and 2x4's so I can build my gantry tomorrow. I also bought a Reese power winch rated for 2000lbs. I will use it for the hoist, then when I am done I will put it on my trailer. I needed a new winch anyways, this will work nice.
 

steely85

Petty Officer 2nd Class
Joined
Apr 18, 2015
Messages
121
OK. I have a question for the transom gurus.
When I glue my transom to the hull of the boat using thickened epoxy, (cabosil and 1/4 inch fibers), I can just soak that side of the wood with resin, wait for it to set, then apply the thickened resin to it then clamp it on the hull right? I shouldn't need a layer of glass between the wood and the hull correct? Because the resin will squeeze into the voids in the hull creating a smooth bonding surface. Am I thinking clearly?
 

steely85

Petty Officer 2nd Class
Joined
Apr 18, 2015
Messages
121
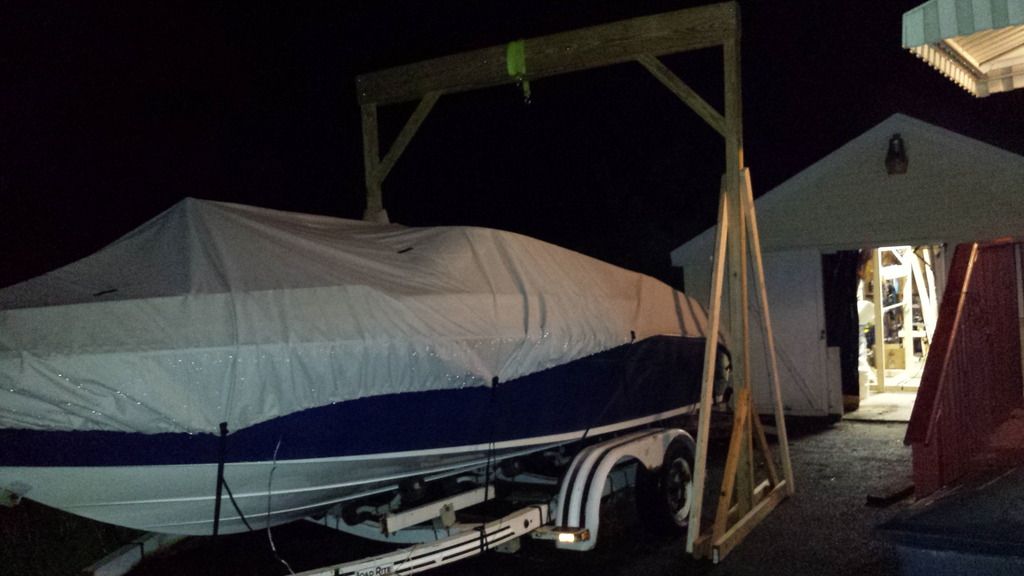
Ok everyone, sorry about the lack of updates but I have been working myself to the bone. Every day getting something done. Here are some updates with pictures.


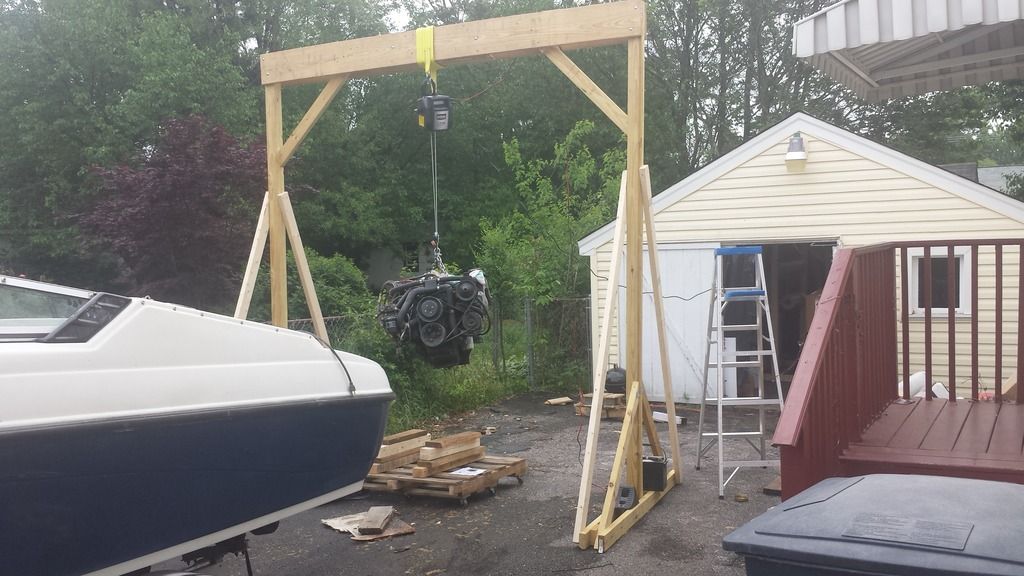
I got my engine hoist built. I decided to wrap my 10,000 lb tow strap around the top to squeeze everything together instead of making a base for the hoist/winch to mount to.
 

steely85

Petty Officer 2nd Class
Joined
Apr 18, 2015
Messages
121

I pulled the V8 out using the winch I mentioned earlier. It has a plate on the back that is made to attach to the ball of a truck, so I put one hook from the tow strap through it and put a snatch block on the cable to increase my lifting capacity. I then hooked the other end of the cable to the other hook on the tow strap. It was slow and steady, the frame of the hoist is good and sturdy. I thought making it 12ft tall was a bit overkill, but with the winch hanging it made it just right.

FYI. (DO NOT USE THIS SYSTEM) it is NOT safe. :p
 
Last edited:
Top