1987 trophy 170 restore

b4drowning

Seaman Apprentice
Joined
Jan 13, 2015
Messages
33
I finally patched the crack in the bulkhead- .08 5052, jb wel on the crack and surrounding area, and 28 1/4 rivets driven- should be stronger than original. also, built new wood transom and used epoxy PB to glue plywood together, used about 150 screws untill epoxy set, then removed screws and used epoxy PB to fill all screw hols and knots and voids- did this before glueing together as well. coated entire transom with plain slow set epoxy and kept adding till it would not soak in anymore- then gave itv a gloss coat of epoxy- will post pics when I figure out how to add a pic from photobucket and not the entire slideshow. next step- rivet the transom plate in place- hope I get my 1/4 rivet set before the weekend
http://s1383.photobucket.com/user/plkluge/slideshow/
 

b4drowning

Seaman Apprentice
Joined
Jan 13, 2015
Messages
33
this weekend put the transom back in- use 1/4 rivets instead of 3/16. i had sealed all the prior rivet hols with marine tex and sanded smooth. then put a good bead of 5200 on joint and started pounding rivet from keel to up to gunnel- took about 4 hrs and went pretty good. got a good even squeeze of 5200- man does it take a long time to cure. new question- the old transom did not go all the way to the bottom of the boat- the new one i made does. this will run into the existing aluminum stringes. my thought is to notch the new transon- fill with marine-tex and embed the end of the stringes into transon- then re-rivet t- the old reinforcement plates the used to rivet to the transom plate itsef- and lag bolt this into transom into predrilled holes filled with PB. thought is this would be far stronger with better load distribution- any thoughts from the group?
IMG_01841_zpsywf1m5wn.jpg

\

IMG_01821_zps7fuzlrgd.jpg


IMG_01371_zpstow5suy2.jpg
 

b4drowning

Seaman Apprentice
Joined
Jan 13, 2015
Messages
33
transon and transom plate are in and sealed with 5200 as well as all rivets and seams got two coats of Gluvit.working on staps and gas tank installation- got all new hoses (wow are they expensive) Question- should I prime or paint the bare aluminum hull, or is that just extra work and expense?
 

b4drowning

Seaman Apprentice
Joined
Jan 13, 2015
Messages
33
APPRECIATE IT- wog. just not getting any responses from tinners on my questions, so I hope i dont do anything stupid again. The transon turned out good- massive overkill by useing 1/4 rivets, 5200 between hull and transom and the a couple good coats of Gluvit- it holds water, not a drip. So on with the restore. Thanks again for your support
 

Woodonglass

Supreme Mariner
Joined
Dec 29, 2009
Messages
25,924
Got any pics of the outer section of the hull where the aluminum wraps around on the sides? I don't know much about TIN but it seems to me that's gunna be the most critical aspect of this build. The transom of any boat must be able to sustain a lot of torque forces placed on it by the motor. I realize you'll have knee braces attached to the transom that will be riveted to the stringers as well and a splashwell too. So if the sides of the hull are riveted well and watertight then I suspect you should be OK. But again, I have NOTHING to go on besides total speculation.:eek:
 
Last edited:

jigngrub

Fleet Admiral
Joined
Mar 19, 2011
Messages
8,155
An interesting train wreck you have going on here, but everything will probably be alright in the end.

Some things I've noticed:

1.The transom core wood doesn't go all the way down to the bottom of the boat in an aluminum boat for a reason, that reason is to keep the wood above any water that may accumulate in the bilge of a leaky riveted boat. Keeping the wood above the bilge water makes it last longer.

2. What's up with the transom wood sticking above the hull skin?:


Are you planning to change the configuration of your transom and delete the splashwell in this pic?:

If you plan to delete the splashwell, what will you do to reinforce the transom to replace the structural reinforcement you'll be losing?

3. How do you plan to secure the transom wood core to the hull? Just lagging the ends of the stringers to it won't be enough for the core or the stringers. To do it right you'll need to go through the outer transom skin, through the wood core and then the stringer ends with bolts/screws or long rivets.

4. Are these some kind of copper rivets or fasteners in your boat?:


No copper or brass in an aluminum boat, even the smallest shaving laying against your hull will eat a pinhole completely through your hull for a nice leak later.

I see some other things too, but lets address the things first.
 

jbcurt00

Moderator
Staff member
Joined
Oct 25, 2011
Messages
24,863
Those 'copper' rivets are clecos for aligning metal panels w/ multiple rivet holes when doing rivets, so he's good to go on that. They are used temporarily:
IMG_01731_zpsrs1xb4eg.jpg


I cant go thru everything since my last post, I'm out of town, but I'll catch up when I do get home. Sorry you haven't been getting a bunch of posts and replies to your questions. Seems iboats traffic is down a bit and helpful replies aren't as often as I thought they would be.
 

b4drowning

Seaman Apprentice
Joined
Jan 13, 2015
Messages
33
wow- thanks guys and now ill answer the questions:
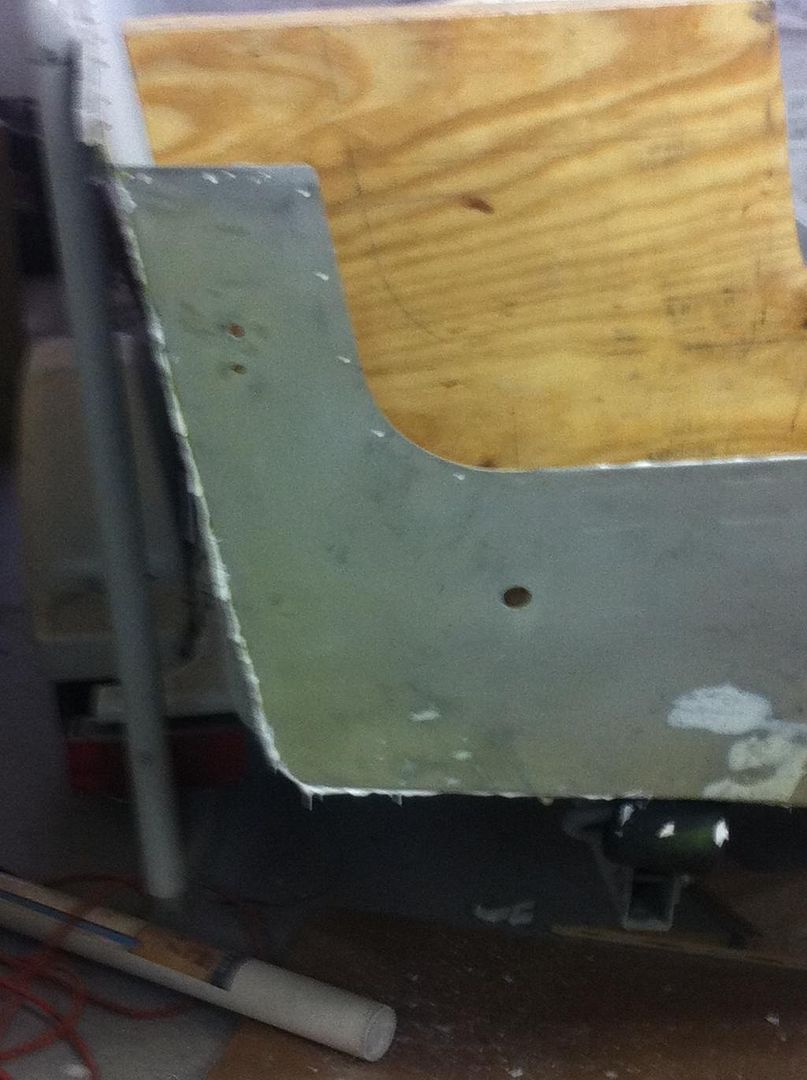
1- transom going all the way down to bottom- see that was my thought process is that it would be stronger, didn't think much about water since it was encases in epoxy- makes perfect6 sense- ill cut it to bottom out at the floor
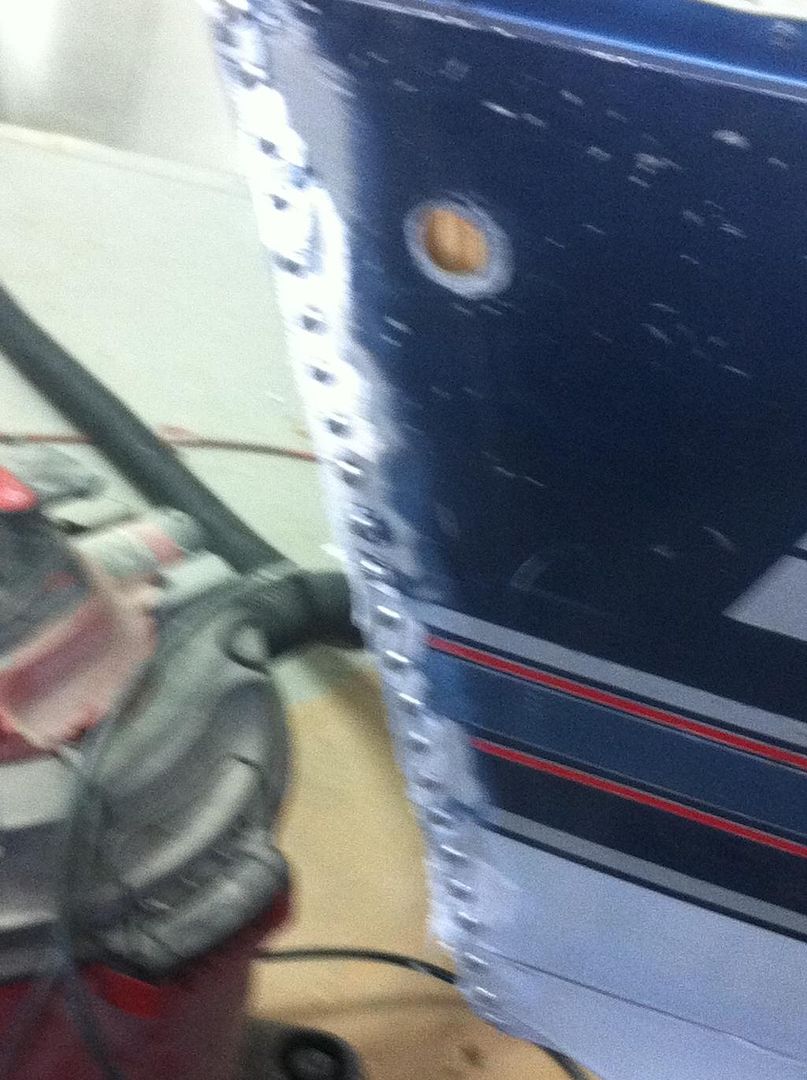
2- transom is sticking above spashwell because the strigers were in the way- I cut grooves to go over the stringes and was going to epoxy the stringers in and also bolt original knee plates to wood. This will no longer be required since Ill cut the transon to end at floor instead of going all the way to the bottom
3. splashwell is not being deleted, just made smaller, with storage cabinets on the sides to the hull. I suspect structurelly this will be stronger than just the splashwell going all the way across. They way the original was designed will still be basically the same, except instead of dipping down for the splashwell on the side- I would keep full height
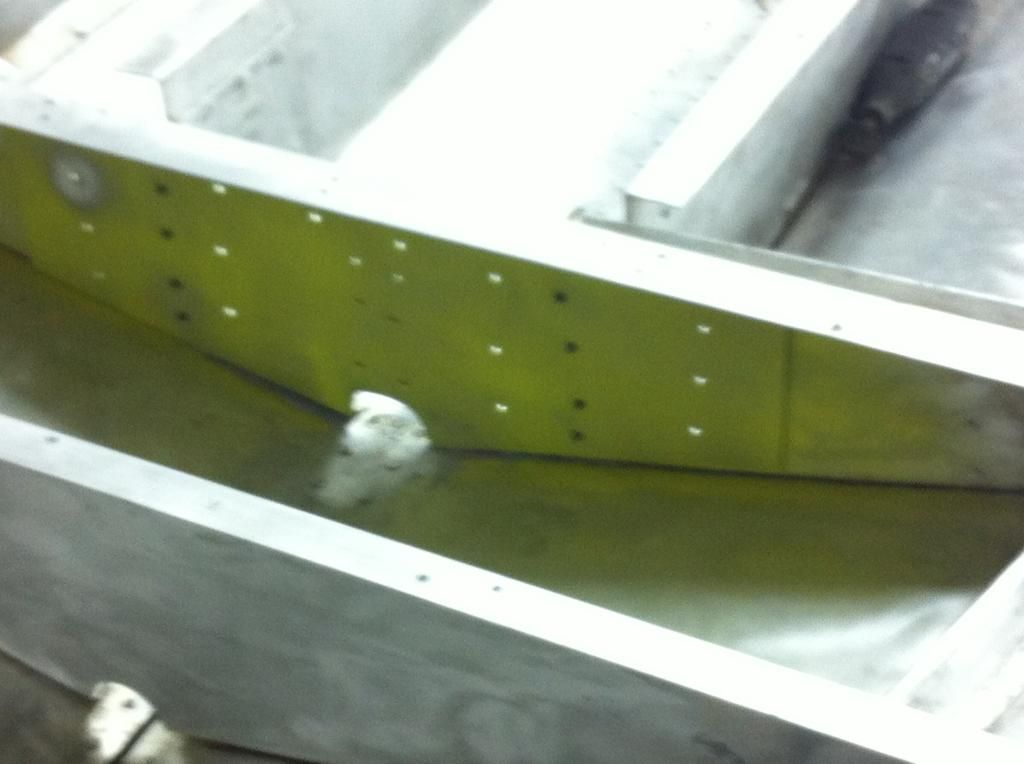
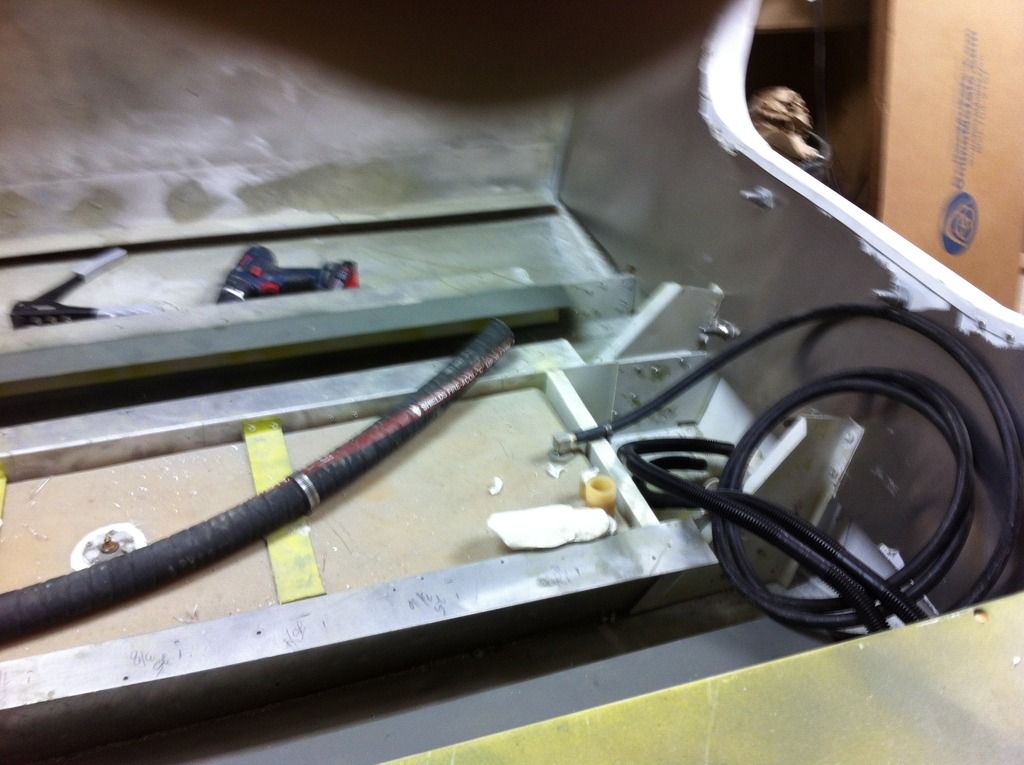
4. I used Clecos to hold metal in place before riveting- the only metal used in the boat is 5052 aluminum and 2117 rivets- no steel, copper, or any other metal or shavings
5. transom will be attached as original- knee braces to sringes0 1/4 2117 rivets, motor mount thru and thru, drain holes for smaller splashwell (press formed_ thru and thru- should I use some 5200? that would make it a bear to get out if needed.

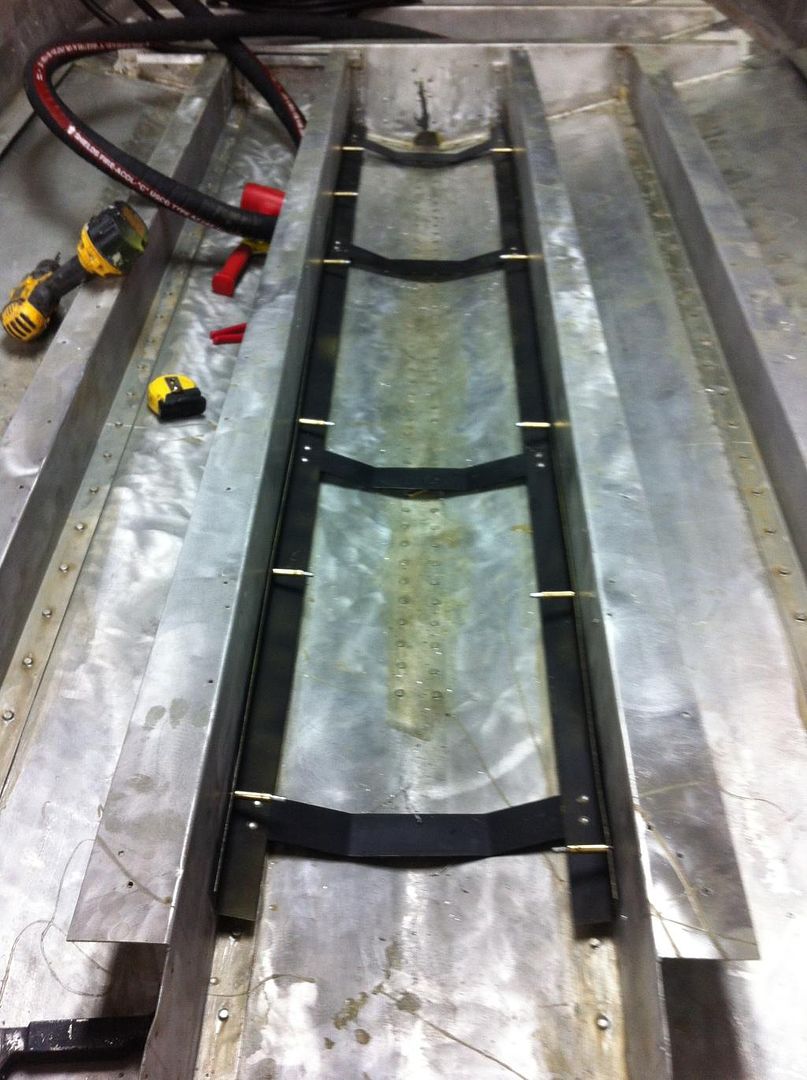
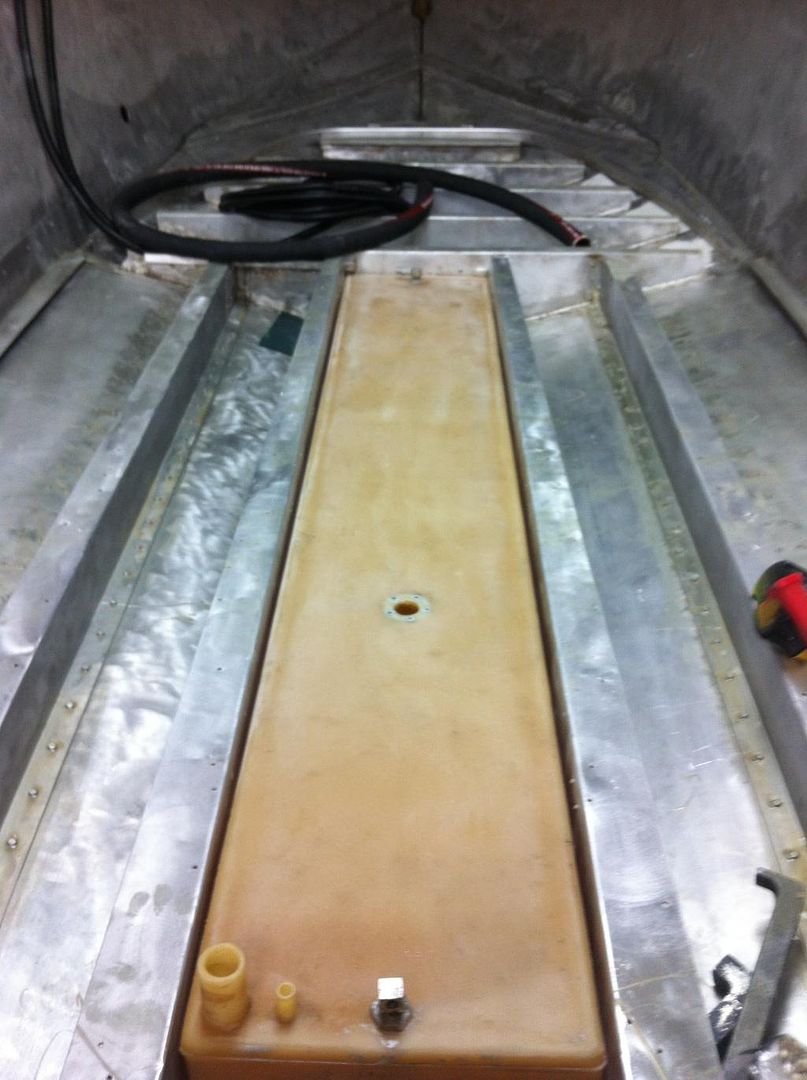
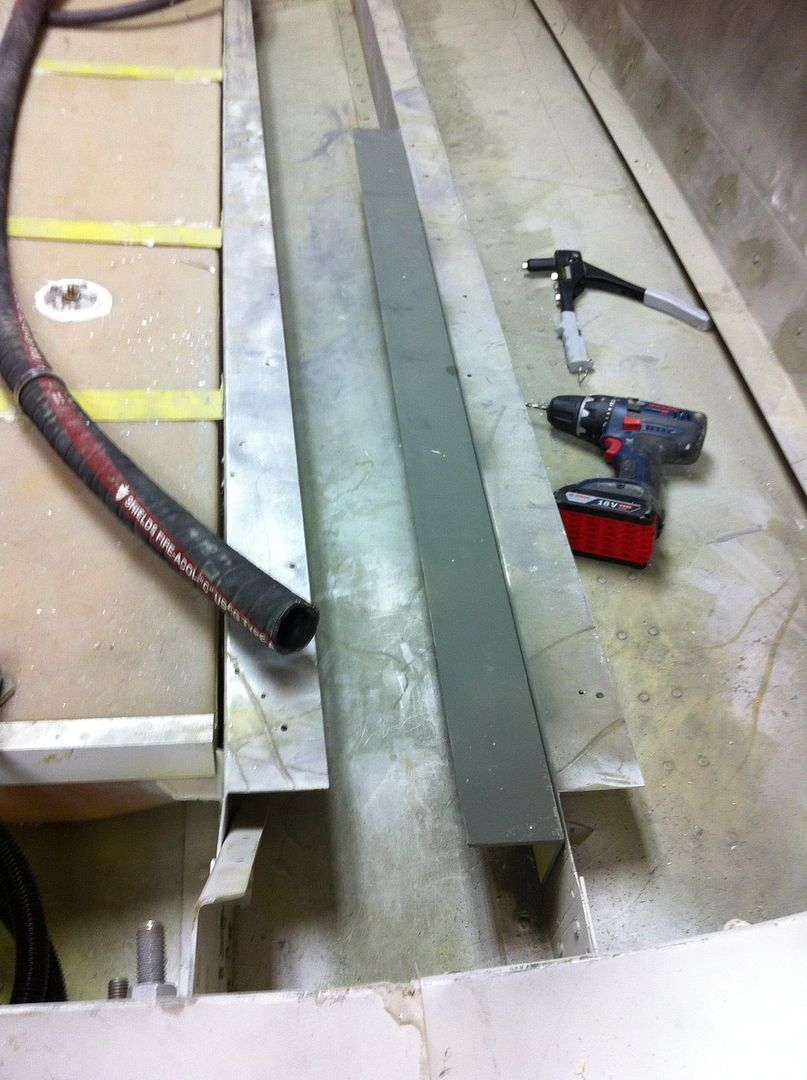
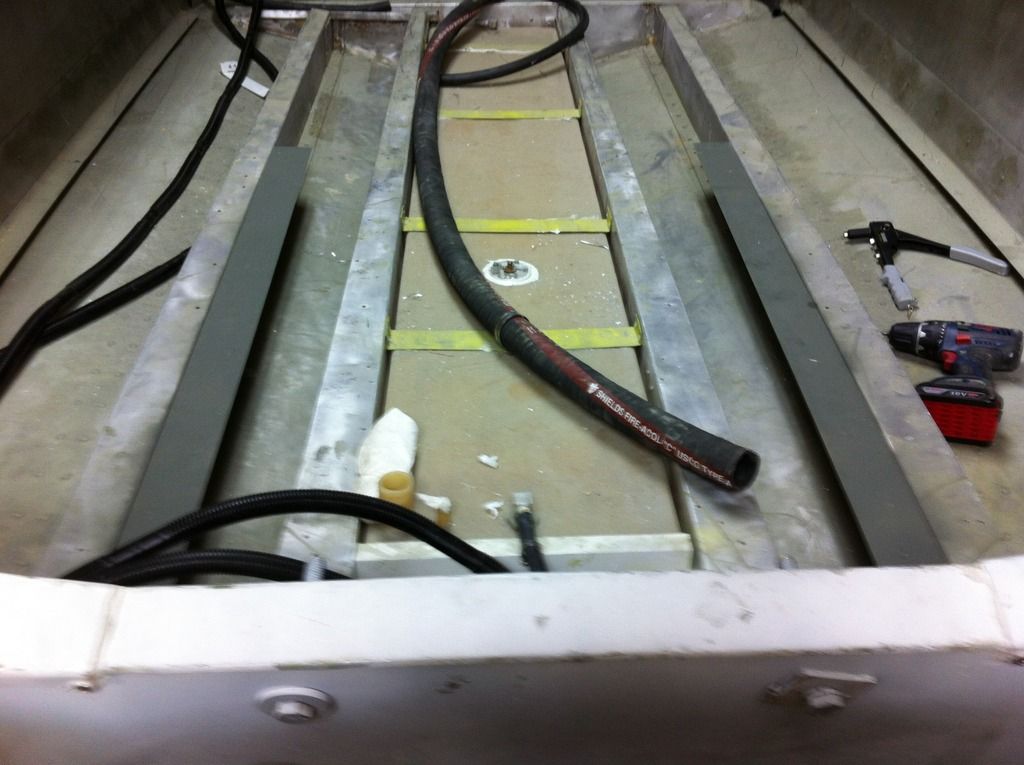
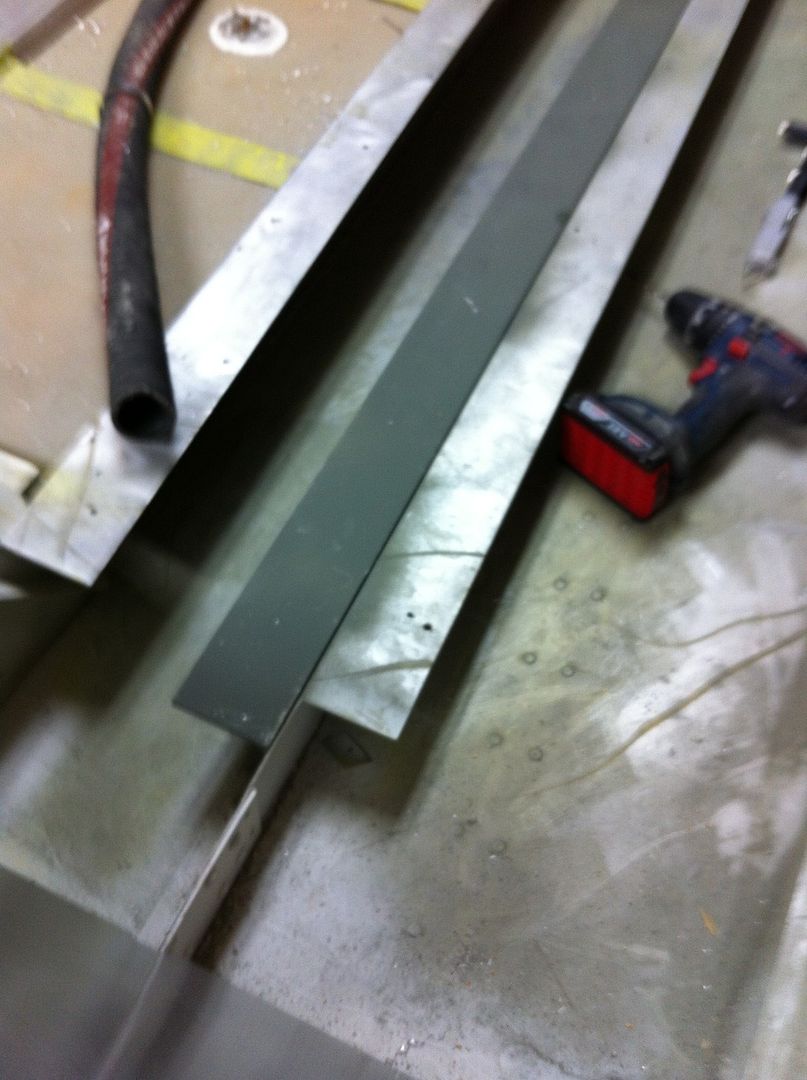
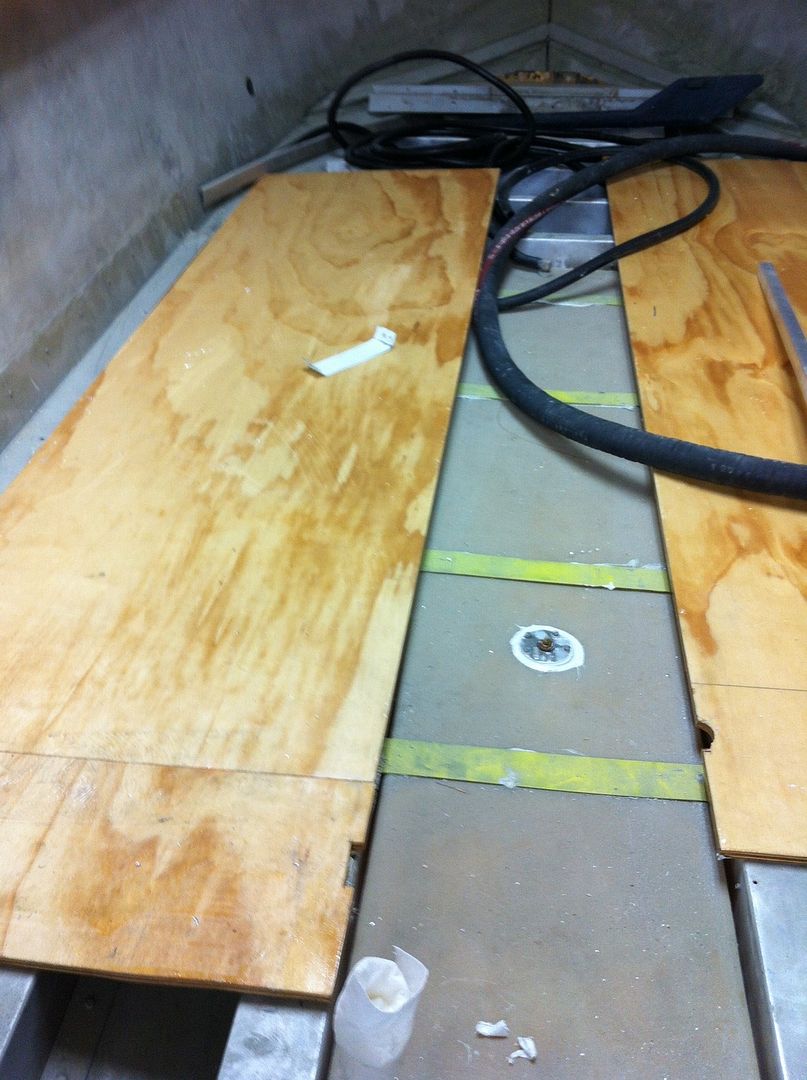
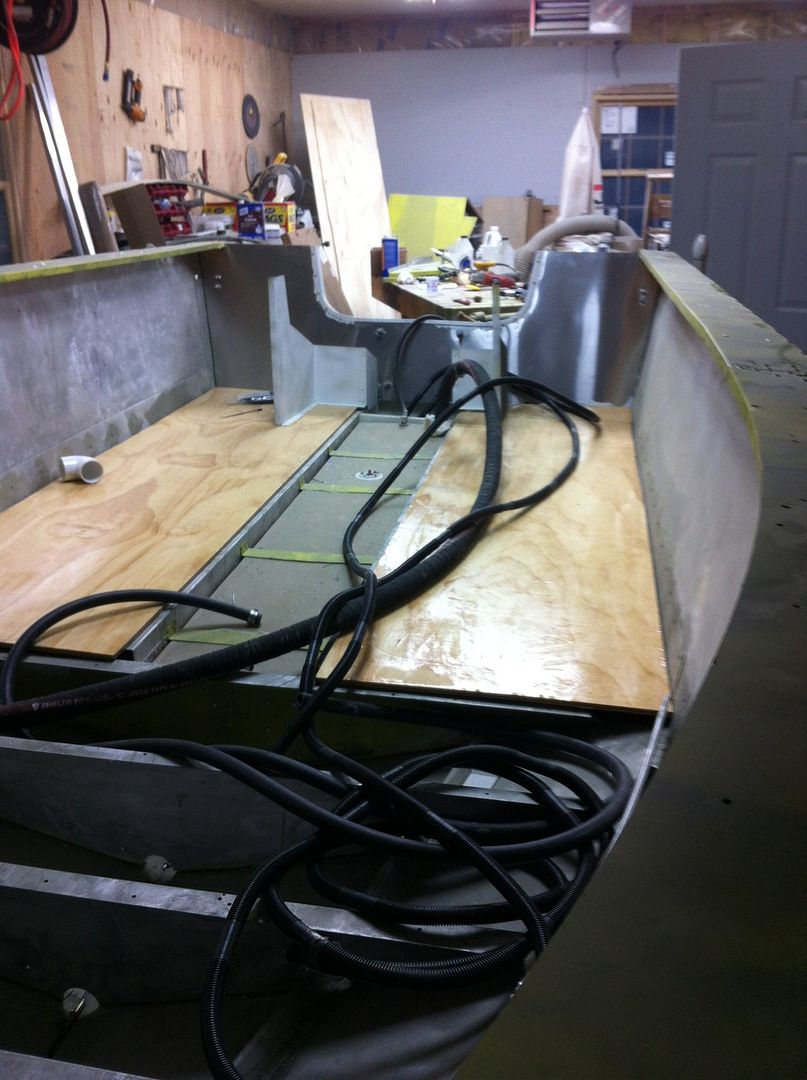
I made a "ladder" frame last night for the gas tank- original as just two light strips on the sides and livewell hoses running underneath tank- which crashed them years ago. thought was to 5200 the gas tank to the ladder that is rivewted- i did not have room to use the method on a prior post to install the tank.
IMG_01831_zps8m2orrau.jpg

IMG_01841_zpsywf1m5wn.jpg

IMG_01821_zpslxa9apvi.jpg

IMG_01861_zpsf2om2mdz.jpg

IMG_01871_zpspnues73j.jpg

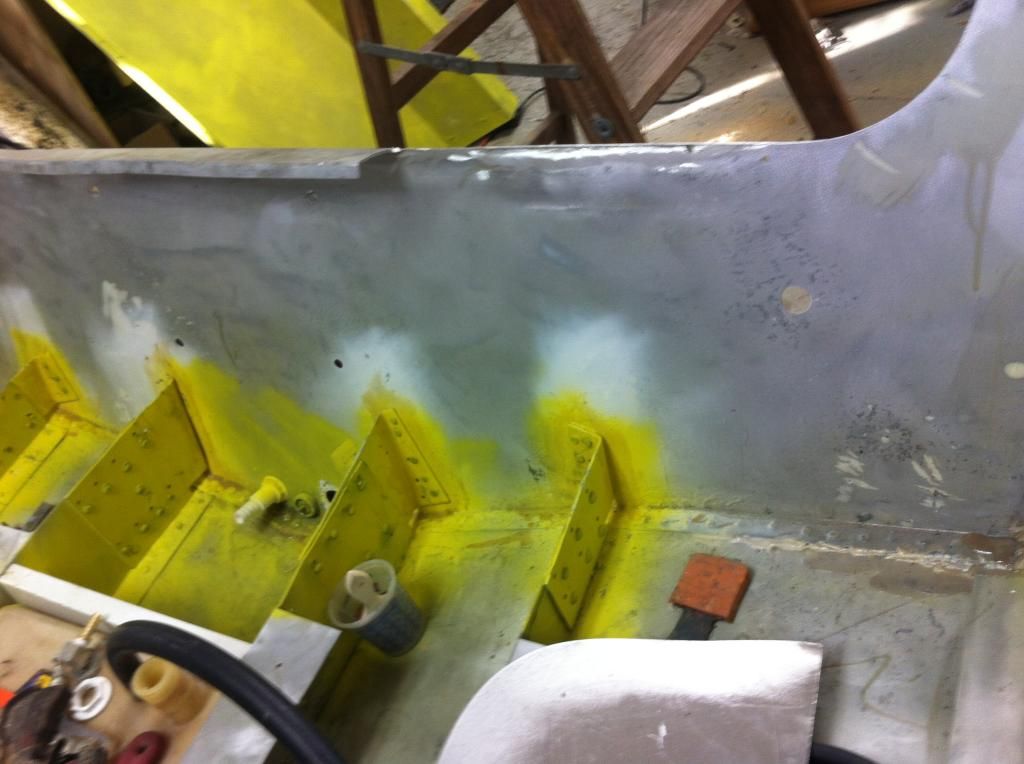
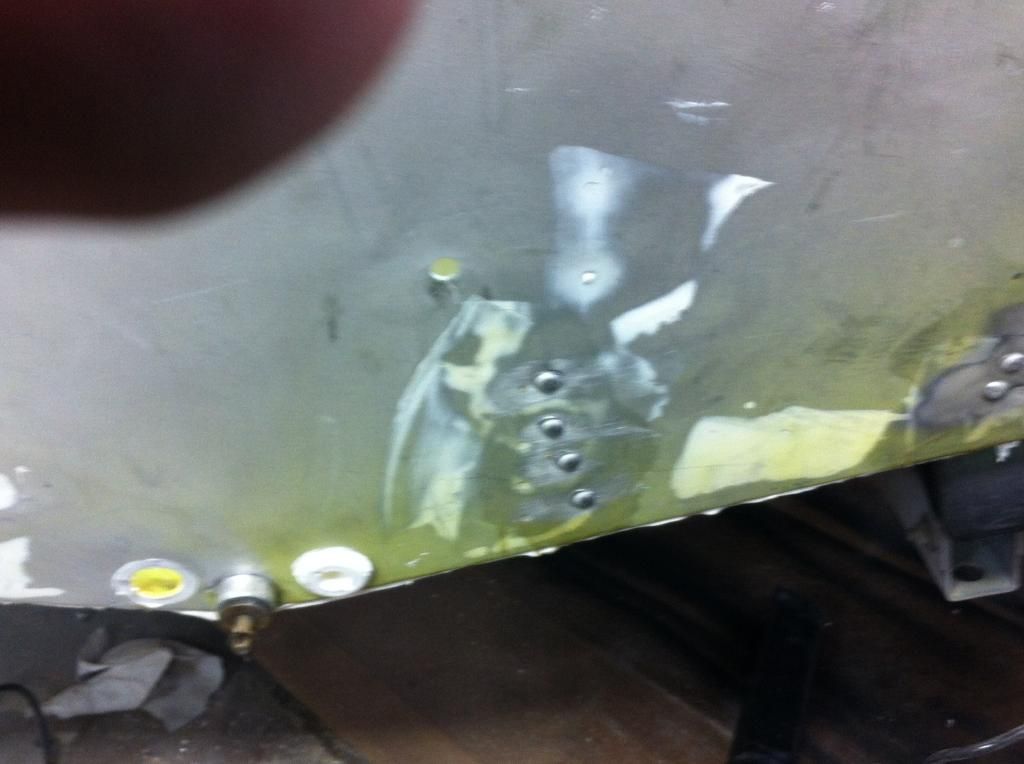
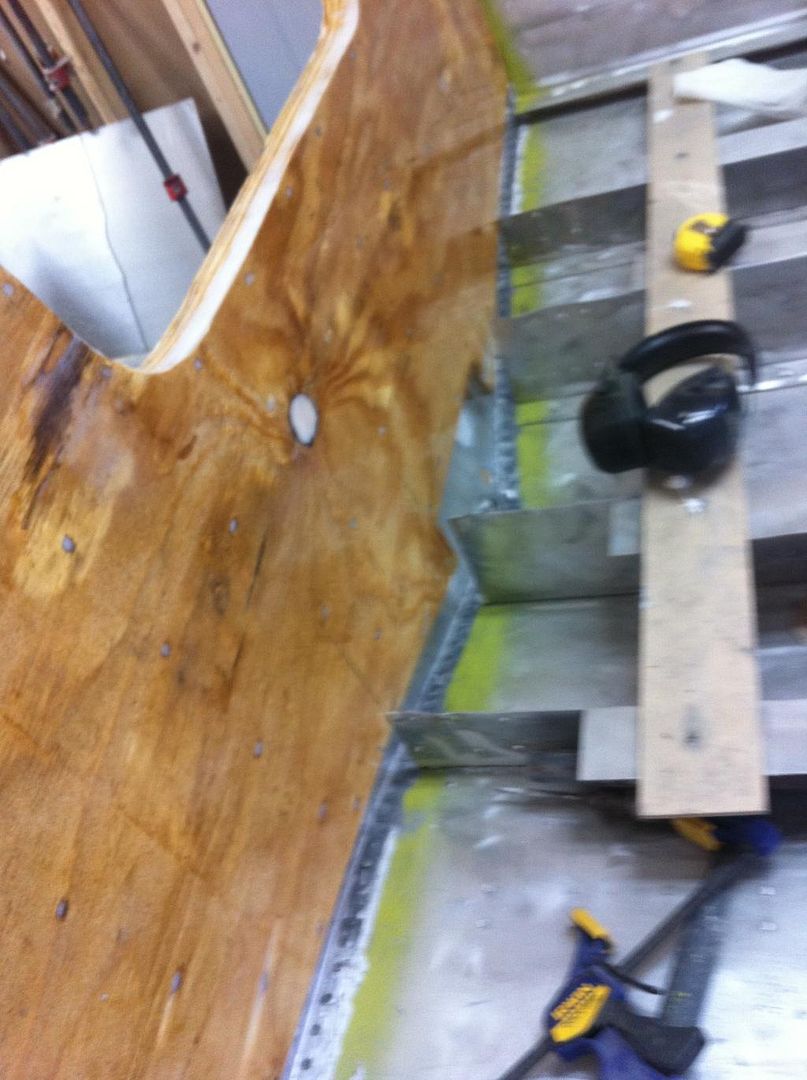
That yellowish stuff you see is Gluvit on all seams and rivets. you can see the slightly darker color as well up in the bow

This is my first shot at boat restoration, I truely appreciate the feedback
 

b4drowning

Seaman Apprentice
Joined
Jan 13, 2015
Messages
33
the picture of the rivets is not good- let me know if you want a better picture
 

jigngrub

Fleet Admiral
Joined
Mar 19, 2011
Messages
8,155
I like your attitude and fearlessness to jump in and take something apart and put it back together, a rare quality that more people could use.

Letting the transom plywood go all the way down to the bottom of the boat isn't that big of a deal and if you do it right (and it looks like that what you're trying to do) it will add more strength. The epoxy sealing of the wood will prevent unwanted exposure to the bilge water, and if you show your boat the proper care by keeping it covered, trailered, and the bilge plug out when the boat isn't in use you'll probably never have to replace your transom again.

As far as the redesign of the upper transom and splashwell to better suit your needs, that should be ok too if done properly. I would go for overkill in this area, better to have too much strength than not quite enough.

I'm guessing the Cleco's are just copper colored and not actually copper? That should be ok too, you just don't want any pure copper or brass slivers or filings laying in the bottom of your boat.

I saw where you asked about this crack in your stringer header/rib. I'd drill a small hole (1/8") at the very top/end of the crack to stop it from cracking further, then I'd apply a patch on both sides. Use .063 gauge (1/16" thick) aluminum sheet metal, make it as tall and wide as possible. I'd use a metal compatible marine epoxy like JB Weld marine to back butter the patch plates before installation and then rivet them over the crack with closed end blind rivets or you can use your solid rivets. Something like this:


You asked about painting, I take it you meant the inside of the hull? Not many people do it, but painting the inside of a tinny hull can prevent corrosion problems later on... especially when you have other materials against the inside of the hull like expanding foam and your transom core. Painting the inside of your transom skin before mounting the transom wood core will prevent galvanic corrosion should any water get trapped between the wood core and the inside of the skin. Use a self etching primer like zinc chromate for aluminum. Use one coat of ZC and one or two coats of metal primer and then a top coat, all of these can be rattle can. If you plan to use expanding urethane foam you can paint wherever you're going to install the foam in the same manner as the transom. This will also prevent corrosion should any water become trapped between the foam and the hull. All of this really depends on how you plan to keep your boat during boating season, if you're going to keep it tied to a dock or slip and exposed to the elements... painting isn't a bad idea. If you plan to keep the boat trailered, covered and dry when not in use it isn't really needed.
 

b4drowning

Seaman Apprentice
Joined
Jan 13, 2015
Messages
33
thanks for the feedback- the patch I put on the bulkhead was .080 and I extended it across most of the bulkhead. it pretty much hits all 4 stringes. I somewhat followed you rivet patten- I just used more since the piece was wider- 28 i think in total 1/4 solid rivits. I also did backbutter the piece with JB weld and after the patch was rivited, I got a good ooze out of the crack. I cut the transom up to the floor level today and put a heavy coat of epoxy and carbosil on the wood. also tried to Aluminum weld the transom plate modification with Muggyweld- I failed miserably. Im just going to run it up to a welding shop and have someone that knows what they are doing weld it in- its really not structural, but it needs to look pretty after I fill, prime and paint the old girl. I put in the gas tank as well on the bracket that is rivited betwenn the stringers. put a good bead of 5200 on the fran=me and set the gas tank into it. planning on riveting in some 032 strips over the top of it and seal to tank with 5200 as well- hope I never have to take it out. The boat is trailered and covered when not in use. I started toi put in the stringer knee braces, but instead if just priming, I decided to paint as well. will rivet them in tomorrow when paint is dry
IMG_01721_zpsipcsne3p.jpg

The clecoes I used to hold the piece are steel- they are color coded by size for folks like me=they are great to have on hand and work like a temporary rivet to hold things together
 

b4drowning

Seaman Apprentice
Joined
Jan 13, 2015
Messages
33
Put the klnee braces in- what a job- ther transom plate was warped, so I hav to pull it back in useing a rivet hole and 1/4 bolt. worked good, but made for a messy rivet job. I put on a good coat of gluvit- probably should have used 5200 where the knee is riveted to the transom plate- I am hopeing the gluvit will be enough. also cleaned and paited the strps used to hold the gas tank from the top. riveted then to stringers, and put a heavy bead of 5200 between the tank and strap. Transon was a bit tight, trimmed it to fit and re-epoxied to seal transom. will start working on interior structual next, and floor- so I can turtle the hull and refinish the outside of the hull- if anyone sees items i need to attend to, please let me know- I am learning, but still dont know squat.
IMG_01881_zps7xhbr1um.jpg


IMG_01901_zpswm2lg6mr.jpg

IMG_01911_zpsojh1b3bp.jpg

this last pic is a bvetter one of the rivets holding the transom plate in place- all 1/4 2117 rivets- it was originally put in at the factory with 3/16 rivets. I used the same factory spaceing and all bucked heads turned out nice- just needed to use a 4 pound bucking bar- the 2 pounder I had was not enough for the 1/4 rivets, but works great on 3/16 rivets. used an aircraft go-no go gauge for bucked heads
 

b4drowning

Seaman Apprentice
Joined
Jan 13, 2015
Messages
33
Its been a bit since I posted- pictures to come: gas tank installed and secured on frame with 5200 and also .032 strap on top with 5200 and rivets. Been really busy cleaning parts to reinstall. riveted gunnel on- really stiffened up the hull. Today I will take hull to weld shop and get the transom plate modification welded on, then I can install the wood transom for good.
 

b4drowning

Seaman Apprentice
Joined
Jan 13, 2015
Messages
33
been out for a bit, but still working on the boat- will post pictures soon. transom plate, transome, knee braces are all in. gubbels are also installed with 1/2 epoxy coated plywood underneath, Question- when I narrowed the splashwell, there were braces that were riveted to the outside stringes, now that I cut the braces narrower- i miss the stringer. Thought was to rivet in a 3" piece of angle 4 ft on each side. and rivet the braces to that. it will still be on the same stringer, but on the other side of it attached to an angle iron (5052 1/8" thick) tht is attached to the stringer. I sounds right in my mind, but taking the transom plate out also sounded like a good idea. Any feedback appreciated
 

b4drowning

Seaman Apprentice
Joined
Jan 13, 2015
Messages
33
the next couple pics are of the stringer "additions i put in- so the splashwell support will have something structual to attach to- since I narrowed the well by 2 feet
IMG_02051_zpsbkxpbtlq.jpg

IMG_02061_zpsloalevv8.jpg

IMG_02071_zpsv89qne5o.jpg

The next pic is of the flooring I will be putting in after running plumbing and electrical and foam in- all sealed with epoxy
IMG_02001_zpsvryyh0rr.jpg

next pic is spashwell support that will tie to knee braces of center stringers and outside stringer- thru the addition I added on
IMG_02111_zpszg5nvktz.jpg

Another view from front

IMG_02101_zpssdahjifq.jpg

pic of knee braces- stout stuff
IMG_02081_zpseupqolbl.jpg
 

b4drowning

Seaman Apprentice
Joined
Jan 13, 2015
Messages
33
the stringer additions are massive overkill 4ft of 1/8 5052 3" angle. plywood is 1/2 exterior grade- sealed in 2 coats of epoxy, included trhree coats on sides and ends. Same plywood used under gunnel , Bow cap was 3/4 exterior sealed in epoxy- all was glued with 5200 to aluminum gunnel and bowcap- the closed end rivited. overkill seems to be becoming the norm.
 

b4drowning

Seaman Apprentice
Joined
Jan 13, 2015
Messages
33
started running pipeing under floor for wire and connections, have ordered foam and will pour it on back 8' of boat when it comes in. my plan was to pour cavity about 1/2 full with expanded foam, then attach floor boards and dril holes to pour the rest of the foam. how far apart should the holes be?? i want the cavities filled, and the holes should give a place for excess to raise out. Factory job was hit and miss- cavities were not full. my thought is the foam will provide a little additional support for the floor and give a "rock solid" sound dampening. please let me know your thoughts
 
Top