1971 Starcraft Super Sport Floor Replacement and Such

STARCRAFT16SS

Petty Officer 1st Class
Joined
Mar 25, 2008
Messages
344
No Title

I like this thread....want to replace my transom before I swap out outboards:D..........
 

Attachments

  • photo210719.jpg
    photo210719.jpg
    14.6 KB · Views: 3
  • photo210720.jpg
    photo210720.jpg
    17.3 KB · Views: 3

turtle1173

Chief Petty Officer
Joined
Nov 29, 2001
Messages
437
I sure am thankful that I listened to the advise here and took my transom out. I bought a very nice 75HP Mariner recently that I would have hated to see fall off the back of the boat!!

I'm getting my last coat of paint put on the transom over the epoxy and will be installing it probably on Thursday. Progress!
 

turtle1173

Chief Petty Officer
Joined
Nov 29, 2001
Messages
437
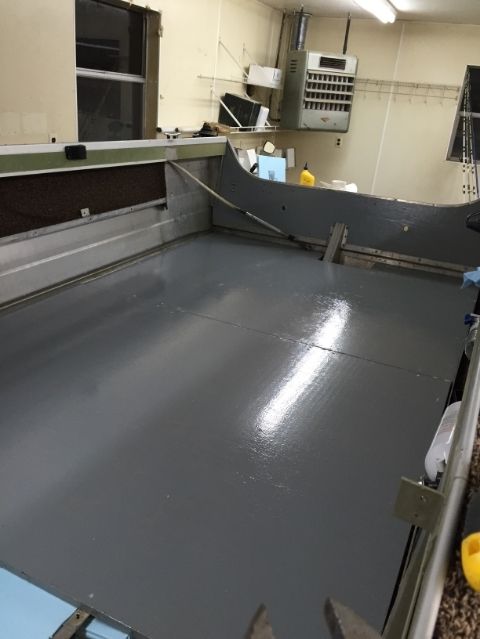
Making some progress! Transom is in. I've got the back two floor pieces cut. They are currently soaking in Woodonglass' formula (2 part mineral spirits, 1 part boiled linseed oil, 1 part spar varnish). Here's a few pics!


bonz_d

Vice Admiral
Joined
Apr 22, 2008
Messages
5,274
turtle it's coming along very nicely, good work.
I normally lean against using the heavier, thicker ply in aluminum hulls because of the weight added but as I've been seeing and learning with these Stars there is a wide span between the stringers in these boats and is probably needed.
A few years ago I did a smaller Lund S14 DLX that Lund had used 5/8" which I copied. In that hull the span between supports was only about 14" and when finished it was rock solid.
This spring I'll be redoing an Alumacraft that was poorly done by the previous owner. In this hull I'd found that the original ply was 1/2" but replaced with 5/8" and was not fitted very well. On this hull the span between stringers is only about 8" on centers so the 1/2" should once again work out just fine.

Again, Lookin good!
 

jbcurt00

Moderator
Staff member
Joined
Oct 25, 2011
Messages
24,871
Yep, new deck looks great.

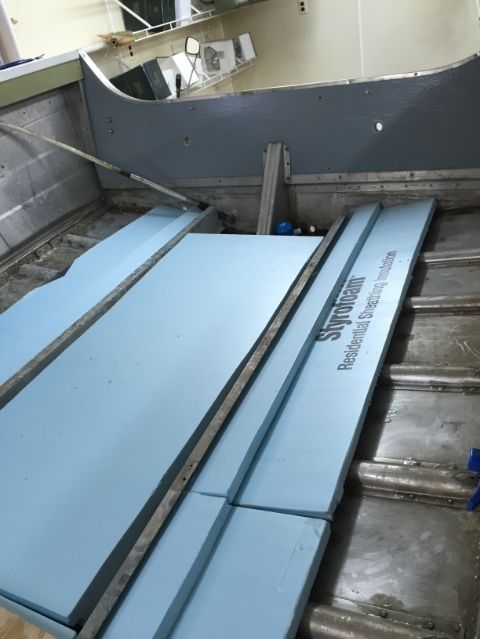
I'd suggest you add some blue foam to the outer areas of the hull too, not just in the central, deeper section. Unless you've already done the math and you have enough flotation to cover the weight of boat and motor.
 

turtle1173

Chief Petty Officer
Joined
Nov 29, 2001
Messages
437
Bonz_d - Yeah, there really is a lot of distance between the stringers. I had this same boat several years ago (it was one year newer) and I replaced the floor on it with 1/2". I was trying to cut cost was the reasoning then. I was very unhappy with the result. Even with the 3/4", there is some play on the seams but it's much better. I'll probably put a strip of aluminum under the joints to help.

jbcurt00 - Yes, I'll put some foam on the outer areas also. I haven't done the math with the foam. I was going to put some on the outer areas and then also behind the vertical pieces on the side. Do you know the formula to figure out how many pieces of foam I need? The outboard I have for this weighs 300 lbs.

Thanks for the compliments!
 

Woodonglass

Supreme Mariner
Joined
Dec 29, 2009
Messages
25,924
You can cleat the seams with 4" strips of 1/2" plywood Glued and screwed to the bottom and cure the flex issues.;)
 
Last edited:

dozerII

Admiral
Joined
Oct 25, 2009
Messages
6,527
You can cleat the seams with 4" strips of 1/2" plywood Glued and screwed to the bottom and cure the flex issues.;)

What WOG said, if you go here starting in post 23http://forums.iboats.com/forum/owners-groups-by-manufacturer/s/starcraft-boats/541427-1987-16-ss/page2?t=528421 you will see how I add doublers under the deck to stabilize the seams as well as give you a little over an inch of ply where your seat pedestal go.
 

dozerII

Admiral
Joined
Oct 25, 2009
Messages
6,527
Thanks WOG, not sure what happened there, I think there are still gremlins in the site.
 

turtle1173

Chief Petty Officer
Joined
Nov 29, 2001
Messages
437
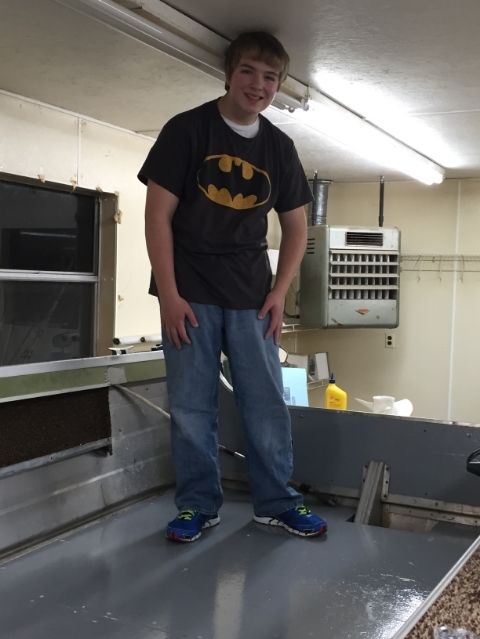
Making some more progress. Aside from the 2 floor pieces, I've got the 3rd piece ready to go in this evening. I've also got the wood for the console cut out, the vertical support pieces for each side, as well as the piece of plywood that goes back behind the transom aluminum. It was very helpful having the old pieces to use as templates.


That's my 12 year old son who is helping me a bunch on this. He's very anxious to get out to catch those big cats!
 

turtle1173

Chief Petty Officer
Joined
Nov 29, 2001
Messages
437
Doing some work on the back. Got the back plywood piece mounted, along with most of the bolts. Ran out and need to pick a few more up today. Also got the aluminum rail installed back on top of the transom. She is coming along.


hayko1971

Starmada Splash of the Year 2015
Joined
May 24, 2013
Messages
448
Nice work, I'm following along as I'm in the middle of the same process.
 

Watermann

Starmada Splash of the Year 2014
Joined
Jan 12, 2013
Messages
13,753
Glad to see your transom cap was still in good shape, too many times they get all mangled and need to be replaced. Lookin good on the rebuild :thumb:
 

turtle1173

Chief Petty Officer
Joined
Nov 29, 2001
Messages
437
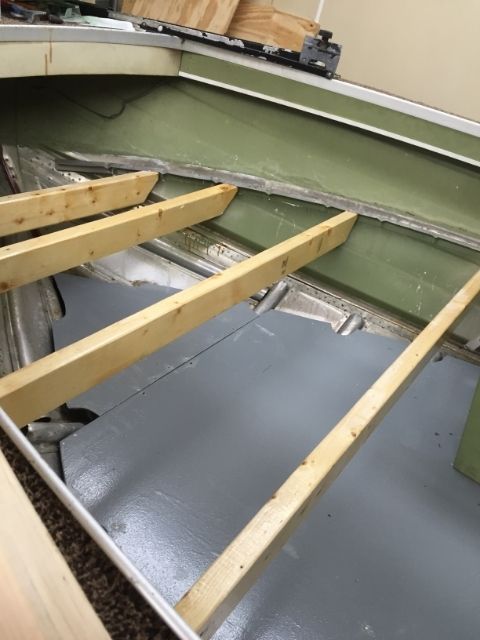
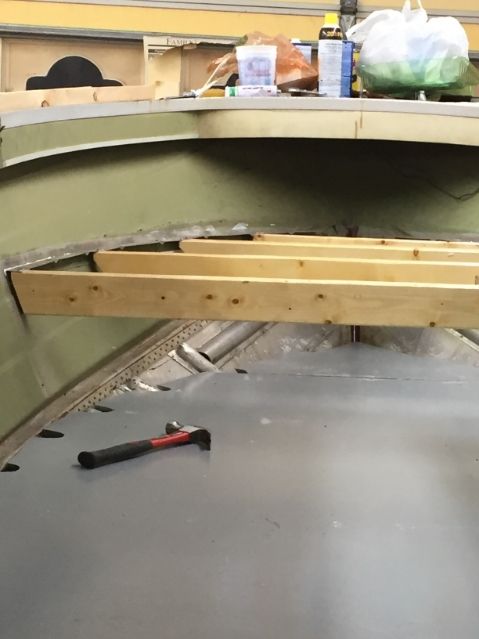
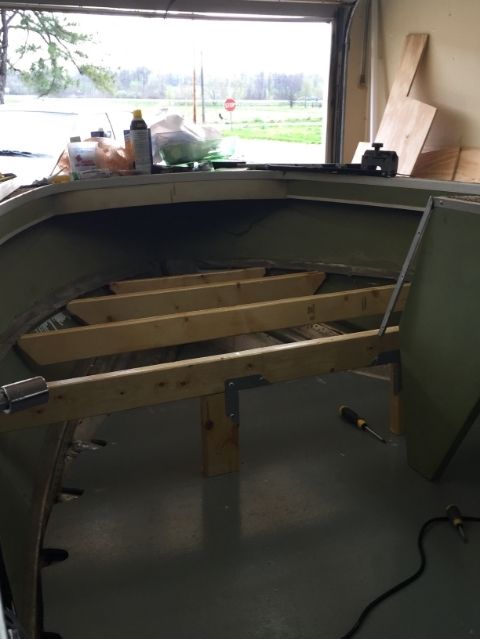
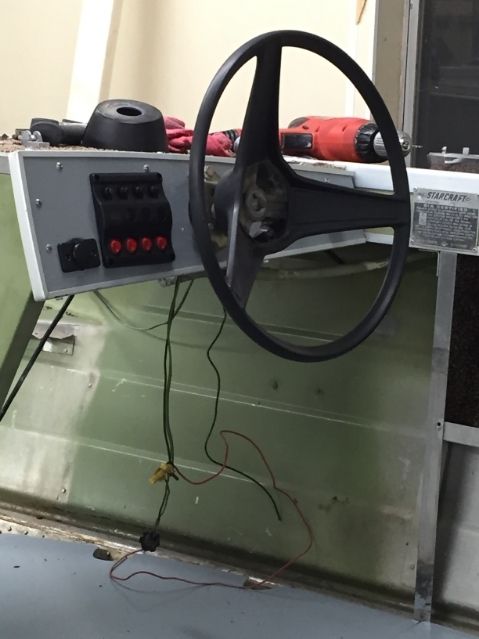
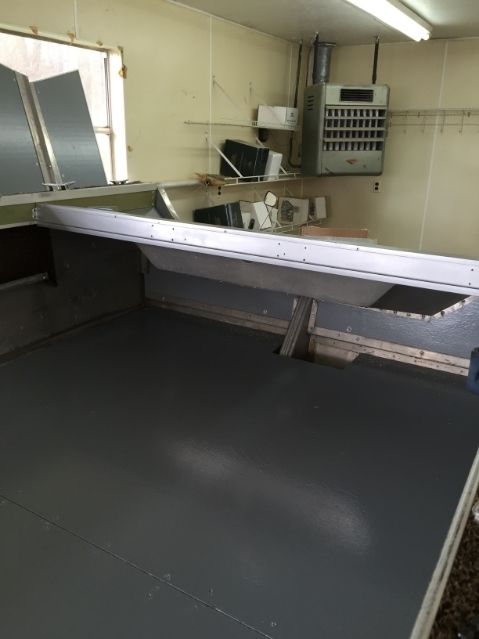
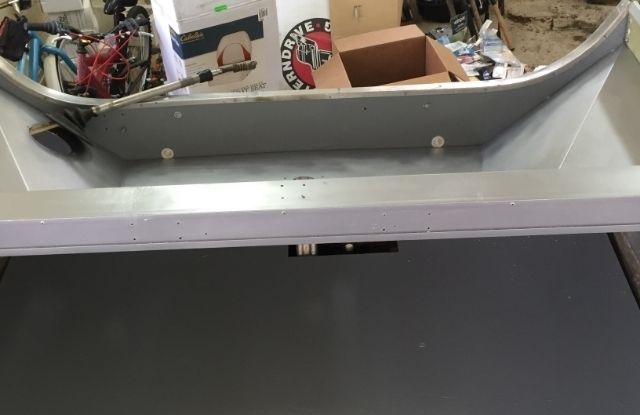
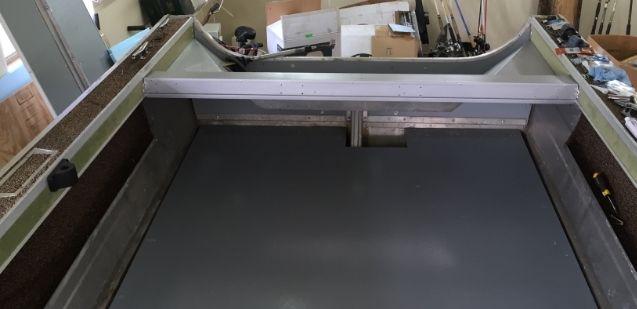
Getting quite a bit done here the last couple weeks. I've got the frame built for my front deck. Getting ready to lay the deck down maybe this evening. I got the splashwell installed and pretty well finished the back. Very happy with how this has turned out. I'm also close on getting the console finished. I still have to install the switch panel and all the wiring. Also have the vertical side pieces done, just haven't installed them yet. That should be in the next couple days. Here's some pics.


hayko1971

Starmada Splash of the Year 2015
Joined
May 24, 2013
Messages
448
That looks great! How did you attach the frame for your front deck to the boat?
 

turtle1173

Chief Petty Officer
Joined
Nov 29, 2001
Messages
437
Thanks! I used the brackets that were already attached to the boat to support the frame. Of course, then I've got it supported from the floor also. So the bracket was already riveted to the side of the boat on the original design.
 

64osby

Admiral
Joined
Jul 28, 2009
Messages
6,799
Nice progress keep it up.

What paint did you use on the floor? I looked back but didn't see.
 

Jody H.

Cadet
Joined
Apr 15, 2015
Messages
23
Napa (or any auto store I imagine) has really good aluminum wheel cleaner. Mist spray it on, then rinse. Cleans aluminum corrosion up nicely.
 

turtle1173

Chief Petty Officer
Joined
Nov 29, 2001
Messages
437
I used the oil based floor and porch paint from Lowes (Valspar), in light gray. I also used the non skid additive they have. It's a very fine grain and I'm pleased with the texture of it.
 
Top