


Woodonglass
Supreme Mariner
- Joined
- Dec 29, 2009
- Messages
- 25,924
It'll be a Piece of Cake!!! If you've done a dry run then you already know how it's gunna be. The Nice thing about epoxy is it gives you some extra time. No Worries!!!


")
With that many relief holes you may be at risk of squeezing out too much glue and weakening your bond. That's one of the reasons I don't use relief holes nor do I have to worry about squeezing my work too tight. Other reasons are having to clean up the mess that's going to make and having to go back and patch all of those holes. You'll see what I'm talking about tomorrow.
As long as your PB is the right consistency it will be fine. Just scrape it off and use it for the fillets. You'll have the same amount of resin on the back of the transom as you would have if you didn't drill any holes at all!!! The "Rivets" give you a Stronger bond to the hull NOT a weaker one because you actually have more surface area glued to the hull if you THINK about it.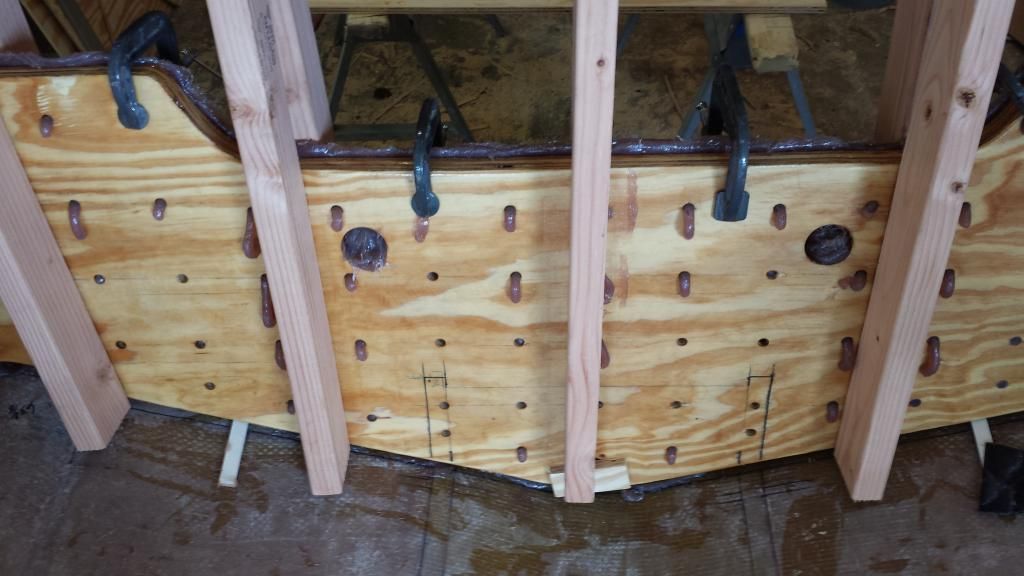
Yup, only 12 1/2" holes. The screw holes filed with resin. I will be using using excess glue for my filets. I want able to glue it today because of snow storm. I wad able to have everything ready for tomorrow morning. All laid out and washed. Ready to go!
Also another issue with this style of clamping is that you can leave vertical "waves" in the outer transom skin that will need to be faired and sanded if you're going for perfection.
The best way to alleviate this problem is to use a "backer board" on the outside of the transom. A piece of 3/4" plywood the full width and height of the transom held up against the outside of the transom before clamping members are installed. This will help to more evenly distribute the compression forces of the clamping process. This will give you a smooth and uniform outer transom skin and a uniform layer of adhesive between the transom core and inner skin. I'll be using this method on my build.
The best way to alleviate this problem is to use a "backer board" on the outside of the transom. A piece of 3/4" plywood the full width and height of the transom held up against the outside of the transom before clamping members are installed. This will help to more evenly distribute the compression forces of the clamping process. This will give you a smooth and uniform outer transom skin and a uniform layer of adhesive between the transom core and inner skin. I'll be using this method on my build.
Hope you coated those bolts with some type of grease .....would hate to see them epoxied into the transom


