1989 Skeeter SD-125 [bass boat]

Woodonglass

Supreme Mariner
Joined
Dec 29, 2009
Messages
25,924
Did you put a backer under the gunwale? If not I'd recommend a 1/4"piece of plywood PB'd to the underside spanning the joint as a bit of reinforcement. Use a bunch to Totally encapsulate the Plywood and it'll be strong and waterproof. I'm assuming you can reach up under there. If not... Oh well, the 1708 will do it's job unless a Go-Rilla starts jumping up and down on it.
 
Last edited:

fmjnax

Chief Petty Officer
Joined
Jul 21, 2011
Messages
457
Dang, no I didn't put any backer. I think I can reach my hand up there (or at least under the deck), so if so I will coat some ply and stick it with PB.
 

fmjnax

Chief Petty Officer
Joined
Jul 21, 2011
Messages
457
I cut some strips of the 3/4" plywood, coated them with resin, and PB'd them to the underside of each gunwale as well as one under each deck. Should be plenty strong. No pictures, though, because... well, because there is nothing to see.

Moving on, I finished stripping down the boat, save for the steering wheel, control box, a single piece of carpet, and the rod box. Gave the top cap a quick wash/wipe down. This will likely be the last photo update for a week or two. I picked up some marine filler and I'm hitting pretty much the entire hull with it. Lots of little scratches and knicks all over the place that need to be filled and sanded out. It's going to be slow progress, plus I will be unavailable half of the time over the next couple of weeks.
20150301_152849.jpg

20150301_152900.jpg
 

fmjnax

Chief Petty Officer
Joined
Jul 21, 2011
Messages
457
Well, I'm still here at still putting progress on the boat, but no pictures yet (but soon!). I have been sanding and body filling and sanding and body filling. I still need to sand the bottom of the hull (been dreading crawling under there) and I need to think about how I am going to get the hull up off the bunk boards so that I can sand/paint that area and replace the boards. I'm thinking of jacking up the boat (at the transom/stringer intersection, so as to not punch a hole through the hull) and placing it on jack stands. Aside from that, I can't think of any other option.

Last night my son and I rolled on some primer on half the boat (topside and the side of the hull), so it's close to picture time. Hopefully tonight or tomorrow we will have primer on the rest of the boat and be worthy for pictures.

Oh, I did already paint the control box. We decided to change it from white to black. I'm actually thinking of buying a new box in the near future so I didn't do a perfect job on it, but it's at least black to match the rest of the color scheme.
 

gm280

Supreme Mariner
Joined
Jun 26, 2011
Messages
14,593
Do post the pictures. I am following this project because I like bass boats. So get them pictures soon... :thumb:
 

Woodonglass

Supreme Mariner
Joined
Dec 29, 2009
Messages
25,924
Make one of these from some scrap 2x6 an place at the transom/keel and then use a floor jack to jack up the boat and rig your jacks to hold it up.


fmjnax

Chief Petty Officer
Joined
Jul 21, 2011
Messages
457
I love the old bass boats as well gm, so I know what you mean! I could have posted tons of sanding progress pictures, but they're, well, boring. :D

I can always count on you WOG to have great ideas! I don't have any 2x6 in the garage, but think I will certainly buy some! I'm a little bit confused on the application, though. Is the 6" face up against the hull or is it the 2" face?
 

fmjnax

Chief Petty Officer
Joined
Jul 21, 2011
Messages
457
Ok ya'll, how about some pictures? :D

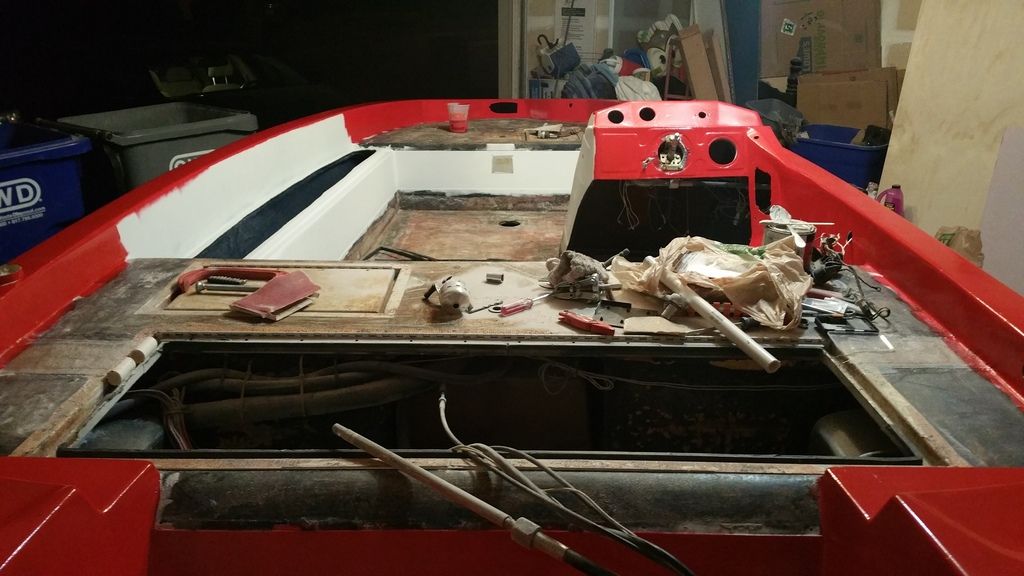
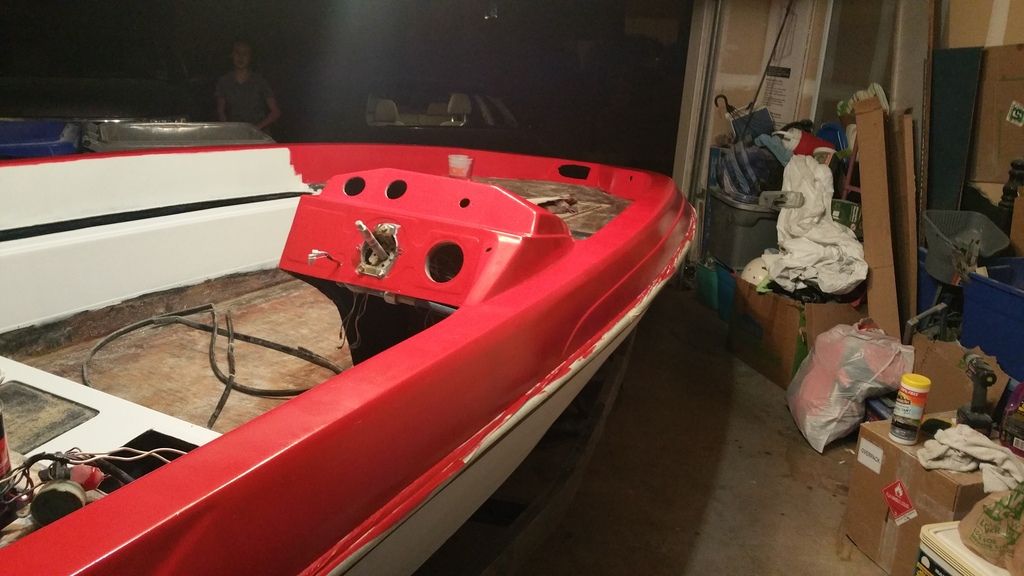
I'm still not entirely done sanding (still need to get the absolutely bottom of the hull) and I'm still not done laying down the primer (the left side still needs to be hit), but I just couldn't wait to see some color on the boat. The wife and I chose to go red top-side and black on the sides/bottom (and carpet will be gray). I'm still worried it's going to be too dark of a scheme, but we're going to do some white vinyl accent to maybe break it up some.

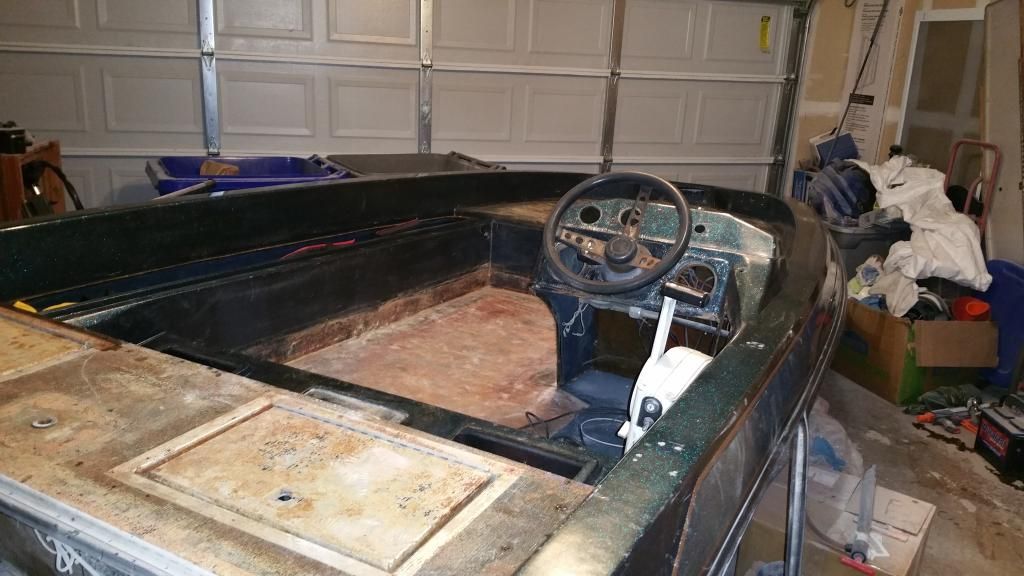
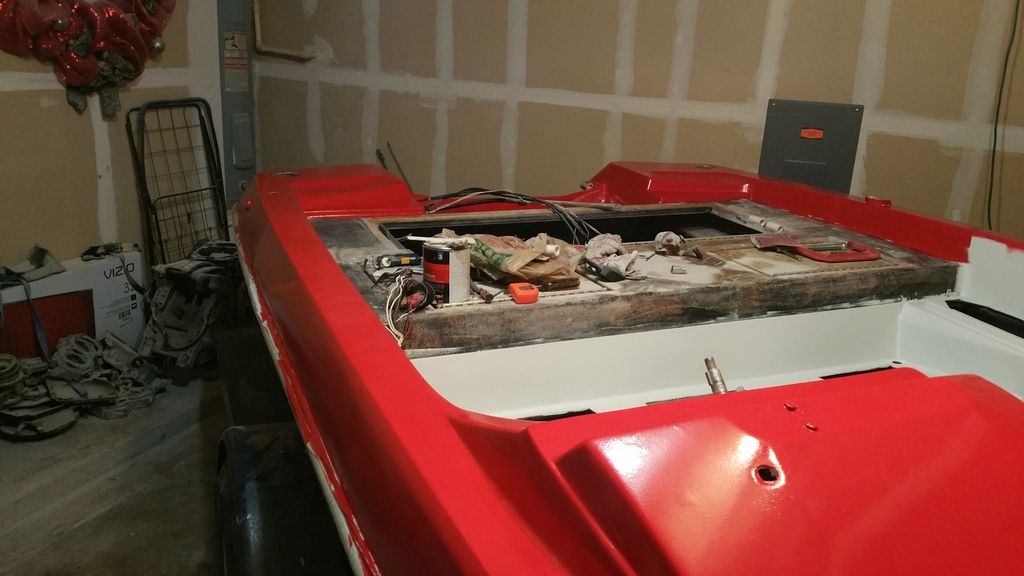
The repair to where I cut the back off is nearly invisible. I didn't do as good of a job on the left side as I did on the right, but it's still pretty good and should be invisible to anyone who doesn't know any better.
20150403_174121.jpg


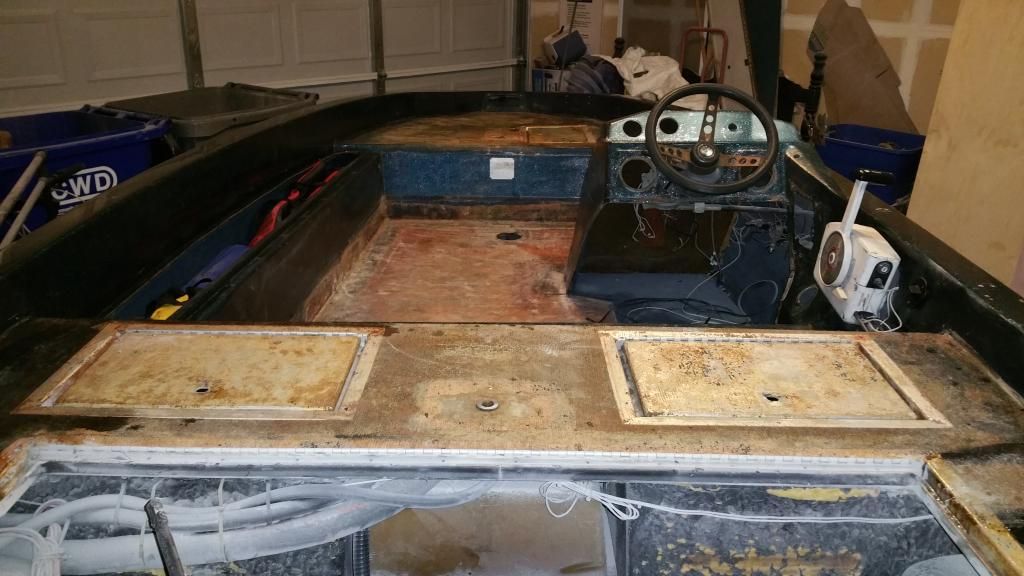
This is before I finished priming the "inside", but still a picture. I initially thought I would be lazy and leave the capacity plate, but I soon realized that was a bad idea. I'll pull it off before I go any further inside. Oh, I did fill the left side hole where the old speedometer was. I used some plywood and fiberglass backer and then filled it. The hole disappeared pretty good.
20150403_174133.jpg


And how about some color? It's dark outside so the picture doesn't quite do it justice. I think it's more of a brighter red than what it shows. I was worried that it went on too thick, but it's laying down good with minimal orange peel; so little, in fact, that I don't think I will bother wetsanding this coat Just for the record, it's Rustoleum red with Tractor Supply enamel hardener, thinned 5% with mineral spirits, and rolled on with a smooth close cell foam roller (the "better" line from Home Depot). No bubble during rolling and no need to "tip". I simply unloaded my roller and then lightly went back over the previous spot.
20150403_205406.jpg


This is as far as 8oz of paint could get me. It covered everything but the "inside". With a quart, I should be able to get 3 coats total. I'll evaluate the job after that and decide if I need to do more or not.
20150403_205418.jpg


I like what I see so far! Oh, and if anyone is wondering, I'm not bothering with anywhere that carpet or trim will cover. Since I'm not spraying, I didn't want to go through that added chore. Not technically correct way of thinking, but then again this entire project hasn't been 100% correct.
20150403_205430.jpg
 
Top