1989 Skeeter SD-125 [bass boat]

fmjnax

Chief Petty Officer
Joined
Jul 21, 2011
Messages
457
Another good busy day. Weather was perfect in the mid 60's so I took advantage. I won't comment too much since there's not really much to say. I'll let the pictures do the majority of the talking.

I've got my 1708 cut for the stringers and ready for tomorrow. The deck pieces have their resin coating and will be ready as well. I'll have to grind down the excess 1708 from the top of the transom. I tried to fold it over to form a cap, but the 1708 didn't cooperate. I have CSM tape that I'll use to create a cap instead. I didn't take any pics of the glassing of the sponson side of the transom, but they're glassed.

A note on the stringers. WoG, your idea worked like a charm (much better than my foam idea). I pumped probably close to 16oz of PB into each side of the shell and when I pushed in the stringers, I got a good backflow ooze of the PB. I know I won't get a chemical bond with them, but I'll have about as good of a mechanical bond as possible on them. Should have no problem holding up just fine until I can do a proper cap-off full restoration.

I just realized I forgot to order thru-hull/drains. I was hoping to have the cap back on tomorrow, so I'll have to come up with a different plan. Perhaps I will do simple PVC drains in the splashwell and make a trip to Bass Pro tomorrow for a garboard. I don't care much for the rubber expanding plugs, anyway.

First layer of 1708 is in
20150221_124428.jpg


Second layer of 1708
20150221_150045.jpg


Right stringer PB'd in
20150221_183241.jpg


Left string PB'd in
20150221_185726.jpg
 

fmjnax

Chief Petty Officer
Joined
Jul 21, 2011
Messages
457
Thanks bud! I'm a man on a mission.

I give credit to the resin. Ha! I don't know if I just don't remember it like I think I do, but this 435 resin is a world of difference from the Home Depot general purpose resin I used on the first restore. I seem to have a better working time and a better wet out. Plus, I don't have to sand and clean between sessions. A simple acetone wipe down or I lay up before it cures. Makes the process go much quicker and smoother. And when I want it to kick, I put some heat from an electric heater on it.

I suppose good planning helps, too. :)
 

Mikeopsycho

Senior Chief Petty Officer
Joined
Feb 6, 2014
Messages
738
Mighty fine work! It looks like good planning and quality materials are paying off for you. Keep up the good work. :clap2:
 

Woodonglass

Supreme Mariner
Joined
Dec 29, 2009
Messages
25,924
Thanks bud! I'm a man on a mission.

I give credit to the resin. Ha! I don't know if I just don't remember it like I think I do, but this 435 resin is a world of difference from the Home Depot general purpose resin I used on the first restore. I seem to have a better working time and a better wet out. Plus, I don't have to sand and clean between sessions. A simple acetone wipe down or I lay up before it cures. Makes the process go much quicker and smoother. And when I want it to kick, I put some heat from an electric heater on it.

I suppose good planning helps, too. :)

Nope you bring up some good points. The Cheapo Deapo resin has the qualities of which you speak. I DOES kick Faster, You Can't depend on it as well. It's qualities are NEVER the same from batch to batch. Thanks for these observations. They will help others in the future.;)
 

fmjnax

Chief Petty Officer
Joined
Jul 21, 2011
Messages
457
The resin may be far superior, but my 'glassing skills are not. ;) In my defense, this is only the second time I have ever used fiberglass, and I'm much improved over the first time. I'm just about done with the stuff this go around, but the next time I should be even better. On with the show!

After the fillets for the stringers had dried, I gave them 2 layers of 1708. My original plan was to wrap 1708 over the top in one piece, but I thought better of it after realizing that it wouldn't even fold well over the top of the transom. I extended the 1708 over to the existing shell to try and get a little bit more of a mechanical bond. Had a bit of trouble getting with the left side laying down completely, but a bit more work as it started to kick made it a bit better.
20150221_225849.jpg

20150221_225856.jpg

20150221_225917.jpg


I thought I took a picture, but I guess I forgot. I capped the top of the stringer with some 1.5 CSM tape and proceeded to cut foam to fill the area under the deck. I used the pink foam board, just as I did on the first restore. However, since I had some cans of Great Stuff foam, I thought it might be a good idea to use it as a bedding and fill the voids. It started off pretty good and I got it all filled long enough to take a picture... but then madness ensued. I guess I used more of the Great Stuff than I should have and it started to rise like mad. It was scramble mode at this point to keep it all even. As a result, I didn't have the time to snap more pictures. Oh well, this one is a pretty good indicator of the work (the other side was the same).
20150222_212323.jpg


So to end the madness, I had quickly put a layer of CSM on the underside of the deck board, placed some plastic on top of the foam (to keep any resin from eating the pink foam (not sure if it would have or not, but didn't want to take a chance). I mixed up some PB and glued down the decks. After this picture, I put a battery (the boat batteries) on each side to keep it weighed down and the foam from expanding up and pushing the deck out of place. I let it cure overnight.
20150223_090647.jpg


With it cured and looking good, I proceeded to glass in the decks. I took a shortcut that I think caused me more grief than the time saved. Instead of cutting two layers from new 1708, I used scrap pieces and overlapped them a bit for the first layer. The overlap caused some wetting and flattening issues. I just couldn't get it perfect. The right side is definitely better than the left. I'm really not proud of how the left side ended up. I should have done it better, but in the back of my mind I know that I'm going to be ripping it out when I do the full blown restoration, so it's good enough for now. The 1708 is ran up the transom some and all the way over and up the side of the hull as well, so I shouldn't have any bonding issues. I used the CSM tape again to fold back down over the side of the stringer to get it done.
20150223_120344.jpg

20150223_120401.jpg


It's all curing up now. We have a "snow" day in Texas today, so I get an extra day of boat work. I'm going to make the most of it!
 

Woodonglass

Supreme Mariner
Joined
Dec 29, 2009
Messages
25,924
To my way of thinkin, this ain't no beauty contest!!! If it sticks, repels water, does what it's supposed to do...Well then Ya dun rite Good!!!! I've seen better, I've seen worse! It's done!!!! Good Job!!!!
 

fmjnax

Chief Petty Officer
Joined
Jul 21, 2011
Messages
457
That's why I like ya WoG. :) Nobody is perfect and we're not all pros. I try to do the best I can, but I'm just a DIY'er and sometimes my best is downright ugly.

It actually got better as it cooked off. Perhaps it just needed a little more saturation and time gave it that. There's no air pockets and I rolled it down nicely. Still not perfect, but ended up much better so I'm happy with it.

Today I worked on getting the foam boxes back in, drilling my drain holes and livewell holes, and foamed the sponsons.

I decided to reuse the foam that was still attached to the left side box (it was just easier). For the right side, I used the pink foam with the Great Stuff to fill the voids. A dang near perfect refit, but a couple of pieces of duct tape to help hold it where I wanted it while I glassed it down. I gave it a few wipe downs with an acetone rag and found that the plastic boxes became tacky and my white rag turned black as I wiped them down. Almost as if the acetone wanted to eat away the plastic. I was careful not to get too carried away with it, but they sure do look a lot cleaner than they did when I started! I think I redeemed myself with the glassing of the foam boxes. CSM is just so much easier to work with than 1708. :D

The sponsons are mostly Great Stuff foam, but I have some pink foam core in there so that I didn't have to use a million cans of the spray stuff. I think they have enough foam, but I have one more can of spray foam that I might use to build it up a little more. This was a time consuming process because I didn't want a lot of air voids. I would spray a layer down and let it expand and cure for a half hour or so. Rinse and repeat until I was at the top.

No pictures of the drilled holes, yet. I'm still not done; need to get a bigger spade bit for two of them. Tomorrow is another snow day for Texas, so maybe I'll brave the roads and head to Home Depot in the afternoon. If I can get that done and the holes drilled, I should be able to get the cap back on tomorrow or Wednesday. I have some roll-on truck bed liner that I'm going to roll on to the entire bilge area, unless anyone can think of any reason why I shouldn't.

20150223_215620.jpg

20150223_215606.jpg

20150223_231117.jpg

20150223_231146.jpg
 

gm280

Supreme Mariner
Joined
Jun 26, 2011
Messages
14,592
WOW you are certainly not wasting any time on this project and it looks pretty good too. I wish my weather would cooperate so I can get glass'in too.. Nice job! :thumb:
 

fmjnax

Chief Petty Officer
Joined
Jul 21, 2011
Messages
457
Thanks gm. I'm really trying to get the boat done before summer, but I would prefer mid-spring. Weather here has more-or-less been cooperating, but when it's doesn't I have just been firing up the electric heaters and mixing my resin a big hotter (like at 2%). Seemed to work perfect for me.

Today was a bit slower of a day, but I still got progress done. Bought a larger spade bit and finished drilling my holes. I hit the top of the transom with the grinder to remove the excess glass that I couldn't get to fold over and fixed it up with some CSM. Then it was a quick cleanup and a few acetone wipe downs. The last step was the bed liner. So here are the pictures.

After one coat:
20150224_181345.jpg


And after the second coat. Don't mind the spot I "missed" on the left (roller wouldn't reach. I'll probably go back and get it with a brush later). I also decided to give the foam boxes a light coat just to make everything uniform in color; not that it matters any. Hmmm, now that I see the pictures, I may go back and hit some more spots with the brush to touch it up.
20150224_201421.jpg

20150224_201435.jpg
 

fmjnax

Chief Petty Officer
Joined
Jul 21, 2011
Messages
457
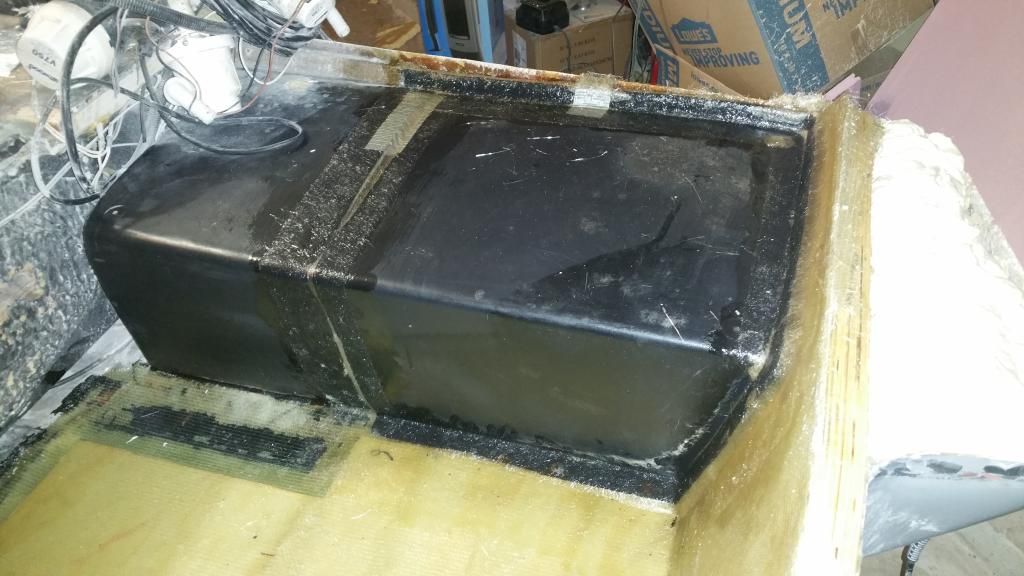
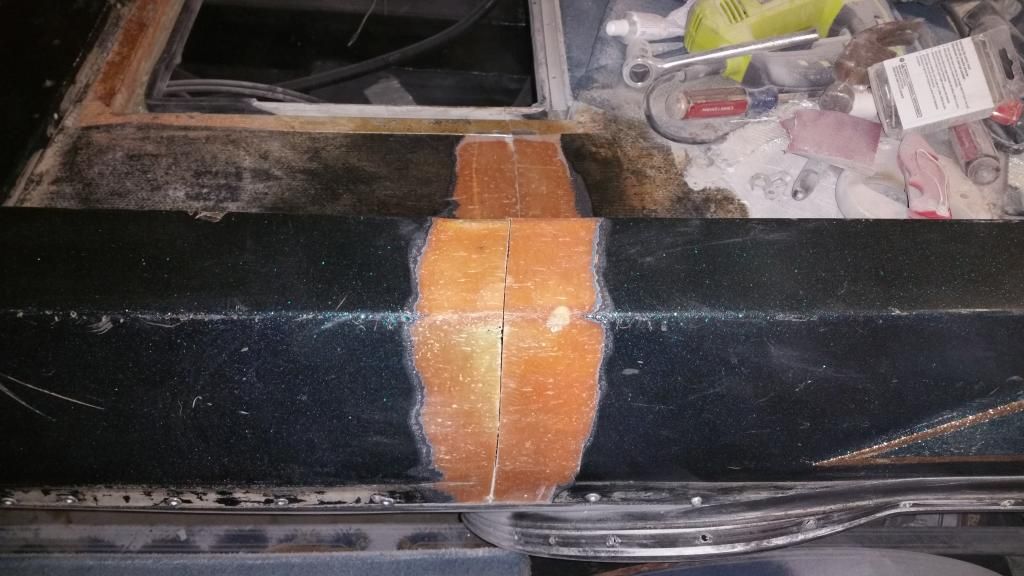
Technically, I should have had the cap back on yesterday. However, a few things came up that I wasn't expecting. First, all the resin on the backside of the splashwell needed to come off so that it would sit on the new transom right. So away I went with the grinder. Then, I just couldn't get it to sit back on the hull like it was supposed to. Nothing I did was hanging it up, but from what it looked like I suspect that the new transom and foam pulled on the hull just a little bit to cause a little bit of tightness. I gave up on the night as I started to get frustrated.

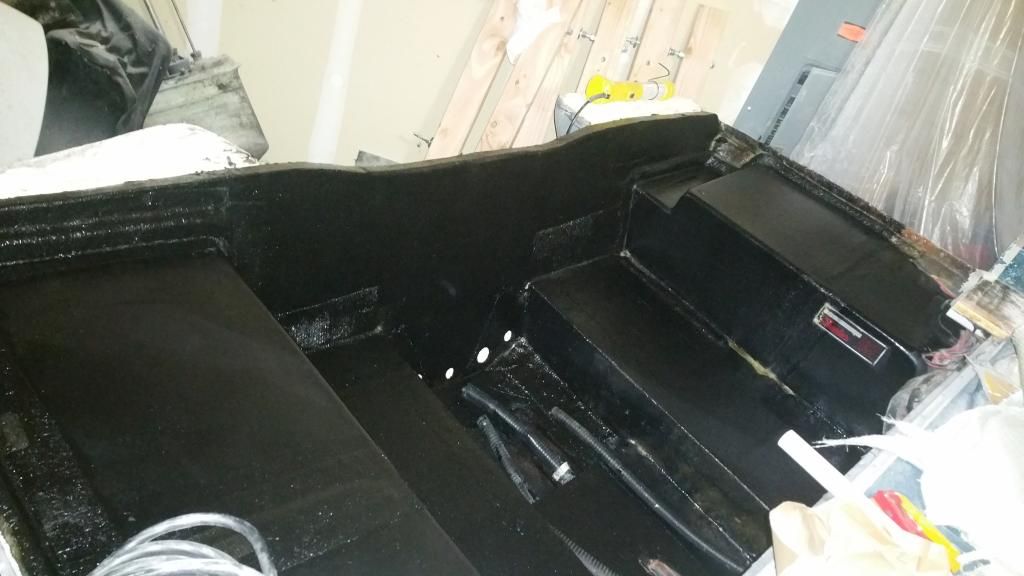
I pondered my options throughout the day. First, I thought about cutting off a half inch or so at each cut by the hatch. This way I would have some wiggle room with the cap... but it also meant I would have some gaps to fill and glass. Next, I thought about using some steel and screws to act as a bridge and pull the pieces flush with each other. But then I thought about just riveting the cap back on and going from there. Well, that seemed to do the trick. As I started to pop in the rivets, the hull and cap started to come together where it needed to be. By the last few rivets, it was off by a millimeter or two, which is well within the tolerance I wanted. Up at the joint between the rear cap I cut off and the rest of the cap, I have a barely noticeable offset. I can grind this down smooth while I am preparing to glass the two pieces together and it will no longer be an issue.

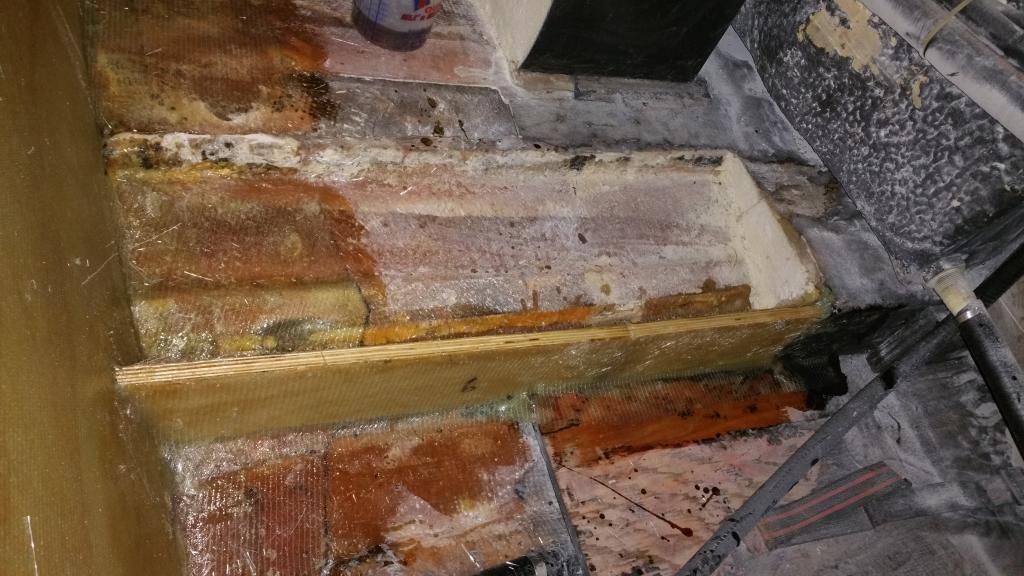
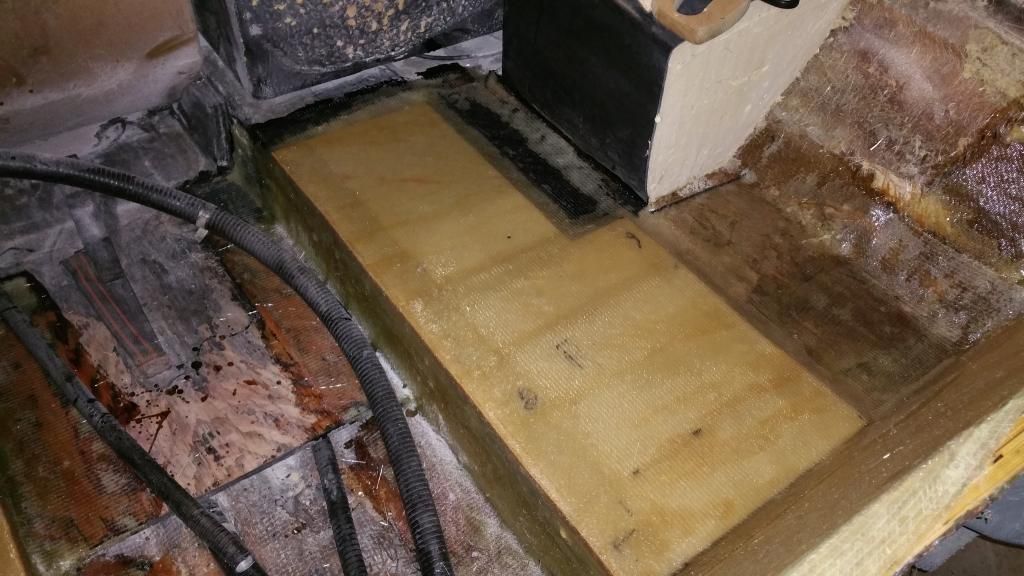
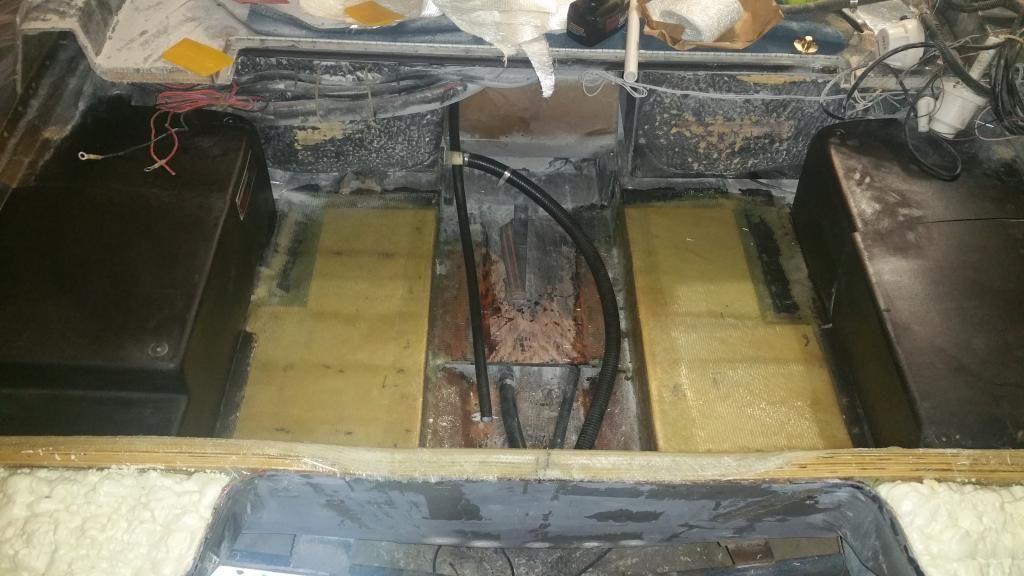
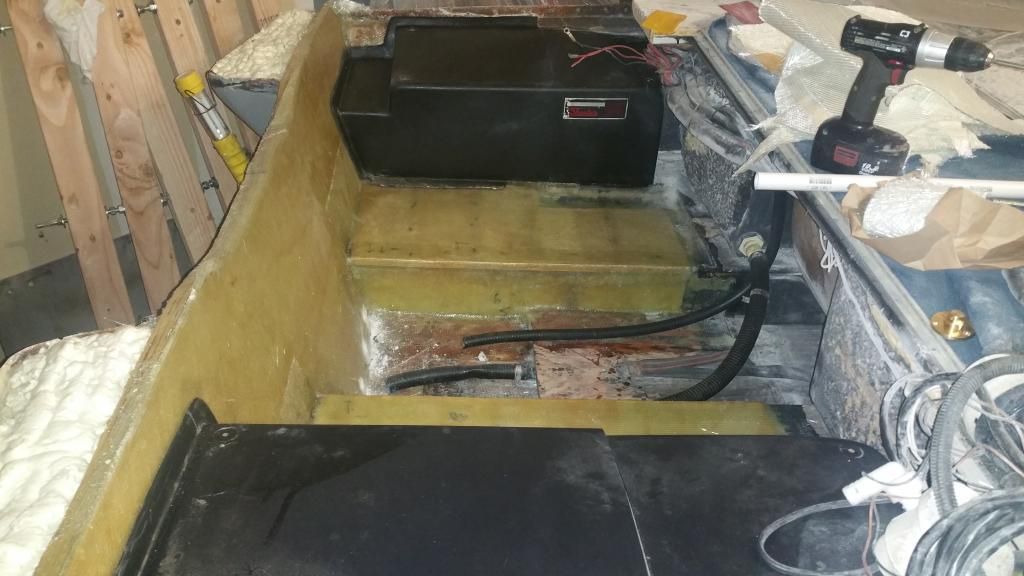
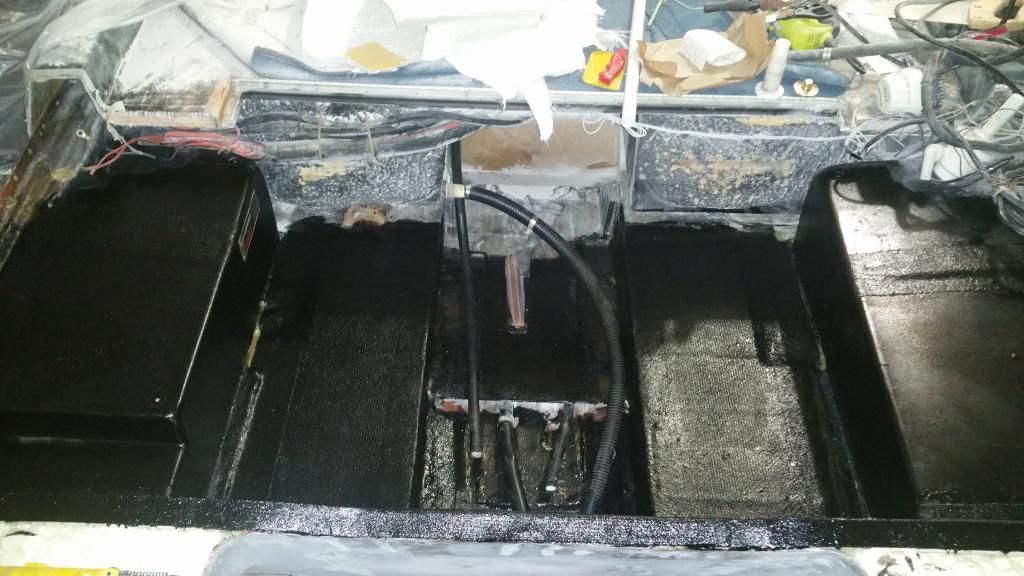
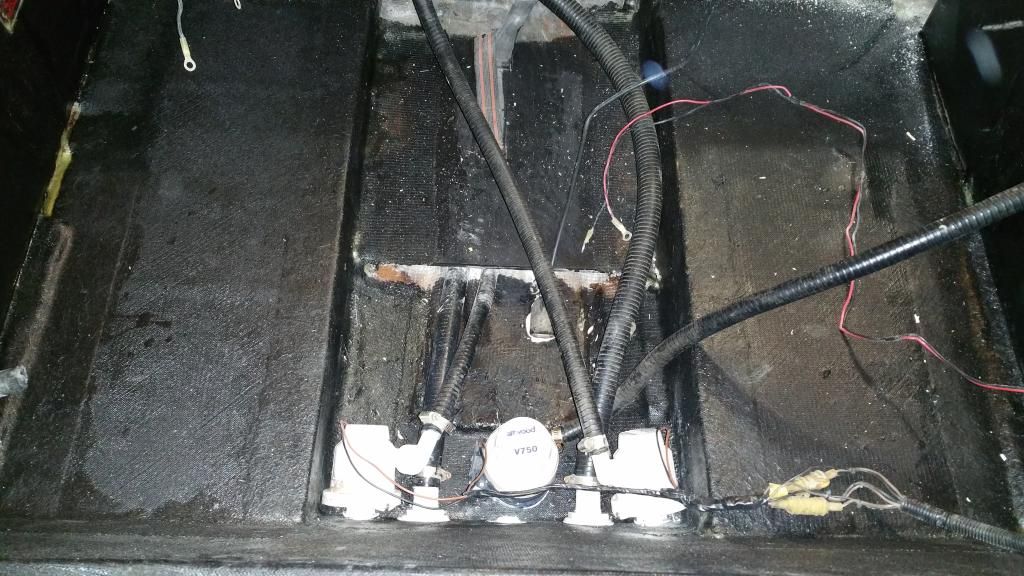
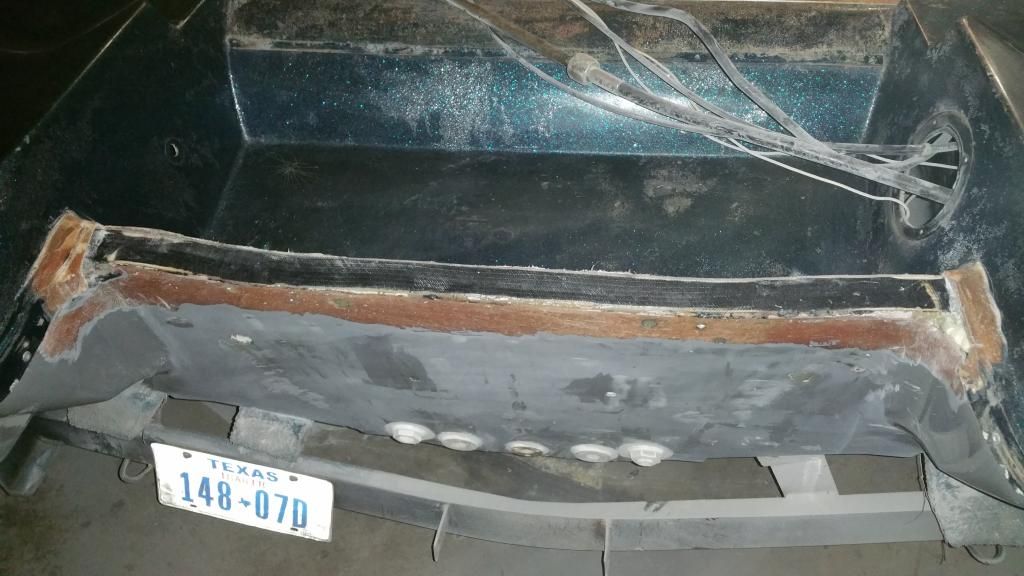
Oh, I forgot to mention that I got all the pumps and thru-hull fitting in before messing with the cap. All the wires and cables are ran where they need to be. I opted not to mess with anymore bedliner since it doesn't really matter. Everything was coated in 5200 on both sides to ensure a good water tight seal. For the garboard drain, I used some 3/4" PVC on the inside to mate up with the end of the garboard and left it protruding from the inside by a few millimeters. The PVC and garboard were also 5200'd in place. Everything should be good to go.

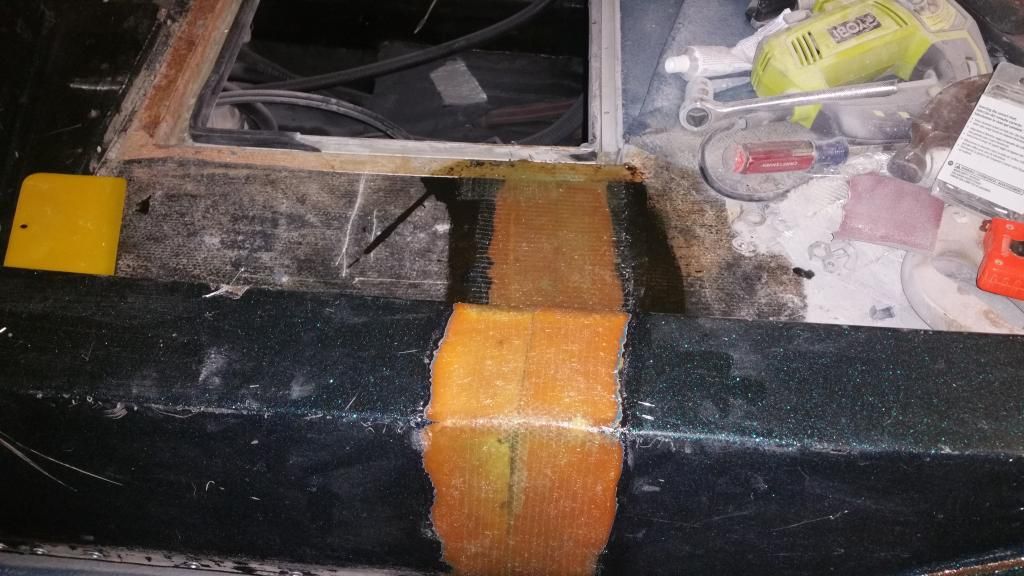
I stopped at the point of finishing up the rivets. This weekend I will officially glass the two pieces back together and will be ready to move on the next stage (sanding/filling holes/getting ready for paint). It's a trivial thing to be upset about, but I hate that my pretty new bilge has been tainted with grinding dust from the top cap. I vacuumed it out and gave it a wipe down with acetone, but didn't bother with getting it sparkling clean again (especially since it will see water soon). First world problems, I suppose. :)

Oh, and all the wiring will be cleaned up and hung closer to the end of the project. I'm not going to mess with it until it's all installed in its final location.

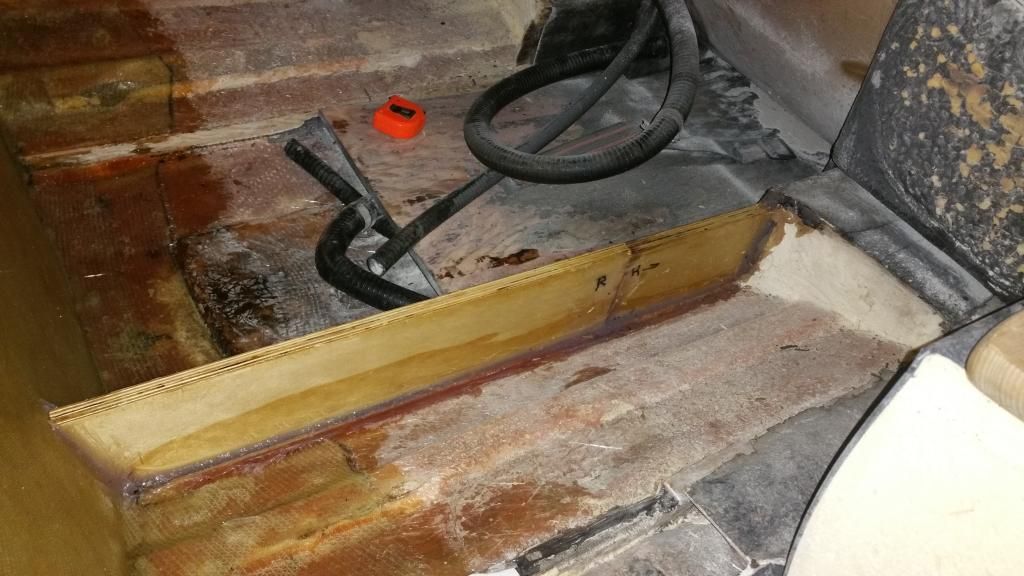
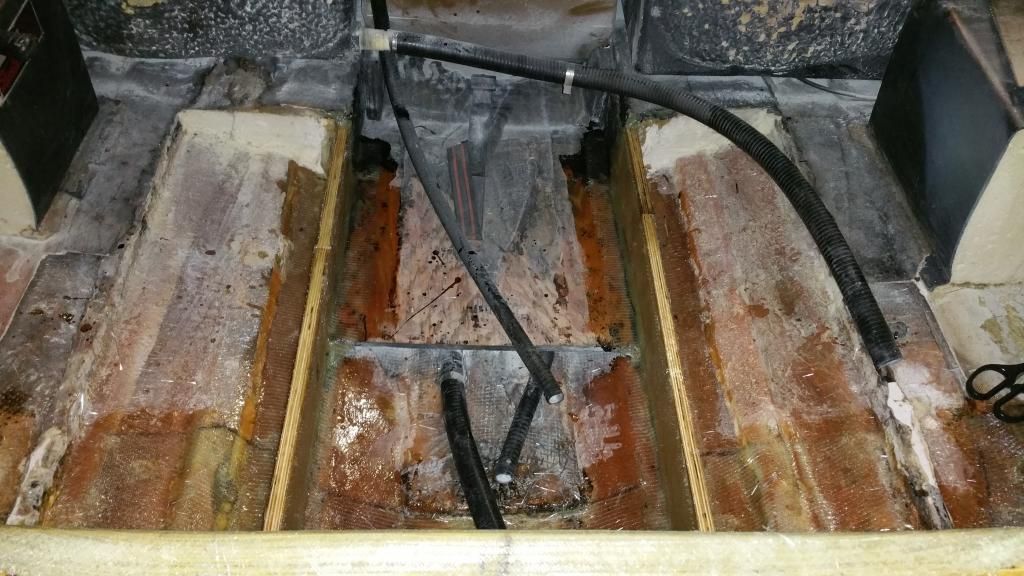
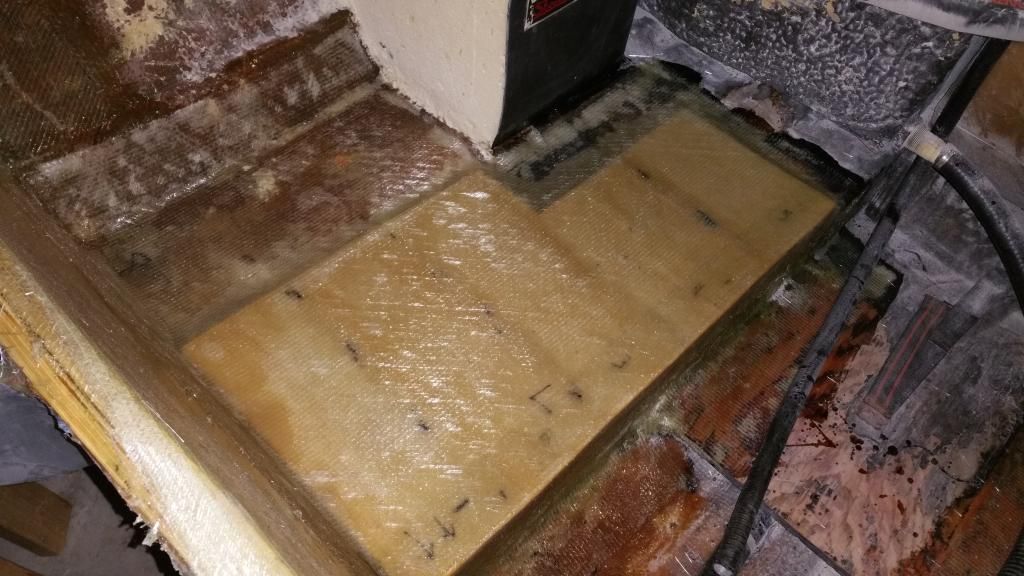
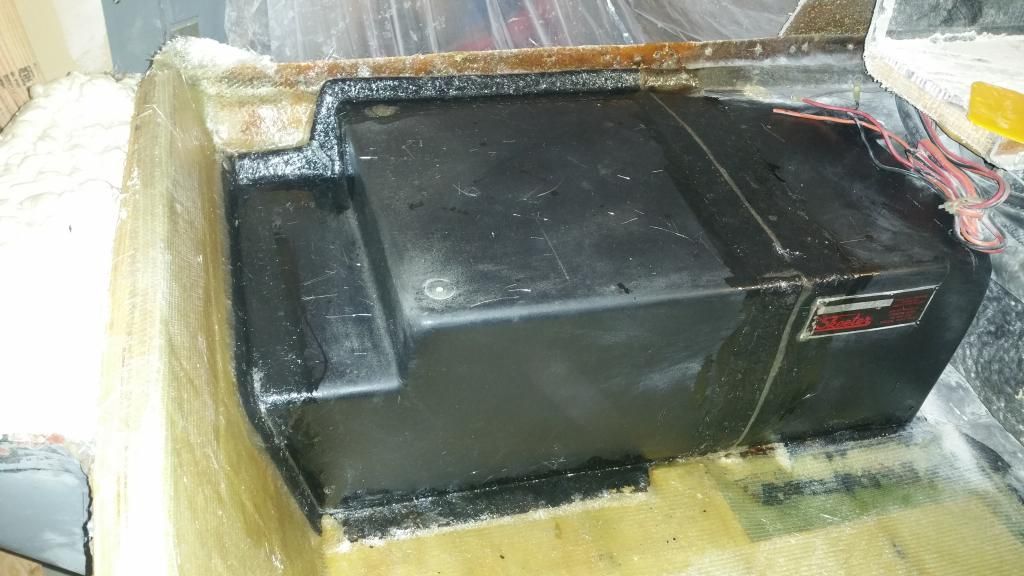
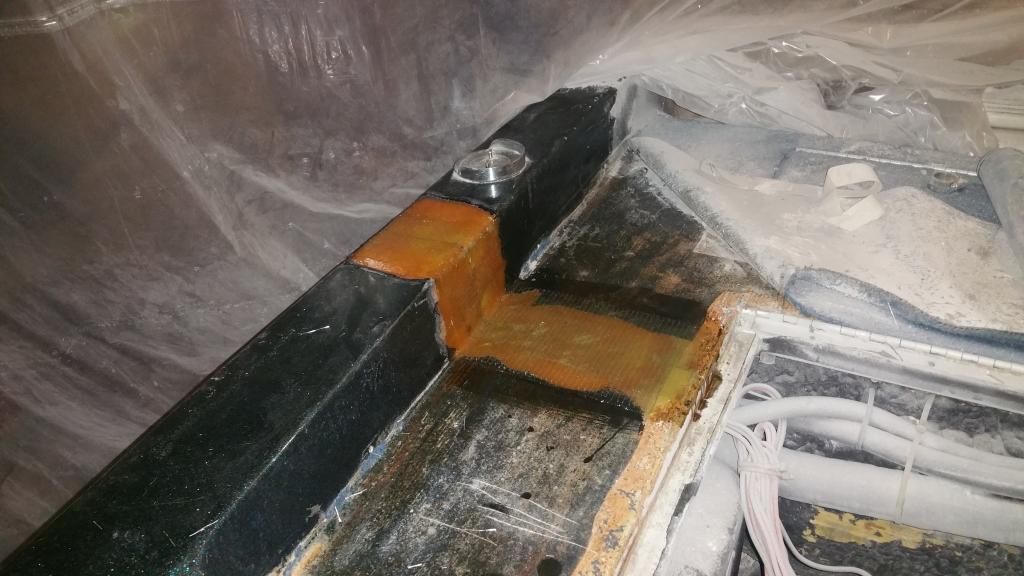
After the pumps and such were installed. A little bit of dust contamination already. :( Pump on the right is at an angle because the thru-hull drill hole was just a bit too close to the stringer. I think it was like this originally as well. Shouldn't be an issue, it's all coated with 5200.
20150225_200257.jpg


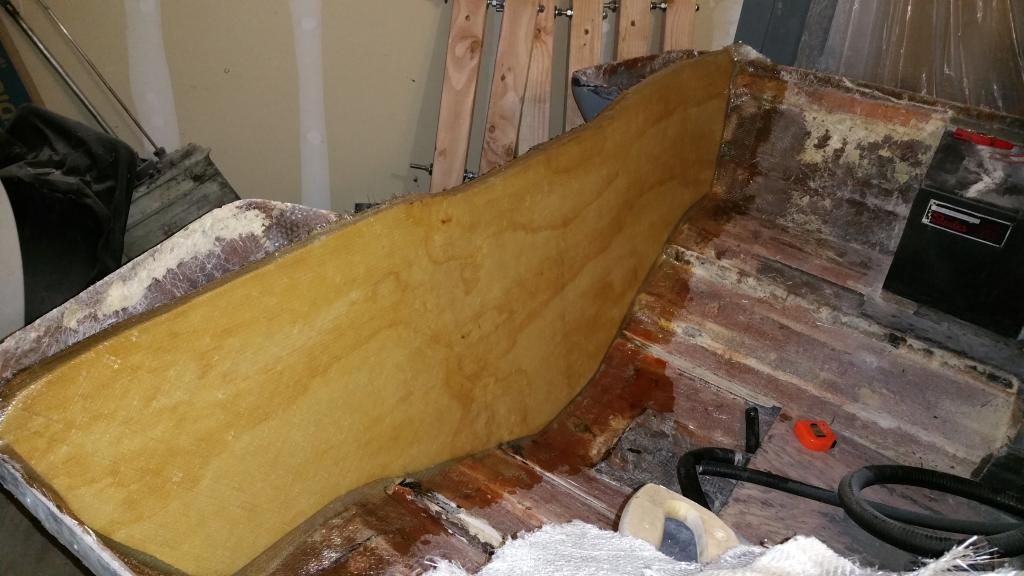
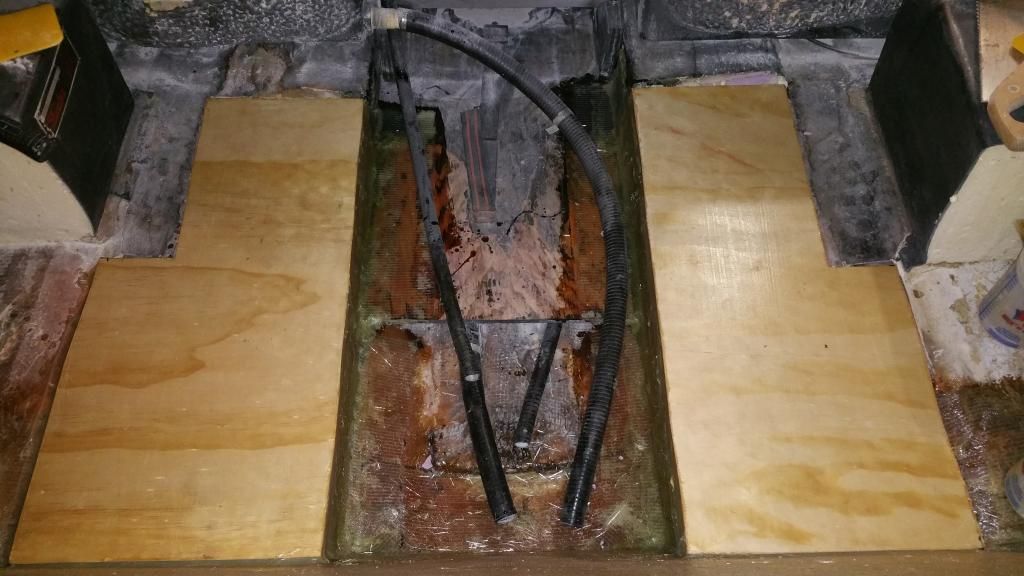
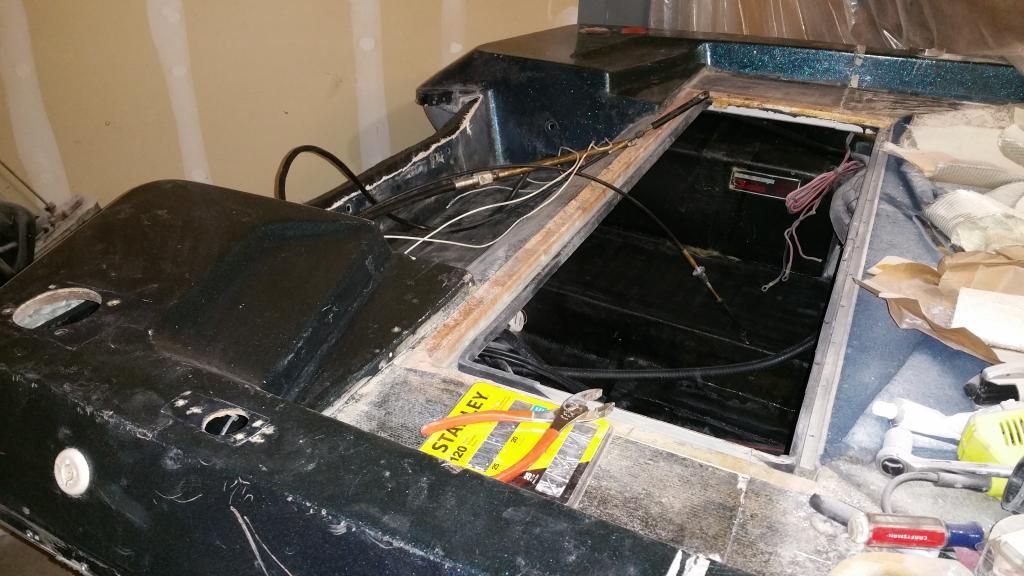
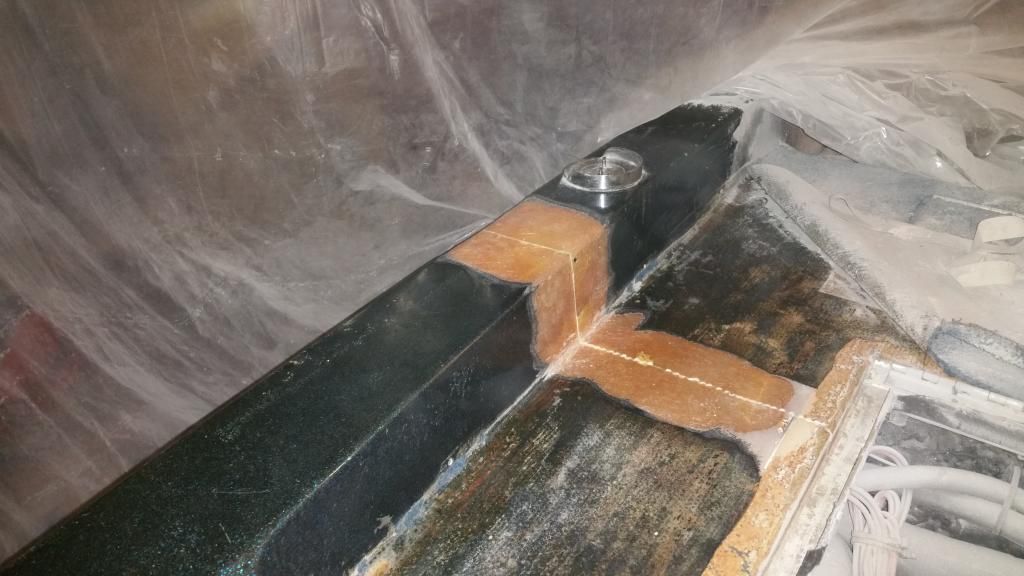
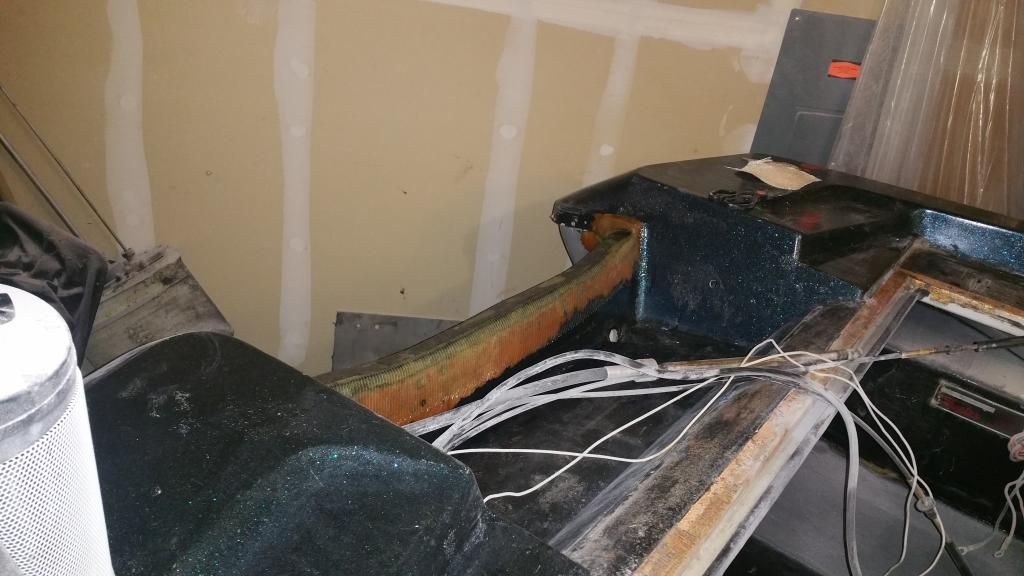
Cap is back on and riveted in place. I dare you to spot the offset at the cut (no close up, so you can't really see it).
20150226_214215.jpg


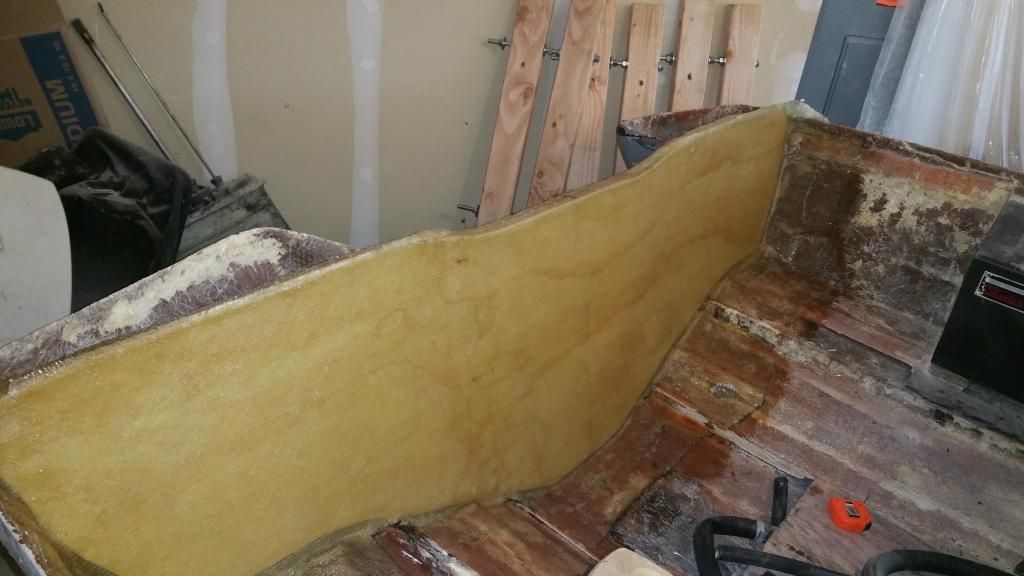
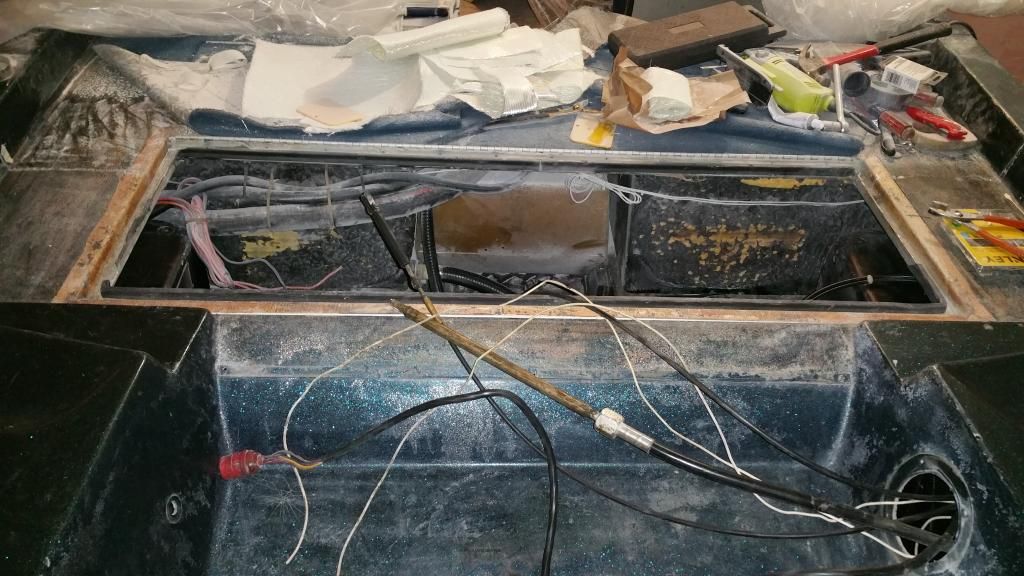
From the rear. Still can't see the offset, but it's there.
20150226_214234.jpg


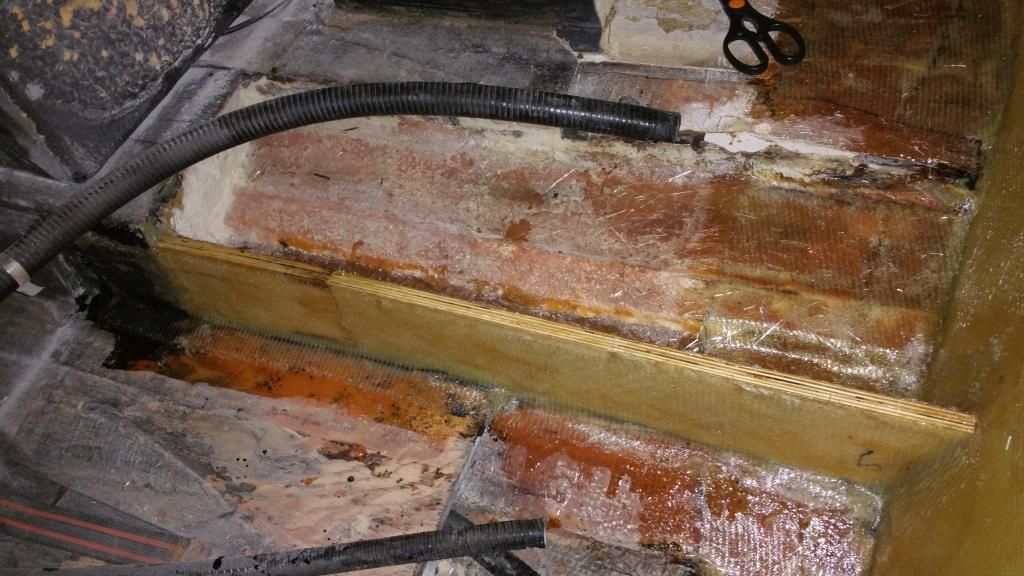
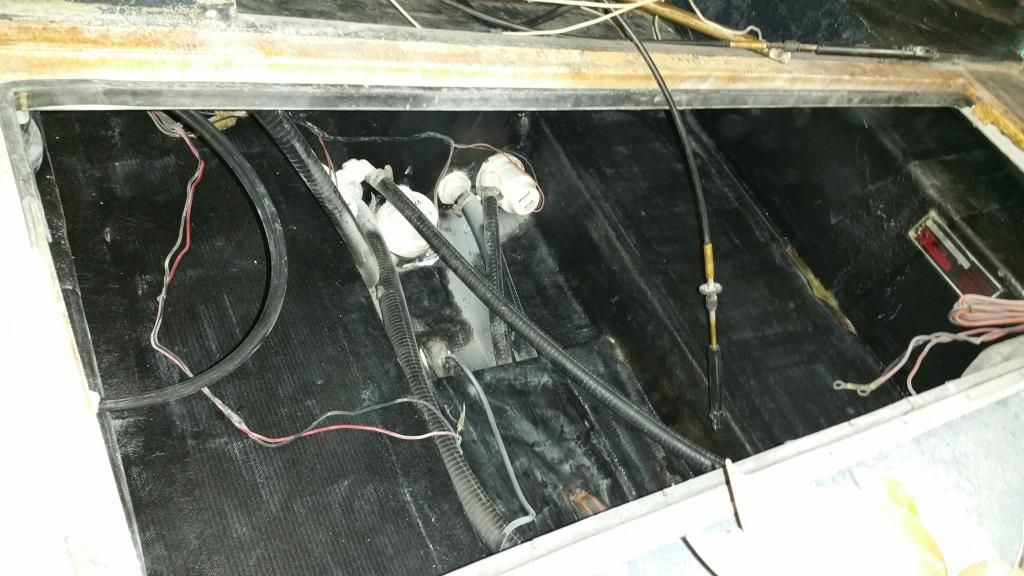
And just an inside shot. Dust contamination, but it will get washed out soon enough.
20150226_214247.jpg
 
Last edited:

gm280

Supreme Mariner
Joined
Jun 26, 2011
Messages
14,592
Very nice work. What made you go the bed liner route and would you do it again? While it does look interesting, do you think it adds anything to the project? :thumb:
 

fmjnax

Chief Petty Officer
Joined
Jul 21, 2011
Messages
457
Good questions gm! To answer them, we have to back up a little bit. Before I knew that my engine had blown rings (and ultimately before I knew the wood was rotten), I had planned on rolling some bed liner on the trailer, just for simple aesthetics. I bought the bed liner, but never got around to it and then found the blown engine and rotten wood, which leads us to where I am today.

So the reason I went with the bed liner instead of a gelcoat or paint (or raw) was simply because I had the material on hand. I think the cost is in between paint and gelcoat, but wasn't a factor at all for me. I for sure didn't want to leave the bilge raw fiberglass. The bed liner is waterproof and resistant to oils, so I figured that would help with the longevity. It does give the bilge a very interesting look as well and I happen to like the look a lot.

As of right now, I would certainly go with it again. Now, the real test will be to see how it holds up over time. I've used the stuff before on other metal and fiberglass items (as well as on my truck bed like it was intended) and it's held up perfectly fine for many years, but a marine application is new to me. If it ends up peeling up (which I highly doubt will happen), then of course my opinion would change.
 

fmjnax

Chief Petty Officer
Joined
Jul 21, 2011
Messages
457
We were sent home early yesterday due to snow so I decided to suit up [hopefully] one last time for some grinding. I hit the transom/splashwell and the two top cap cuts. I had to make sure I ground down the cuts evenly and deep enough for 2 layers of 1708 and a layer of CSM. I think I did pretty well; or at least I'm happy with it.
20150227_170625.jpg

20150227_170643.jpg

20150227_170635.jpg


I had a bit of time after dinner so I went ahead and did the 'glassing as well. The side cuts have 2 layers of 1708 and a layer of CSM. The transom is just two layers of 1708 (I ran out of CSM). I should have planned better on the transom, though. I should have made some fillets between the splashwell and transom, but I only had enough MEK for one last cup of resin. I also did full length runs of 1708, but the transom is a gradual 'U' shape so it didn't fold and bend exactly like I wanted, thus there are air pockets across the top. The aluminum bracket will cover them, though, so I don't think they're a major issue. If the weather cooperates (the roads are solid ice right now), I am heading in to town to pick up some body filler to fair the side cuts and it should end up being a seamless repair.
20150228_092938.jpg

20150228_092911.jpg

20150228_092930.jpg
 
Top