1970 Starcraft 16 ft Super Sport, stripped and ready

jbcurt00

Moderator
Staff member
Joined
Oct 25, 2011
Messages
24,871
Clean, prep and apply GluVit to the interior side of the seams & rivets
 

GA_Boater

Honorary Moderator Emeritus
Joined
May 24, 2011
Messages
49,038
If you use a wire wheel or wire brush to clean up the seam, don't use a steel wheel or brush. Best to use brass or stainless, with brass being a little softer so it doesn't damage the aluminum. Then do as JB said.
 

Honestsam

Cadet
Joined
Aug 25, 2014
Messages
16
Okay, will do. Thanks for the brass wheel tip. I used steel on the adhesive removal from the side wall and saw a lot of aluminum shavings.
 

Watermann

Starmada Splash of the Year 2014
Joined
Jan 12, 2013
Messages
13,753
A fine wire wheel doesn't remove any AL from the boat with light pressure and never use anything that's coarse it'll rip in too much. After wheeling, vacuum up all the bristles that flew out, if oily wipe good with acetone, everywhere else I clean with vinegar cleaning solution and once dry apply the gluvit. Gluvit is runny stuff that fools you at first like it's just going to stay put but when you come back a while later it's ran off where you don't want it. So be careful about how much you put on, more isn't always better.
 

Honestsam

Cadet
Joined
Aug 25, 2014
Messages
16
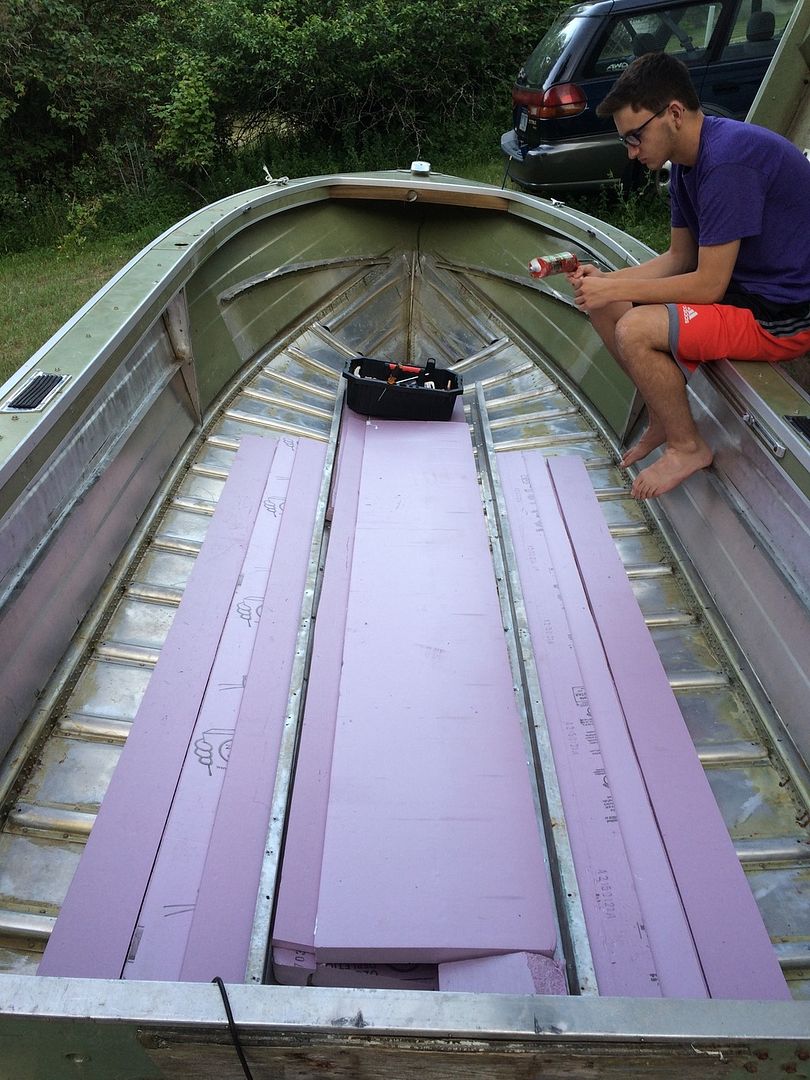
Well, it took a while but I'm back at it. After the wire wheel, a vinegar solution, I applied Gluvit 2 coats. Z Channel is back down with aluminum rivets and SS screws, there were already 2 holes from a previous restoration. Bought enough pink foam board to displace 700#, most of it is in the floor and I have plans to put some a few other places. My trusty side-kick in the pic is pondering the physics of the caulk gun and how it works. It's loaded with GE Silicone II for Metal & Aluminum.

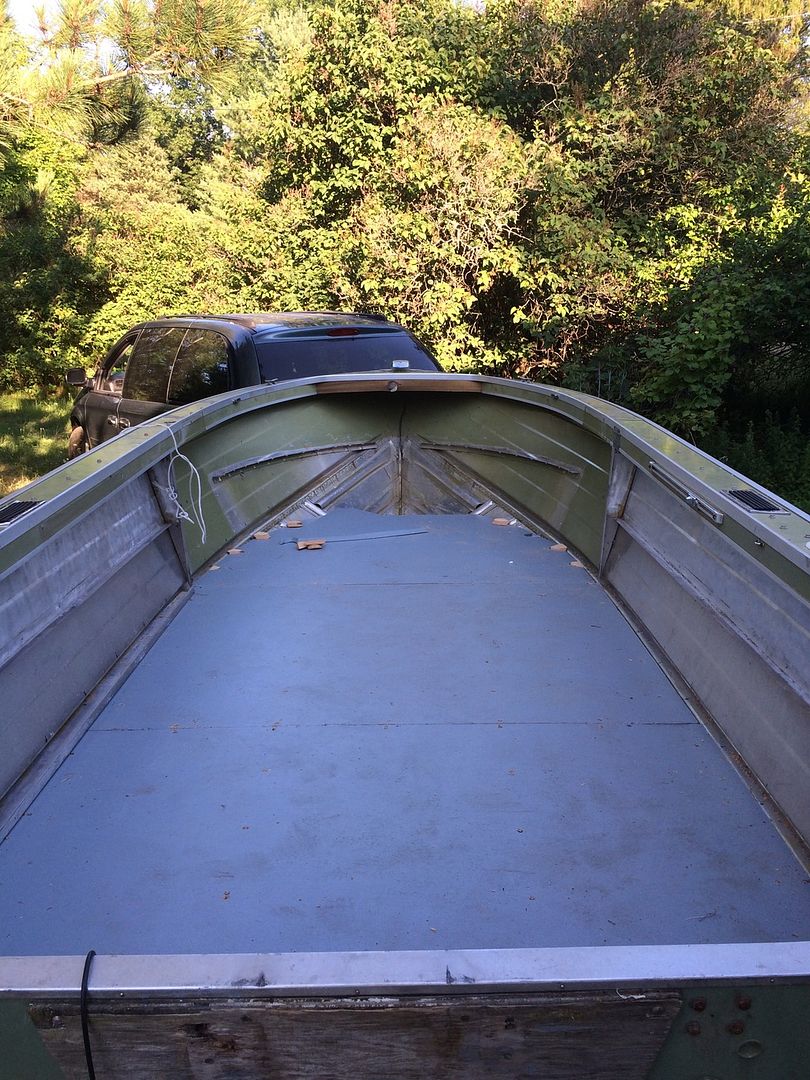
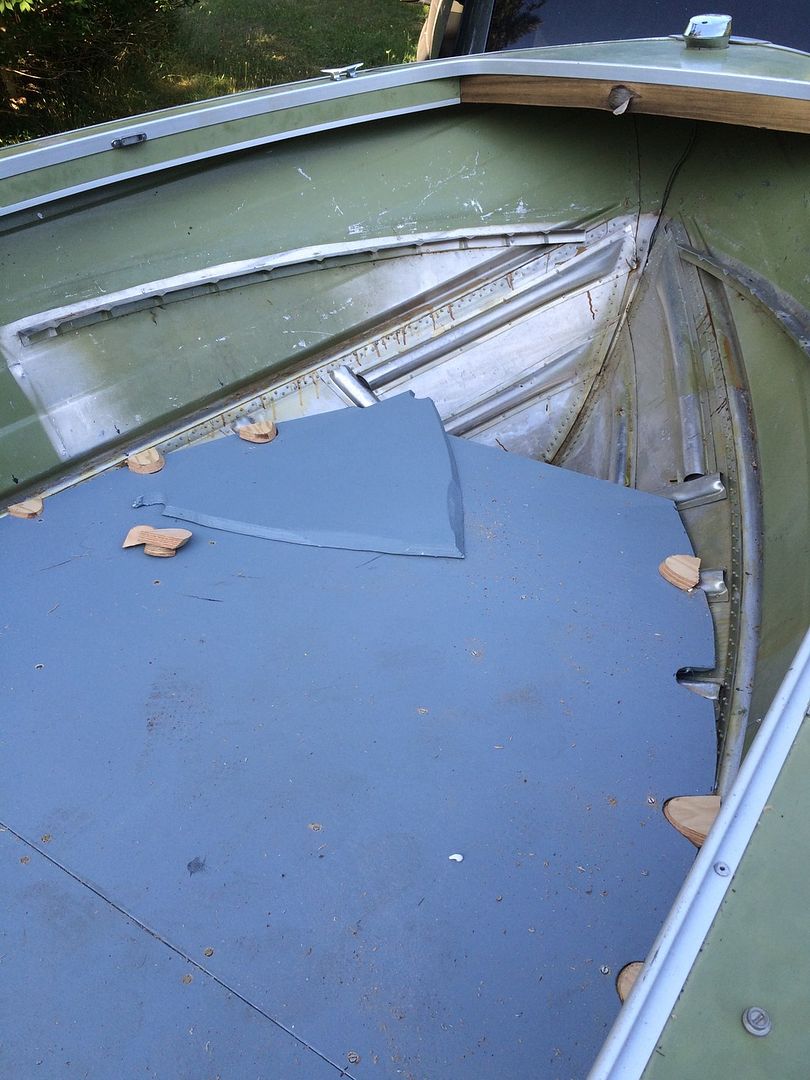
The old floor was in good enough shape for templates. The new floor is 3/4 marine plywood that was primed all the way around then painted with 2 coats of Valspar Exterior Porch Paint. the final coat will be Valspar Anti-skid, that has sand in it and I will add texture chips. Securing the floor was a pain as I kept breaking off the #12 x 1-1/4 SS screw heads, that or they 'bit' the wood but wouldn't grab enough Z channel or rib to pull down all the way. I tried different sized pilot holes, drilling out a larger counter sink area with a 1/4 or 5/16" drill bit. It didn't have a rhyme or reason why but I have to clean up a few broken screws.

In the last pic I thought about shaping those cut out pieces to cover the rib holes. If I can drop screws down there if sure I'll drop sinkers, hooks and probably my car keys. All this and not one run away screw through the bottom of the boat, Success !
 

BWR1953

Vice Admiral
Joined
Jan 23, 2009
Messages
5,852
Ummm... did you do another leak test prior to reinstalling the deck?
 

Honestsam

Cadet
Joined
Aug 25, 2014
Messages
16
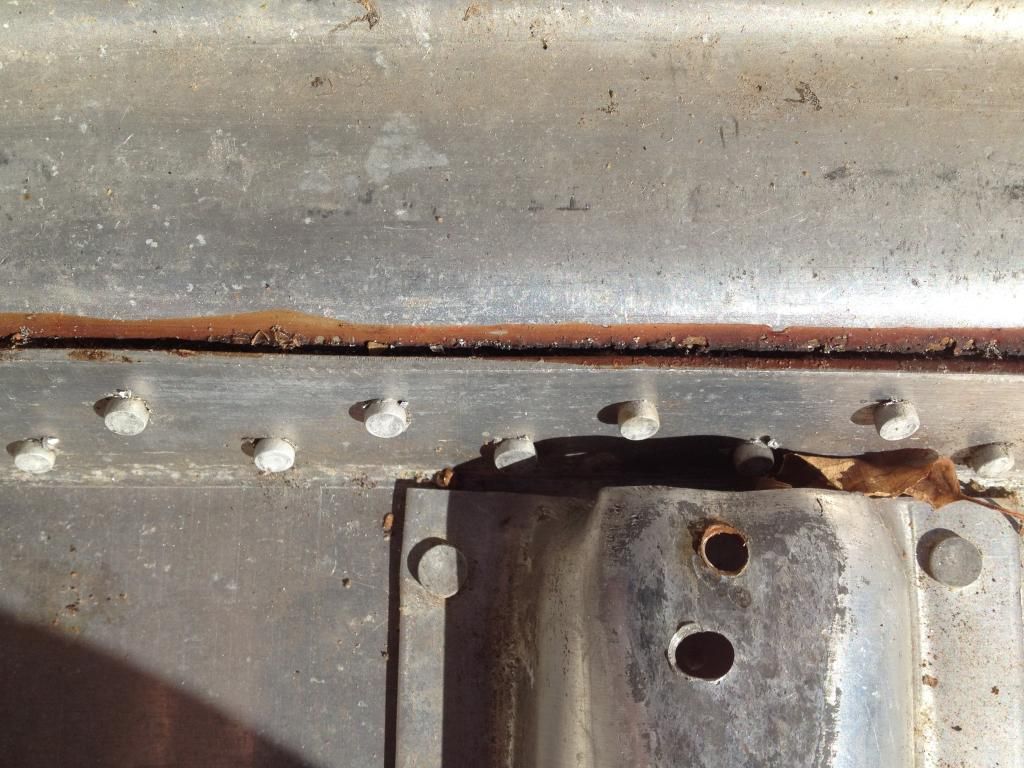
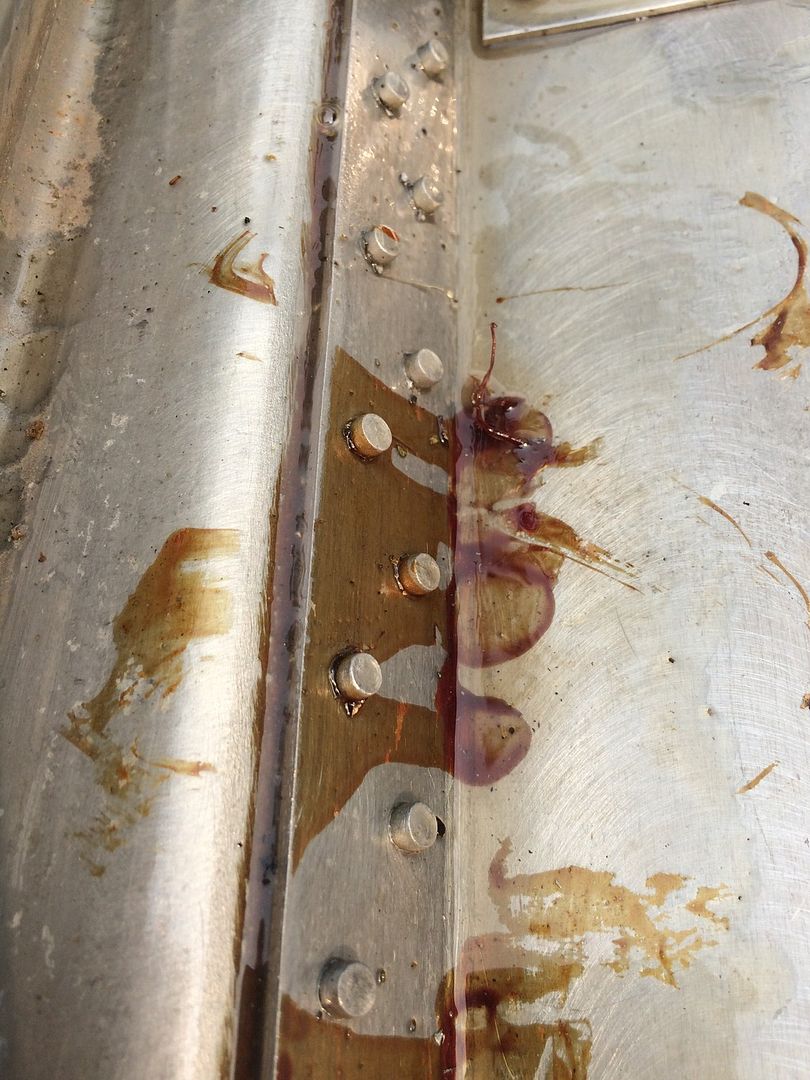
No I didn't, that would have been ideal. But I am confident that it's ok. When I did the water test last year all that happened was one seem had an area that water beaded up then stopped, so it was not a big concern after seeing how well the Gluvit filled in that dry looking gap where it occurred. I'll see if I have a before and after pic.
 

Honestsam

Cadet
Joined
Aug 25, 2014
Messages
16


This is after 1 coat of Gluvit, I don't have a pic of after the 2nd application. Great stuff!
 

Honestsam

Cadet
Joined
Aug 25, 2014
Messages
16
I used half of the quart for first coat, a quarter can on the 2nd coat. Saving the remainder for the transom to be done next.
 

BWR1953

Vice Admiral
Joined
Jan 23, 2009
Messages
5,852
Yup, Gluvit is great stuff. I used most of 2 quarts sealing my boat which was pretty leaky. Folks on here had recommended that I do a follow-up leak test after application, so I did that and was happy to report zero leaks.
 

Watermann

Starmada Splash of the Year 2014
Joined
Jan 12, 2013
Messages
13,753
The main thing with using gluvit is to seal up the seams with it so be sure to work it it them really well.

On the deck screw problem I'll have to defer to my post on the previous page and add that screws won't hold well at all with the tiny bit of bite they get in .090 AL.

Forgot to mention not to walk in the boat after applying the gluvit without putting down a piece of ply to bridge some ribs otherwise you'll hear it pop and snap as it looses adhesion to the surface or cracks.
 
Last edited:

Honestsam

Cadet
Joined
Aug 25, 2014
Messages
16
About 75% of the screws went in without a problem. I just didn't want to use rivets because when I pulled up the old floor most of the were broke and rolling around.
 

oldboat1

Fleet Admiral
Joined
Apr 3, 2002
Messages
9,607
apologize in advance, but when back at it, could you post a measurement of the transom mounting width -- the flat part, before it curves up? I'm trying to figure out if a pair of 35s would fit without alteration. (think this might be a soft hijacking....) Thanks. Was going to do a PM, but other listers might be interested.
 
Top