Starcraft jupiter Rebuild

amcjeep

Cadet
Joined
Sep 29, 2014
Messages
20
I am going to get a better look at the plate today in the day light. It was dark when I brought it home last night, and dark when I left for work this morning. I have the last registration for the boat and that says 1961 was the year.

The walk through windshield is one of the many thoughts in my head. Along with reinforcing the bow from the underside so it could be used as a casting platform while fishing. But I also like the look and shape of this windshield.

Those decisions will all come with time.
 

amcjeep

Cadet
Joined
Sep 29, 2014
Messages
20
started cleaning out the inside today getting rid of all the garbage and rotted and water logged foam.
57120C62-A50F-4394-BAE0-AC573763D8CD_zpsms4pamei.jpg


The splash well there are a couple of holes that will need to be filled
99EC15DA-3FF6-48E6-B857-D6384C2D17C6_zpsnhpo1ww8.jpg


This was the only piece of floor that stayed together. And the forward tip should come out in one piece as well, so I should be able to use them as a template for new floor
E0CD4623-F9CE-488C-ABD9-BA529D3A729A_zpsvxiljft9.jpg


The serial number definitely starts with a 61. There is still more cleaning of the hull that needs to be done it would be a great fishing boat, there was tons of worms and grubs in there. Still a lot muck,dirt and water in the stern. I tilted the boat up as much as possible to try and get the water to drain, and allow it to dry a little more (although we are expecting rain tomorrow) as I think it will be easier to clean out.

A couple of questions. This had a piece of sheet metal running down the center of the hull, that the floor was attached to. i don't think I have noticed this in pictures on other builds. It is basically another support for the floor. Is this original?

Also there was 3 really thin straps of aluminum running from port to starboard. 1 under the bow, 1 about under where the front seats would be and 1 closer to the stern but in front of the splash well. I would assume these are for some structural support? But again not sure I have seen them in other builds.
 

jbcurt00

Moderator
Staff member
Joined
Oct 25, 2011
Messages
24,871
The long piece down the center is your only stringer, yes, its original. The 3thin strips were placed under the seams between 2 sheets of plywood and riveted to both sheets. That way when you walked near the seam, it acted like you were walking in the middle of a sheet not the edge/end of a sheet.
 

Tnstratofam

Commander
Joined
Aug 18, 2013
Messages
2,679
That's a good start on the clean out/cleanup. That is one messed up looking dash and steering wheel. I haven't seen a transom that bad since well mine.:D
The three thin strips were part of the original deck structure I think. They are used to tie the separate pieces of decking together I think. The piece running down the center I'm not sure about. Lot's of work ahead, but you're making good progress for your first day. I brought our Starcraft home, and parked it in the garage for almost a week before I started on her. I knew ahead of time she would need a new transom. Take it from me when you go to replace that transom save yourself some aggravation and remove that splash well. A couple of tools I found really helpful were some good drill bits, and chisels. They made for quick work on removing old nasty rivets.

One more thing. Get yourself a good rivet gun. A pneumatic air riveter, and a good compressor will come in handy but aren't an absolute have to first set.
 

GA_Boater

Honorary Moderator Emeritus
Joined
May 24, 2011
Messages
49,038
Just to add another affirmative - The stringer down the center is original. Your Jupiter looks just like my Nassau with her skirts up. The dash wood is a PITA to replace. Starcraft hangs it from the production line ceiling on a piece of string and builds the boat around it. :eek:

On the floor template - You can use the foam sheets we use for flotation to make floor patterns. After you cut the wood, cut the patterns up for flotation foam under the floor.
 

amcjeep

Cadet
Joined
Sep 29, 2014
Messages
20
Figured I would post a quick update. Boat is on hold until I get all my wood stacked
10684236_1485827581699939_1098880771_n.jpg
Hopefully I will finish that in the next couple of days. Then get back to working on the boat.

As soon as all the leaves are off the trees, i will also be able to move all of my yard working tools to a friends barn and make room in the garage for the boat project
 

GA_Boater

Honorary Moderator Emeritus
Joined
May 24, 2011
Messages
49,038
Glad you explained the pic, AJ. Thought you were burning her at the stake for a sec!. :D
 

jbcurt00

Moderator
Staff member
Joined
Oct 25, 2011
Messages
24,871
Glad you explained the pic, AJ. Thought you were burning her at the stake for a sec!. :D
Maybe someone should swing by the AMC compound for a look-see. Perhaps he, or the Admiral, is really a glasser at heart......................

Just make sure to keep the jumpy/jittery mob member's w/ torches at the back of the pack:
Angrymob_zps2c5b1c57.jpg
 

bonz_d

Vice Admiral
Joined
Apr 22, 2008
Messages
5,274
Glad you explained the pic, AJ. Thought you were burning her at the stake for a sec!. :D

Now that was funny!! I almost thought he was going to use it for haulin wood. OH yeah and by no means WOG.
 

amcjeep

Cadet
Joined
Sep 29, 2014
Messages
20
Ha... its not to that point yet. And before it got there I would offer it up to someone that has a love for these boats
 

bonz_d

Vice Admiral
Joined
Apr 22, 2008
Messages
5,274
Just some happy kidding. I still think you got a sweet deal there. Any new thoughts on how you want to do it?
 

Watermann

Starmada Splash of the Year 2014
Joined
Jan 12, 2013
Messages
13,753
Your poor little neglected tinny thread slipped by my Starcraft forum searching eyes... Got ya in my reading queue now though!
 

lakelover

Rear Admiral
Joined
Mar 26, 2003
Messages
4,386
Sorry it took me so long to tune in to this thread....If I'd seen this for sale, I would have jumped on it so fast I would have gone thru the floor, weeds and all! What a fantastic buy, glad you were convinced. Even if you hadn't restored it, you could have pulled the weeds and stripped out the rotten wood and sold it at a good profit.

I'll be tuned in now & following along, glad to offer what I can as you go along. Rule #1 is to HAVE FUN, so good luck & enjoy it! You'll like it even better than new when it's finished.
 

amcjeep

Cadet
Joined
Sep 29, 2014
Messages
20
A couple of small updates. I threw a wrench on the motor and it is not frozen so that is a good sign. I also jumped the starter from my jeep, and it cranked quickly. But did not go further than that.

I built a motor stand out of some scrap I had laying around. Pulled the motor and have that sitting in my garage for now.

It was getting dark so the pictures are kind of grainy.
4C879E1F-268A-4A34-9C56-CEB9CBF8159F_zpsl0lmluqc.jpg

4F493C31-DD5D-45C9-98B4-5F588BB9F09E_zpsddw6nb1e.jpg

A286E272-90E6-430F-96CA-19ABAEA2F006_zpsvdkj5jap.jpg


Then I cleaned out the hull even more. I am to the point I should be able to use my shop vac to finish cleaning up the inside. (except for the fact it is supposed to rain today, and I do not have it covered yet.
A3EF2311-1BC6-4430-9E5E-8B46606F46F0_zpseyc2sxbz.jpg

one of my helpers. She keeps asking "Dad why do we have a motorboat but can not use it?" talk about motivation
A0F9F08C-25ED-457F-9073-940CD56B5BA4_zpsq6px0f3y.jpg

4685F587-5FB3-48F3-A940-5FBFBD22F9F7_zpslitbnmgh.jpg


and I also found 1 spot of corrosion on the hull. Not a big spot probably about the size of a quarter. I am assuming there was something leaning against the outside.
CEB89477-048E-45F8-B138-F3B28E9BA802_zpsnz59toan.jpg

and the inside of that spot
282DA47F-CCD7-4066-AC9F-C71B631F40E1_zpsdmi7a5k9.jpg


I have a friend that is very good with a tig welder. So I will most like just cut this spot out and replace the metal.

I think I am about ready to pull the splash well. The rivets over the hump are obvious. But for a long the flat, is the best place to pop the rivets from the outside? It looks like there are 4 along each side of the hull?
 
Last edited:

Tnstratofam

Commander
Joined
Aug 18, 2013
Messages
2,679
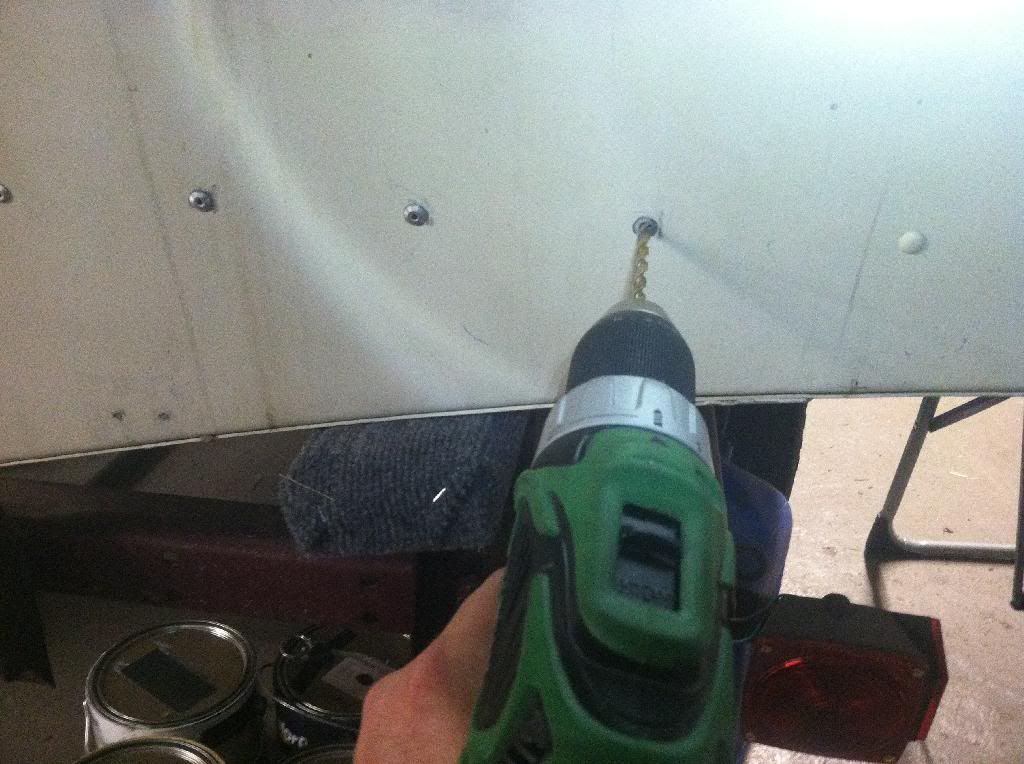
That's how I removed rivets when I redid my transom. I would take a cold chisel and knock the head off then drill them out with a good bit. You can also use a center punch and drill bit to just drill through them.

Like this.


Watermann

Starmada Splash of the Year 2014
Joined
Jan 12, 2013
Messages
13,753
Looking good so far! Make sure you get all of that corrosion wheeled off of there, I would suspect the transom skin will need some work too.
 

amcjeep

Cadet
Joined
Sep 29, 2014
Messages
20
Stringer is out, splash well is out. SHOCKINGLY the transom is rotted, who would have thought?

FC1D4D9F-32D8-4E08-8BB0-C08A99FAD8EA_zpscko1fx6s.jpg

59FCD108-D138-408A-8A7C-03C8130FDDA1_zpsdrteivyh.jpg

3D460F9F-365E-4767-9AEE-B22D04DF4B5F_zpsnagjr6ck.jpg

60442AAD-7F99-40B1-A394-E2E332932062_zpsk5megdzb.jpg


Question of the post. There is a bilge pump mounted down under those leaves. Is that necessary on these boats? Also this was set up to pump into the splash well and then no way for water to drain other than rest against the transom or splash / evaporate out. Should there be a drain up there as well?
 

jbcurt00

Moderator
Staff member
Joined
Oct 25, 2011
Messages
24,871
Without seeing the backside of the transom skin, maybe not, but there SHOULD be at least 1 thru hole splashwell drain to the outside IN the splashwell. From the interior shots, there's so much debris from the rotten transom to see if there used to be splashwell drains, and they disintegrated with the rest of the transom..

Should look similar to this:

Drains are the thru holes on either side of the transom skin plywood ^^^

Plywood isn't really needed on the exterior, but it does protect the aluminum skin from the motor clamps. But only if it's well sealed, maintained and was adhered to the aluminum to keep water from between it & the aluminum skin.

Some only have 1 thru hole, and it's usually dead center....
 

amcjeep

Cadet
Joined
Sep 29, 2014
Messages
20
Thank you. I assumed there should be, and am 99.9% sure there was not. I will have to double check again after work today but as I was cleaning all the weeds out, I kept thinking how odd it seemed to have now way for water to drain from that area.
 
Top