Free boat... soft floor... 1988 Bayliner Capri Transom, Floor and Stringer repair

wilkboater

Petty Officer 3rd Class
Joined
Jun 19, 2009
Messages
95
Thanks for the reply Woodonglass. I'll use the 3/4. One sheet will build the transom and the stringers, so I may spring for marine grade. It's only $30 difference, and with me doing the work, the boat needs every adavantage it can get. :)
 

wilkboater

Petty Officer 3rd Class
Joined
Jun 19, 2009
Messages
95
More modest progress, grinding is done (YES!!!!),


Stringers are cut out.


Transom is cut out, glued and screwed.


wilkboater

Petty Officer 3rd Class
Joined
Jun 19, 2009
Messages
95
Let the games begin!!!


Transom built to iboats specs. 3/4" marine ply, glued with tite-bond III, screwed together with 1 1/4 screws(top layer predrilled). Screws have been removed, and holes filled. The edges have been rounded over with a router, and to make it perfect, and give it style points........I added six WOG-rivets! :)


wilkboater

Petty Officer 3rd Class
Joined
Jun 19, 2009
Messages
95
A little more progress, I'm still plugging away here....

Strakes are filled; wood was coated with resin, then bedded in PB, then the strake was leveled with a skim coat of PB and all of this will get covered when I tab the stringers. This is how the factory did it, but with a lot less care. ;)


Transom is glued with PB......


and has two layers of 1708 biaxial. Feel free to nitpick my glass work; those two layups are my first and second ever(ignore the white grinding dust, it looks like air pockets in the picture).


wilkboater

Petty Officer 3rd Class
Joined
Jun 19, 2009
Messages
95
A little progress; I'm not setting any speed records here.....but still moving forward.

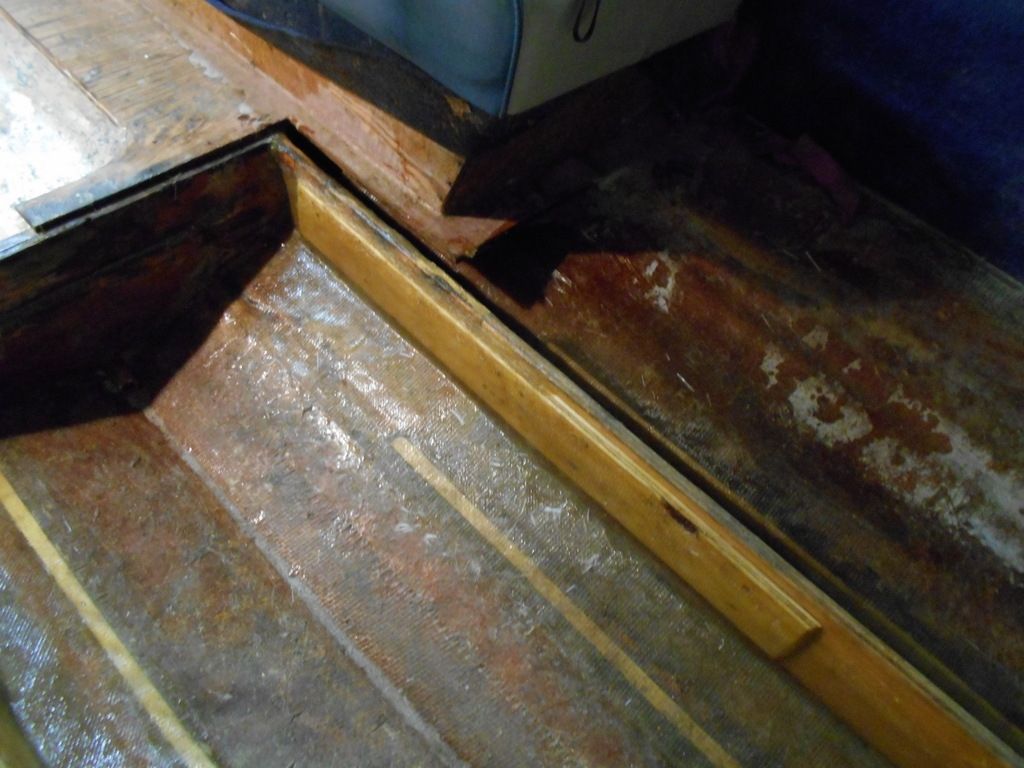
Stringers are bedded in PB, and tabbed with two layers of 1708, first one 3" up the stringer and 3" out on the hull; second layer 4" up the stringer and 6" out on the hull. Tops are capped with CSM.

boat20April20004.jpg


boat20April20005.jpg


I used a butt joint with sister boards to join to the existing stringers. I read that 36" sister boards were good, so I made mine 50".:) Actually, my port stringer needed to be 10' long, so I would have needed two butt joint that would have been 4" apart, it seemed logical to make the sisters one piece.


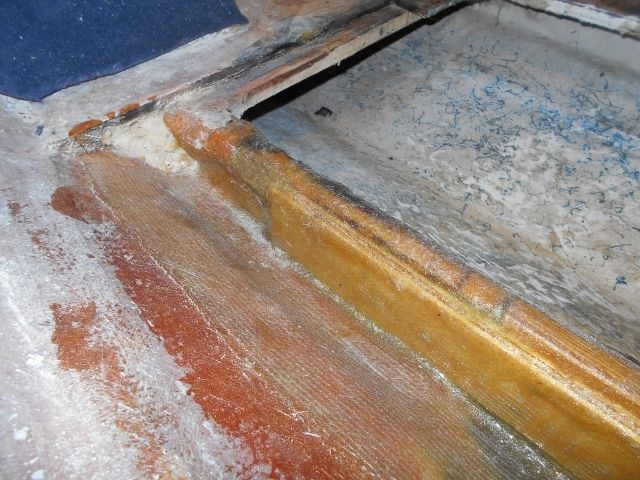
Close up of port stringer splice. Sisters were PL'd, screwed and clamped to the new stringer(3/4 marine ply) outside the boat,I let them cure for 3-4 days, then PB'd, screwed and clamped them to the existing stringer. I was surprised by how strong the bond is. With the 10' stringer only attached to the existing stringer at the glue joint(before bedding), I pulled up on the rear of the stringer; I'm sure I could have splintered the 1x6 pine stringer without damaging the butt joint. Sister boards are 3/8" exterior ply.


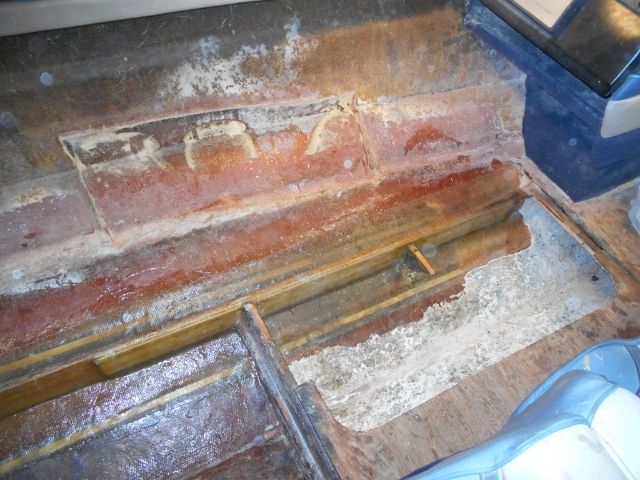
Starboard stringer repair : Tabbing under the seat base was a pain, but still easier than cutting it out and reinstalling it. Sisters are about 36" long.


Speak

Chief Petty Officer
Joined
Jul 29, 2012
Messages
467
Looks good from here! Nice to see another bayliner lover !!!
 

wilkboater

Petty Officer 3rd Class
Joined
Jun 19, 2009
Messages
95
Thanks Speak! The boat has history, and the price was right. I've read through your thread a couple of times, it's one of my "Bayliner reference" threads...
 

Speak

Chief Petty Officer
Joined
Jul 29, 2012
Messages
467
Thanks Speak! The boat has history, and the price was right. I've read through your thread a couple of times, it's one of my "Bayliner reference" threads...
Cool man....i love the capris. Keep the pics coming.
 

Carpenter2486

Petty Officer 2nd Class
Joined
May 14, 2011
Messages
144
i like what you did here! I am debating doing something like this with my project, much of my stringers are still in good condition minus a few spots near the transom where the stringer cap cracked,, but this proses of " sister'ing " would save a ton of work also cost,, I'm glad i found your tread , and looking forward to you completing the Bayliner! it is looking great!
 

wilkboater

Petty Officer 3rd Class
Joined
Jun 19, 2009
Messages
95
Thanks Carpenter, my only real "rot" was in the transom, the stringers were just damp, still good solid wood, but damp. It seemed like a good candidate for sistering instead a full gut job. As lslow as I'm going, the stringers would have dried out by now. :) It's camping season, so I haven't gotten much done lately, but you have inspired me to post a couple more pics of my very modest progress.
Painted ski locker, I used Rustoleum enamel with hardener :


....and one piece of deck installed. I also installed the fuel tank, no pics yet.


Speak

Chief Petty Officer
Joined
Jul 29, 2012
Messages
467
I like your pace. Its "something" to pick away on when you want to. In the end it will all come together and be done. Something to think about for the future is if you have not already but you will need an alignment bar to align your motor coupler up to the gimble bearing. You can get em on ebay. This is an important step since you have disrupted everything.
 

Zyen

Petty Officer 2nd Class
Joined
Oct 4, 2011
Messages
117
Sorry, got tired so I took a break(wow 1 1/2 years?????)
LOL
im glad to see i'm not the only one that takes breaks like RipVanWinkle! ;)

good progress. very nice glass work. those stringers look better than new.
 
Top