1959 Lone Star El Dorado "Project Texas Tornado" - Winner 2016 Resto SOTY Award

Watermann

Starmada Splash of the Year 2014
Joined
Jan 12, 2013
Messages
13,753
I see what you're saying TN but I can't tell in the pic, it's not like the SC's or my SN. I do know one thing though, Luke needs to have got a set of Cleco's for his birthday present after seeing the rivets in on the wrong side to hold that brace in. :D
 

Luke000

Restoration Forum Splash of the Year 2016
Joined
Aug 19, 2013
Messages
346
Or is it the rear deck support?:facepalm: if so then it is probably fine and I'll go stand in the corner for an hour for pointing out what everyone else will know is okay.


Hahaha yeah that's the deck support on the bottom, the OE transom only goes down part way, mine is actually 3/4-inch longer!

Watermann, those rivets are just there to keep the knee brace lined up while I bucked the other ones in.
 

Luke000

Restoration Forum Splash of the Year 2016
Joined
Aug 19, 2013
Messages
346
For doing the riveting on the knee brace, just leave the winch strap attached to the to the bow eye and push the hull back until it clears the trailer frame and don't forget to flip the latch back over to lock.


But I have access to a sweet Shield Bantam crane at the shop to lift the boat- and cranes are so MUCH more fun than pushing! Its also my plan for painting the bottom :eagerness:
 

Tnstratofam

Commander
Joined
Aug 18, 2013
Messages
2,679
All good.:) I was just checking. Like I said it looked okay, but I wasn't sure. Glad to see things are still movimg forward. Keep up the great work.
 

Luke000

Restoration Forum Splash of the Year 2016
Joined
Aug 19, 2013
Messages
346
All good.:) I was just checking. Like I said it looked okay, but I wasn't sure. Glad to see things are still movimg forward. Keep up the great work.


Yeah the project is moving a lot slower than I was expecting- this whole spring and 1/2 of summer was quite the roller coaster for me- but things have straightened out and next week is my final week of school for the summer semester so I HOPE I can get a lot more work going now :)
 

Luke000

Restoration Forum Splash of the Year 2016
Joined
Aug 19, 2013
Messages
346
I got a lot of work done today- I took the port holes that I took off the boat and straightened them back out (They were very bent up when I bought the boat, so much so that the hull had looked bent), removed some of the remaining rivets for the latches/hinges, replaced the foam rubber gasket (west marine had 7-feet for $40, instead found some at the hardware store 10-feet for $4) I used 9.75 feet!

I went up to the boat with my little brother and the air compressor and we installed both portholes. It was REALLY hot up in the bow of the boat for me bucking all those rivets! Only took about 2 hours from start to finish. It took some doing to get the new screen lined up and taught but in the end we got it (it gets sandwiched between the inside porthole and the hull)

Net step- interior PAINT PREP!!! :wacko:


Tnstratofam

Commander
Joined
Aug 18, 2013
Messages
2,679
Looks real good. Did you use any sealant on the rivets? The port holes probably don't need any since they're above the water line. If you replace any that are below the waterline I would recommend coating them with a little 3M 5200 when you install them. It's a little messy but is added insurance against leaks. You can clean up any excess 5200 with some MEK or MEK substitute.

I'm sure it was hot working up in the bow area, but they turned out nice.
 

Luke000

Restoration Forum Splash of the Year 2016
Joined
Aug 19, 2013
Messages
346
Looks real good. Did you use any sealant on the rivets? The port holes probably don't need any since they're above the water line. If you replace any that are below the waterline I would recommend coating them with a little 3M 5200 when you install them. It's a little messy but is added insurance against leaks. You can clean up any excess 5200 with some MEK or MEK substitute.

I'm sure it was hot working up in the bow area, but they turned out nice.


All my below the water line rivets have gotten some 5200 (see post 257) but I have not done any on the port holes because they are so far above the water line. And if anything is going to leak it is the windows themselves as the design isn't the best for the latches but the new foam rubber should help.
 

Tnstratofam

Commander
Joined
Aug 18, 2013
Messages
2,679
When I redid the transom on our Starcraft I got a little ahead of myself and installed the z brace without putting any 5200 on the rivets. Luckily Lakelover caught my mistake and pointed it out before I got to much further ahead. So now when I'm reading through other peoples restos I tend to think of it for all rivet installs, but you are correct it's not usually needed for rivets above the waterline. The bow windows look like they were a challenge to install, but they turned out nice.
 

Luke000

Restoration Forum Splash of the Year 2016
Joined
Aug 19, 2013
Messages
346
Measured the inside of the boat today of surfaces that need to get painted and ordered up 2 quarts or Tuff Coat MP-10 metal primer and 2 gallons of light gray Tuff Coat smooth ruberized coating. I am not looking forward to sanding the inside because of all the specked paint flakes off and is magically drawn to sweaty skin and adheres haha. Plus its going to be upper 80's for the next few days!
 

Tnstratofam

Commander
Joined
Aug 18, 2013
Messages
2,679
Do you have to sand the surface down to bare metal for the primer to adhere, or will it stick to good paint? You may only have to sand off the loose and flaking paint and then primer over the paint that is still adhereing good to the hull. That would save allot of back breaking work.
 

Woodonglass

Supreme Mariner
Joined
Dec 29, 2009
Messages
25,924
YUP ^^^ If it's adhered really well, I'd do a light sanding and then wipe down with TSP and then finally with Acetone and then shoot the primer.;)
 

Luke000

Restoration Forum Splash of the Year 2016
Joined
Aug 19, 2013
Messages
346
Yes, the guy at Tuff Coat told me to sand with 80 grit sandpaper and he said it should bring it down to bare metal quickly in most spots but what paint does not come off, as long as I get the loose stuff off will be a suitable substrate for the metal primer as long as it is sanded and clean.
 

Luke000

Restoration Forum Splash of the Year 2016
Joined
Aug 19, 2013
Messages
346
Missed a few updates up to last night, but the interior is painted! I got the rest of the inside sanded, vacuumed, and then got a hold of a hot water/steam power washer and cleaned the inside really well. That was last week, and yesterday I got the interior masked off, primed and painted. I used Tuff Coat rubberized non-skid paint, and their MP-10 metal primer. I used a regular HF spray gun for the primer and a HF hopper gun (highly recommended) for the top coats.


Steam Washing


Masked off


Primed


Painted!


Tnstratofam

Commander
Joined
Aug 18, 2013
Messages
2,679
Primer and paint turned out good looks like. One thing at a time can seem long and tedious, but your getting there.
 

Luke000

Restoration Forum Splash of the Year 2016
Joined
Aug 19, 2013
Messages
346
Primer and paint turned out good looks like. One thing at a time can seem long and tedious, but your getting there.


Yeah this project seems like its really drawn out and moving at a snail's pace but seeing some new paint on the boat lifted my spirits! The paint needs to cure for the rest of the week now before I go to do any more work on the boat.
 

Luke000

Restoration Forum Splash of the Year 2016
Joined
Aug 19, 2013
Messages
346
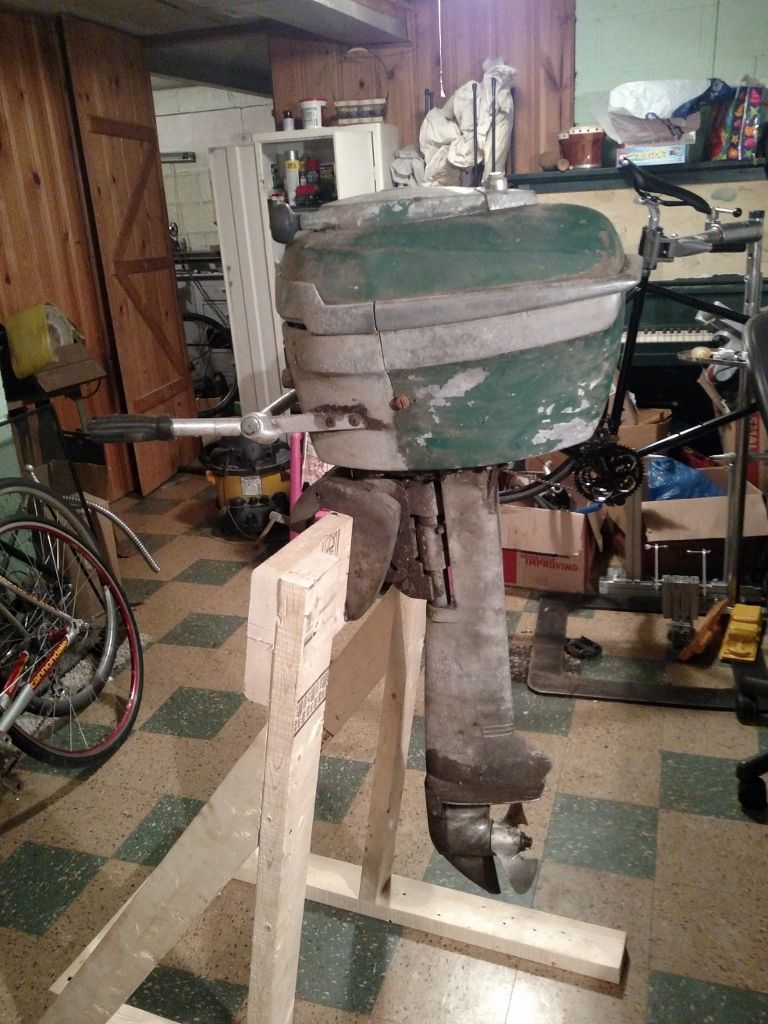
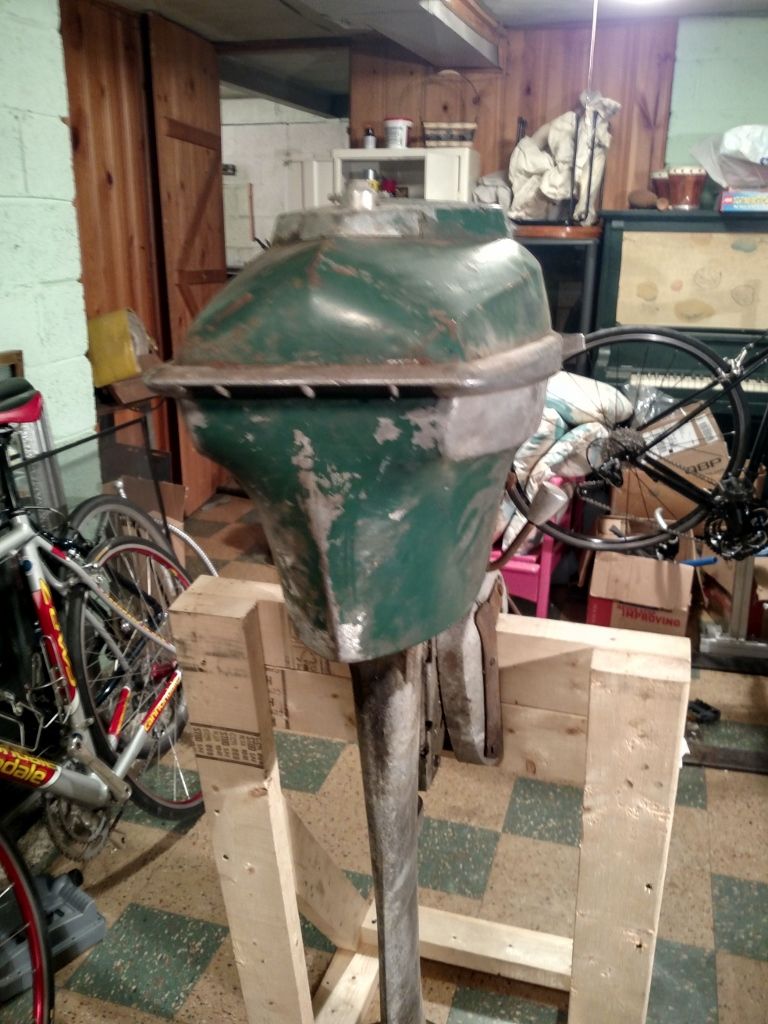
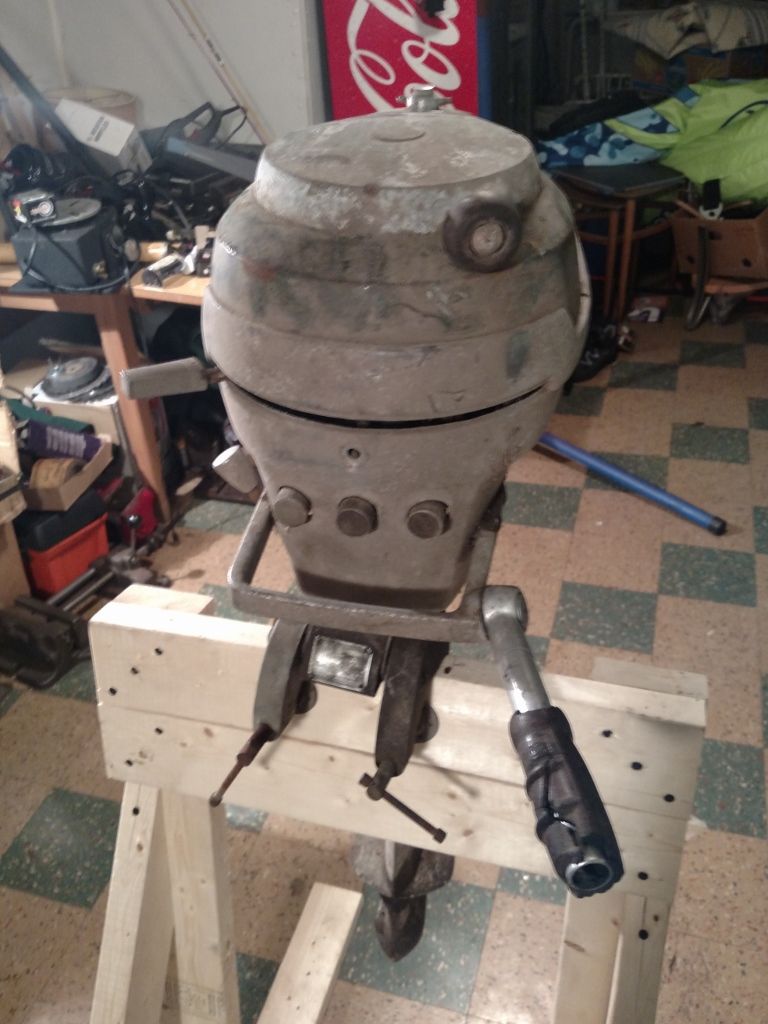
Happy new year everyone! I apologies for my absence from the boards for a while and the lack of updates on the project, the truth is not much has been completed on the boat since my last update. I started my senior year of college and have had very little time, along with a good number of other setbacks. But as far as setbacks go I am leaving them all in 2015. I did manage to find myself a few other little projects along the way, including a cool little 1949 Scott Atwater 7.5HP motor that I picked up at an estate auction, that I am currently restoring as a kicker for this boat! On the outside she is crusty, but mechanically it is in great condition! In the spirit of the new year,I am going to make it my year goal to finish the Lone*Star by the end of summer!

A short list of the big things I need to still accomplish are:
- Order up a replacement windshield from UPD with my tax refund
- Once the weather starts to warm up get the outside of the boat painted
- Install floor and carpet
- Make side panels (and flotation foam)
- Get seats upholstered
- Install interior
- Install electrical
- Install motor
- Enjoy!


That was just a short list of things I need to accomplish and by no means a complete list.

The next big step is going to be painting the boat, I want to keep the original paint scheme best as possible, I am most likely going to try and do a roll and tip method, but I am open to other suggestions, I have no clue on what paints to use, besides I want to stick with Sherwin Williams products (I can get a very good deal on them) So in the next few months I am going to be asking a lot of paint questions! I Don't want to skimp on paint quality, my most important considerations are the final finish and ease of application.

2015 was a very slow year on the project but 2016 will be the year of the Lone*Star for me!

And a quick before picture of the Scott Atwater...


jbcurt00

Moderator
Staff member
Joined
Oct 25, 2011
Messages
24,871
Post a link to your Atwater topic

Have a great final semester and 2016
 

monriverguy

Petty Officer 2nd Class
Joined
Oct 28, 2013
Messages
190
Hey Luke Happy New Year and welcome back i was just asking about you last week, My boat has been going slow also but yours is looking great !!!
I also did not post on here for a while so i started a new thread (1959 lone star el dorado part 2)... I do have a question for you since you are back.LOL
on the first page of pics when you got the boat i saw you still had the cable steering on your boat . I am tring to figure out where the last pulley was mounted on the boat... was it on the transom side bracket ? do you remember ? any help or thoughts on this ??

Thanks again,,,,, Glad you are back !!
 

Watermann

Starmada Splash of the Year 2014
Joined
Jan 12, 2013
Messages
13,753
Welcome back to the fold Luke. On the paint does SW make poly alkyd enamel and primers?
 
Top