'83 Lund "Sirius" total gut and rebuild

thull

Petty Officer 2nd Class
Joined
May 26, 2012
Messages
142
I'm not a mechanic either, but I agree with what Zool & jig said. Wet the cylinders with a little fuel in a spray bottle and then work that around and test again, preferably after running it a little while. Personally my motor had bee sitting for 5 years, has low compression, & came up 10 psi & evened out after I got it running. With those #s, you still wont have great compression, but since all the cylinders are fairly even within 10% of each other, you'll still be able to use it until you can get something different.
 

thull

Petty Officer 2nd Class
Joined
May 26, 2012
Messages
142
A couple other things, you should definitely try posting motor questions in the other section of the forum, there's a lot of outstanding help there. Also look up the sticky on how to do a decarb. that's easy to do and could boost your psi several points as well.
 

nurseman

Lieutenant Junior Grade
Joined
Jun 2, 2013
Messages
1,045
Thanks Thull, I just haven't got around to posting in the motor forum.
 

Daniel1947

Petty Officer 1st Class
Joined
Sep 22, 2010
Messages
267
I used to be an auto mechanic...have built a number of engines in my life time. Don't spray gasoline in the cylinders...gas will wash whatever lubricant there is in the cylinders. What we used to do on older motors was put a couple ounces of automatic transmission fluid in the cylinders, turn it over a few times and then let it sit. Automatic transmission fluid has a very high detergent level, which is why you don't have to change it in your vehicle; it should soak thru some of the crud and help free up the rings. If you don't have that handy a few ounces of a good motor oil should also help. I won't lie but if I remember correctly the idea was that if it improves more than 10 pounds across the board, it should be good to operate for awhile. As has already been stated here...you are within 10% across the board now.
 

Ourfamof6

Seaman Apprentice
Joined
May 22, 2010
Messages
36
Hey NM, just finished reading your entire thread. Awesome work. Am following this as well. Have already learned a ton of things to do on my own project. Keep up the detailed posts. It really helps those of us who are still learning. I'm still in the tear down grinding stage so a lot left to go. Seeing someone else's progress helps you on your own project. Thanks.
 

nurseman

Lieutenant Junior Grade
Joined
Jun 2, 2013
Messages
1,045
Thanks Ourfam, welcome aboard. I think that I have also done a good job of showing a few "what not to dos" as well!!:facepalm:
 

kcassells

Fleet Admiral
Joined
Oct 16, 2012
Messages
8,596
NM,
The best part is you always do your best! And that's what gravitates everyone to your thread.
 

nurseman

Lieutenant Junior Grade
Joined
Jun 2, 2013
Messages
1,045
Primer on, again. I just knew that I would never be happy with the way it was. Hopefully this time...


Not much else to report. Haven't had much time to work her lately. Hopefully I will start moving forward again soon.
 

zool

Captain
Joined
Aug 19, 2012
Messages
3,432
Looks good as usual, NM. What was the final grit you ended up with? once you get the base to hold, the paint is made to adhere to the primer...Way to git er done!
 

jigngrub

Fleet Admiral
Joined
Mar 19, 2011
Messages
8,155
Primer on, again. I just knew that I would never be happy with the way it was. Hopefully this time...


Not much else to report. Haven't had much time to work her lately. Hopefully I will start moving forward again soon.

Got OCD much?;)

Excellent work!
 

thull

Petty Officer 2nd Class
Joined
May 26, 2012
Messages
142
This will be the best keel paint job of all time...ever! Nice job NM!
 

jc55

Senior Chief Petty Officer
Joined
Nov 3, 2006
Messages
665
What?! You're starting over? Man, it sure looked good to me.
 

Mikeopsycho

Senior Chief Petty Officer
Joined
Feb 6, 2014
Messages
738
Looks great NM! We know you'll get at her when you have the time, we'll be (im)patiently waiting.
 

Tnstratofam

Commander
Joined
Aug 18, 2013
Messages
2,679
Nurseman I commend you on your search for perfection. Try to remember that show quality will only last till the first or second splash.
 

kinaiahi61

Petty Officer 1st Class
Joined
Nov 10, 2012
Messages
215
Looks great. I love the dedication and craftsmanship in everything you do.
 

nurseman

Lieutenant Junior Grade
Joined
Jun 2, 2013
Messages
1,045
It has been a while since I posted anything on here. I have been lurking and watching everyone else's progress, just not much time to make any of my own. I have been doing a few things to keep plodding forward. I fixed a crack in the magneto housing with some eeepoxy. I was just going to buy a new one, but they are freaking expensive!!!:eek:


I also cleaned the points and rotor while I was inside there (very nasty) and tested the condenser (good) and the coil (also good). With good spark, I tried to fire her up, but nothing doing. Suspected fuel problem. (it has sat for 6 years or so...) I would get a firm bulb, and could see fuel in the filter, but no run.:grumpy: My FIL suggested cranking it over and giving a shot of starter fluid to see if she would fire, which she did. (don't worry, I gave it just enough to make it run for about 2 seconds.) So I ordered a fuel pump kit and kits to rebuild both carbs. I'm sure they need it.


And while I was at it, I ordered a water pump rebuild kit, and all of the seals to rebuild the lower unit.


Haven't got around to putting things together yet, but I will keep picking at it.
 
Last edited:

Tnstratofam

Commander
Joined
Aug 18, 2013
Messages
2,679
Working on the engine can certainly cause you to pull your hair out, but it's one more thing off the list. Having all the aggravating mechanical stuff out of the way will make finishing the deck and interior all the more sweet. Remember small steps get you to your goal as much as giant leaps do.:encouragement:
 

nurseman

Lieutenant Junior Grade
Joined
Jun 2, 2013
Messages
1,045
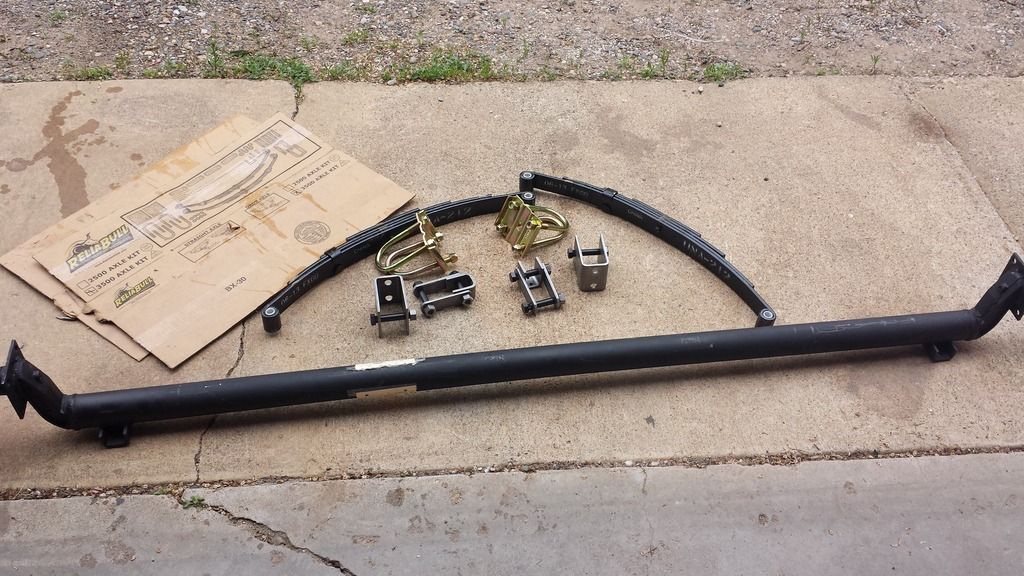
Also have been collecting materials to modify the trailer. Got a bigger axle and springs (3500#). The new axle is wider than the old one (47 " to center of springs, vs. 64" between spring centers), which should get rid of the "top heavy" feel that it had before. I am also going to get a brake kit for it, as the old one didn't have brakes. Not a problem when I was pulling it with a full sized pickup, but I downsized to a smaller rig, so I think brakes will be needed! I was thinking of getitng a 10" drum hydraulic surge brake kit.


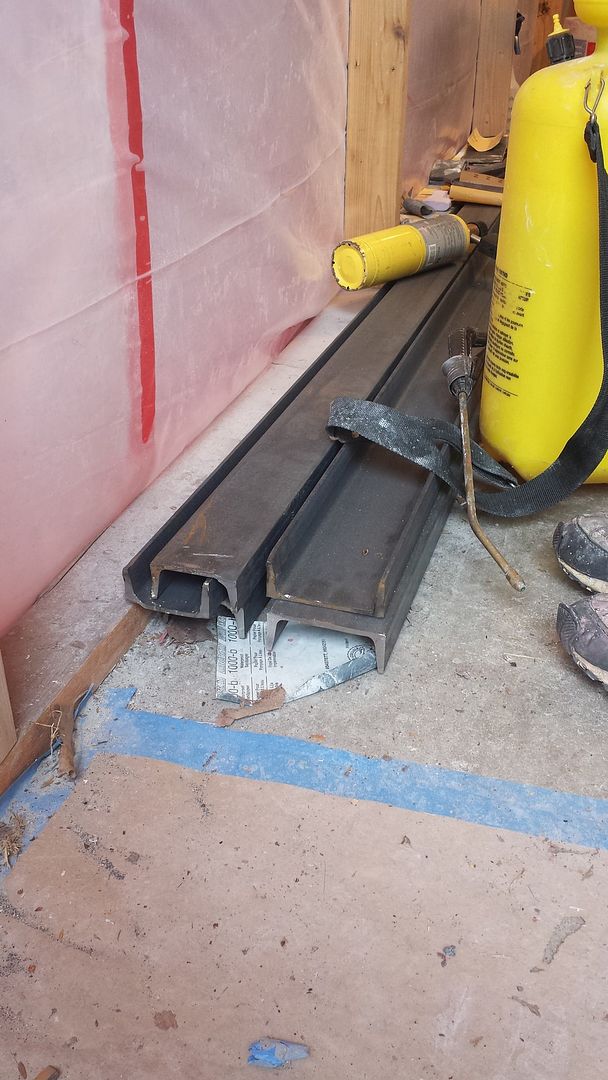
Also got some 4" c channel for new side rails, and some 3" c channel for cross bracing and bunk/roller supports.


Not sure if I will go back with the old rollers (they work fine) or go with some roller bunks. I kinda like the idea of roller bunks, so we will see. Also picked up a few new toys. I have been wanting to get a welder for some time, and the trailer project was a perfect excuse to go shopping. There is a used tool store close to where I live, called Tried and True tools, and if you aren't a new tool only snob, you can score some good deals. Every thing is tested, or else it comes with a three day return. I scored this 220V AC stick welder for $140. :D. Nothing fancy, but works good.


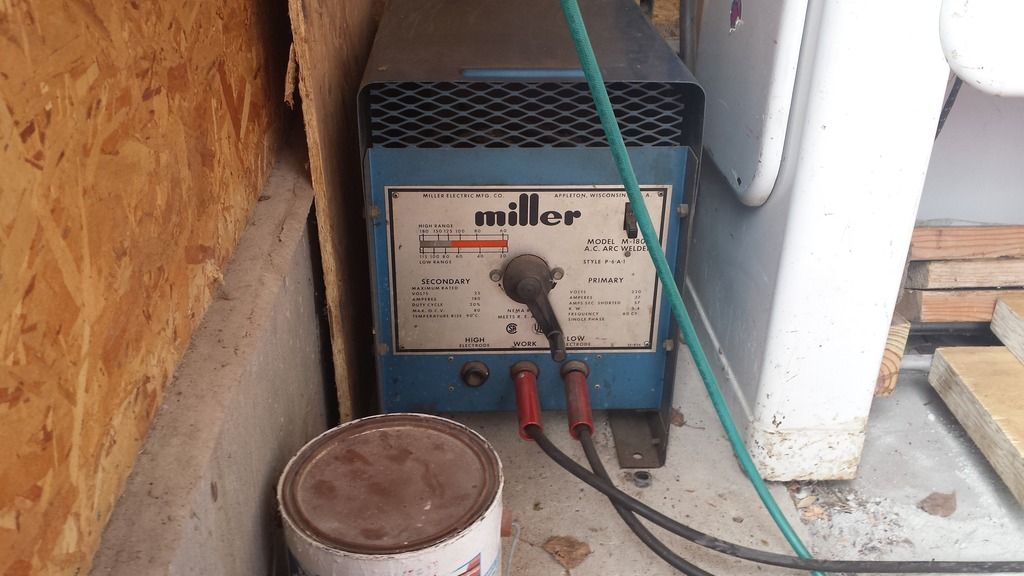
Been practicing a lot before I dig into the trailer fabrication. I used to be a fair hand with a welder, but I haven't struck an arc in about 17 years or so... so I'm rusty to say the least! Forgot how much fun it is!!

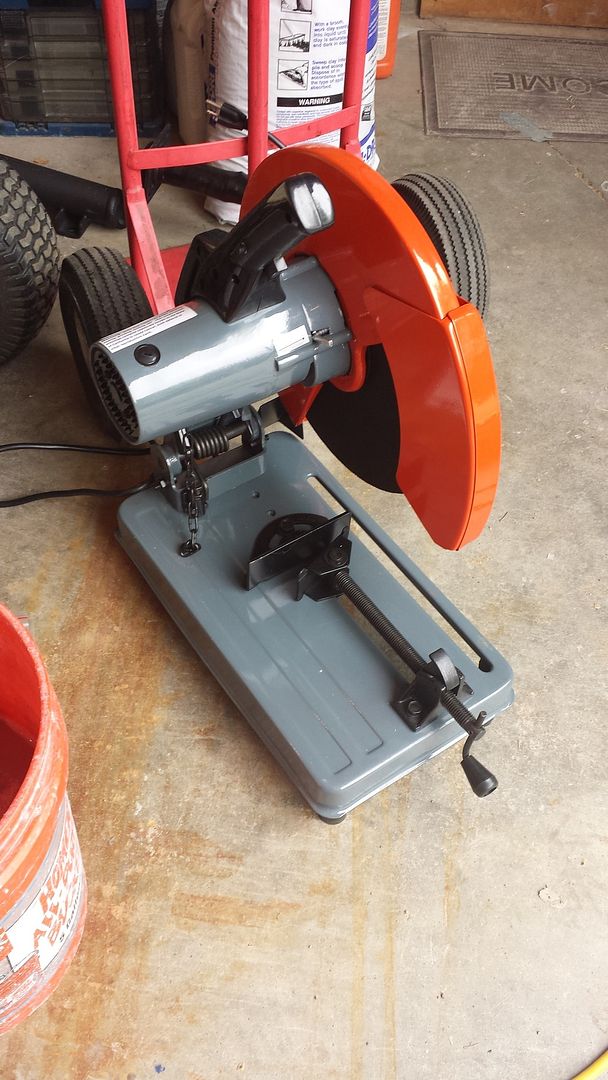
Also found this new in the box cut off saw on CL for $65!

 
Top