It all started with a leaking livewell. boat restore project. 1993 Mirrocraft

Browndog10

Petty Officer 3rd Class
Joined
May 13, 2014
Messages
89
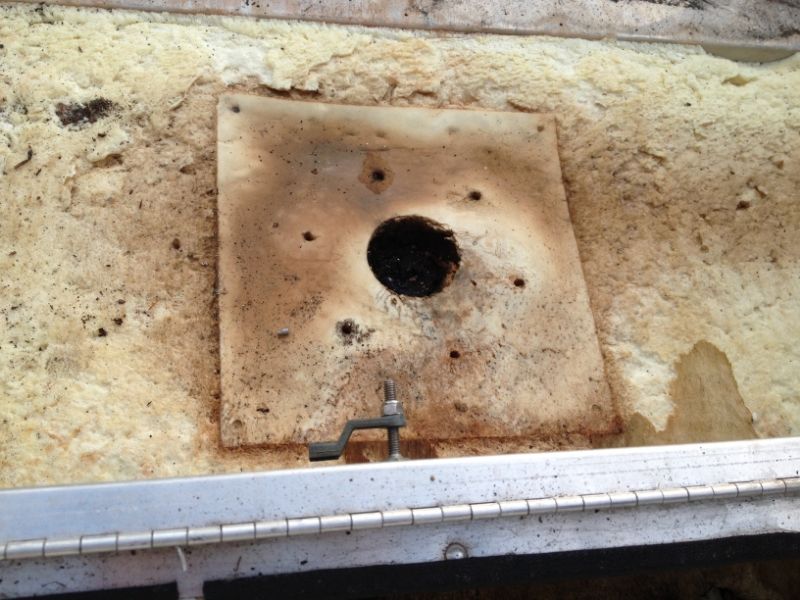
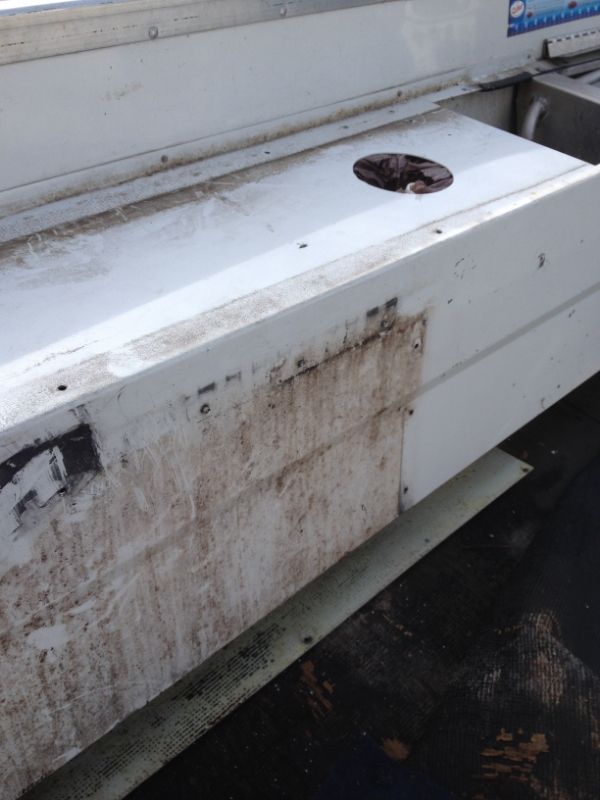
I purchased a boat a few months ago which seemed pretty solid, it turns out that it has rot throughout. I read somewhere that you should not buy a boat in winter. I wish I read that advice before my purchase. Well, everything seemed fine the few times out until I was in a bass tourney and had to use the livewell. I saw a bunch of water on the floor and turned the bilge on and I had alot of water coming out. Once I got home I started investigating and finding more and more bad signs.Turns out the elbow for the drain on the livewell was leaking and leaking badly and going straight to the floor and down to the hull of the boat. More investigation, I detected some rot in the transom and that brings us to this thread.

IMG_3793.jpg


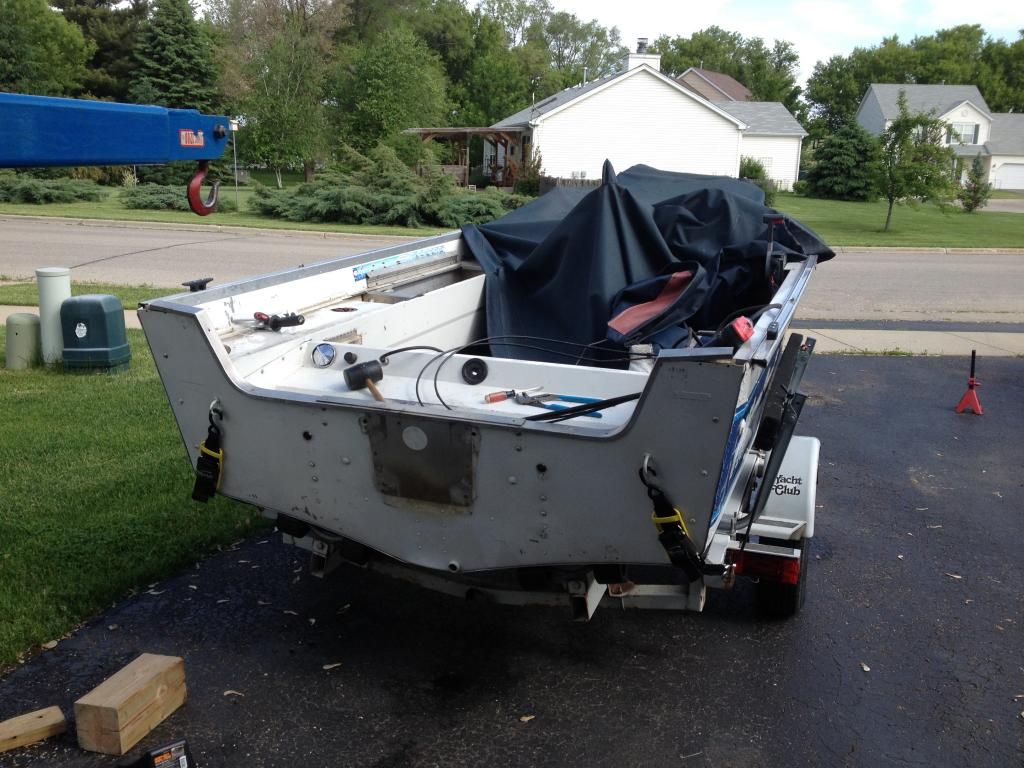
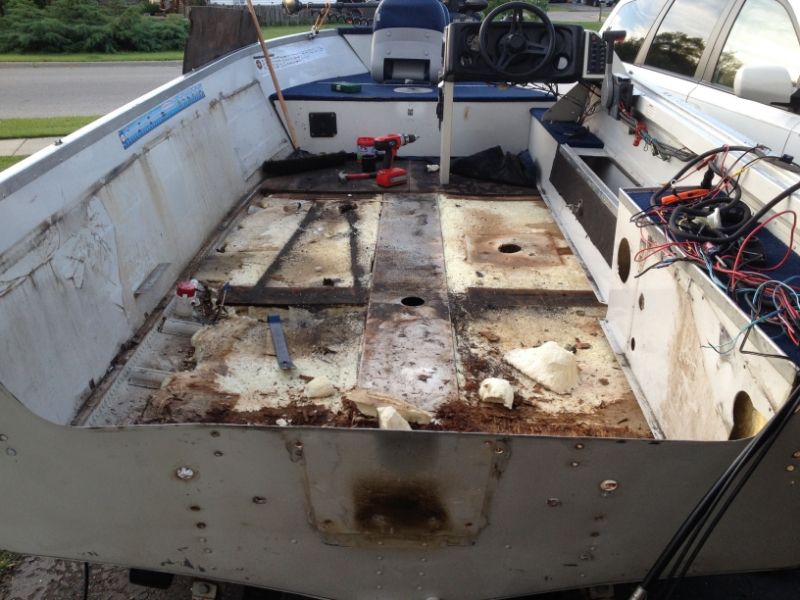
Time to start, I rented a cherry picker and pulled the motor. Started removing everything piece by piece.

IMG_3799.jpg


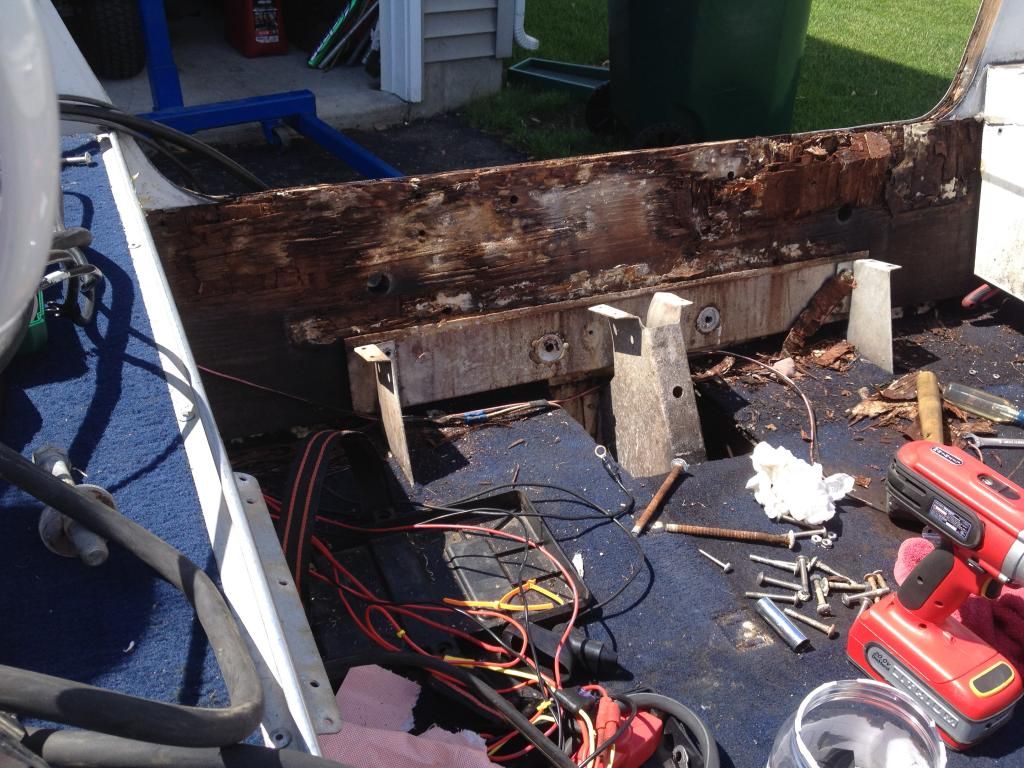
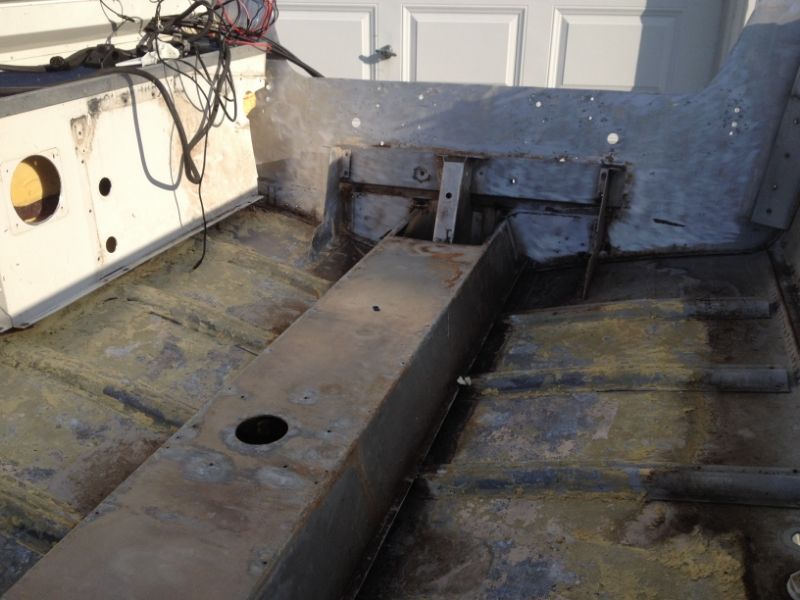
After the cap was removed it was apparent that this transom was shot. I was really surprised that it was this bad. Surprised that this boat still floated.

IMG_3802.jpg


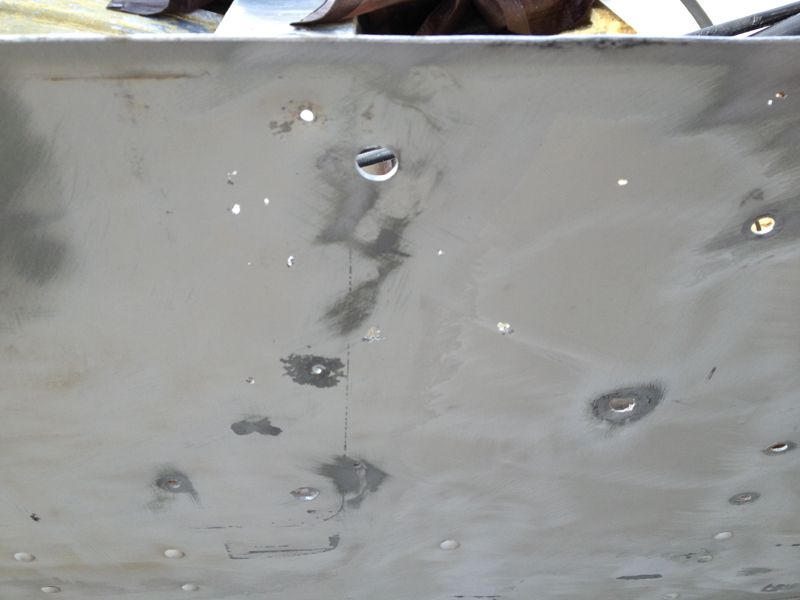
I had to cut out some of the side panel to get the remaining bolts and screws fastening the transom. This took me the majority of the time as cutting the panel was last resort. Eventually, the transom was free.

IMG_3801.jpg


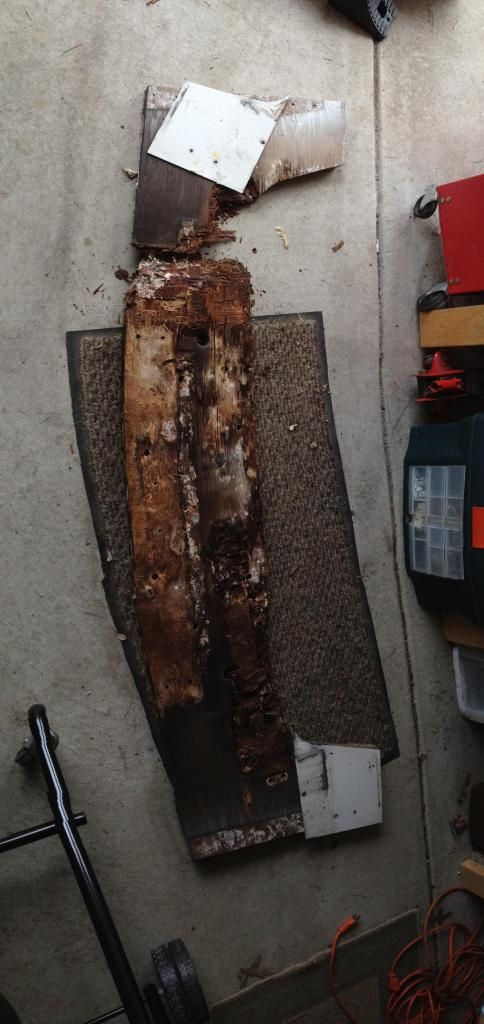
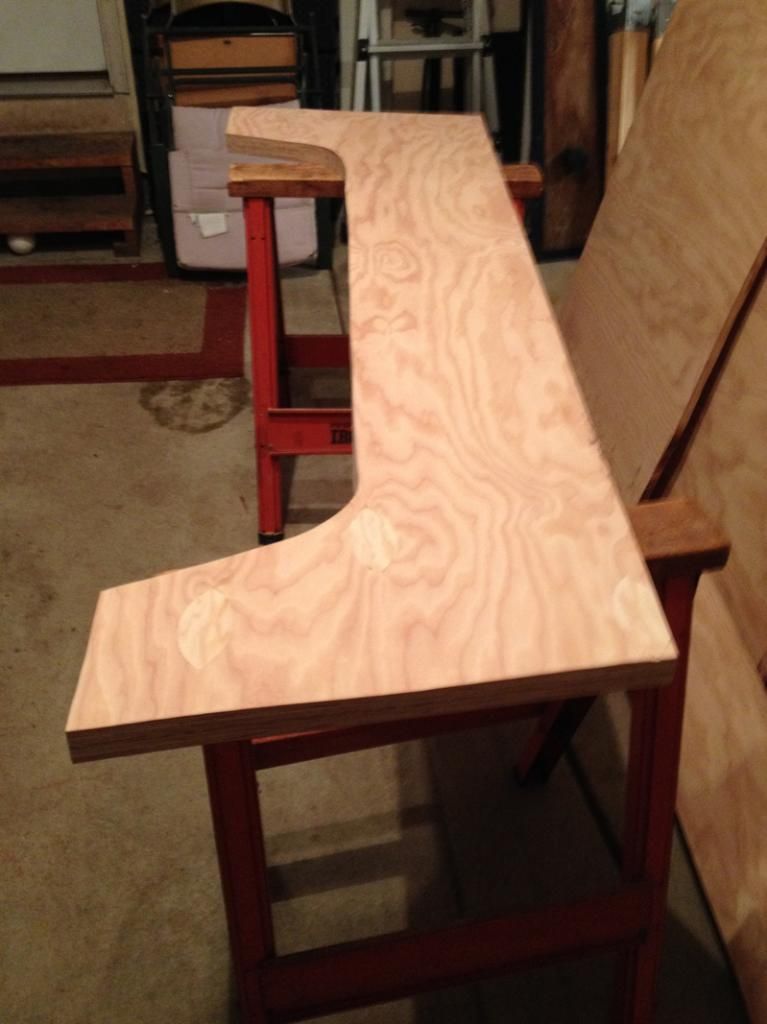
I was hoping to get it all in one piece but it held together enough that I can still use as a template.

IMG_3803.jpg
/

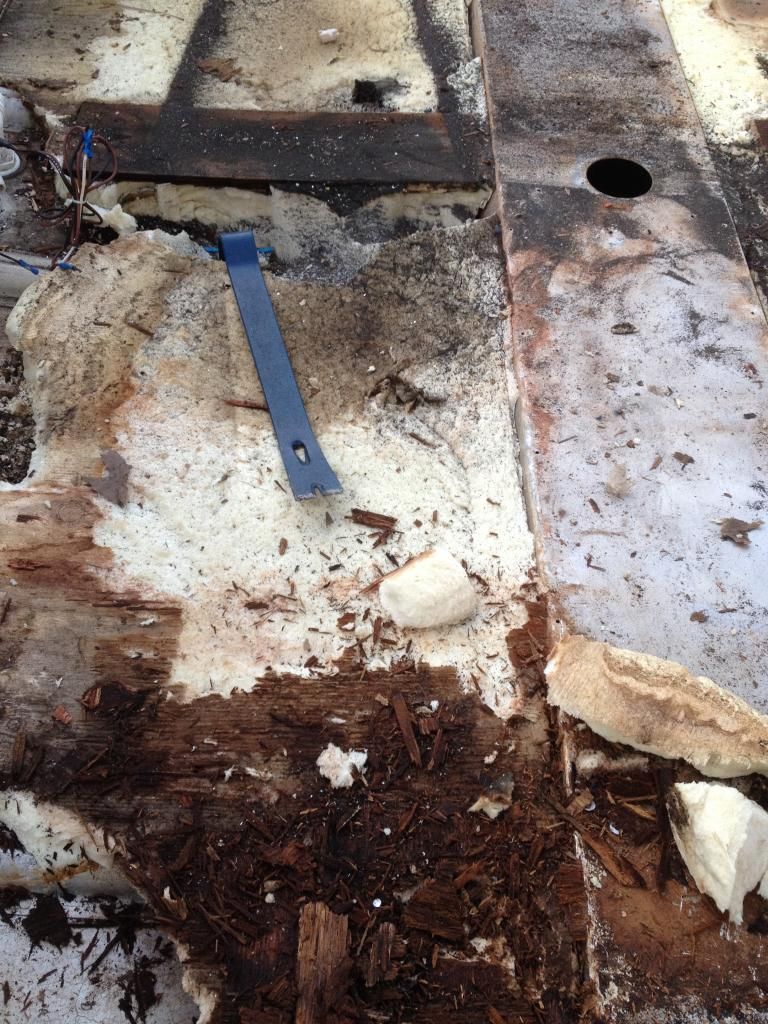
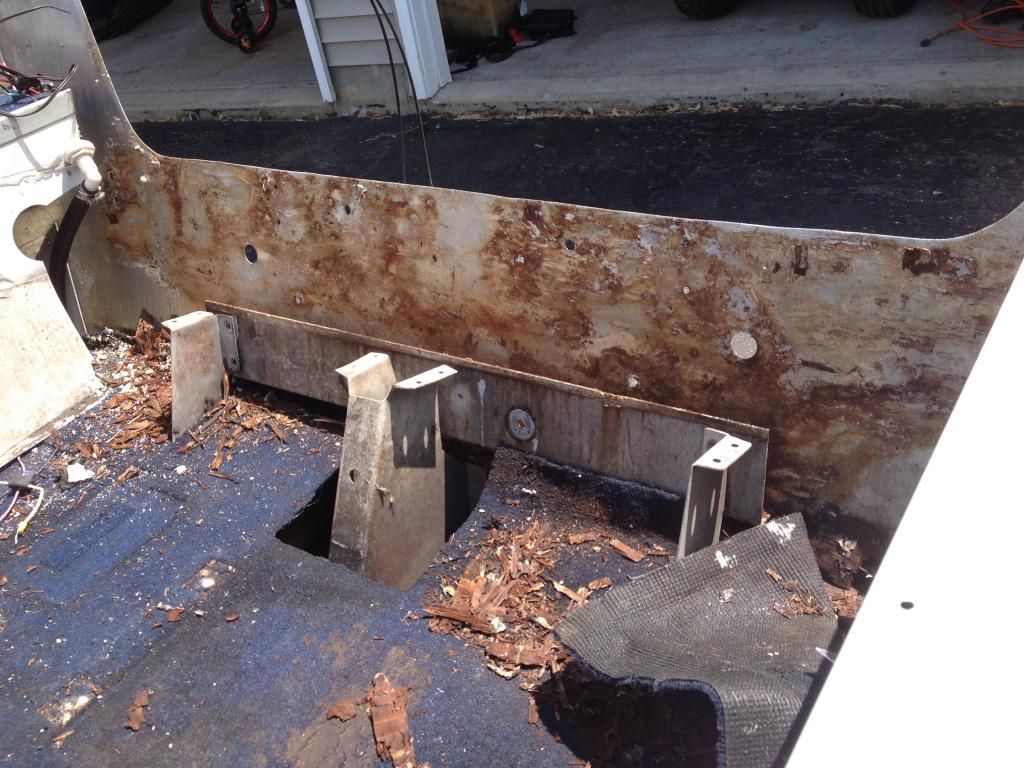
Unfortunately, the whole back end that held the batteries and fuel tank are rotten. Now this turns a transom replacement to a floor replacement also. Not too thrilled about this, but whats done is done.

f776a393-8fff-4247-9dd0-acb636b3355d.jpg


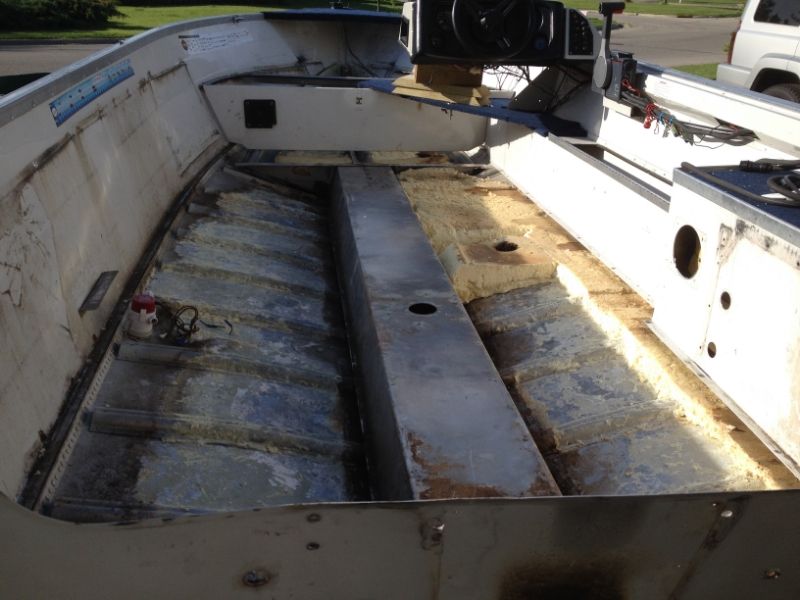
Now my dilemma, hopefully someone can help. In order to pull these panels it looks like I have to drill through the solid rivets on the hull. I really dont want to if I can avoid it. They are above the water line but is there any way not to? The bottom is attached to the flooring would it compromise the integrity of the hull/rivets if I bend the side panels by just pulling them up from the bottom as much as I could? I know very little about solid rivets and they dont look like fun to mess with.
 

jigngrub

Fleet Admiral
Joined
Mar 19, 2011
Messages
8,155
Are you sure those panels are secured to the hull? If they are, how many rivets would you have to remove to take them out?

If you do have to remove hull rivets, you could replace them with closed end blind rivets like this:
http://www.youtube.com/watch?v=L0MA1-5NXjs&feature=related

Post a couple more pics of those panels from different angles. Looking down from the top and an inside view from further away.
 

Browndog10

Petty Officer 3rd Class
Joined
May 13, 2014
Messages
89
Fairly certain that is it. Would have been a better design if they had a lip of sorts where those panels could hang from. They appear to be all one piece, the bottom is undone (rivets/screws) and that seems to be the only thing holding them in. They run the length of the boat with approximately 20 on port and maybe 40 starboard, maybe more and the carpet and floor lay beneath them. I will have to get the closed rivets online as none of the stores carry them around here. I am guessing on the size. Just really hate to mess with the hull. I am thinking that this will be a full days job removing them, may need a better drill for this. I will take more close ups later in the week. I could see why the livewell was never fixed. It seems like access to areas of this boat revolve around these panels. changing the bilge on this boat would have been real a huge ordeal. Also, I need to build in some access panels on my rebuilt. because there is no sense tearing everything else apart if not needed. Maybe add a few deck plates here and there.
 
Last edited:

Browndog10

Petty Officer 3rd Class
Joined
May 13, 2014
Messages
89
I had to drill out the solid rivets to get the side panel off. They actually came out easier than the pop rivets. I pulled most of the floor off it was all stuck to the foam. The more rotten of the wood the more it stuck. I have a question on the foam. The top layer is wet (side note: that it rained alot this week and my cover collapsed and everything got drenched). It looks and feels dry under the top layers that I checked. Do I need to still change it? If I do how to get it out the best?

IMG_3818.jpg


IMG_3819.jpg


IMG_3820.jpg


IMG_3821.jpg
 
Last edited:

Woodonglass

Supreme Mariner
Joined
Dec 29, 2009
Messages
25,924
I'd core sample the foam by cutting some "Teeth" into one end of a 1 1/2" x 2ft long piece of PVC pipe and drill a 3/4" hole in the other end to stick a large screw driver in and then Screw this down into the foam till it hits the bottom of the hull as close to the keel as possible. Push out the core sample to inspect and look down in the hole. If it's all dry and pristine, then I'd leave it. Others may differ cuz...I am Not a "Tinner" but I see no reason to replace Dry Foam. You might want to take several sample at various places to ensure it's ALL good.
 

sheboyganjohn

Senior Chief Petty Officer
Joined
Aug 2, 2005
Messages
753
I'm not working on a tinny, but here is what I found on the Sea Ray I am working on right now. If the stringer wood was rotten at the hull, the foam next to it was wet to some degree. The couple of spots where the wood was nice and dry, the foam was dry. I had some spots where the foam was nice and dry at the top, but the last 2" I was able to wring it out like a wet towel.
 

Browndog10

Petty Officer 3rd Class
Joined
May 13, 2014
Messages
89
Yea, its shot. Like you said bottom 2". Its a p.i.t.a to get out also.
 

Browndog10

Petty Officer 3rd Class
Joined
May 13, 2014
Messages
89
I got this far then the wife had to go to work and had daddy duty. Almost, done. Using a plastic scraper seems to work the best to scrape it off the hull you can use force and not worry about hurting anything.

IMG_3823.jpg
 

sheboyganjohn

Senior Chief Petty Officer
Joined
Aug 2, 2005
Messages
753
I got this far then the wife had to go to work and had daddy duty. Almost, done. Using a plastic scraper seems to work the best to scrape it off the hull you can use force and not worry about hurting anything.

IMG_3823.jpg

You should have seen me getting the foam out of my boat. I was using a big heavy spud bar (think ice chopper on steroids) to get the foam out of my boat.
 

Browndog10

Petty Officer 3rd Class
Joined
May 13, 2014
Messages
89
No Title

If you are talking about my scraper tool it was just a standard plastic putty knife. More backbone to it the better. I used that, a crowbar and a jab saw. It took a solid 4-5 hrs.
 
Last edited:

jigngrub

Fleet Admiral
Joined
Mar 19, 2011
Messages
8,155
Looking good on the side panel, deck, and foam removal.

Next time you're working on the boat take a pic at the bow looking back at the transom, I'm curious to see how the transom brace and the big center stringer tie in.
 

Browndog10

Petty Officer 3rd Class
Joined
May 13, 2014
Messages
89
Now I am thinking of what foam to add. Any suggestions other than the pour in? I know some people use the sheets but arent those flammable? The pour in was a B***** to remove and quite frankly seemed to have quite a bit of water retention. I would like something to use that can be removed if necessary and easily replaced. Also the float factor as safety is a key since my youngsters will be frequenting this boat.
 
Last edited:

Woodonglass

Supreme Mariner
Joined
Dec 29, 2009
Messages
25,924
Nope the Blue and or Pink Slab builders foam is NOT flammable. It meets builders code and is classified as Non-Flammable.
 

Browndog10

Petty Officer 3rd Class
Joined
May 13, 2014
Messages
89
Didnt get a ton done this week, rained alot and wife worked a bunch. I did get the transom cut. Dry fitting was rough it was pretty tight on the thickness on the corners. Is it supposed to be that tight? Is the epoxy going to make it tighter? If so I may have to sand the surface alot.
transomdry.jpg

Also, time to start filling the swiss cheese.
backer.jpg
 
Top