


Couple issues with my recent transom install. Nothing major but I would love some feedback and suggestions. Pictures are below the questions!
1.
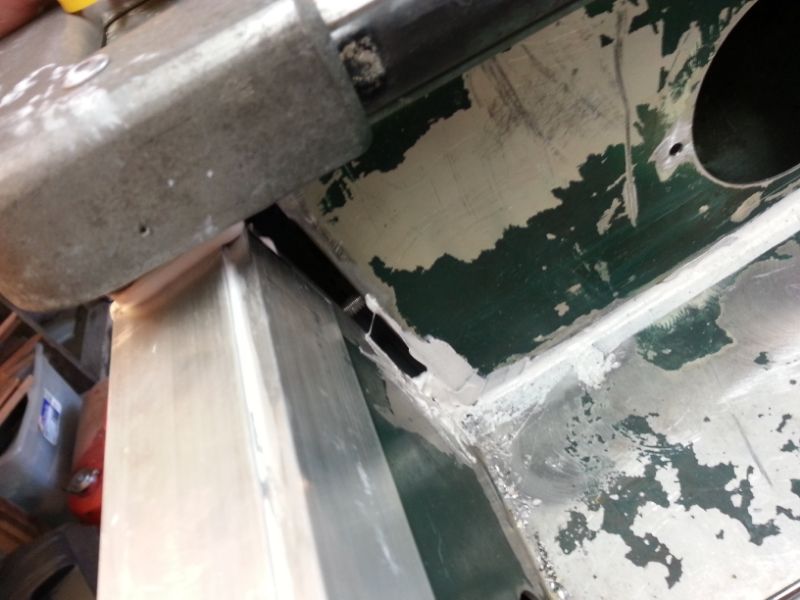
I need some suggestions for filling a gap between the edges for splash-well and transom.
The metal plate never touched the transom, it was filled with some type of epoxy that was almost as hard as frigging cement. I had to grind the stuff off the aluminum with a grinding wheel and cup brush.
Anyway now that it's back together, I need to fill the gap. It's a bit too big to fill with 3M 5200.
Thoughts?
2.
I messed up my splash-well drain holes. I used the same process to drill these as I did for ALL of my transom bolt holes and all of the bolt holes lined up give 1/32~1/16 of an inch or so. Nothing I couldn't fix by running a drill bit threw a whole and tossing some West System in for good measure.
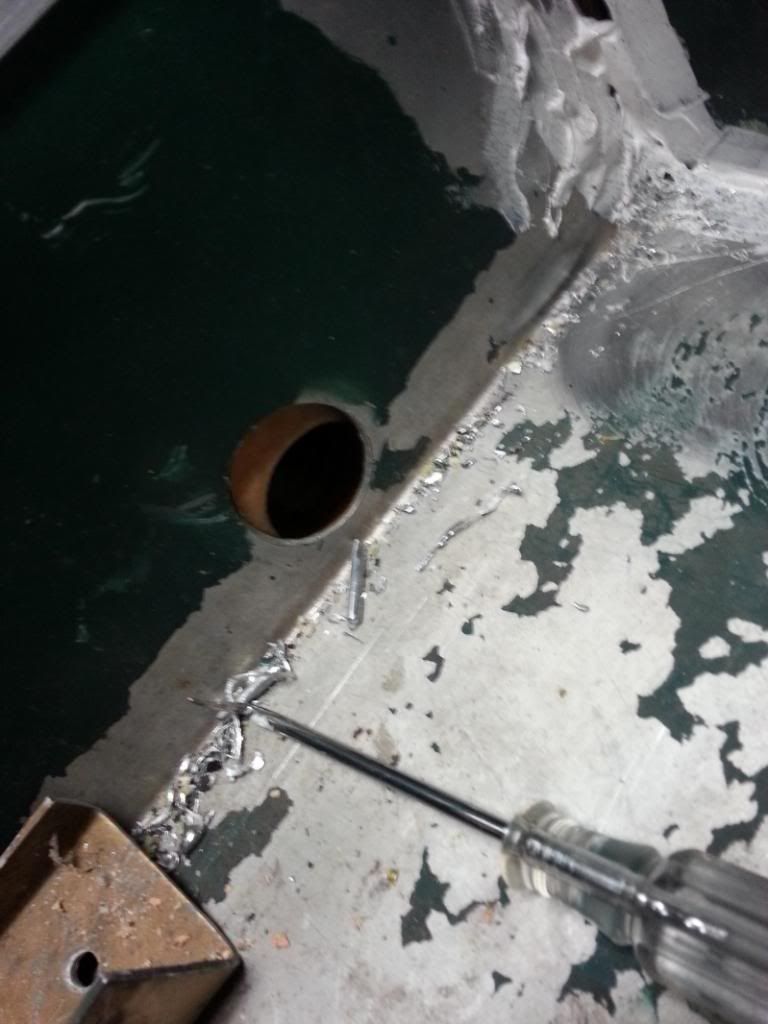
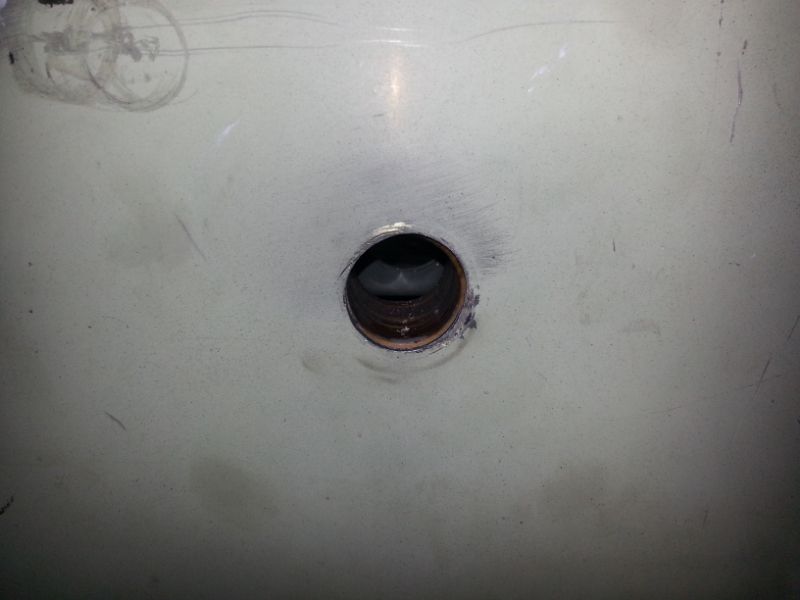
My splash-well drains on the other hand, WAY OFF!
I think I found the issue. All of the bolt holds were drilled flat and level to the transom. The splash-well drains however are at a downwards angle due to the angle of the splash-well pan.
My guess is that the 1 inch drain holes were drilled from the inside of the splash-well after all of the aluminum was installed and due to the angle of the pan, the holes were at a weird angle.
My first thought was to fill the holes with some 1 inch oak dowel coated in West System and then re-drill BUT I don't think I could get the holes to line up.
What about using a rounded file to file out the hole til the drains can pass threw splash-well to transom skin and then applying a heavy coat of West System to the inside of the transom drain hole and then filling the empty space with some type of heavy marine grade putty and running a drill back threw to clean the hole out? Then I can coat my splash-well drains with a crap ton of 3M 5200 and install them?
Pretty much both splash-well drains came out looking the same. Left to right, they are pretty much lined up, it's the top to bottom that is off and I believe that is for my above stated reason.
If anyone thinks that theory is wrong, let me know but it's the only thing that makes sense.
Thought?!")
1.
I need some suggestions for filling a gap between the edges for splash-well and transom.
The metal plate never touched the transom, it was filled with some type of epoxy that was almost as hard as frigging cement. I had to grind the stuff off the aluminum with a grinding wheel and cup brush.
Anyway now that it's back together, I need to fill the gap. It's a bit too big to fill with 3M 5200.
Thoughts?
2.
I messed up my splash-well drain holes. I used the same process to drill these as I did for ALL of my transom bolt holes and all of the bolt holes lined up give 1/32~1/16 of an inch or so. Nothing I couldn't fix by running a drill bit threw a whole and tossing some West System in for good measure.
My splash-well drains on the other hand, WAY OFF!
I think I found the issue. All of the bolt holds were drilled flat and level to the transom. The splash-well drains however are at a downwards angle due to the angle of the splash-well pan.
My guess is that the 1 inch drain holes were drilled from the inside of the splash-well after all of the aluminum was installed and due to the angle of the pan, the holes were at a weird angle.
My first thought was to fill the holes with some 1 inch oak dowel coated in West System and then re-drill BUT I don't think I could get the holes to line up.
What about using a rounded file to file out the hole til the drains can pass threw splash-well to transom skin and then applying a heavy coat of West System to the inside of the transom drain hole and then filling the empty space with some type of heavy marine grade putty and running a drill back threw to clean the hole out? Then I can coat my splash-well drains with a crap ton of 3M 5200 and install them?
Pretty much both splash-well drains came out looking the same. Left to right, they are pretty much lined up, it's the top to bottom that is off and I believe that is for my above stated reason.
If anyone thinks that theory is wrong, let me know but it's the only thing that makes sense.
Thought?!

