Kyle's Starcraft Kingfisher Restoration

mindgaim

Cadet
Joined
Mar 2, 2013
Messages
18
Re: Kyle's Starcraft Kingfisher Restoration

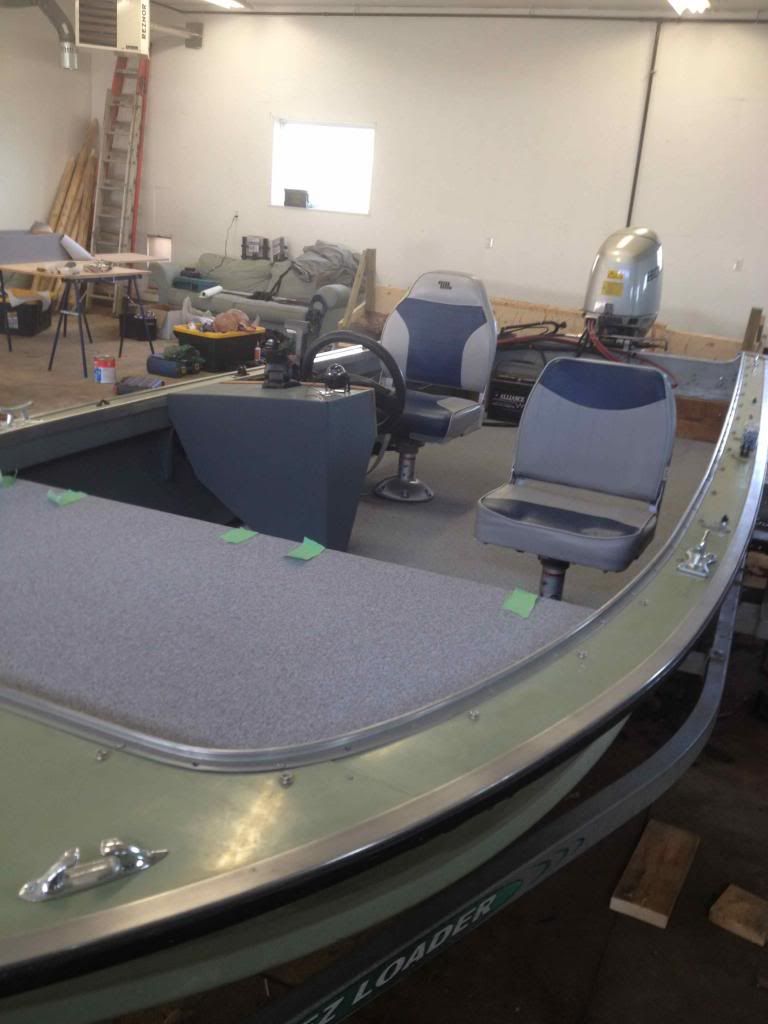
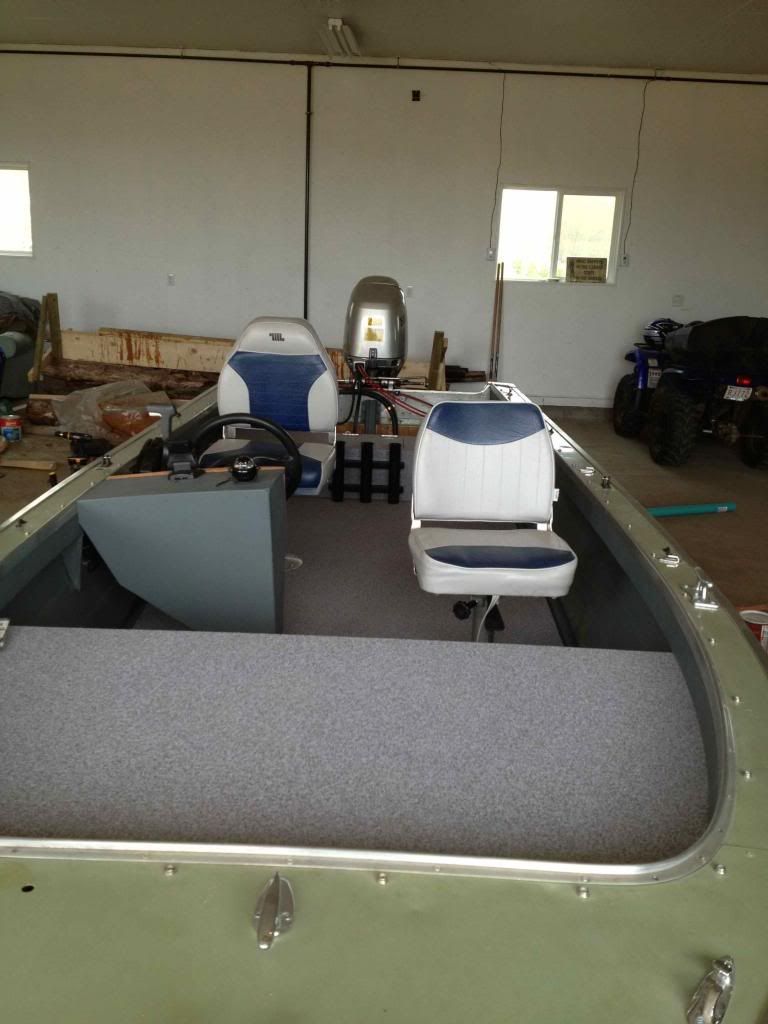
After rigging up the little feet with flat washers to make sure shes held in tight, the casting deck was in. I also installed the seats, which i later changed and returned for ones that sit flush with the deck. I figured it would be handy to be able to take the seat and posts out. and the dome pedestals didnt allow it


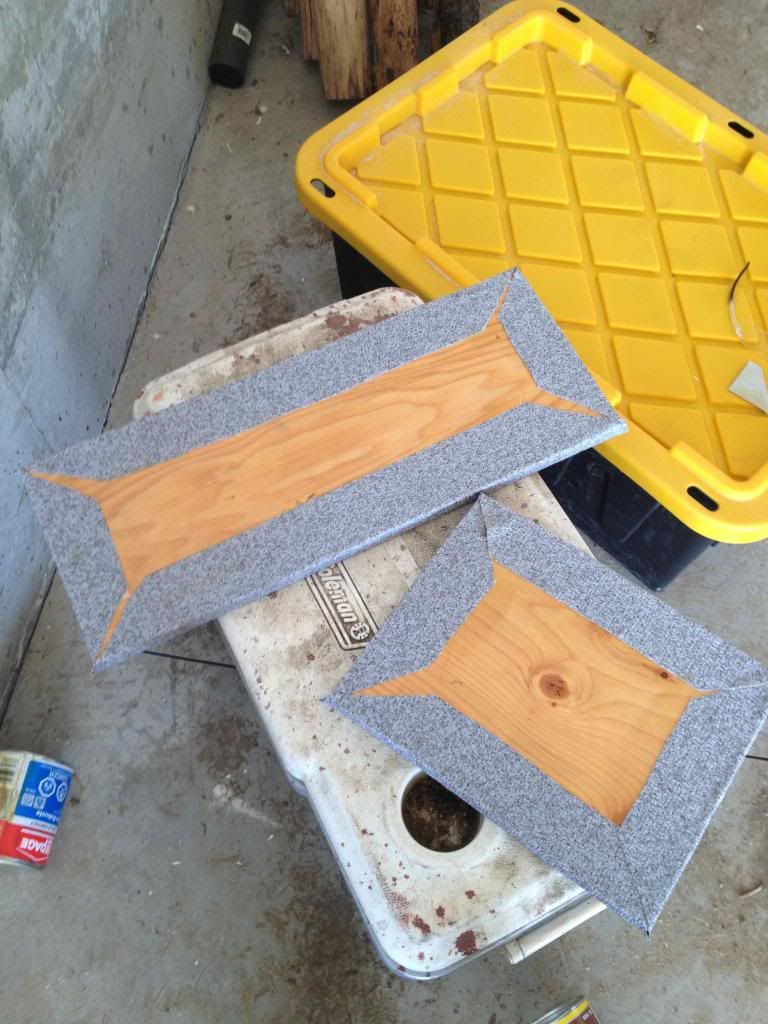
some of the hatches getting vinyl'd. one is the back bench hatch and the other is for access to under the casting deck


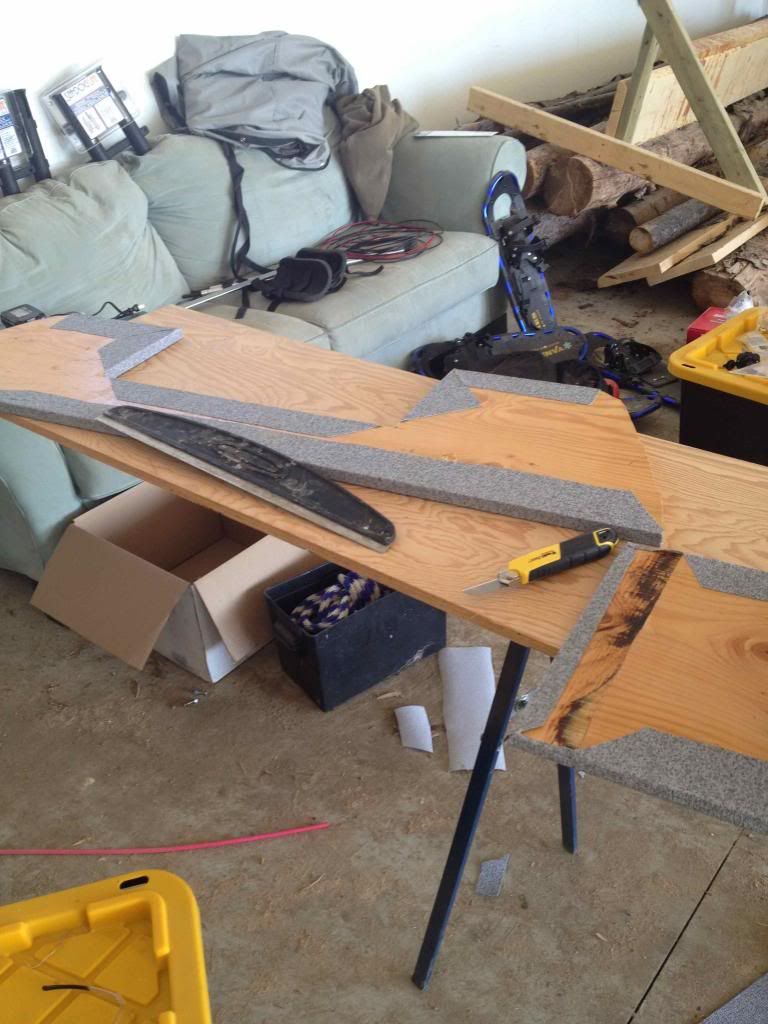
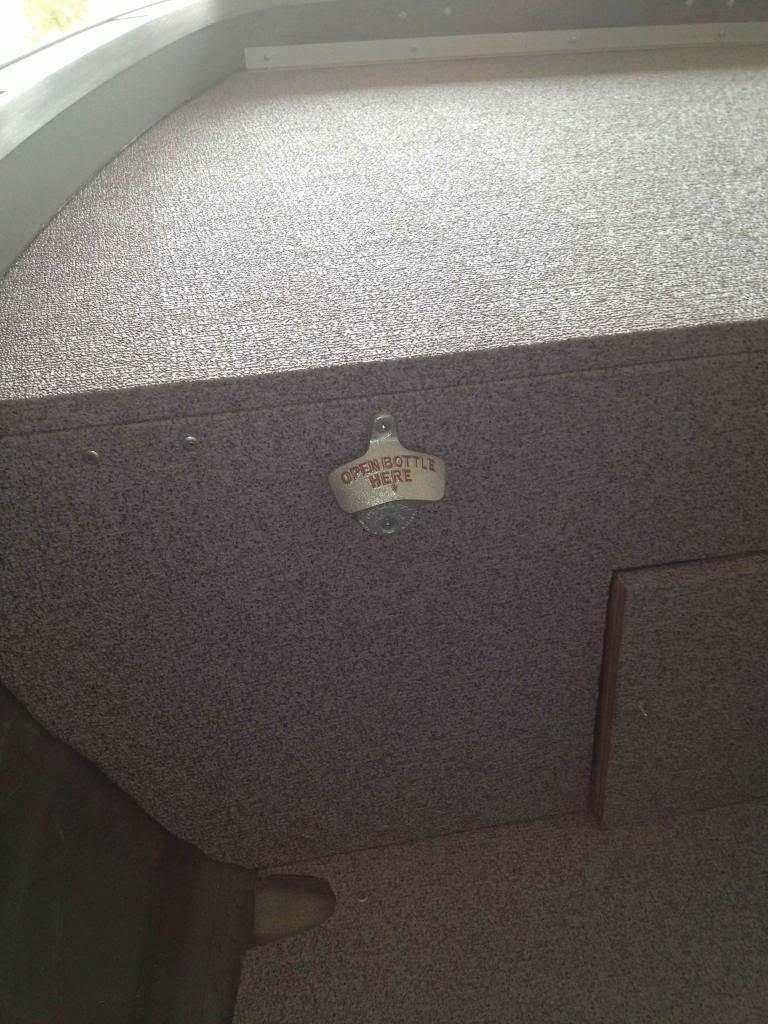
the front face of the casting deck


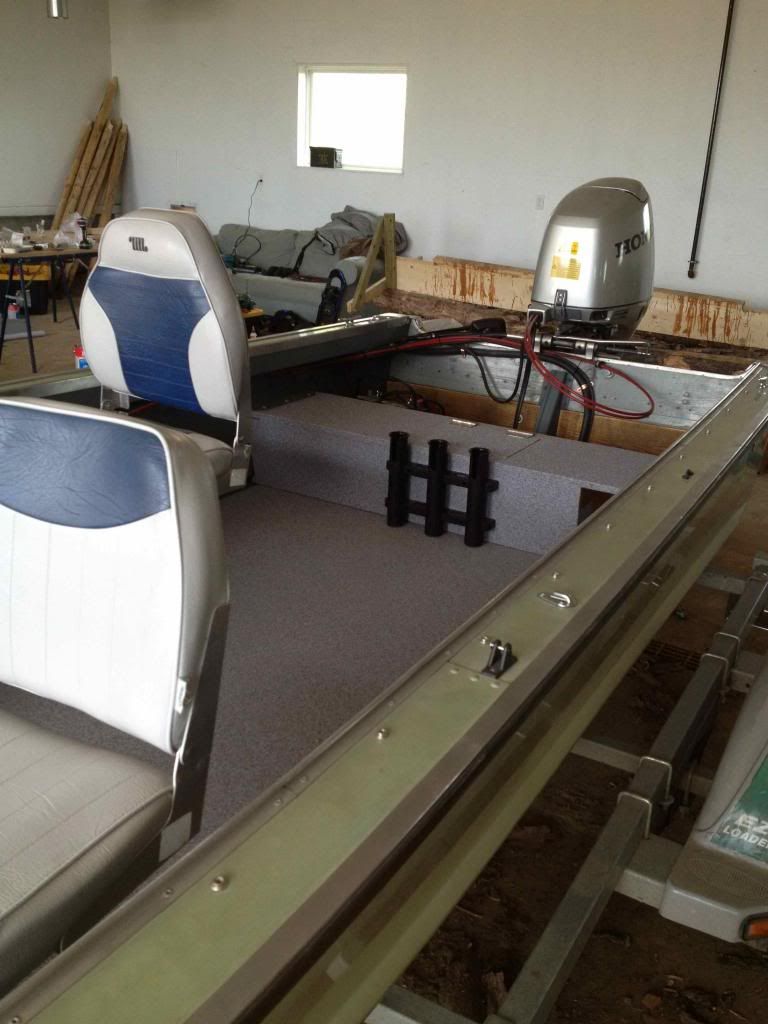
back deck installed along with the 3 rod holder. i originally wanted white but given my colour scheme these fit in perfectly


The face of the front casting deck. And, of course, a handy little bottle opener


And last years renos were complete


It was quite the adventure. I never thought i would end up getting here from where i started. I went from being in WAY over my head, to making a plan, to making that plan a reality. I was extremely proud of what i had built and now it was time to do some fishing. I had a great season, getting out almost every weekend with a few weekend fishing/camping trips thrown in there. Being my first boat there was bound to be a few mishaps. My biggest lessons were...

1) NEVER anchor from the back. I almost learned this one the hard way buy swamping my boat in rough water on a guys fishing trip. Simultaneously I also how powerful big lakes can be and how quickly they can turn on you.

2) While loading your boat after a great day on the water, always remind your buddy to trim the motor up before you drive the boat and trailer off the ramp...
 

mindgaim

Cadet
Joined
Mar 2, 2013
Messages
18
Re: Kyle's Starcraft Kingfisher Restoration

That brings me to this year. After a long winter, the itch for fishing was growing. Whats the next best thing to fishing? Spending money on fishing related things of course!

To do list:

Repaint interior. Thinking about a splatter coat/speckle paint look.

Replace the gunwale the front bow with diamond plate (checker plate) aluminium. The PO has dozens of holes in the gunwale from an old cover, not to mention a few massive ones in the bow from who knows what...PO's..:facepalm:

Replace bigle pump (old one is a little tired)

Replace all fixtures (cleats, bow chocks, light) with black ones

Add a battery disconnect and a battery box

Add a new switch bank for lights and bilge pump

Repaint the exterior. Thinking white and bikini blue OR orange

Add new decals (numbers, name, STARCRAFT decal)

After I'm done all of this I'm thinking the boat will basically be 100% renovated. Pretty excited stuff. I feel alot more confident going into this reno than i did the previous one. Taking stuff apart is always the easy part. Putting it back together.... well you all know what i mean.

Pics to come...
 
Last edited:

jigngrub

Fleet Admiral
Joined
Mar 19, 2011
Messages
8,155
Re: Kyle's Starcraft Kingfisher Restoration

Your boat looks great and it looks like you did an excellent job on the vinyl!:thumb:

I really like the bottle opener, a real nice touch.:very_drunk:
 

ezmobee

Supreme Mariner
Joined
Mar 26, 2007
Messages
23,767
Re: Kyle's Starcraft Kingfisher Restoration

Looks fantastic!
 

mindgaim

Cadet
Joined
Mar 2, 2013
Messages
18
Re: Kyle's Starcraft Kingfisher Restoration

The top gunwale and the bow on my boat were FULL of random holes. All of those snaps were from a cover that the PO has installed (making 100 holes in the process). There were also massive holes underneath every cleat due to the 3/8 bolts he used to fasten them. Also there were 2 big holes in the bow that i had no idea there purpose


a shot of one of those BIG random holes


at first i was going to rivet all the holes closed but soon realized that lots of the holes were way to big to rivet. So i began brainstorming ways to cover them up. I remember reading a thread somewhere about a guy getting Alumaweld to custom make him a boat. On his boat he had aluminum checker plate for gunwales. I figured that shouldn?t be too hard to do.

So i did a ton of shopping around and eventually I decided that a 4'x10' sheet should do me just fine. So off came the aluminum trim and rub rail (I think that?s what it?s called)


Getting a hand from the brother in law. Because i was putting the trim back on after, my cuts could be forgiven quite a bit, even though they were basically bang on... just saying


First cut went pretty well. Now just to mirror it...


Another decent cut


The whole process was fairly easy. The most difficult part was getting the outside trim back on as it is U shaped and with the aluminum I've now added more thickness to the gunwale. Nothing a little forceful convincing couldn?t fix though. After getting the trim back on I used a rope to pull my rubber through the trim and around the boat. A couple rivet and a few screws later, she was back together and better than new.
 

mindgaim

Cadet
Joined
Mar 2, 2013
Messages
18
Re: Kyle's Starcraft Kingfisher Restoration

Here's a before and after shot. I think the upgrade turn out amazingly


As I said earlier, I decided to change out all the cleats etc. to black ones. I figured it would better than chrome on shiny aluminum.


Another shot of the new cleats


A shot of the back end


Front looking back


Port side


So ya, I was definitely please with the outcome. I know it won’t stay perfect forever I’m just hoping that with it being aluminum it doesn’t scratch too badly.

Up next was to do the interior paint, install the battery box and mount a battery disconnect
 
Last edited:

mindgaim

Cadet
Joined
Mar 2, 2013
Messages
18
Re: Kyle's Starcraft Kingfisher Restoration

One of the biggest pains in encountered this time around was removing the piece of wood that was bolted to the side of the boat and was used as a backing for the throttle. All of the bolts were rusted into place and none of the nuts were easily accessible. For such a simple task it took way too much time and effort to remove. But in the end, I did end up winning (barely). I had to remove a chunk of the boat to fit the switch panel that I bought as well. Originally I didn’t plan on replacing the wood but I completely mutilated it when I took it off


Got the switch installed and the throttle bolted back up. This is actually a picture i took more recently. you can see the speckle paint i used. ill post about that later


The switch panel. The fit was pretty tight in the spot I wanted the switch but it worked out pretty good


Next was to install the battery disconnect. I’m not sure it was totally necessary to add this but the plan was to never open the battery box this year. Last year I just had my battery sitting in the back and i would remove the aux wires after every use. Now I have a battery box and a disconnect switch so i should need to open it at all.


And she’s in. The trickiest part was finding a hole saw that would make the hole. There was minimal play in the size i could use. i ended up going a bit smaller and using a half moon file


The battery box. It has a couple different options for entry spots for wires.


I’m very happy with how the install went. Nothing overly complicated but it adds lots of functionality and looks pretty sharp
 
Last edited:

duke33

Petty Officer 1st Class
Joined
Apr 2, 2012
Messages
353
Re: Kyle's Starcraft Kingfisher Restoration

I still watching. :)
 

ezmobee

Supreme Mariner
Joined
Mar 26, 2007
Messages
23,767
Re: Kyle's Starcraft Kingfisher Restoration

Everything looks great!
 
Top