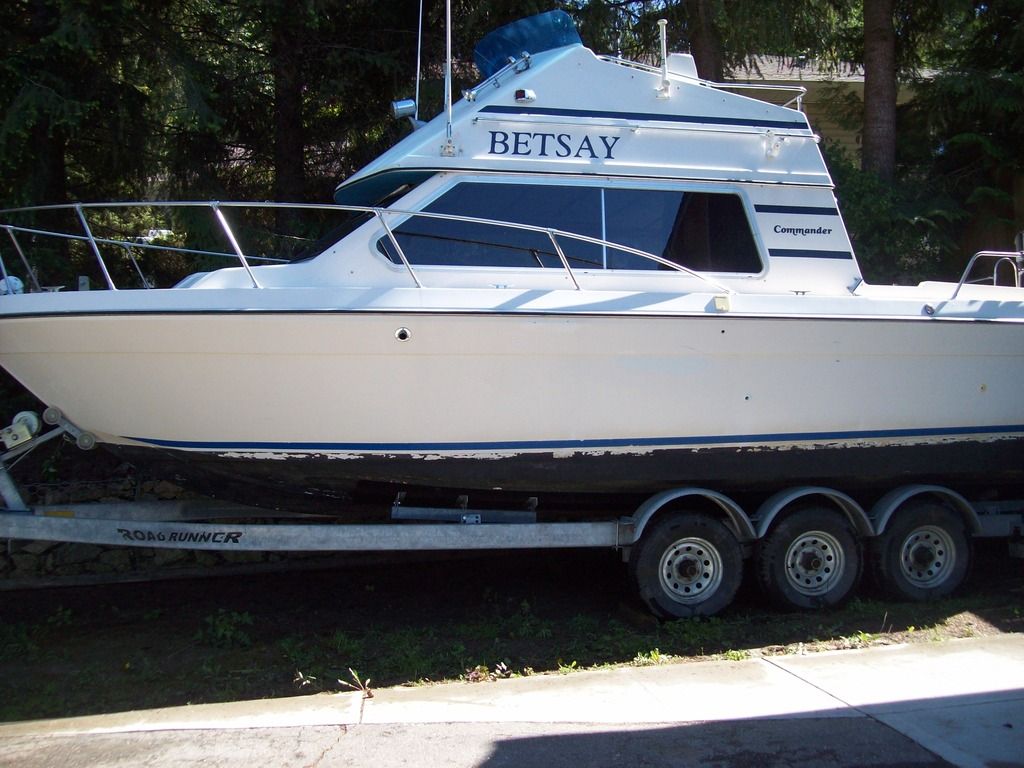
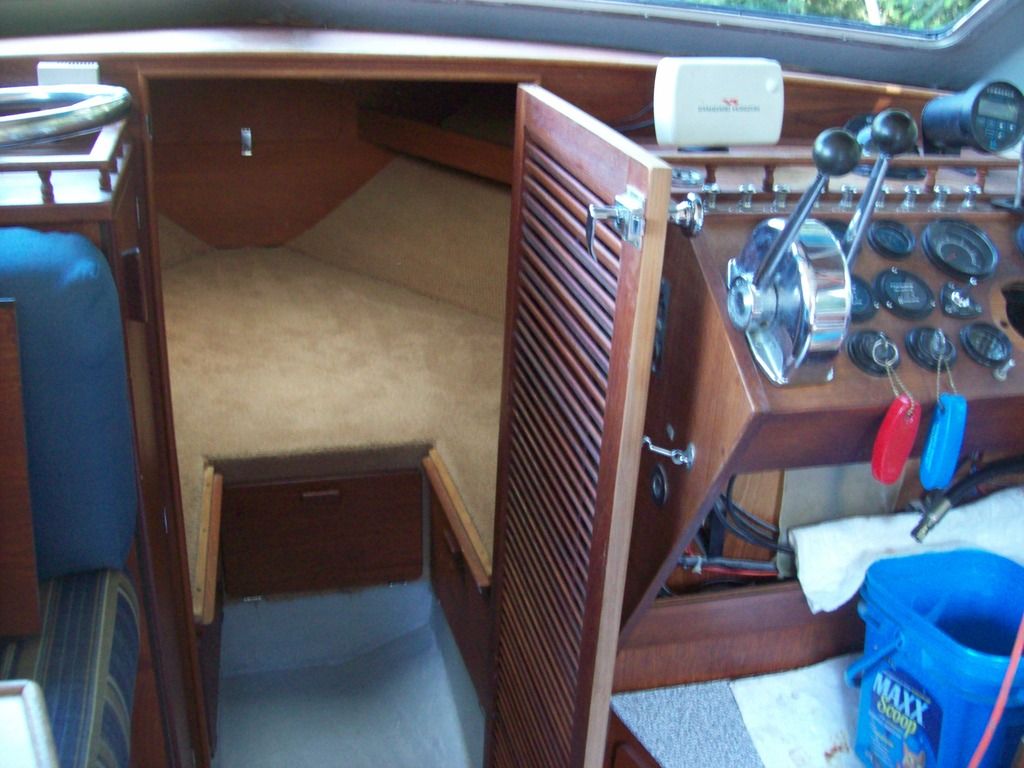
1979 26' Commander gas & H2O tank replacement & ?

Mikeopsycho

Senior Chief Petty Officer
Joined
Feb 6, 2014
Messages
738
Better to find the crack now than peanuts later :) It looks to be modular and with a brand name so it looks like you have a fighting chance.

http://www.***************/buy/jabsco...11_334_002_004

looks like iboats is clipping out a competitor website from my url. Kind of like censorship. It rhymes with mestwarine.com

Hahaha. Let's see, questmarine, bestmarine, restmarine, jestmarine, wait, don't tell me, I'll get it.....:pound:

Hey KC, hmmm, EEEEpoxy might even do as a permanent repair :noidea:, I'll have to think about that :twitch:.

So yesterday I had to disconnect and remove the newly installed washroom taps so I could install the medicine cabinet :facepalm:, then put in the cabinet and remount and reconnect the taps. I'm hindsight it seems pretty obvious I was getting ahead of myself, I should have known the taps would be in the way, but I never even gave it a thought at the time. :stupid:
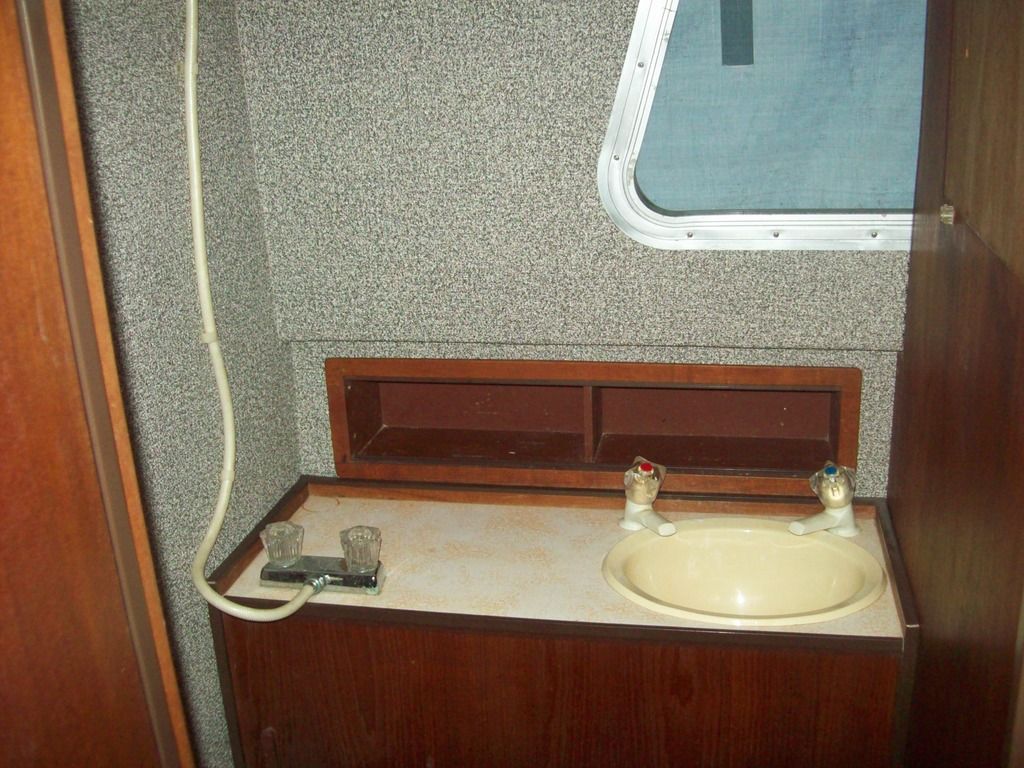


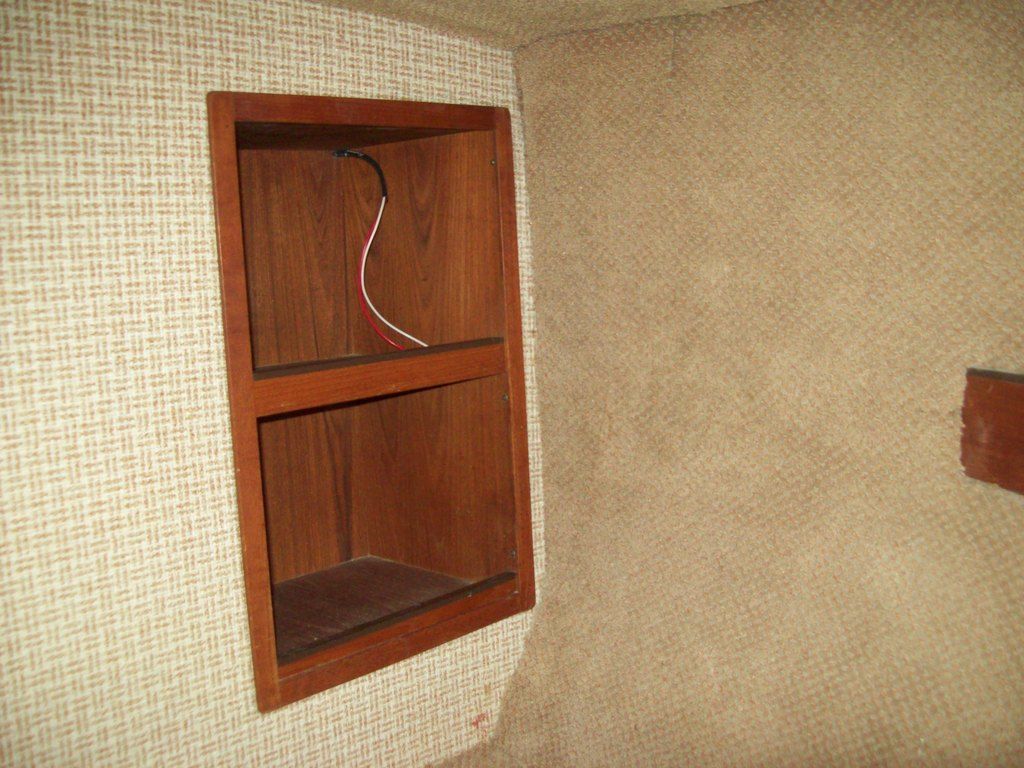
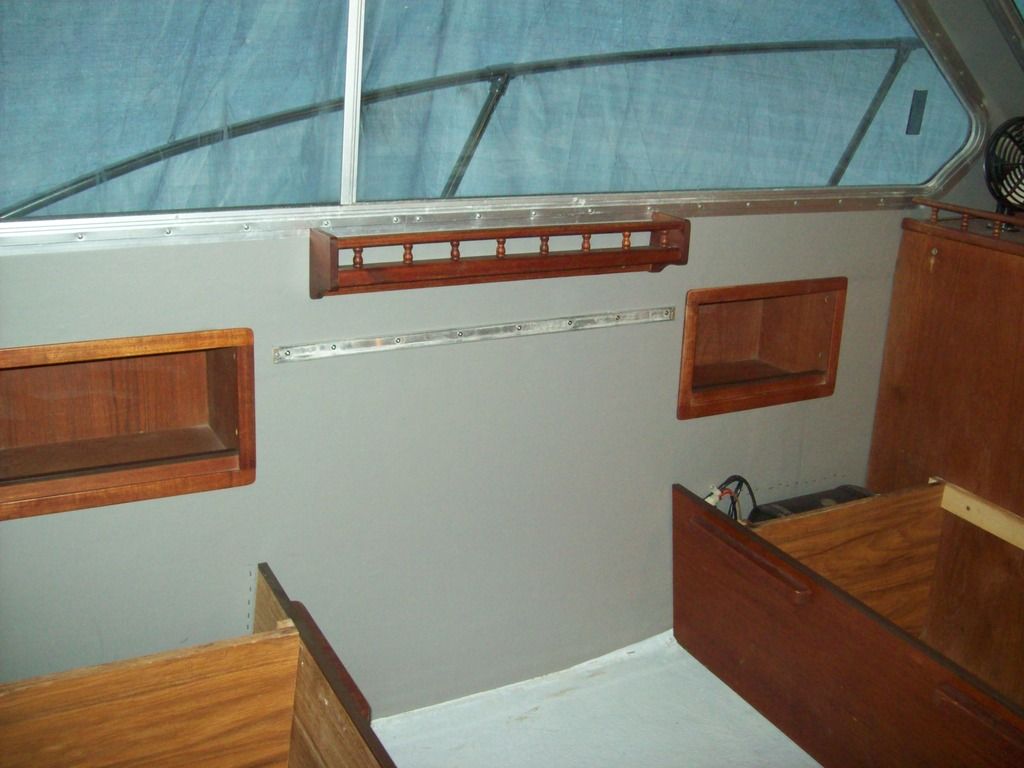
I roughed in a set of 14# wires from the machinery space to the V-berth through the cavity between the hull and the salon wall on the port side for a power point, then installed the cubby hole boxes. I also got the spice rack and table wall bracket in,


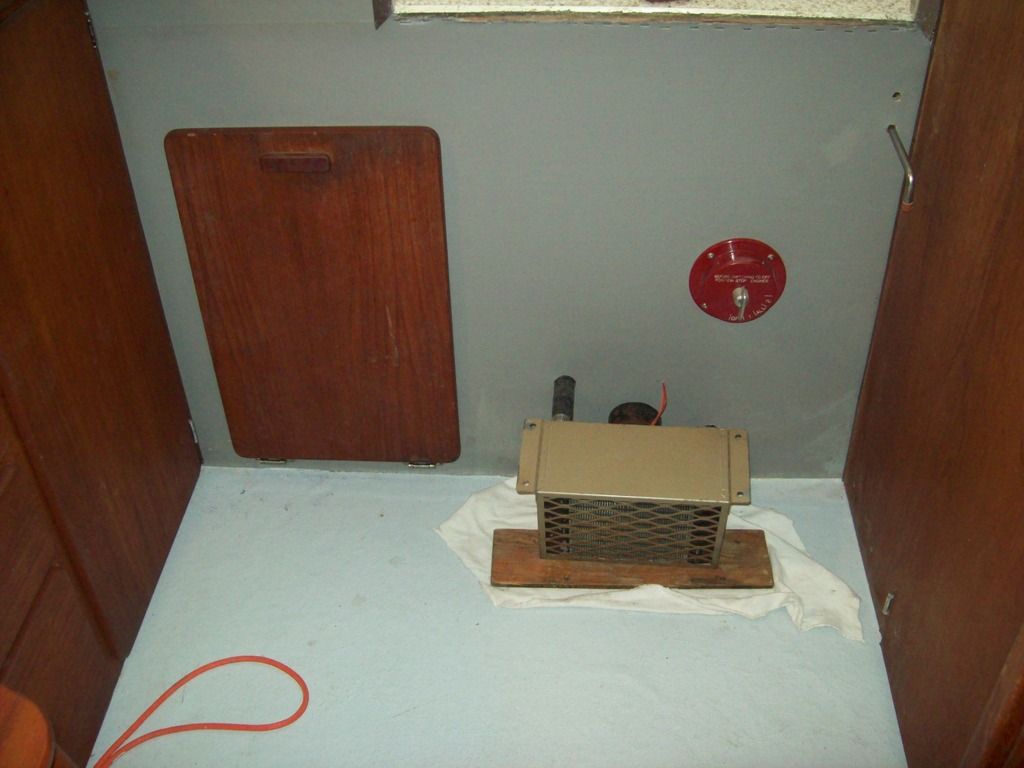
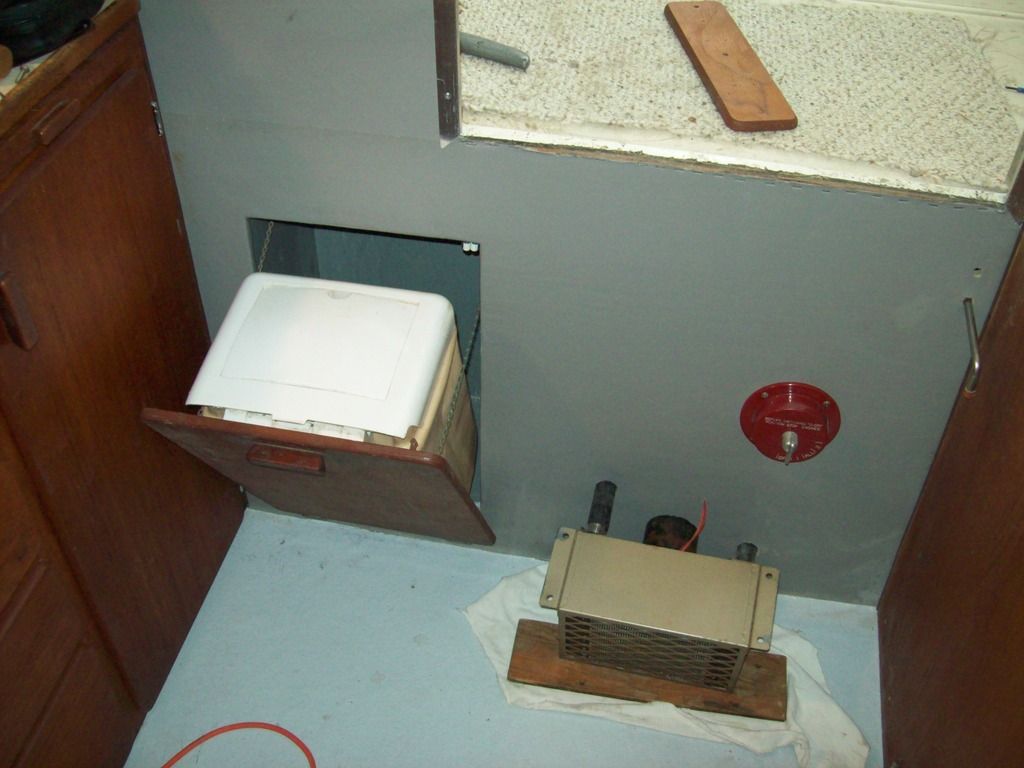
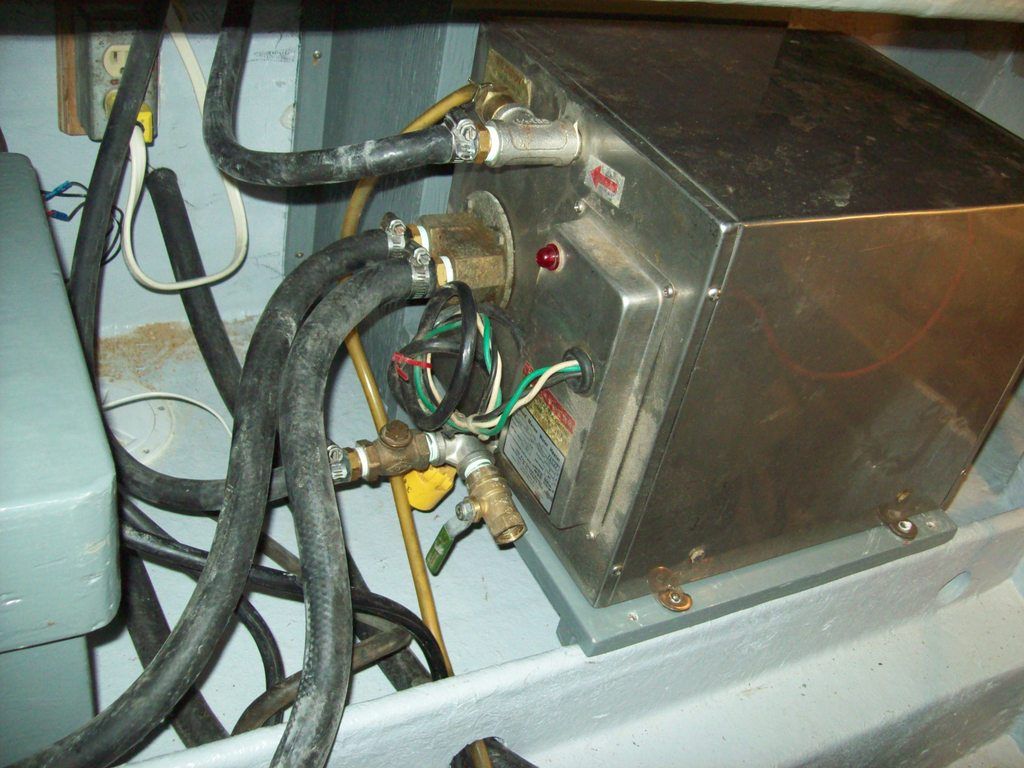
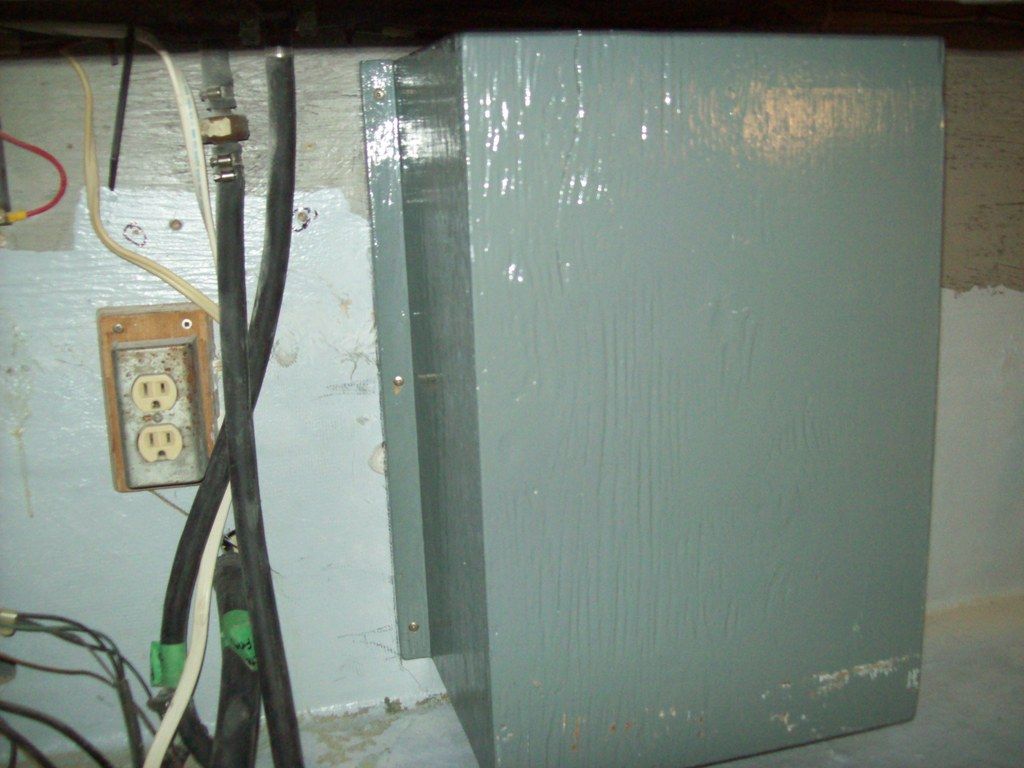
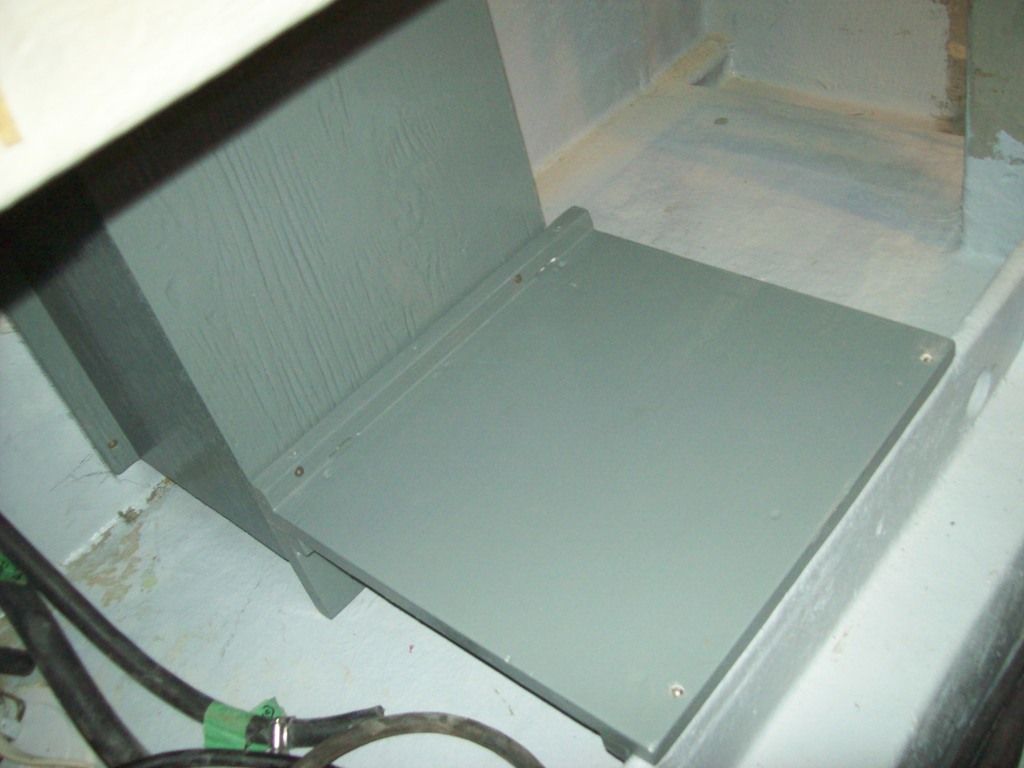
Then I got all the hoses installed through the firewall/bulkhead between the engine space and the salon. That's two hoses for the buss heater, hot and cold water hoses for the washroom vanity, and raw water hose and black water line for the head. Nothing like being jammed into a confined space with no room to move, your arms above your head, grunting and straining to push a spaghetti like hose through a too small hole, a hot trouble light cooking your side, and getting a cramp in your hamstring. I think I need yoga lessons. :wacko: I installed the trash can bin and the water heater platform, now that I don't need the space to stretch out in,


zool

Captain
Joined
Aug 19, 2012
Messages
3,432
Looking good Mike....I would have to paint that outlet cover tho....:D
 

Mikeopsycho

Senior Chief Petty Officer
Joined
Feb 6, 2014
Messages
738
A bit more progress. I got the buss heater plumbed in and wired up, and the trash bin and door installed,


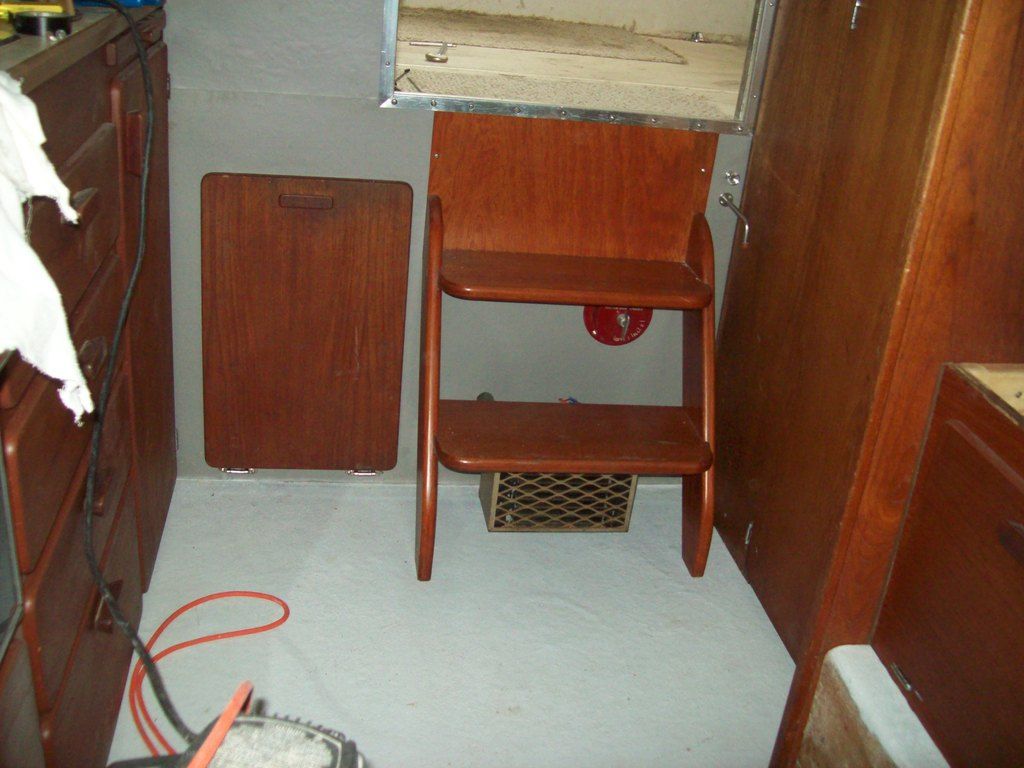
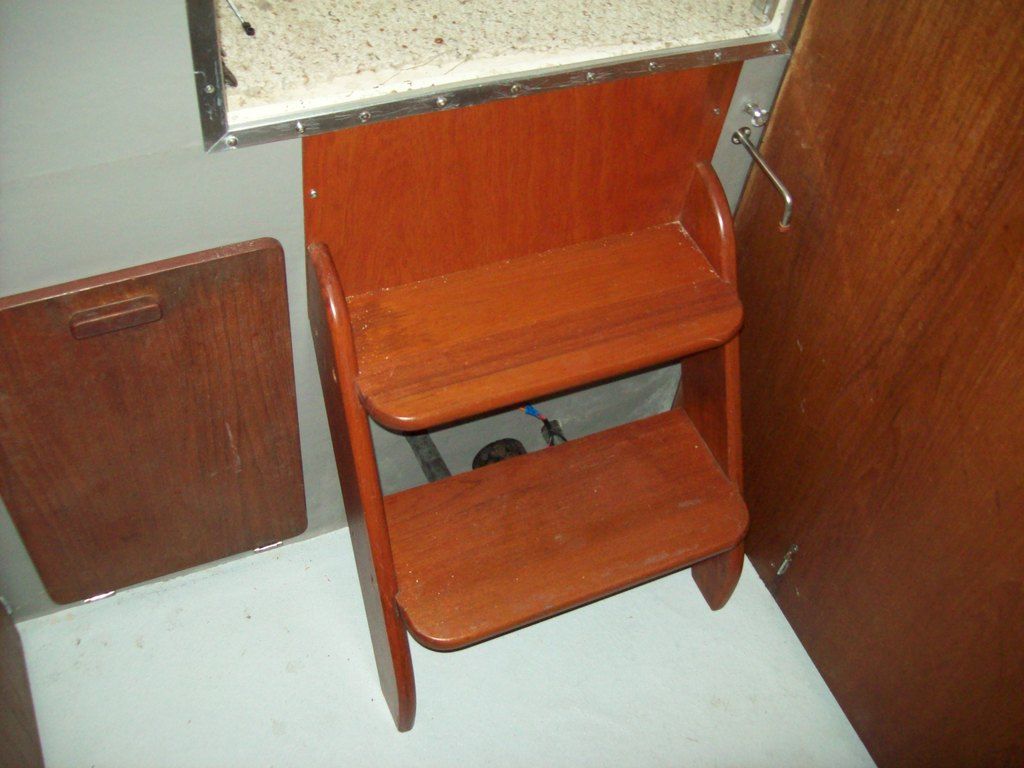
Then I got the steps installed, and mounted the buss heater to the bottom step. The stainless rod you see port of the steps is locking rod for the cockpit sole hatch to the engine space, and the switch above it is power to the fresh water pump,


Not much to show for the effort, but lots of pretzel-like bending and twisting to get these things accomplished :violin:.

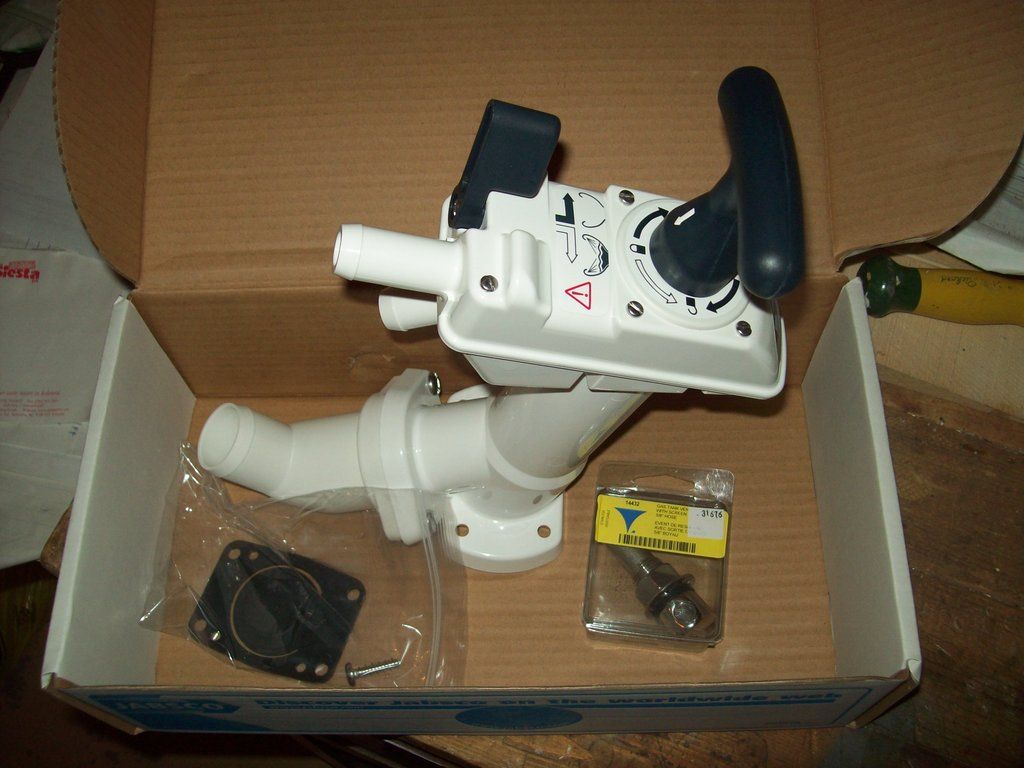
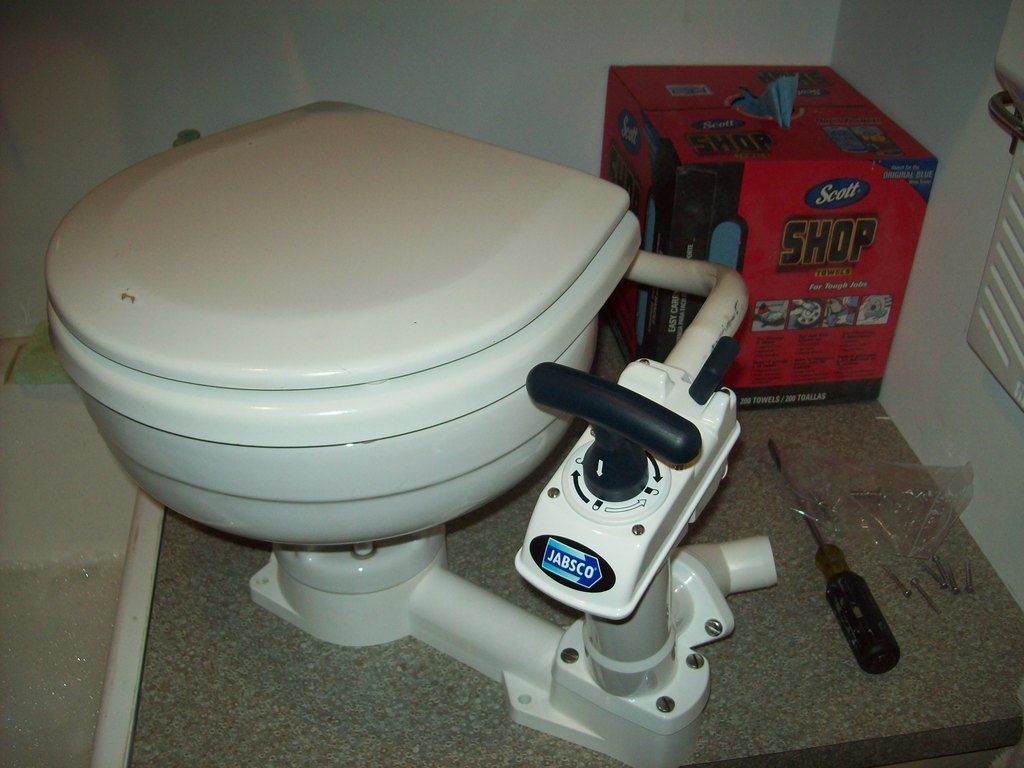
I can get the toilet part, officially the "head punp cylinder assembly" for $62.00 Canadian, sale price for the next 2 days, so I better decide today :witless:.
 

Mark72233

Ensign
Joined
Jul 11, 2014
Messages
926
That is looking good Mike, nice work. My 2 cents on the plumbing part is its the toilet and water I would make sure its all new or serviceable, there to much stuff to worry about if that thing ever breaks or leaks.
 

nurseman

Lieutenant Junior Grade
Joined
Jun 2, 2013
Messages
1,045
I agree with Mark, get the new part and save the eeeepoxy repairs for parts that aren't available any more. Just my two cents (American) worth.:D
 

Mikeopsycho

Senior Chief Petty Officer
Joined
Feb 6, 2014
Messages
738
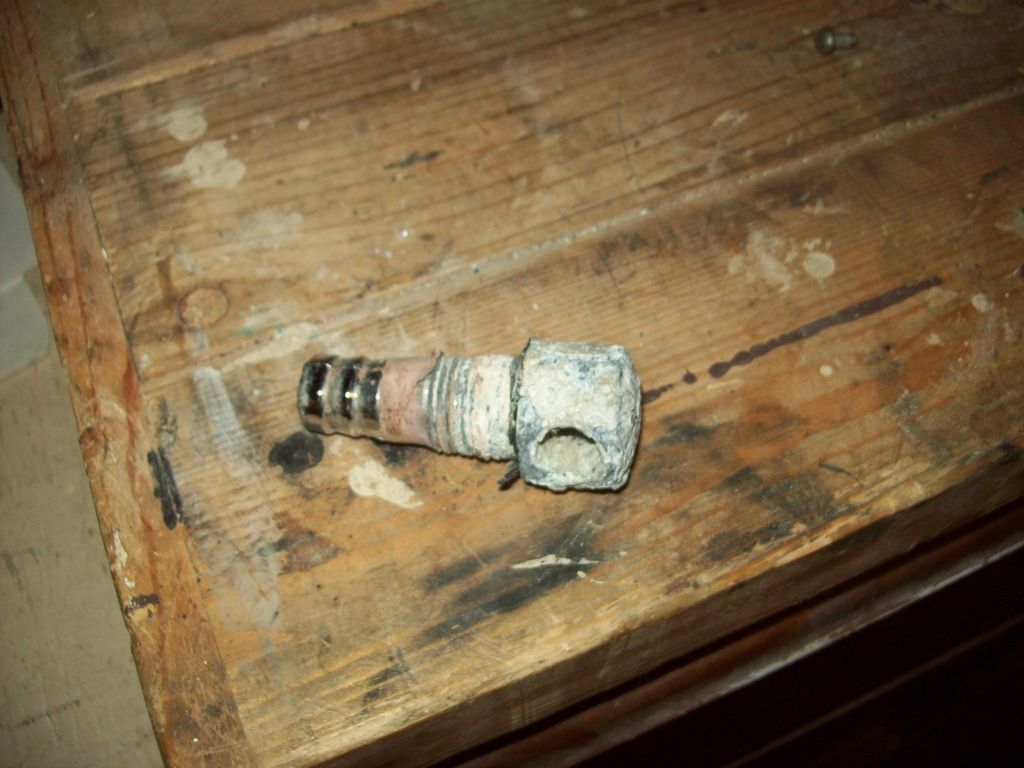
Thanks for the push in the right direction guys, you're right, I ordered the part. I actually spent a little more and upgraded to the new "twist and lock pump assembly" for $90, and I ordered a new gas tank vent fitting (mine is badly corroded) for $11, which qualified the order (over $100) for free shipping from Nova Scotia to BC. Both items were on sale, and both, even at their regular price, were cheaper than the major BC suppliers. The free shipping was the icing on the cake :happy:, and I let Binnacle know that in an on line survey.

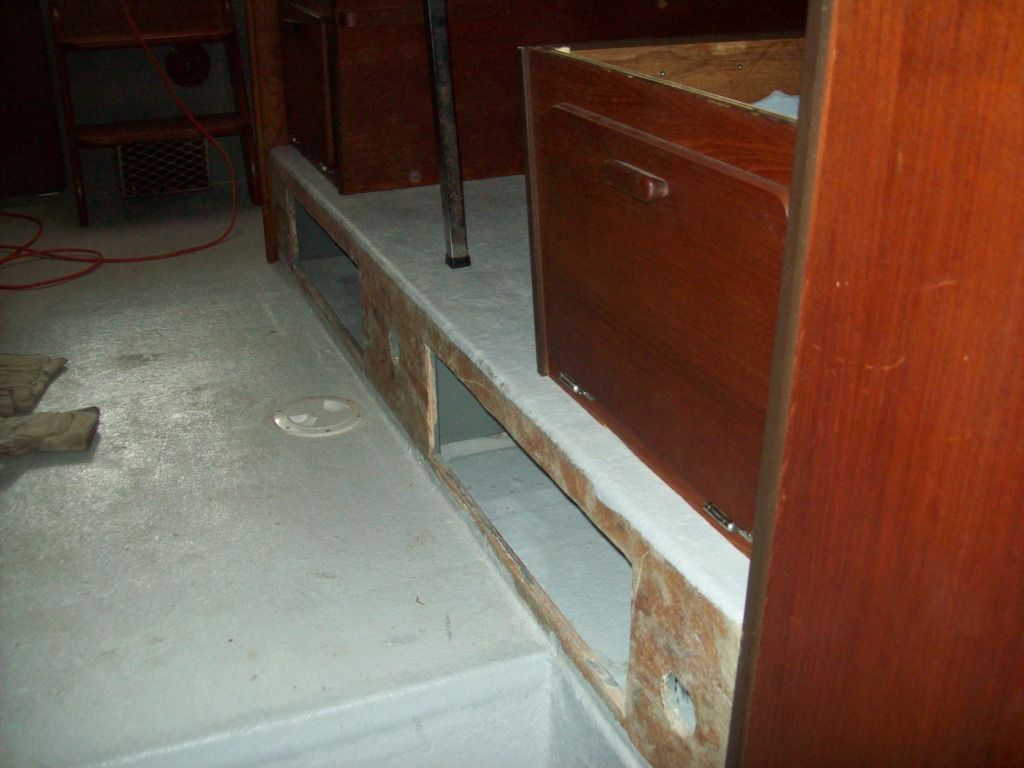
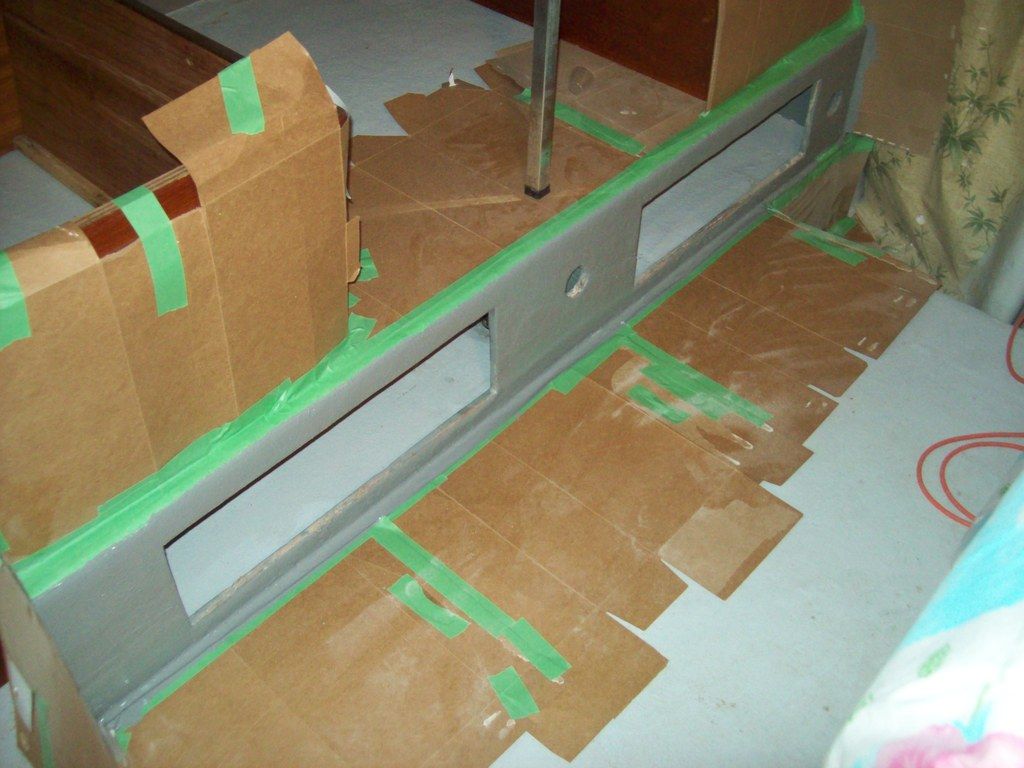
When I applied gelcoat to the sole in the salon and on the raised dinette floor I didn't gelcoat the vertical face between the two. I considered this to be a wall, so I was going to put vinyl on it, like the rest of the walls. I now think this was mistake, and I've decided to gelcoat it. Yesterday, I called up Rob at his fiberglass shop (Mirror Image) in Salmon Arm to see if he could sell me a wee bit of gelcoat and some grey dye. Not only did he deliver a small can of grey dyed gelcoat to my door last evening (he lives nearby me), he refused any payment for it. He said "just get that boat on the water". A really nice guy!

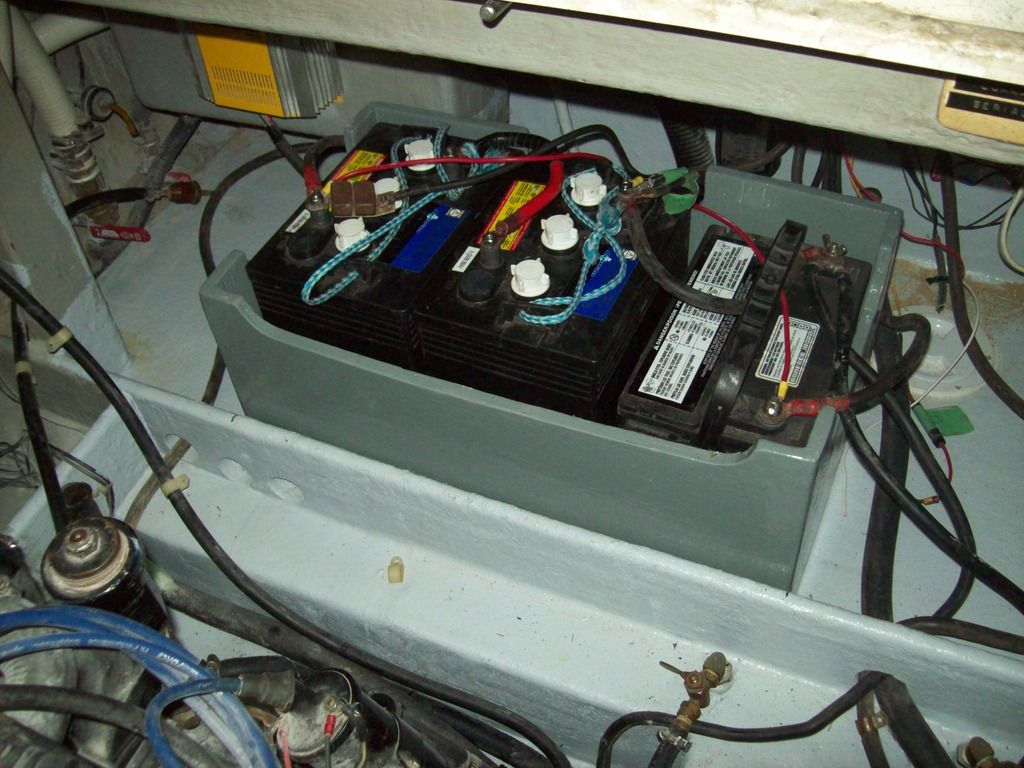
I got the battery box and the batteries in and connected,


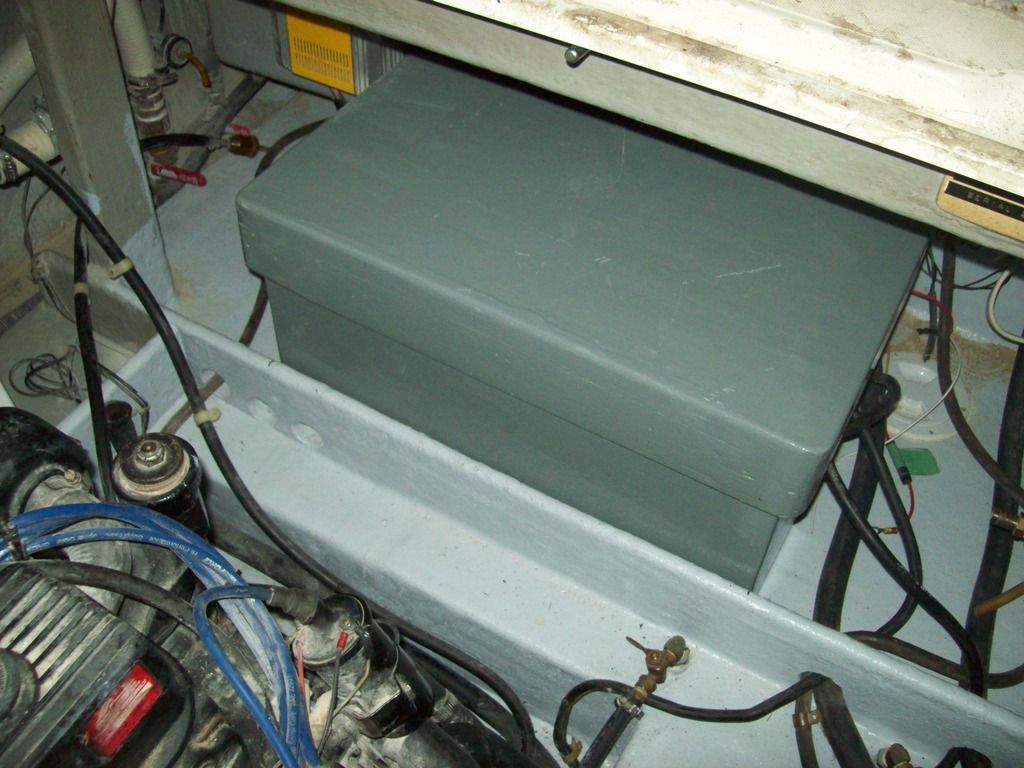
lid on,


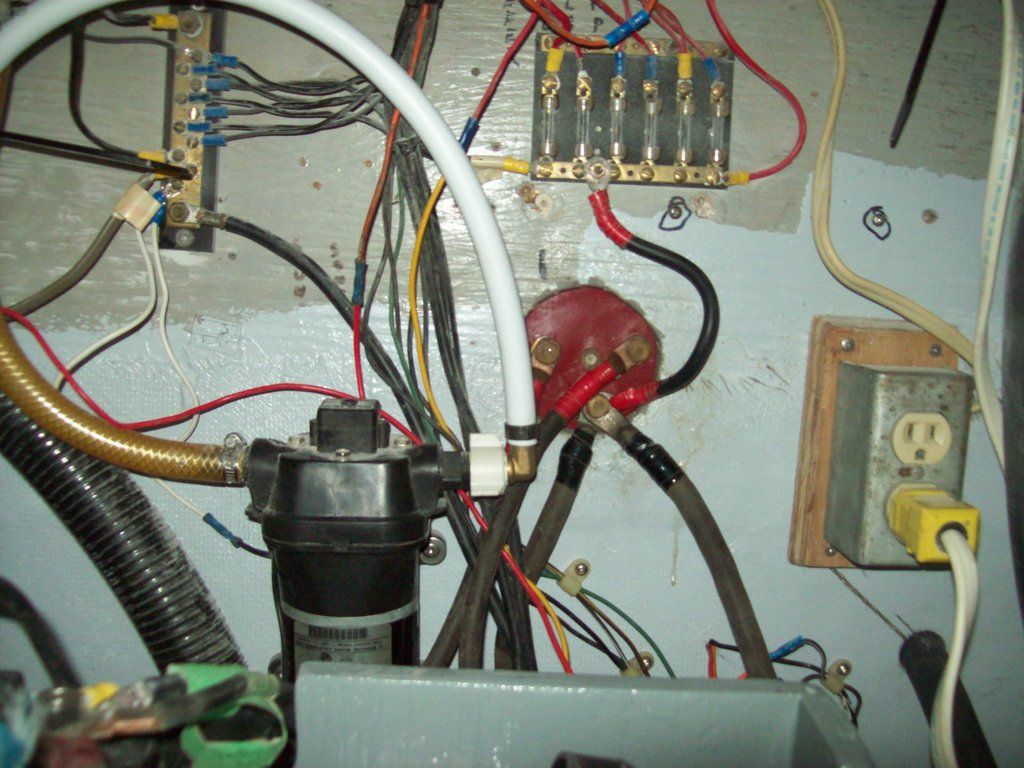
Connected the fresh water line to the pump with pex,


Screwed down the water heater and clamped on all the hoses,


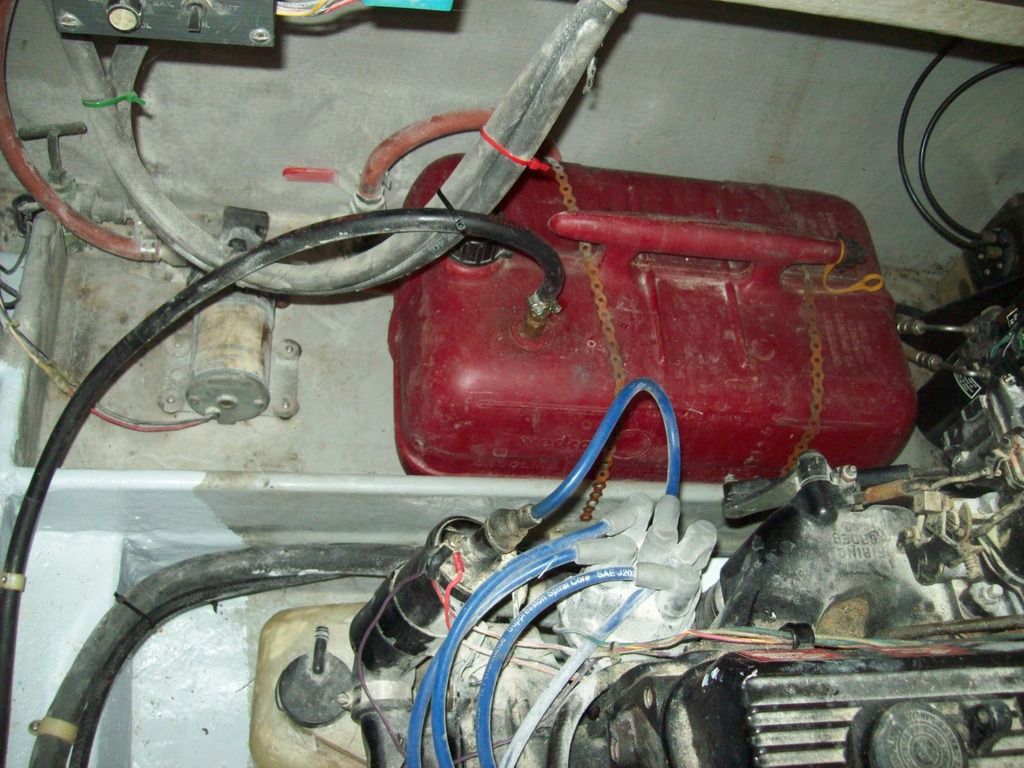
Re-installed and secured the line and the tank for the diesel furnace,


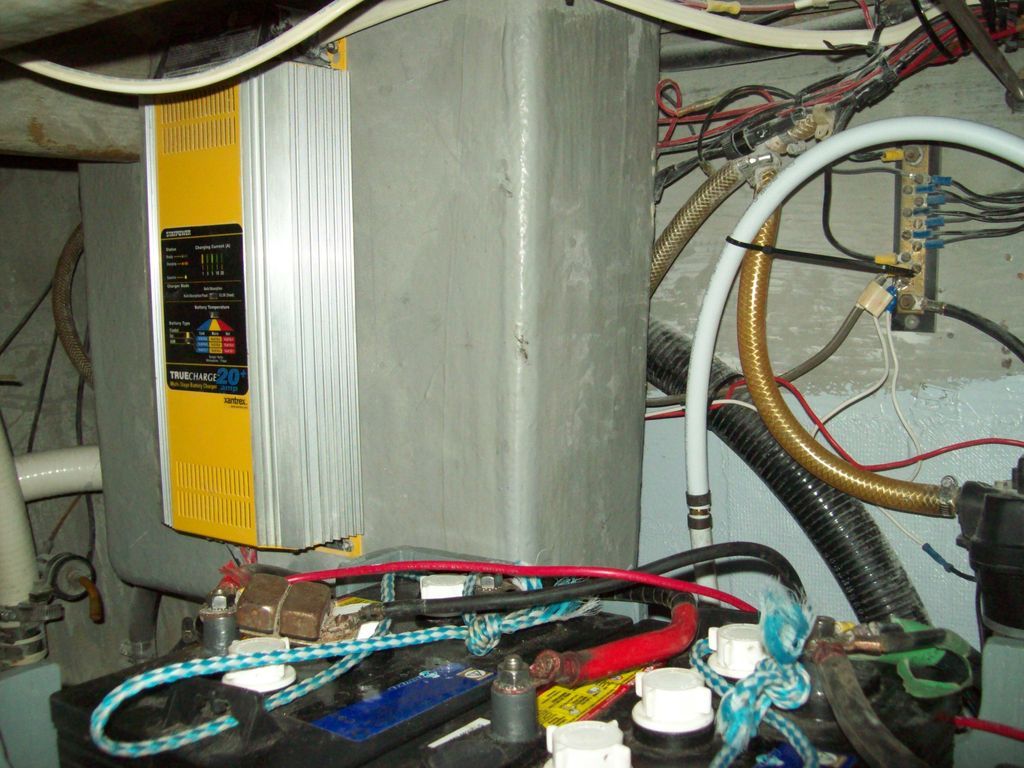
Then I did a bunch of clamping and zap-strapping to secure all the hoses and wires. I tested all the lights, sounder, GPS plotter, etc., and everything seems to be working, except one of the rear facing cockpit floodlights. I probably cut the wire while grinding or something, I'll have to track down the problem.
 

Mikeopsycho

Senior Chief Petty Officer
Joined
Feb 6, 2014
Messages
738
Here's the vertical area I'm going to gelcoat. It was too cool and rainy yesterday to do it, maybe today,


And here's the corroded gas tank vent deck fitting. This is made of stainless steel, and is probably original to the boat (37 years), but it's amazing how badly unprotected deck fittings can corrode,


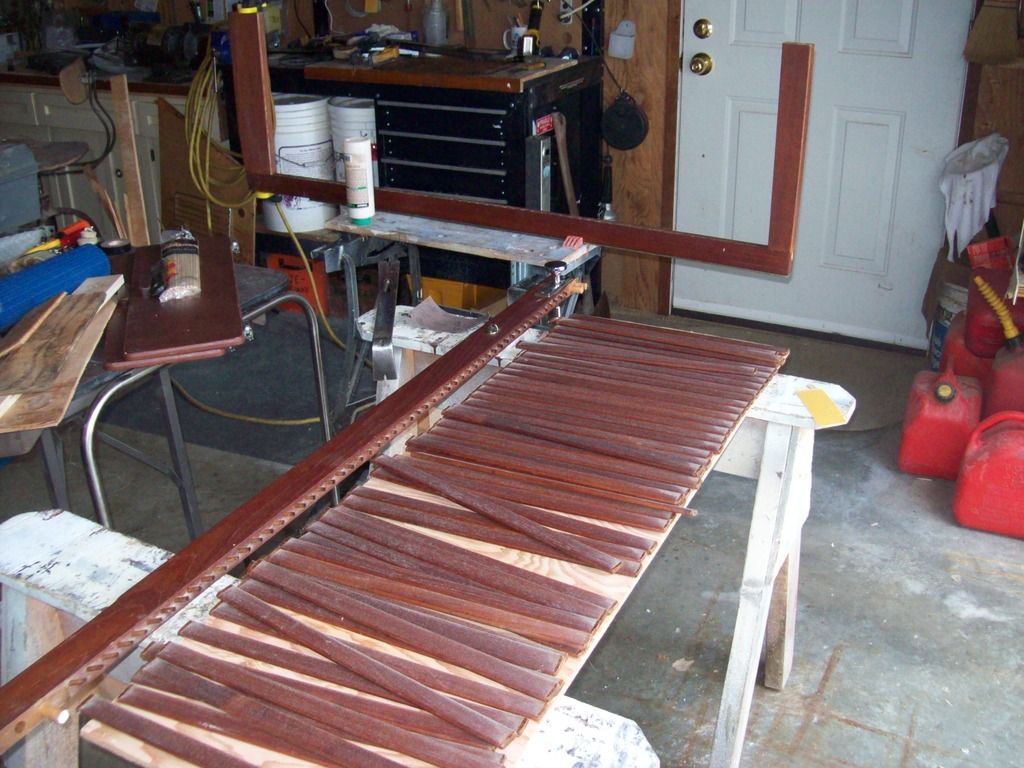
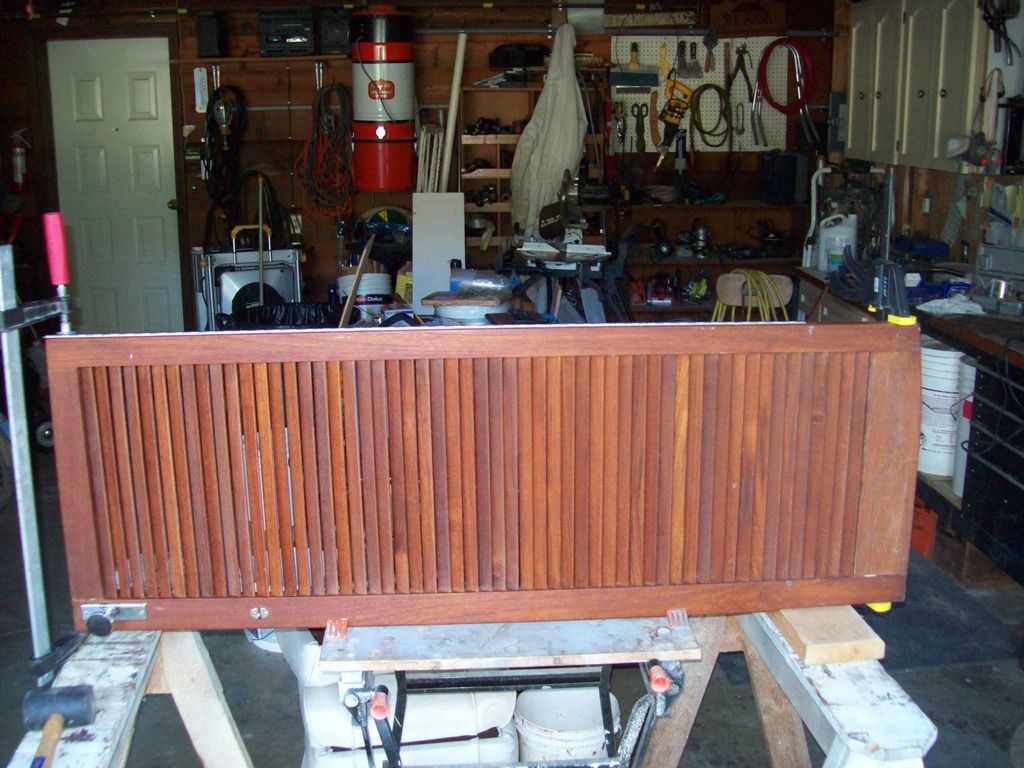
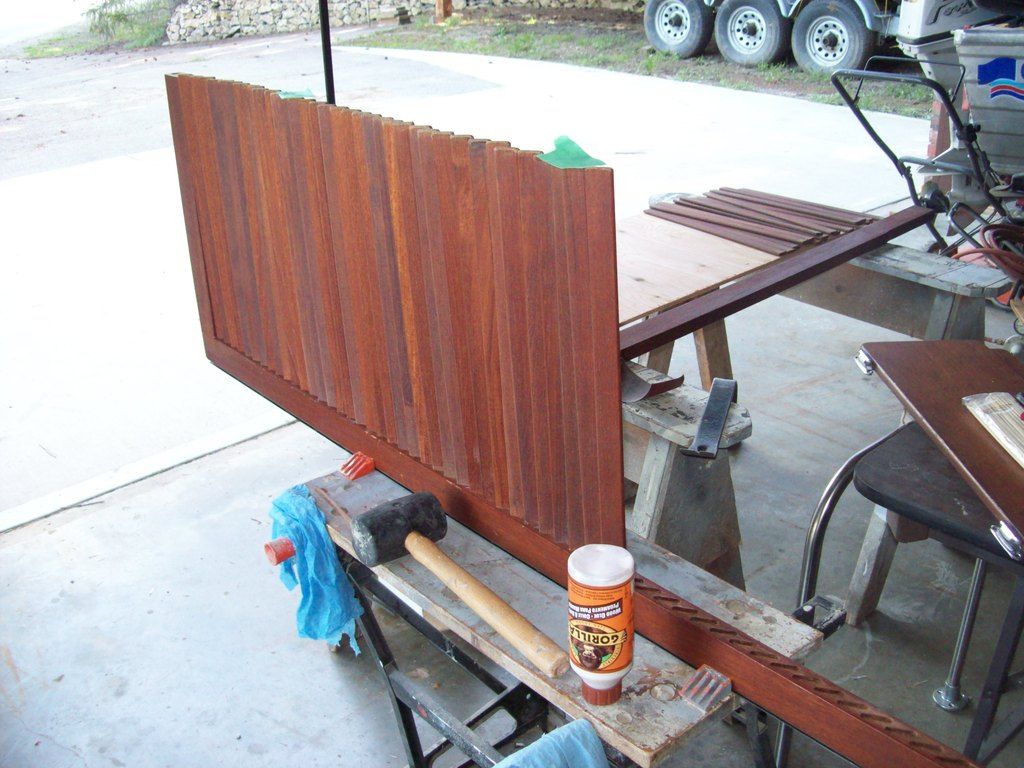
And here's a bunch of wood that used to be a door :facepalm:,


It's the door to the v-berth. It was kind of sagging and loose at the glue joints, so I thought I'd just pry the joints open a little, sneak a little glue in, close up the joints and clamp. :faint:Those slats only go in a tiny ways! The slats themselves had been glued in at one time too, although the glue had completely failed. So now I've got to figure out how to reassemble this thing. Anybody have any experience with these things? Any hints and tips? :help: Know of a good glue with lots of working time? I think I'll try to source some stainless steel L brackets to reinforce the joints after I get it back together. Egad.
 

52FordF2

Petty Officer 1st Class
Joined
May 31, 2013
Messages
372
Don't know if you can use blue or green masking tape??

Clean out original slot, then keep the bottom and top aligned somehow and stretch a layer or two of tape between them.Then start gluing one side of the slats in. Use the tape to kind of keep them in line. You could practice it first before you glue?

Just my .02 worth
 

Mikeopsycho

Senior Chief Petty Officer
Joined
Feb 6, 2014
Messages
738
Hey, thanks 52. I decided to clean up all the old glue, then clamp one side of the door on edge and glue in all the slats on one side. That's where your idea of masking tape came in. A lot of the slats were tight enough to just tap in and leave, but quite a few were loose, and would just kind of lean way over, probably would have fallen out if I didn't keep straightening them. I just taped the loose ones to their neighboring tighter fitting ones and Bob's your uncle , one side is done. I know, I know, it's the easy side, but it is done. I'll let the glue set up overnight.


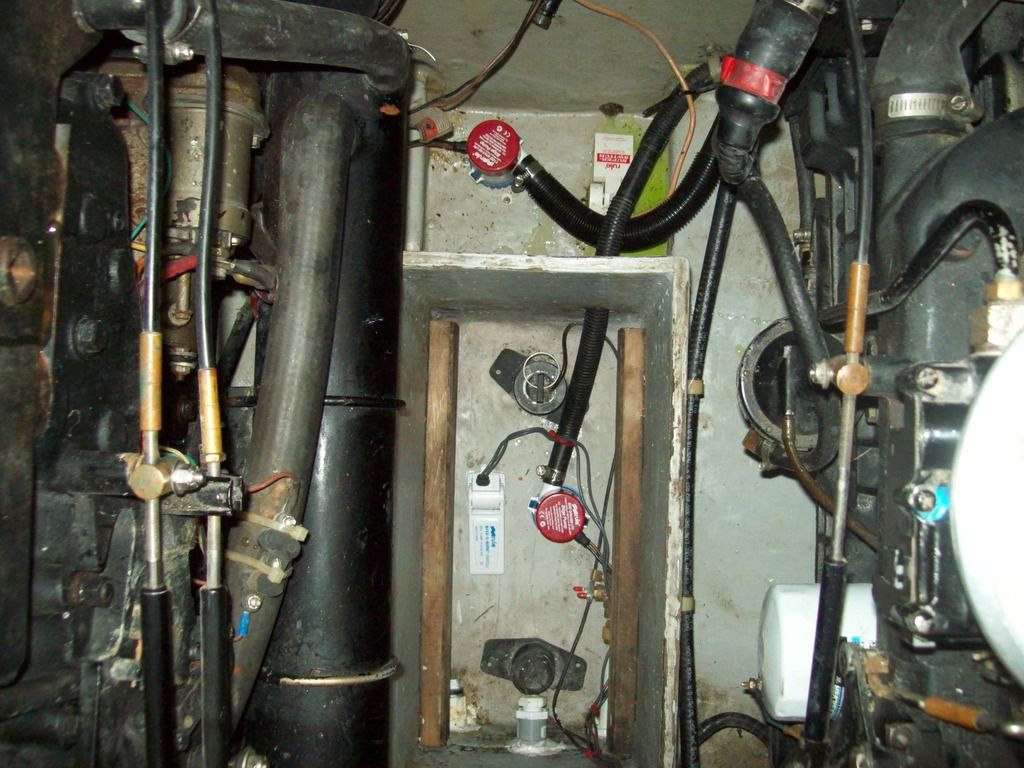
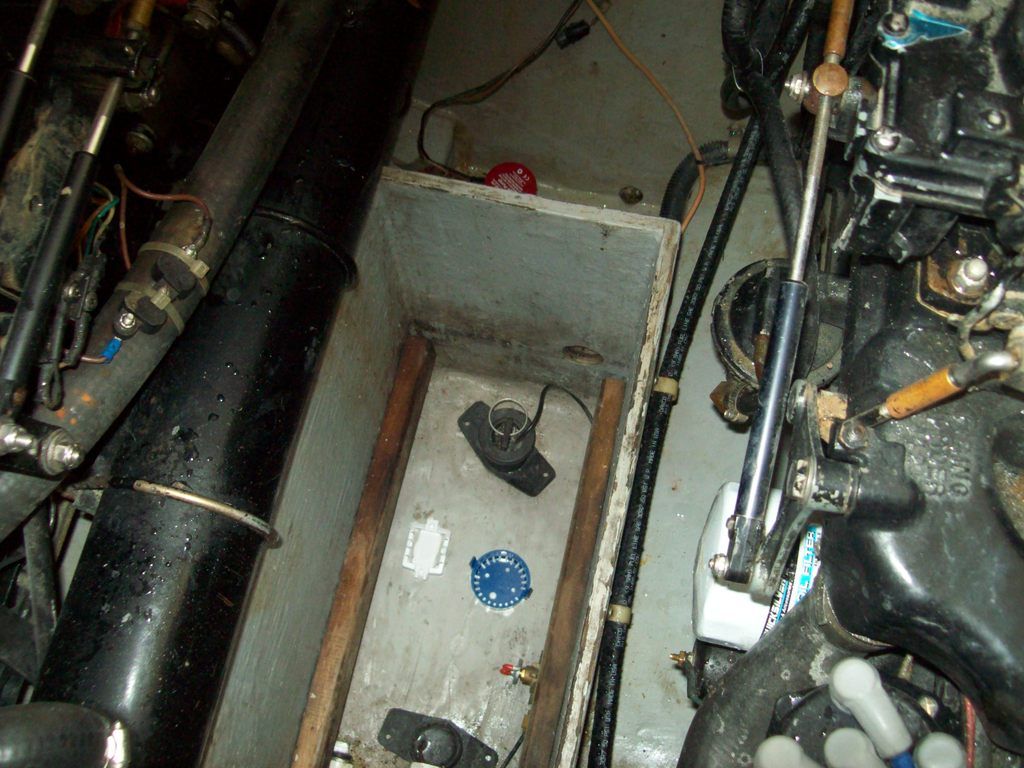
I mounted the base of a second bilge pump and float switch in the boxed-in area forward of the actual bilge, then I drilled through about 6" above the bilge bottom level with a 1 1/2" hole saw for the discharge hose and to allow flood water to enter the secondary area at that level. I just scuffed the glass a bit and used 5200 to adhere them to the hull, we'll see if they stay in place over time. I still need to wire them in and coat the drilled hole with epoxy (ran out). The other fittings you see are through-hull transducers for an old coloured depth sounder that no longer works. I hope to upgrade to a new system that will use a through-hull 'ducer, so I left them in place for now.


This is the vertical riser area from the main salon sole to the dinette sole that needed gelcoat, all masked off, grinded, and acetone wiped down and ready,


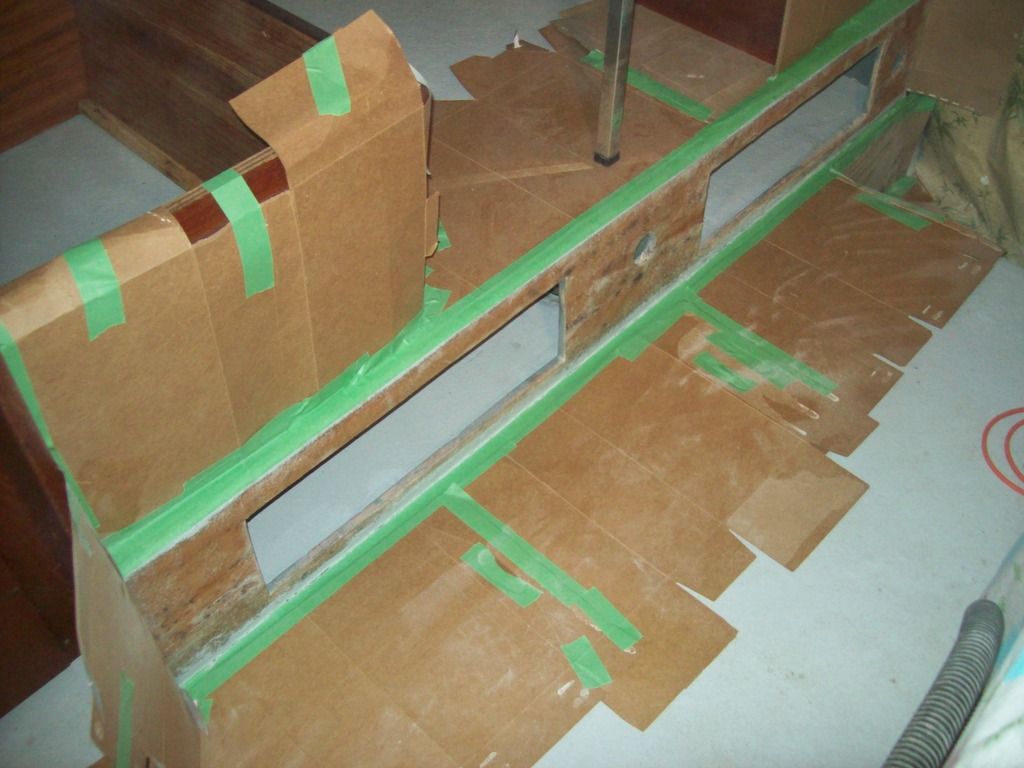
And now I did everything wrong. I knew it was a bit too cool to gelcoat, but I thought "what the heck, I'll just mix it hot at 2.5% MEKP". No problem, except the only catalyst I have is at least 2 years old, so 3% then :). Then I found out my wax was hard as a rock. I tried to liquefy it in hot hot water, no go. then I tried to melt it in the micro wave... nope. So I just used a rasp to make enough flakes that I estimated would equal 4%...give or take. I mixed 'er up, rolled 'er on, then waited to see whether I'd need to clean the mess all up and try again, or I'd get away with it. One hour later, still wet :blue:. Two hours later, still wet :facepalm:. Went in for supper, then one last doubtful check, about 4 1/2 hours after rolling it on....yeehaaaaaaa! :rockon:. She Kicked! And the surface is tack-free :whoo:. Oh me oh my! Here's a pic just after I rolled it on,
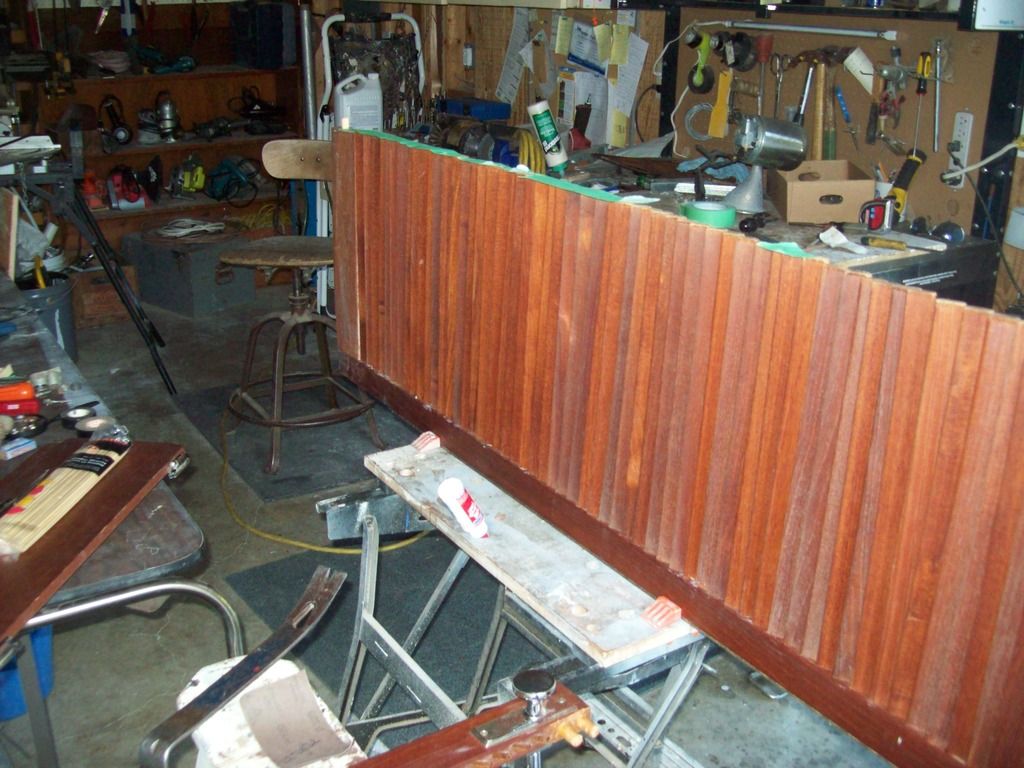


I removed the masking tape about 20 minutes after applying the gelcoat so I wouldn't have to grind it off :eyebrows:, but forgot to take a pic, tomorrow I will.
 

52FordF2

Petty Officer 1st Class
Joined
May 31, 2013
Messages
372
Looks good, the only problem you may see is putting the other side on. May need a helper

:whip: Now get back to work:whip:
 

kcassells

Fleet Admiral
Joined
Oct 16, 2012
Messages
8,596
I don't know.... Looks like the Man Mike is on FIRE!
flammen-feuer.jpg
 

sprintst

Commander
Joined
Apr 18, 2009
Messages
2,066
Closer everyday. You have some beautiful areas to run that boat out there and with knowing everything is solid it will be even more gratifying.
 

Mikeopsycho

Senior Chief Petty Officer
Joined
Feb 6, 2014
Messages
738
Looks good, the only problem you may see is putting the other side on. May need a helper

:whip: Now get back to work:whip:

Lol. I've looked at the door a couple times, moved it around, scratched my head, but I haven't tried to attach side two yet. I'm going to wait till there's two or three other people here to help out, then we'll see how it goes.


I don't know.... Looks like the Man Mike is on FIRE!
Closer everyday. You have some beautiful areas to run that boat out there and with knowing everything is solid it will be even more gratifying.

Thanks fellas, I'm getting real excited about the old boat now. Those little tasks seem to take at least twice as long as I think they should to get done, but step by step everything is getting done. :)

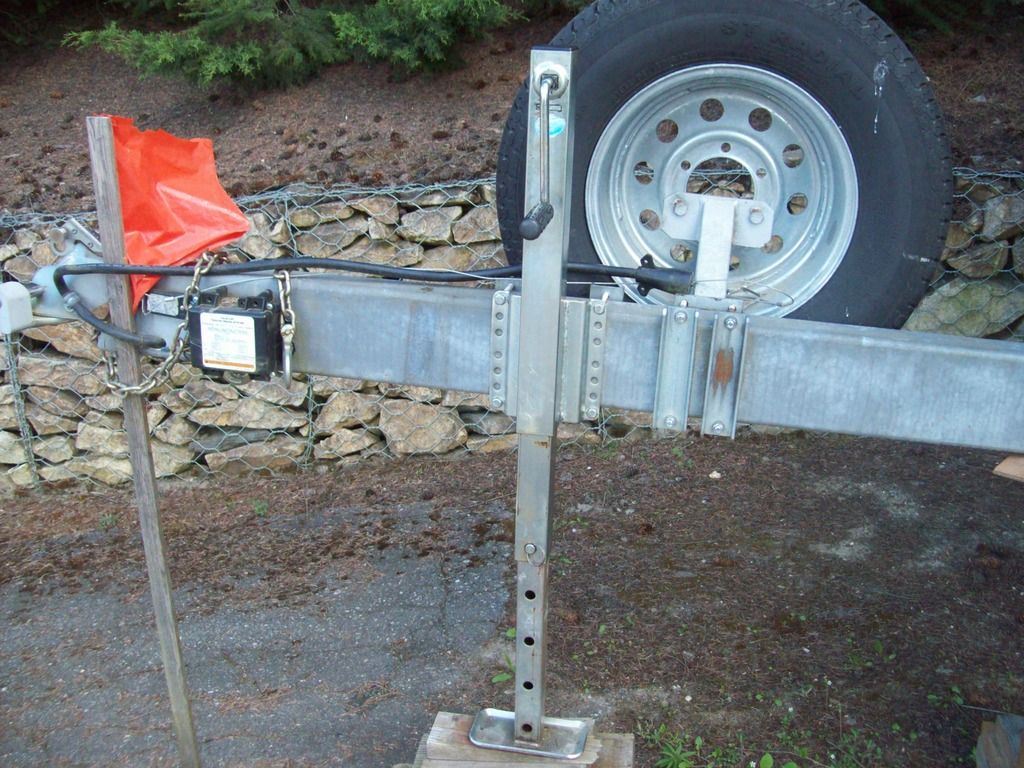
I got the gears for the trailer jack, so I put it back together and bolted it back on,


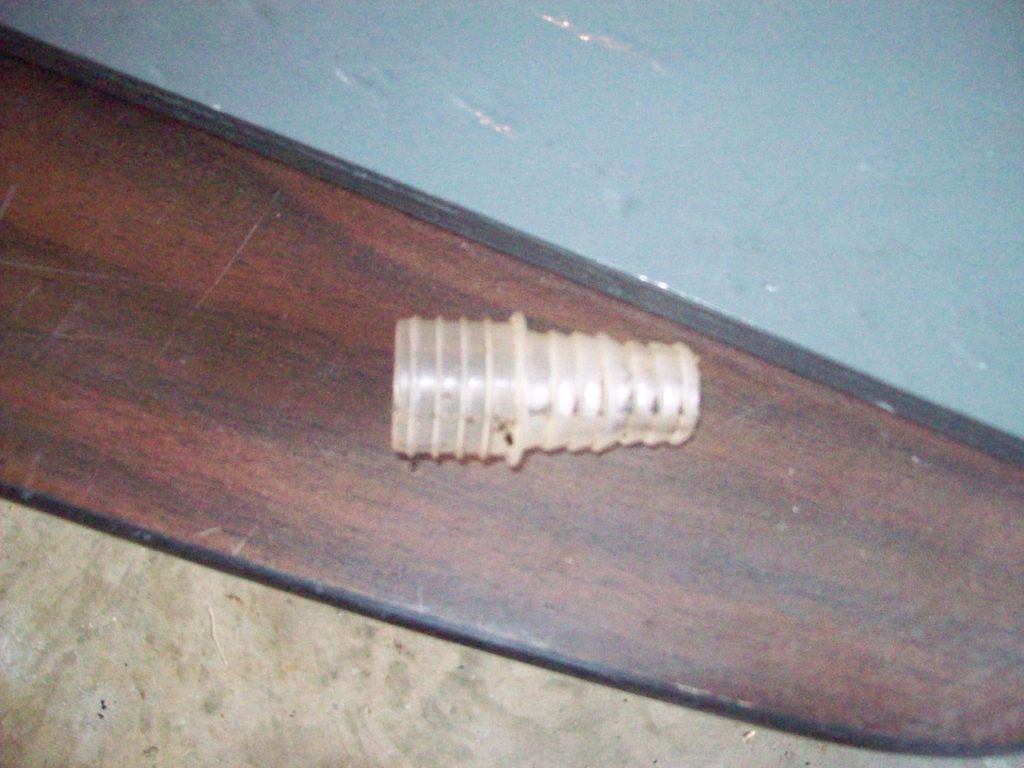
I filled the port engine heat exchanger with antifreeze, no problem, but when I started filling the starboard engine and checking fittings, I found a leak where one of the hoses goes into the buss heater, so I'll have to fix that. I got the new secondary bilge pump all hooked up and operational. I looked on-line and discovered that my existing 1100gpm rule pump should have a 1 1/8" discharge hose, but mine is only a 3/4" hose and a 3/4" through-hull. Hmmmm. So I installed a new 1 1/8" through-hull fitting a few inches away from the existing one, and I ran the correct size hose to my existing 1100gpm pump, then redirected the old 3/4" hose to the new 500gpm pump. The hose had been clamped to this fitting, which fit snuggly inside the pump outlet,


Here's a shot of the two pumps,


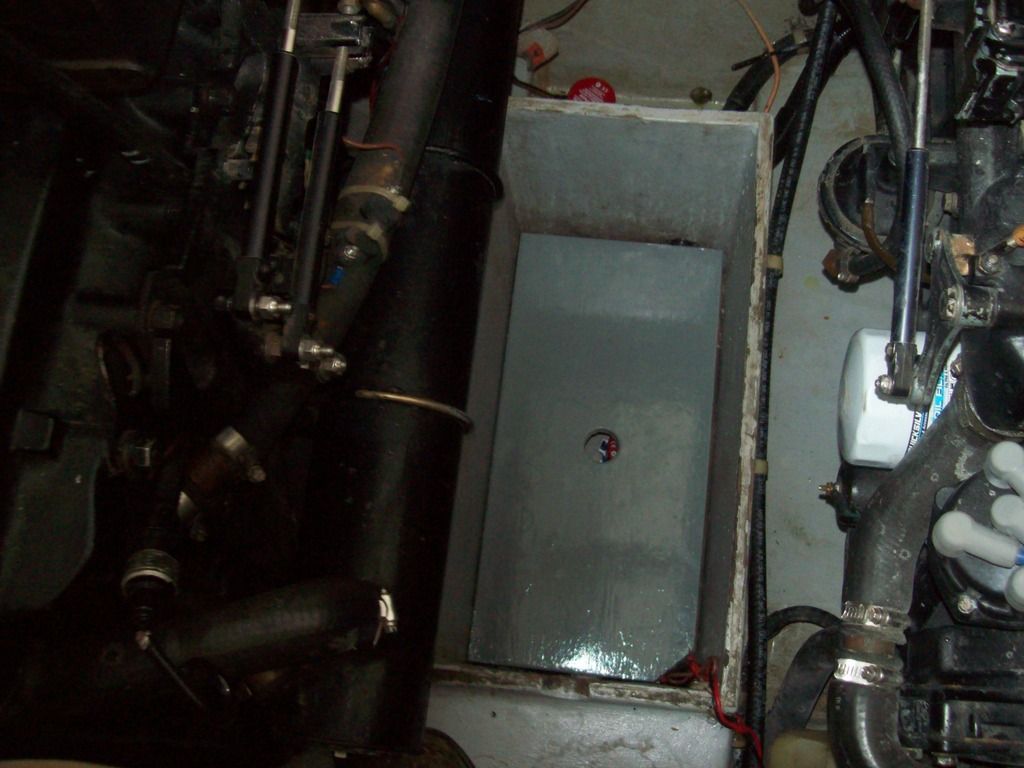
The shelf in place,


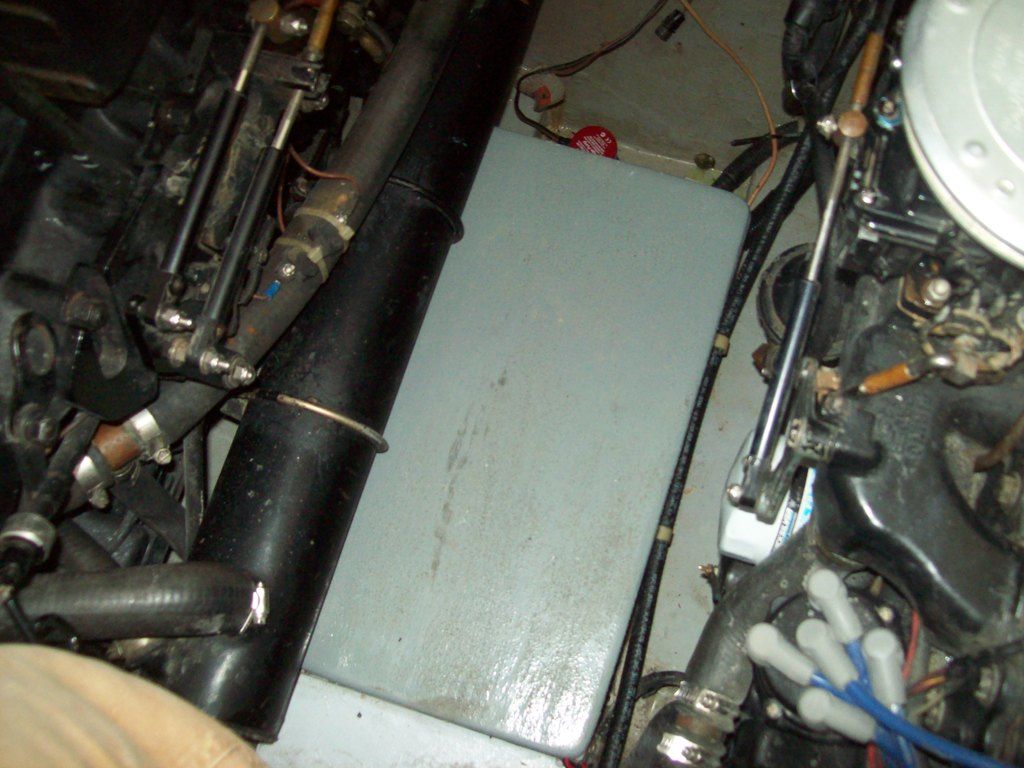
and the lid on,


I used to just lay a sorbent pad on the shelf and store spare oil in here, but now I'll have to find a bucket or something that fits in here for secondary containment.

I'll be removing the tarp and structure in a day or two and getting to work on cleaning up the outside of this dirty old gal. My sister-in-law found that a toilet bowl cleaner, big red, works really well for cleaning boats, so I bought a gallon. I've heard a little bit about it on this forum, and wonder if anyone uses this or something similar? Do you just spray it on full strength and rinse it off, or do dilute it? Do you scrub?
 

Mikeopsycho

Senior Chief Petty Officer
Joined
Feb 6, 2014
Messages
738
Doors are on the newly gelcoated dinette riser,


The shelf unit in the v-berth is back in with wires roughed in for a new power point,


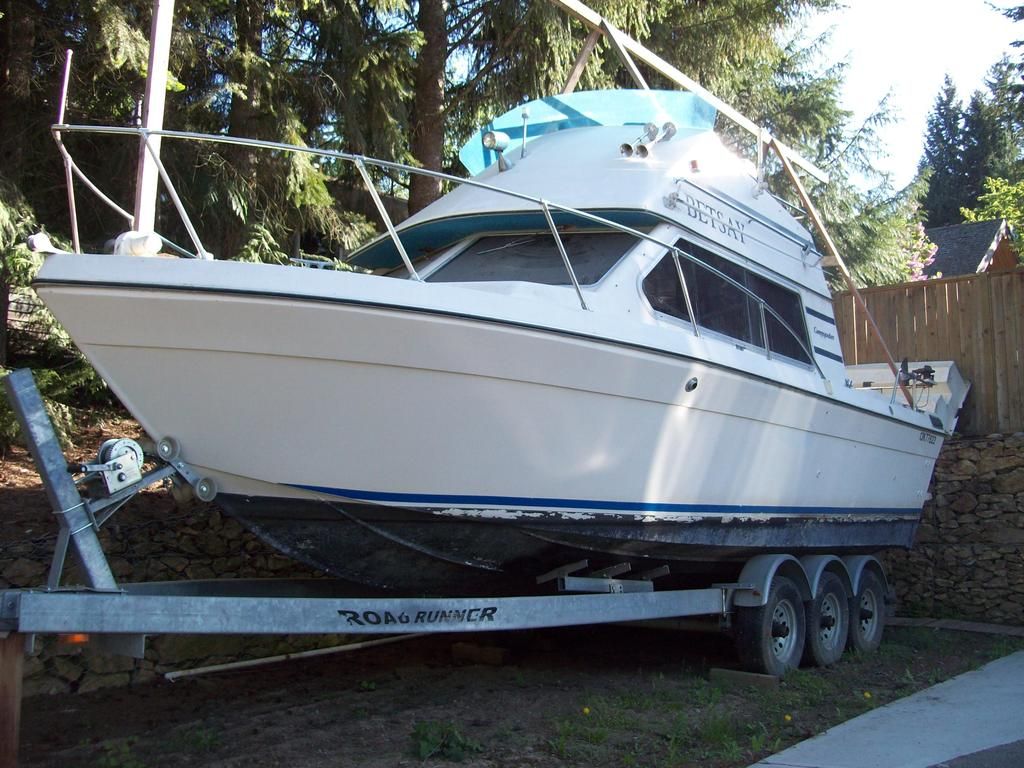
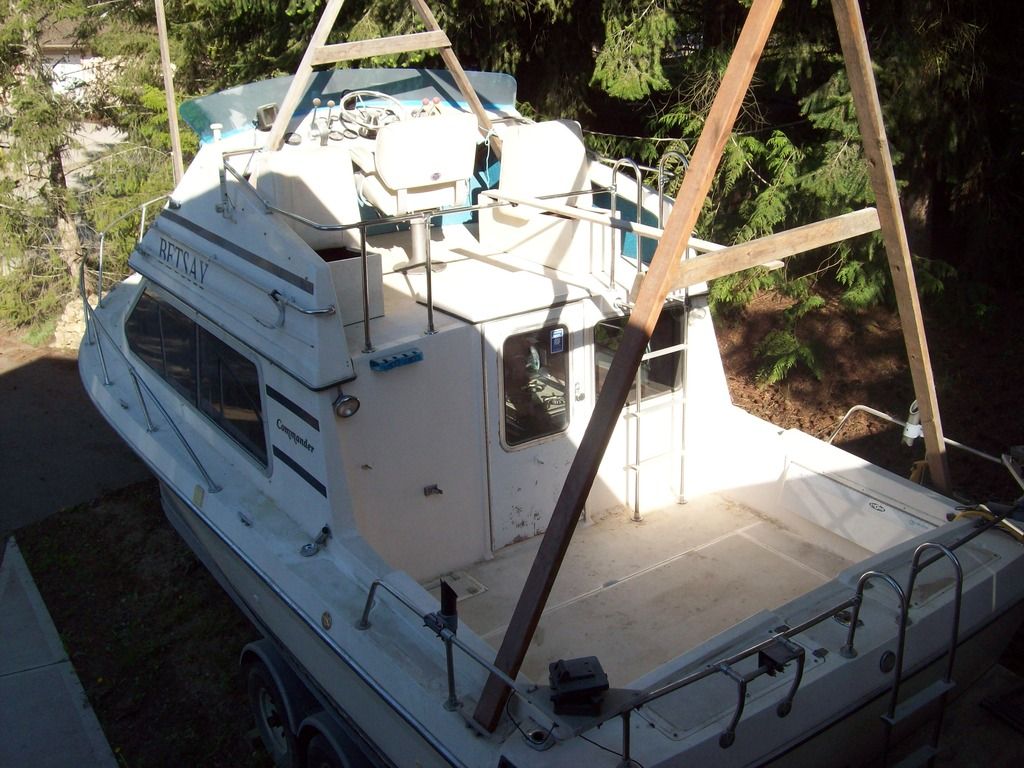
Big day yesterday! Pulled the tarp off (still need to take down the superstructure). Man oh man she's a dirty girl! Gonna take some work to get her all cleaned up,


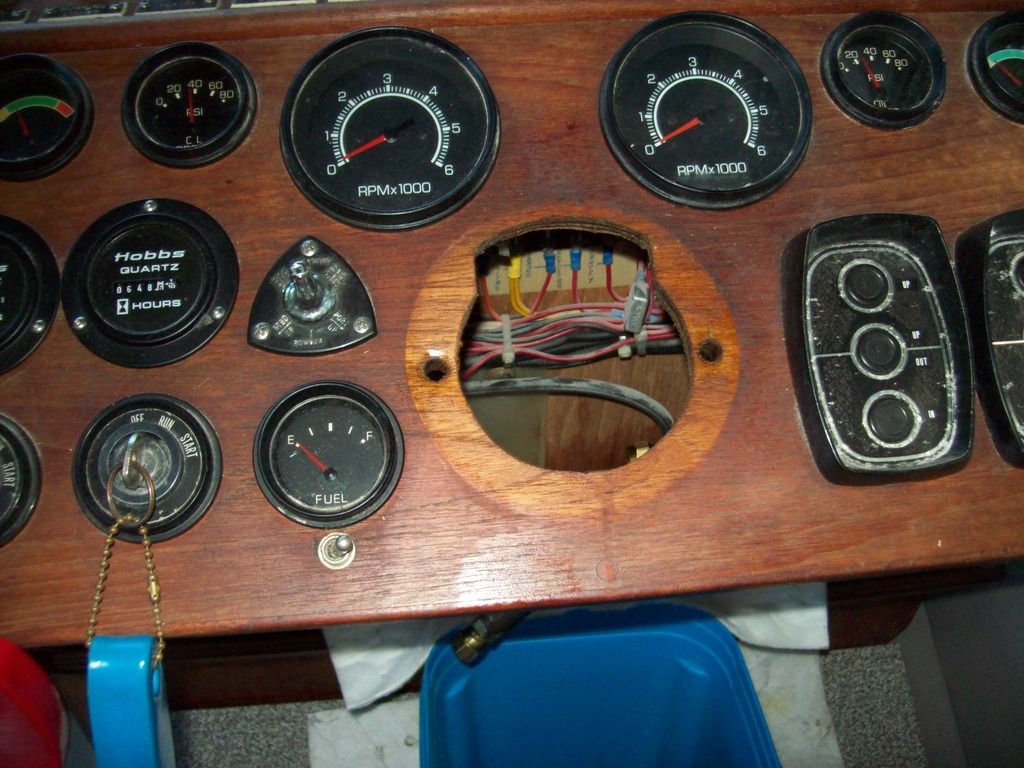
I poured about 20 gallons of gas in the new tank and fired up both engines. Brought them up to temperature and checked all the hoses and fittings, no leaks. These old 470's have a lot of life in them yet. They were rebuilt just before I bought the boat 9 years ago, and have about 650 hours on them. I am having a problem with both the oil pressure gauge and the temp gauge for the starboard engine. They don't work all the time. At 1000rpm I got no reading on both gauges, but when I dropped down to 700rpm both gauge started working. This happens at both the upper and lower helm. I did notice these gauges starting to work sporadically when we last had her on the water.
I'm wondering what could cause this? A loose connection somewhere? Both temp & oil pressure, how are they interconnected? Weird.

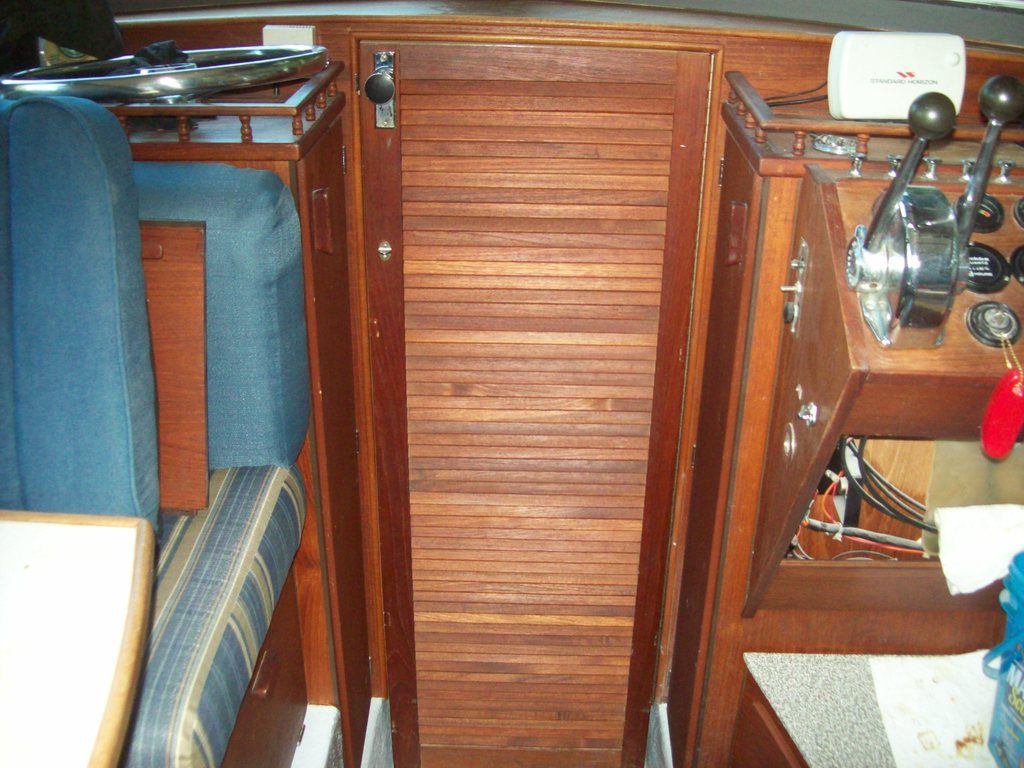
I had a couple guys over yesterday and got the slatted door reassembled,


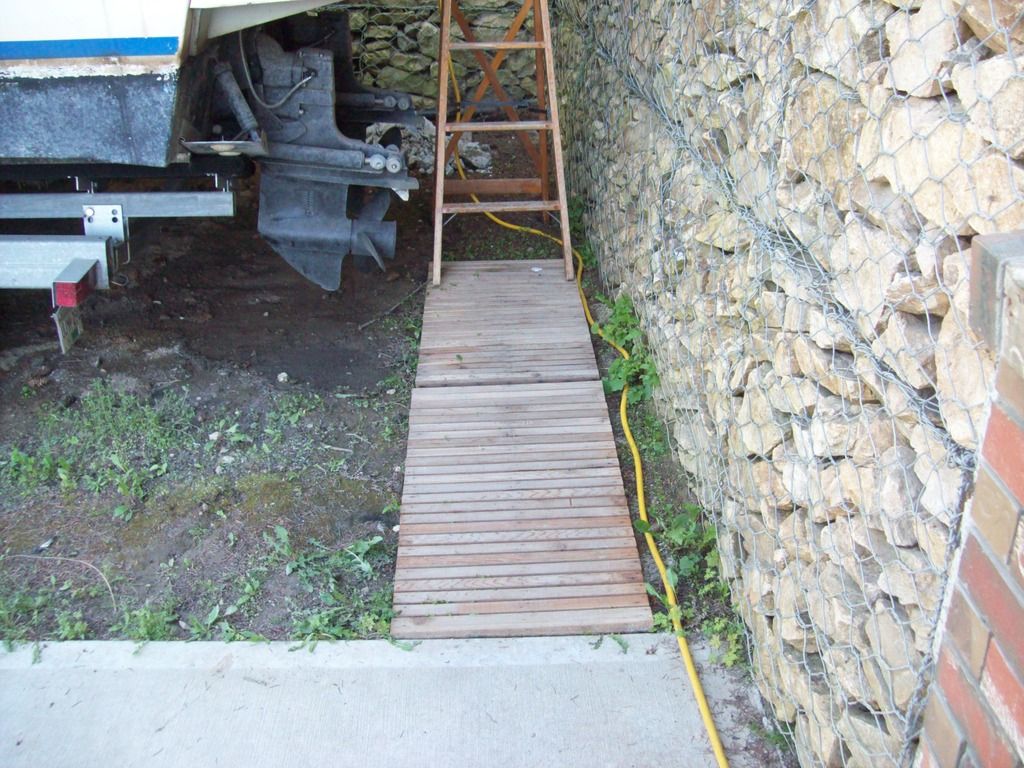
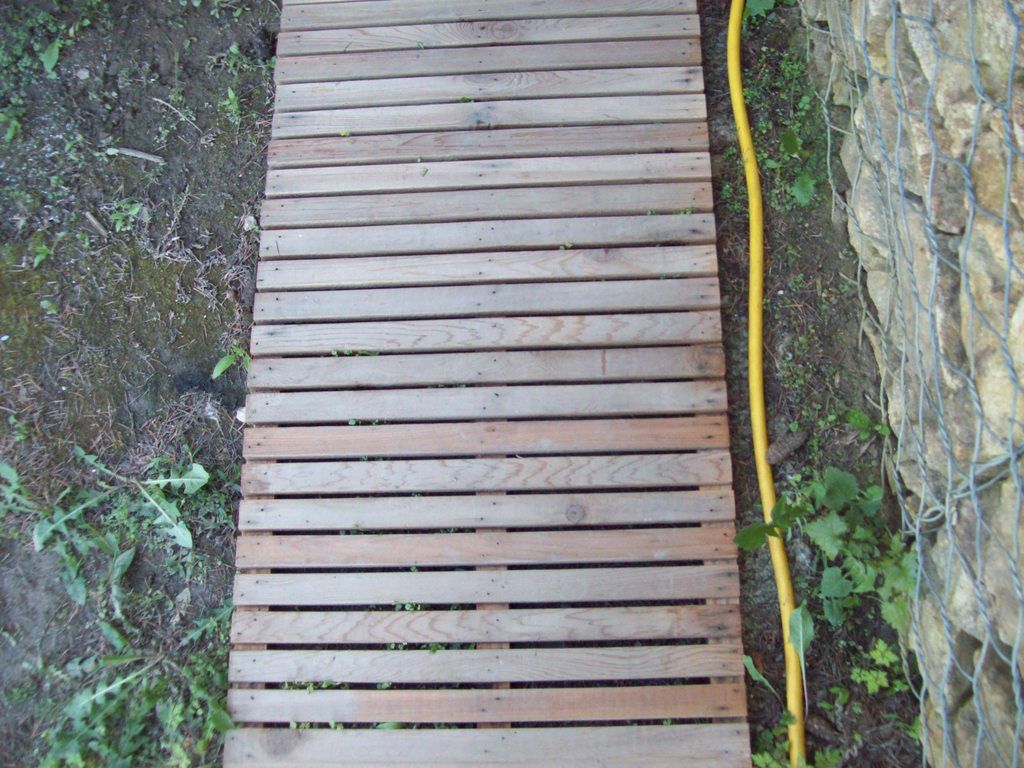
I still have a list of things to get done before I launch, like a cleaning and polishing, touch up the bottom kote, fix the head and install it, install the new gas tank vent (on order), load everything back in that belongs onboard, etc., etc.. You know your boat's been dry-docked too long when you build a sidewalk for access,


I've secured moorage for the season, but unfortunately not at the closest marina that we can see from the house, they couldn't fit us in. We'll be at the next nearest marina about 2 miles down the road, at the end of the bay. All the docks are new and in great shape, so that'll be nice. Soon, very, very soon. :)
 

Rick Stephens

Admiral
Joined
Aug 13, 2013
Messages
6,118
Wow. I just went through your thread. From all the pics, I am amazed at the build quality on that 35 year old boat. It's awesome! And now you went through and made everything current. Truly a wonderful project.

I'm wondering what could cause this? A loose connection somewhere? Both temp & oil pressure, how are they interconnected? Weird.

Carefully clean up your grounds on that motor. One place everything comes together.

Rick
 

Mikeopsycho

Senior Chief Petty Officer
Joined
Feb 6, 2014
Messages
738
Thanks a lot guys, and thanks for the tip Rick, I'll clean up the grounds today. Makes sense, I hope that's the problem.

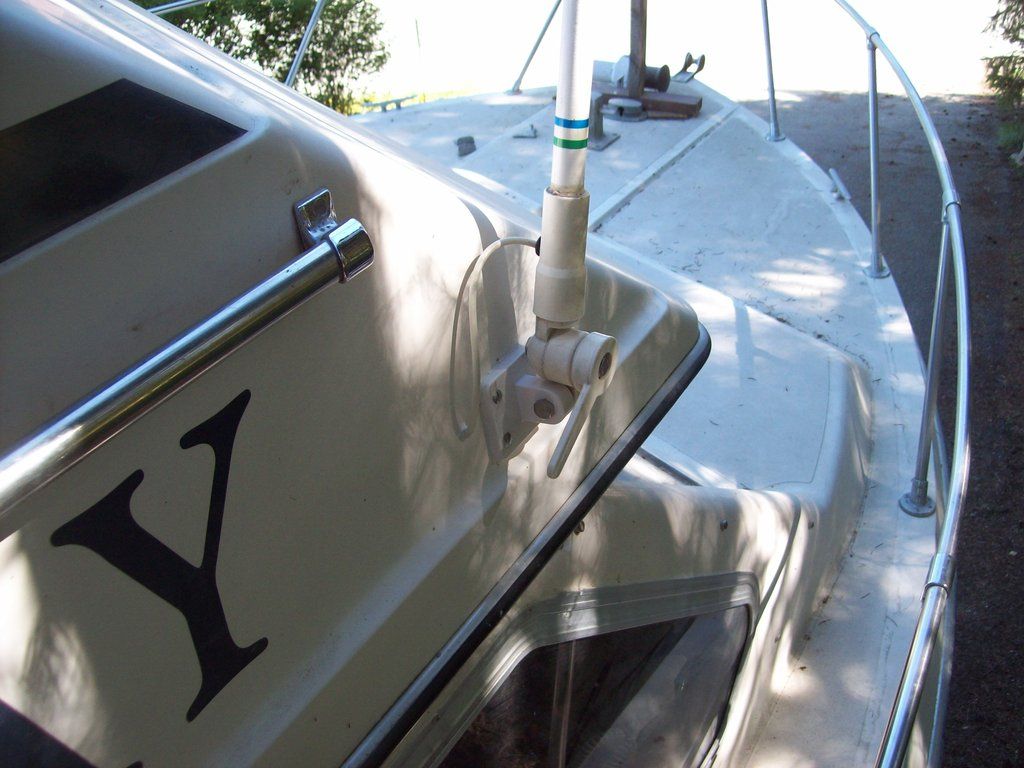
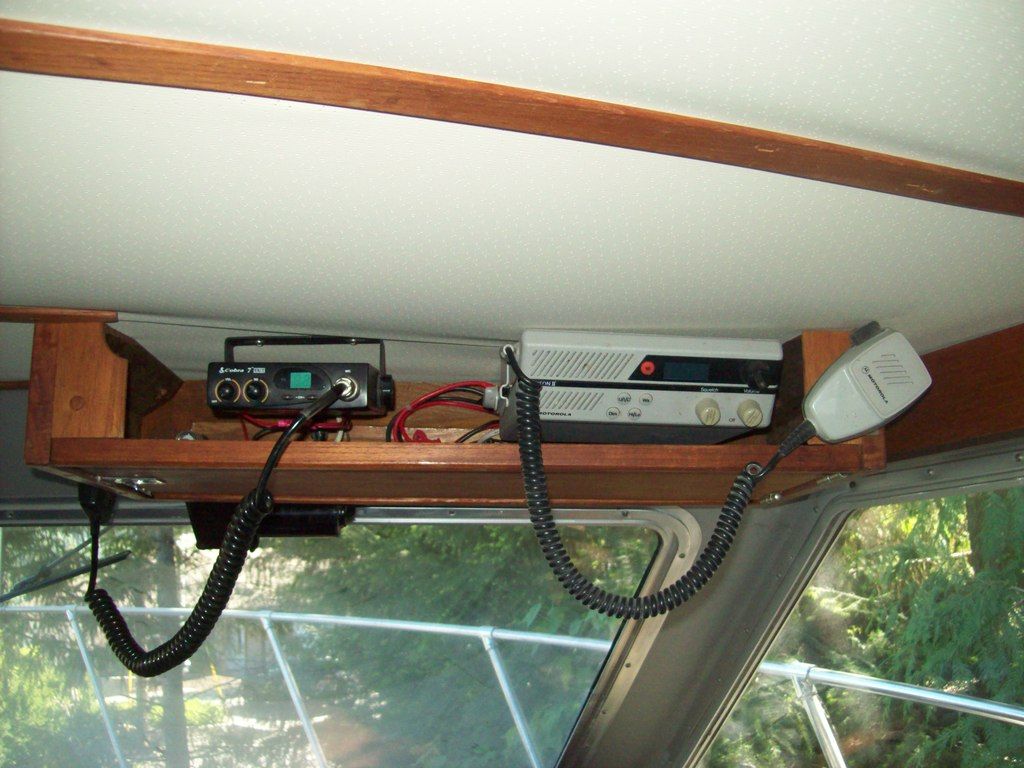
I've been getting all the little things done. I had an old VHF radio kicking around so I mounted it in the fly bridge. Till now we only had VHF at the lower helm, so this should be handy. I also had an antennae and mounting base, which I installed on the starboard side of the boat, in line with the current antennae on the port side. I just need to get the fitting to connect the antennae wire to the radio.


I also added a CB at the lower helm. I will see if just laying the antennae up in the eyebrow area above the windshield will be good enough for reception. I got the idea because that's where the AM/FM antennae is, and it works great.


I pressure washed her to get all the loose dirt and grunge off. It looks better, but a long way from good enough,


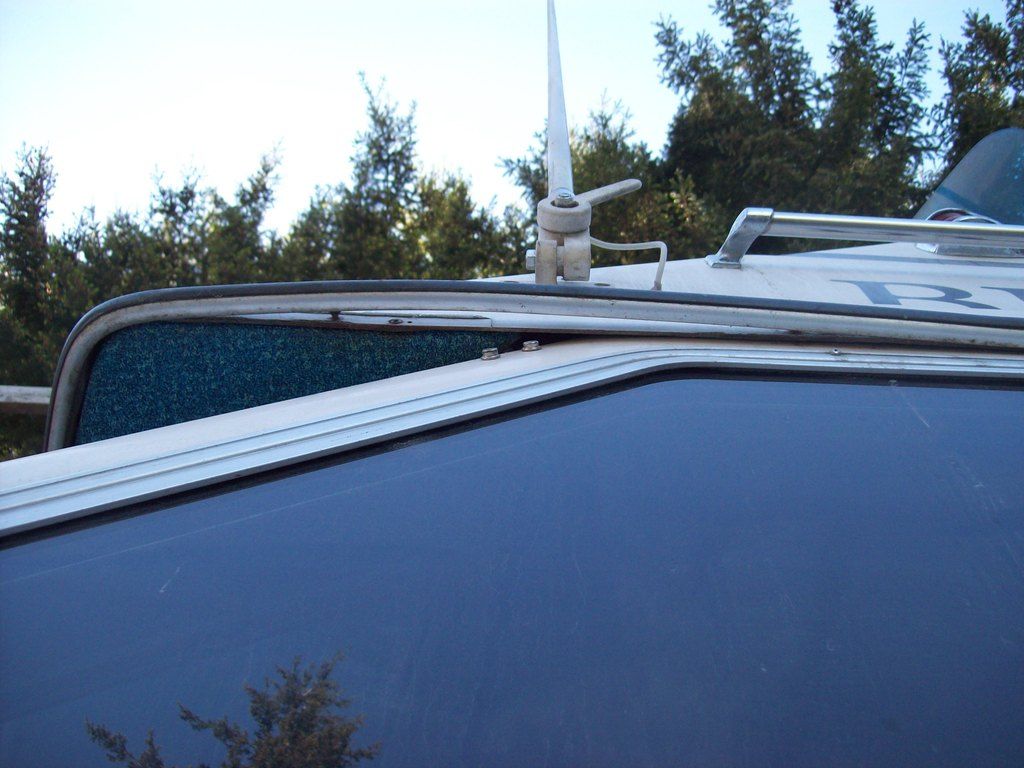
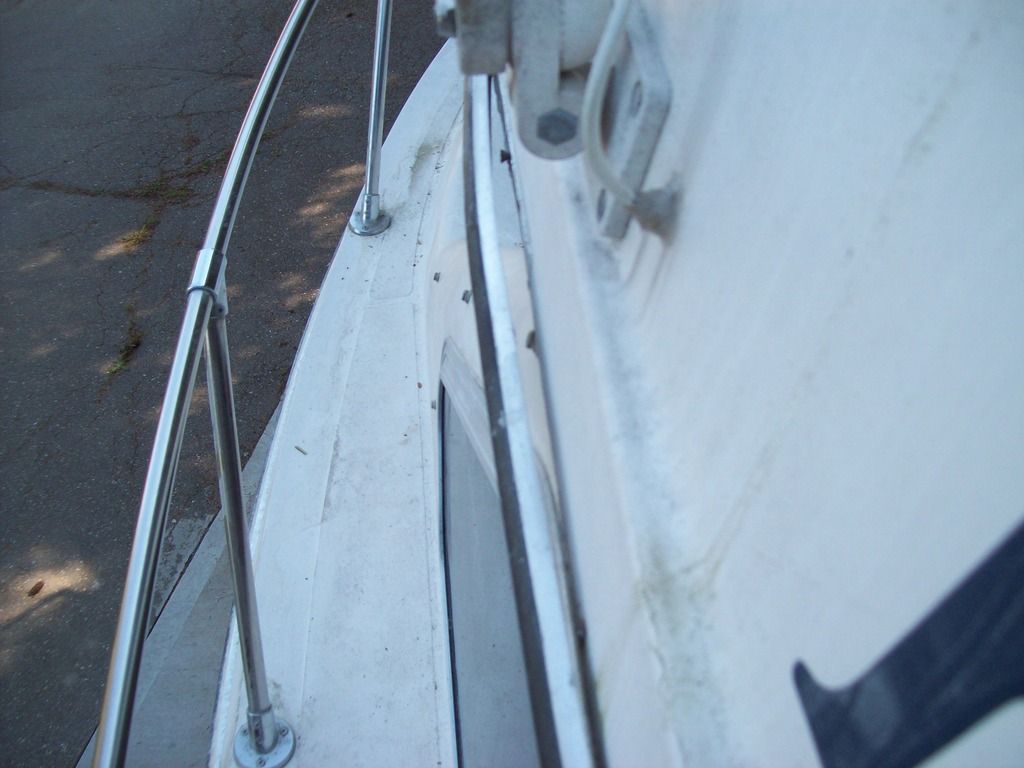
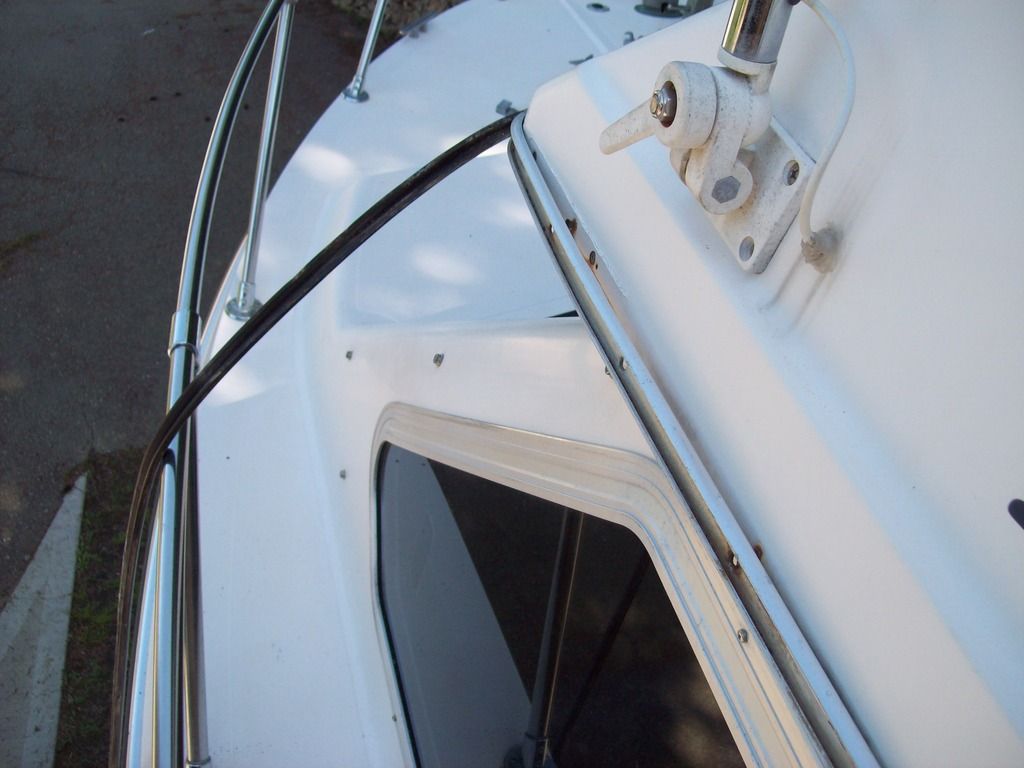
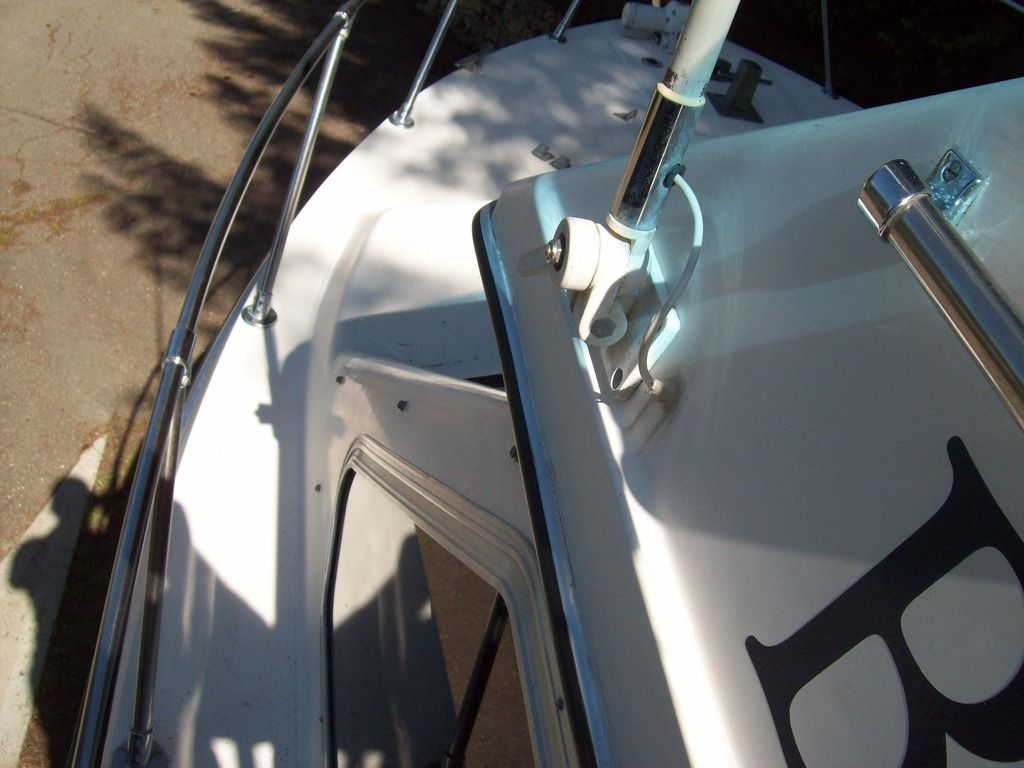
I've got a problem spot on the upper rub-rail between the roof line and the flybridge area. The aluminum channel has pulled away from the boat. I'm thinking I'll need to remove the plastic bumper, refasten the aluminum, then reinstall the bumper. I'm very worried that I'll damage the insert and will make things worse than they are, but I'd like to fix this if I can. I have no idea if this rub-rail profile is still available, so I hope to be able to re-use what I've got.


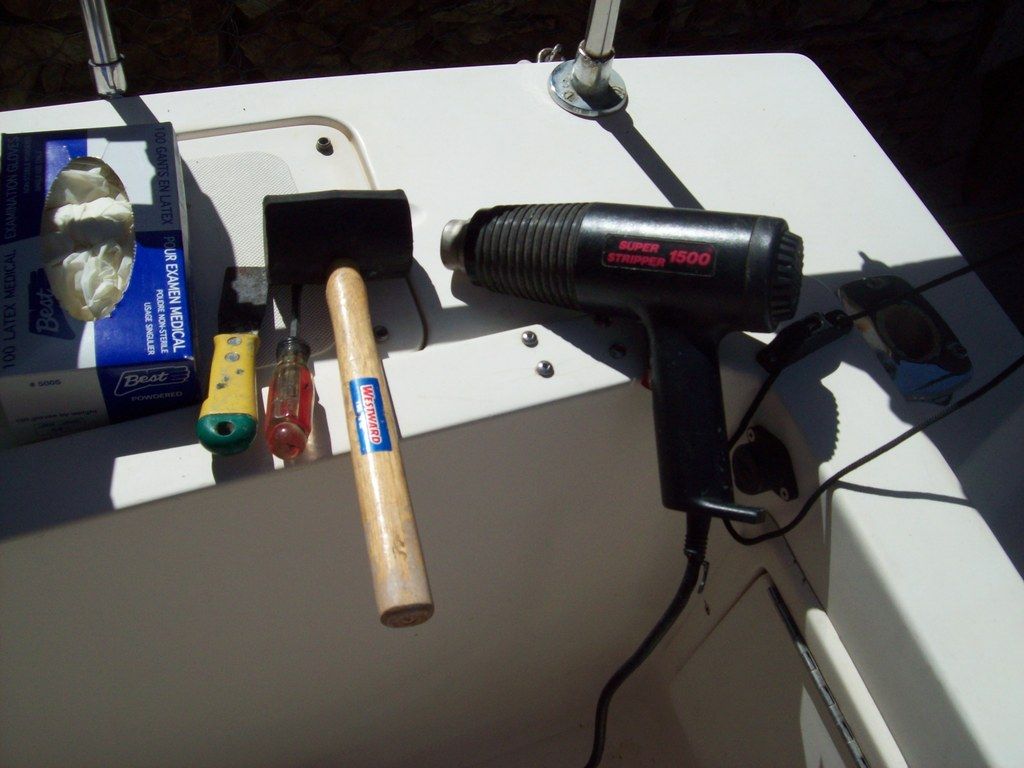
I've read on iboats forums that a heat gun will help, I guess I'll give it a nervous try :fear:.
 

Mikeopsycho

Senior Chief Petty Officer
Joined
Feb 6, 2014
Messages
738
So, got a few things done. I fixed the rub rail. The rubber or neoprene bumper came out fairly easily with a little heat from a heat gun, but it was a real battle to get it back in :fencing:. Here's a shot with the bumper hanging out,


I cleaned out the track and the insert, drilled new holes, wiped down with acetone, put a bead of 5200 behind the track, and screwed it back down nice and tight. I cleaned up the excess 5200 with acetone,


I'm quite pleased with how it went. I was worried about the insert shrinking on me, but it was actually a bit too long by the time I got it all on, so I had to kind of slide it back on the track so it would fit again. Here's a couple of tools that came in handy,


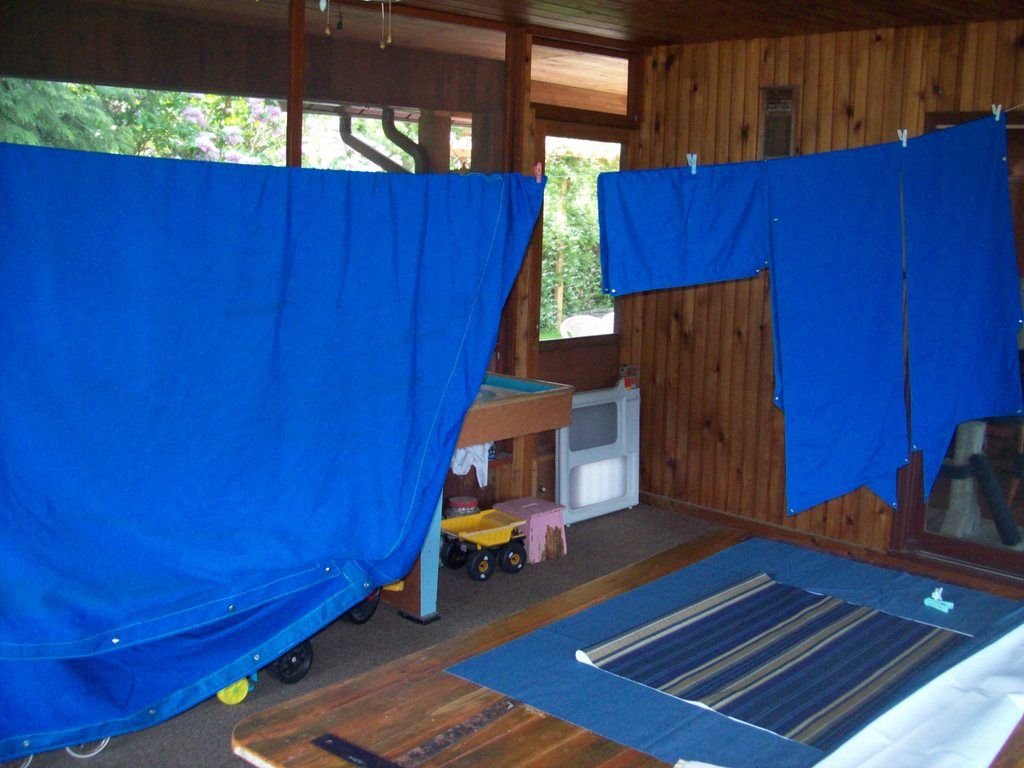
The Admiral washed the outside window coverings and the flybridge cover,


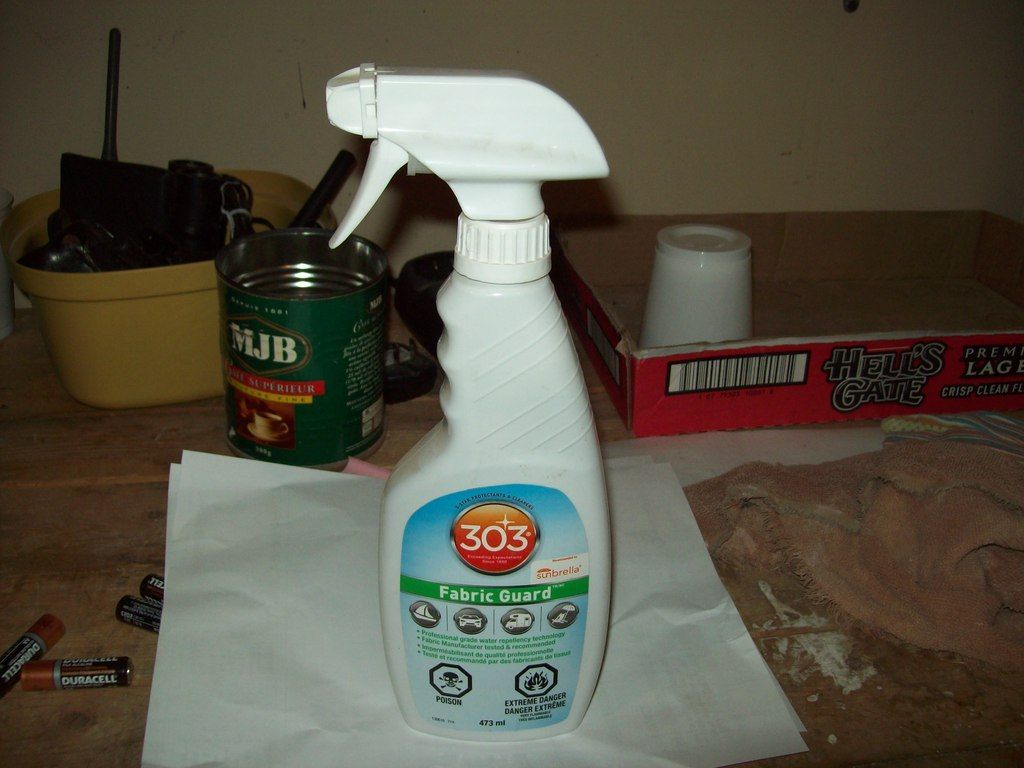
I treated them with this stuff,


I got this in the mail,


So I installed it on the head,


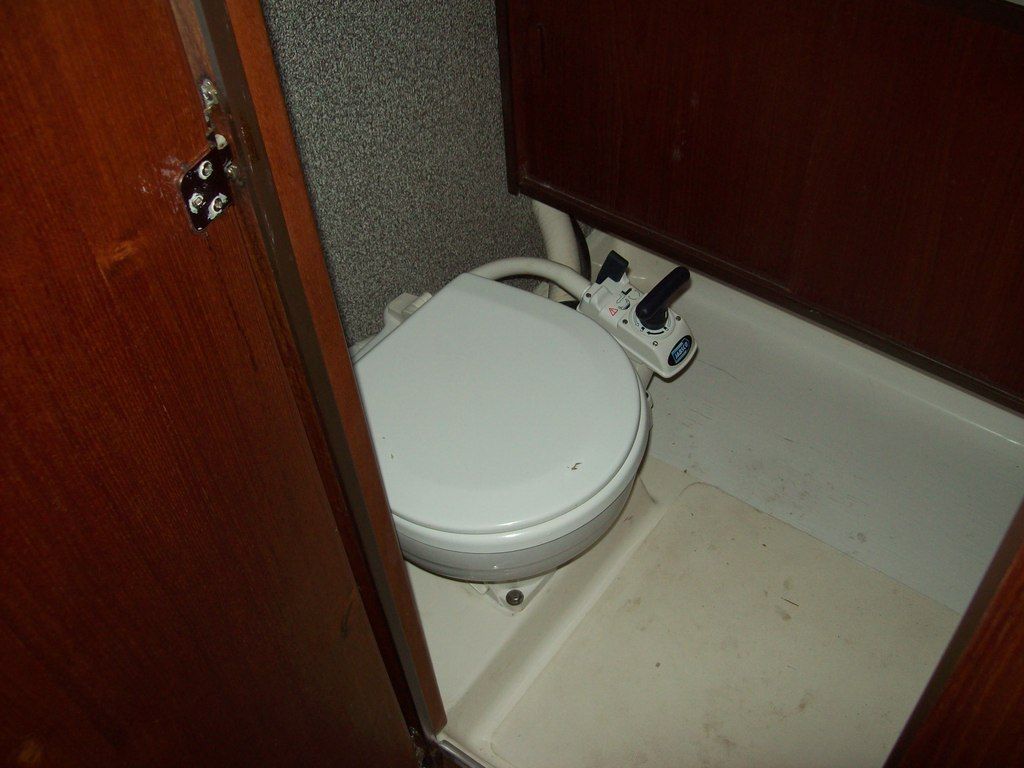
And installed the head in the washroom with 4200 and stainless steel lag bolts,


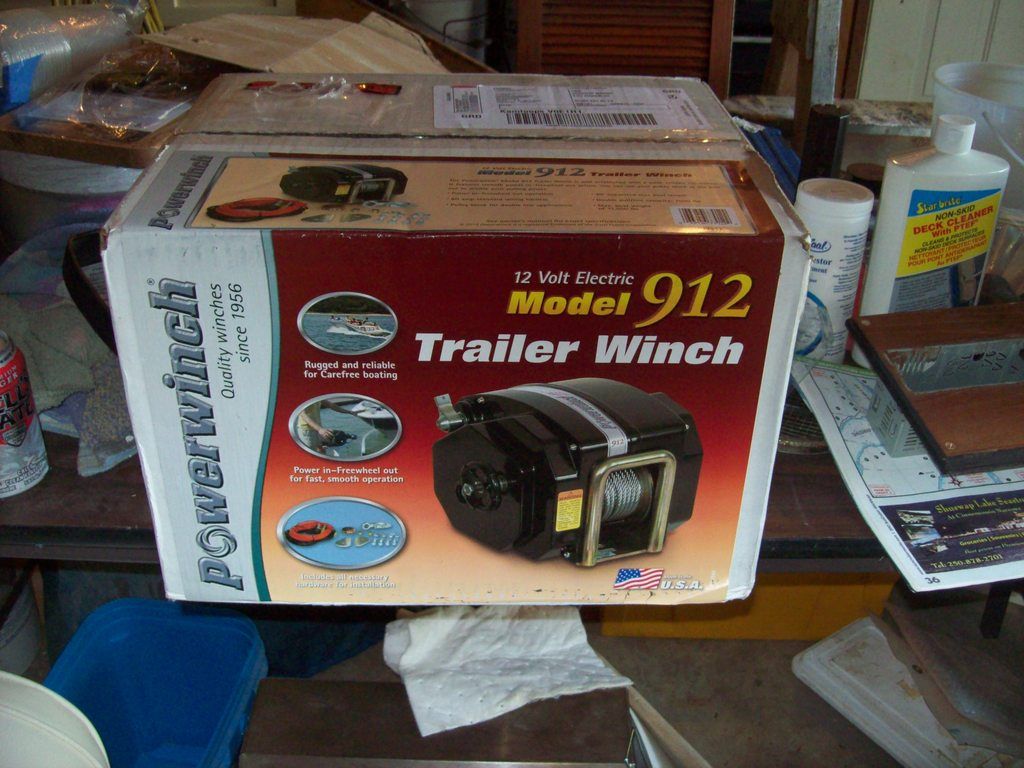
And look at what else I got :whoo:,


Pretty cool eh? Now it won't be so hard to get volunteers when I want to pull the boat out of the water ;).

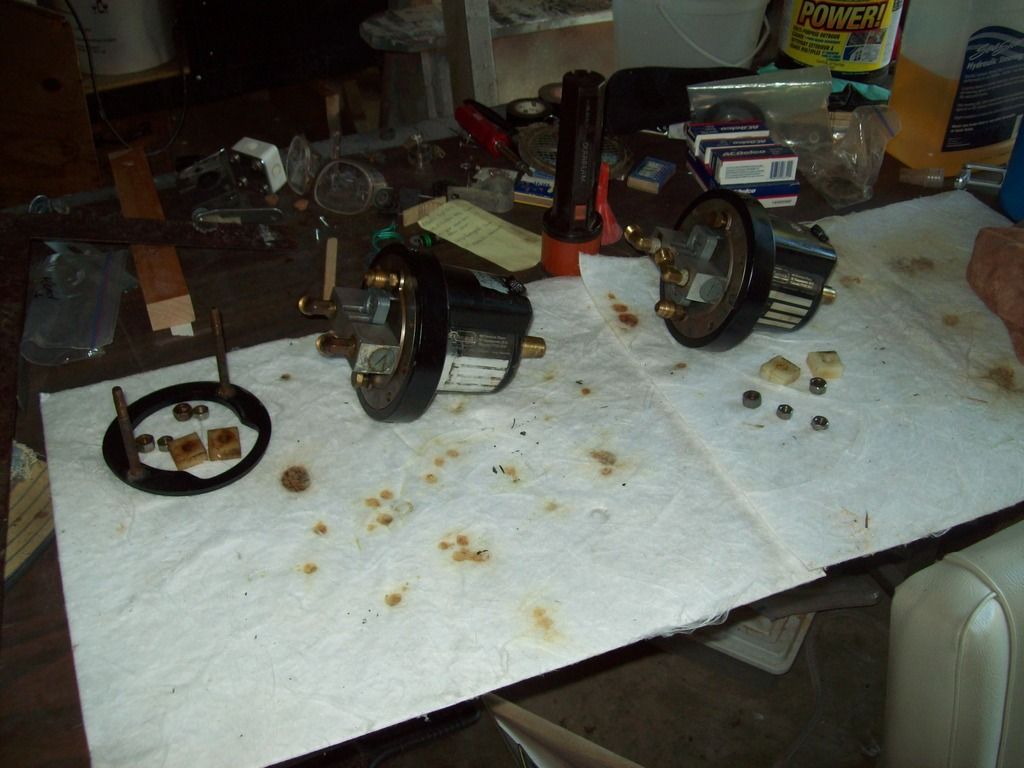
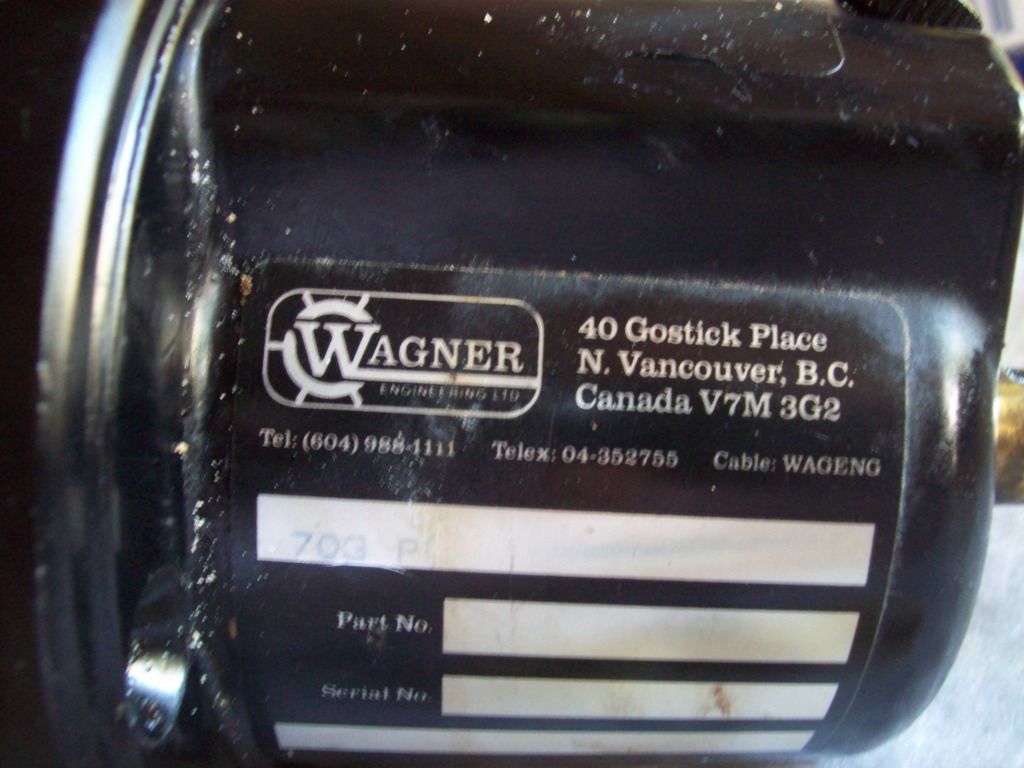
While I was under the dash on the upper helm installing the VHF radio, I noticed oil on the underside of the hydraulic steering pump. I previously noticed a tiny bit of oil under the lower helm steering pump as well, so I guess it's time to re-seal the two of them. I phoned Wagner in North Vancouver. Aaron was very helpful, and is sending me two seal kits in the mail. They're about $26 each, not too bad. I pulled the pumps,


I wont take them apart till the seal kits get here. I had to sand down the edges of the v-berth door to make it fit nice, but it's in now,


I used toilet bowl cleaner to remove the waterline scum off the boat. It worked fairly well, but it kind of ate the top layer of galvanization off my trailer where it dripped on it :eek:. Darn! I guess I'll have to get some kind of galvanized paint. I'm not sure how much damage is done, but I'm not going to do anything till the boat's off the trailer.

I also cleaned up the ground on the port engine to try and fix the intermittent temp and oil pressure gauges as Rick suggested, but I won't know if it fixed the problem till I launch. :noidea:

That's about it for now. I'm hesitant to mention how I had installed the helm seat, then realized I would have to remove it again in order to install the bin beside it :facepalm:. There is a recurring theme here......:embarassed:.

I have other commitments next week, so I'm thinking my splash date should be about the end of May. :pirate:
 

nurseman

Lieutenant Junior Grade
Joined
Jun 2, 2013
Messages
1,045
That's about it for now. I'm hesitant to mention how I had installed the helm seat, then realized I would have to remove it again in order to install the bin beside it :facepalm:. There is a recurring theme here......:embarassed:.

I like to call that "trial fitting" :rolleyes:. I do it frequently:facepalm:
She is looking good! can't wait for the splash video!
 
Top