boatbardus
Cadet
- Joined
- Mar 29, 2013
- Messages
- 6
Howdy,
I have lurked here for a long time! Thank you to the many builders, threads, and commenters that have helped me learn so much thus far! My boat has had so many quirks, tho, that it is time for its' own thread.
I have a 1972 Tornado, a Sidewinder clone (I think).

HISTORY
When I went to go buy it, the seats were crappy, but the floor seemed rock solid- no flex in it. I jumped up and down on the transom- no flex. PO put some muffs on the 115 Evinrude, a hose, and fired it up. Sounded great! What a deal! So I hitched it up, and drove it home.
I heard sloshing the whole way back....crud. So I jacked it up, and let a bunch of water (from a mysterious source) drain out the back. But hey, ignorance is bliss, right? So I took it out on the lake, and watched the transom flex and crack.... crud.
SOOOO, I decided to replace it. I didn't know anything about fiberglass, so Nidabond (same as Seacast) sounded pretty good. I read the directions, cut off the top of the transom, drilled out the mulch inside, and taped over the holes. Note all of the cracks on the inside of the transom skin. I taped over them using the recommended HVAC tape, and began to pour! Note the cracks...

I poured it to the brim, and sat back to let it harden. Then the Nibabond 'soup' level began to drain....crud. I scrambled all around, finding that some of my tape had broken loose. I tried hard to fix it, stuffing rags, dirt, sand, gloves, etc into the tape split to slow it. Eventually, the Nibabond began to harden and stopped draining. I redrilled the holes, and remounted the motor.
Well, I got tired of the constantly wet carpet, and tore it up- to find that some previous owner had installed a WHOLE ADDITIONAL FLOOR over where the original should be....crud. Well, hey, I guess I can say that I was hanging out on the second story of my boat!.... (here it is after ive been cutting)

I cut the small amount of tabbing along the edges, and pulled up the second floor- to find that there were a couple of nail holes in the floor, creating a tarp/trampoline of fiberglass for a deck...crud.

AND that is where I am at. Aside from the strange fact that there is not any bow support accross the front, aside from this one 1x4...
(see below)
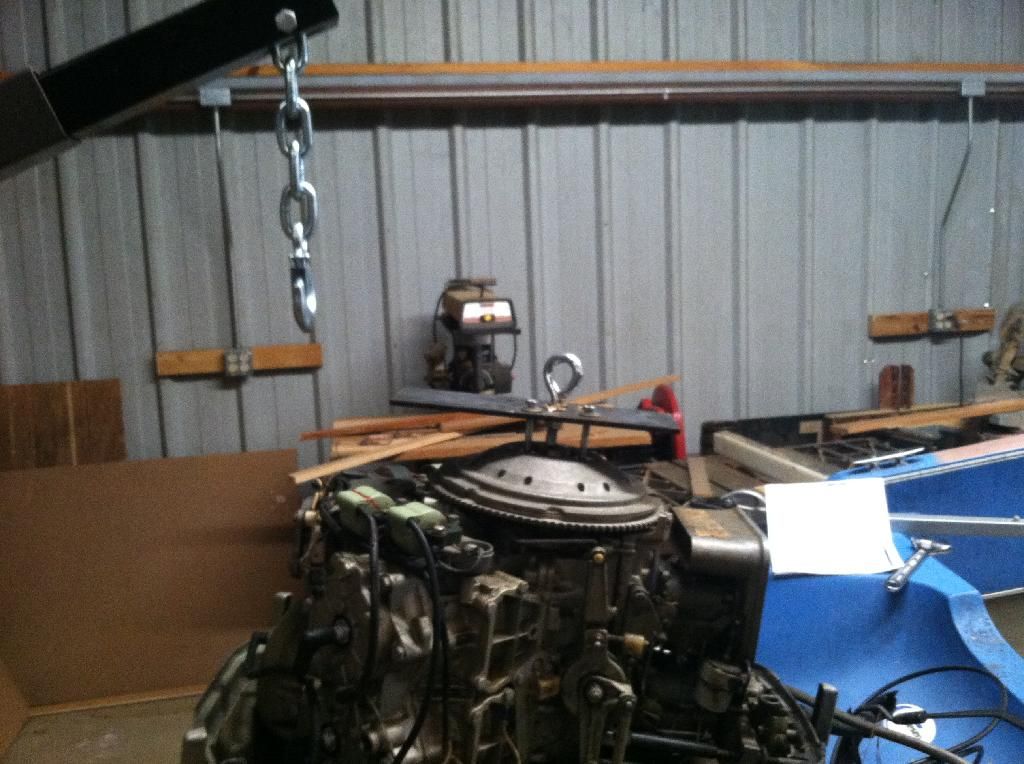
I need to figure out where to go from here. I know that the floor needs to come out. I reckon that I should pull the motor off. I'm just waiting for my local Harbor Freight to get some shop cranes back in stock.
How do y'all advise is the easiest way to pull the floor out?
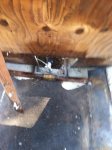
Btw, I figured out where a lot of my Nidabond went!
(see below)
I have lurked here for a long time! Thank you to the many builders, threads, and commenters that have helped me learn so much thus far! My boat has had so many quirks, tho, that it is time for its' own thread.
I have a 1972 Tornado, a Sidewinder clone (I think).
HISTORY
When I went to go buy it, the seats were crappy, but the floor seemed rock solid- no flex in it. I jumped up and down on the transom- no flex. PO put some muffs on the 115 Evinrude, a hose, and fired it up. Sounded great! What a deal! So I hitched it up, and drove it home.
I heard sloshing the whole way back....crud. So I jacked it up, and let a bunch of water (from a mysterious source) drain out the back. But hey, ignorance is bliss, right? So I took it out on the lake, and watched the transom flex and crack.... crud.
SOOOO, I decided to replace it. I didn't know anything about fiberglass, so Nidabond (same as Seacast) sounded pretty good. I read the directions, cut off the top of the transom, drilled out the mulch inside, and taped over the holes. Note all of the cracks on the inside of the transom skin. I taped over them using the recommended HVAC tape, and began to pour! Note the cracks...
I poured it to the brim, and sat back to let it harden. Then the Nibabond 'soup' level began to drain....crud. I scrambled all around, finding that some of my tape had broken loose. I tried hard to fix it, stuffing rags, dirt, sand, gloves, etc into the tape split to slow it. Eventually, the Nibabond began to harden and stopped draining. I redrilled the holes, and remounted the motor.
Well, I got tired of the constantly wet carpet, and tore it up- to find that some previous owner had installed a WHOLE ADDITIONAL FLOOR over where the original should be....crud. Well, hey, I guess I can say that I was hanging out on the second story of my boat!.... (here it is after ive been cutting)
I cut the small amount of tabbing along the edges, and pulled up the second floor- to find that there were a couple of nail holes in the floor, creating a tarp/trampoline of fiberglass for a deck...crud.
AND that is where I am at. Aside from the strange fact that there is not any bow support accross the front, aside from this one 1x4...
(see below)
I need to figure out where to go from here. I know that the floor needs to come out. I reckon that I should pull the motor off. I'm just waiting for my local Harbor Freight to get some shop cranes back in stock.
How do y'all advise is the easiest way to pull the floor out?
Btw, I figured out where a lot of my Nidabond went!
(see below)
Attachments
Last edited: