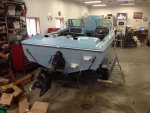
1973 Arrowglass Cheetah Restoration

Awc9372

Cadet
Joined
Apr 25, 2013
Messages
22
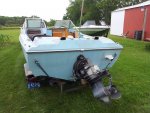
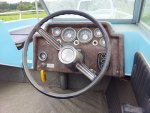
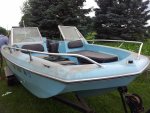
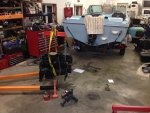
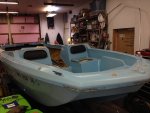
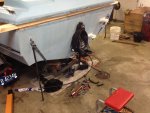
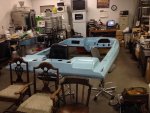
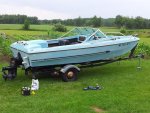
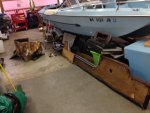
Hi, my dad and I inherited a 1973 Arrowglass Cheetah from my grandparents this past summer and we have been working on restoring it for the last few months. I figured it would be cool to start a thread on it so here it is.

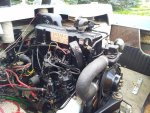
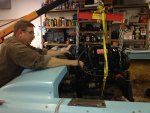
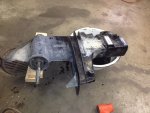
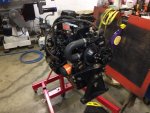
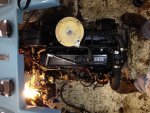
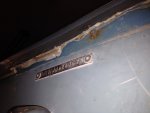
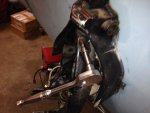
Has a 4 cyl. Mercruiser 140 and a pre alpha outdrive S/N: 3693300. The first day we got the thing we, changed the oil and filter, threw a battery in it, hooked up the muffs, and mixed up some gas (needs lead substitute). Cranked it on and off for about a minute and it fired right up. A mouse nest proceeded to shoot out of the prop! When shifting it made a loud grinding noise, I've heard that this could be caused by a bad lower shift cable, and when we got it pulled apart we found that the cable was stretched out a little so I assume that could have caused it.

Trim cylinders need to be rebuilt and the gimbal ring might be wore out because it has alot of play in it, also the hinge pins weren't hard to pull out either. We have a parts boat coming that we got for free that has the same setup, so we'll see if we can use some of its parts.

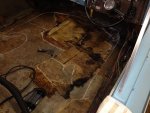
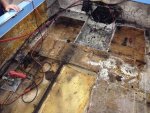
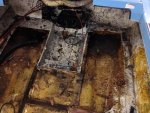
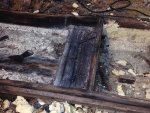
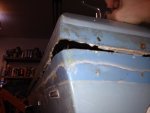
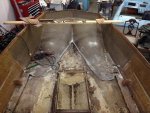
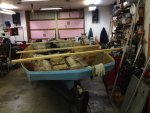
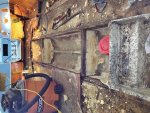
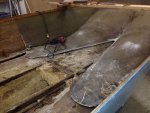
Practically all the wood in the thing is shot. The transom feels/sounds solid, its completely sealed off from the rest of the rot, but were going cut it open and take a look to make sure it really is ok. Removed the cap last saturday, which was a job because they sealed it with something that was very hard like concrete or something. Atleast all the screws were stainless so they (most of them) came out easy. Six people lifted the thing off like a breeze. It wasnt as heavy as we were expecting considering it has that fiberglass open bow.

I've taken a lot of pictures!

Thanks
Andy


IMG_2228.jpgIMG_2222.JPGIMG_2221.JPGIMG_2220.jpgboat.jpg
 
Last edited:
Awc9372

Cadet
Joined
Apr 25, 2013
Messages
22
Re: 1973 Arrowglass Cheetah Restoration

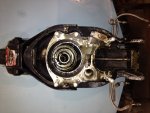
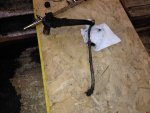
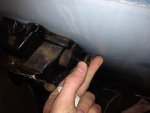
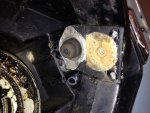
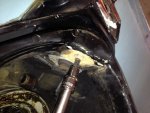
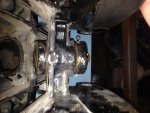
Did some more work today. Was working on removing the gimbal ring. Got it all apart except for the bottom pin, which we'll have to be creative with to remove because we dont have access to a press without removing the whole gimbal housing. Might try a large c-clamp and some sockets. Thats how I usually change u-joints. The splines on the ring are in great shape and are still really tight, the tiller arm as well. The entire area inside where the tiller arm mounts was completely packed with grease which took awhile to clean out. The tilt limit switch was totally shot and disconnected. Anyways, the whole reason I am removing the gimbal ring is because I "think" its worn out. The problem was I can move the gimbal ring vertically up and down about 1/8" of an inch (see pic in the fifth post of this thread), I read that the max clearance was only .030". So either its worn out or its missing a spacer washer or something. I can also move it in and out horizontaly just a bit, not much. I assume there is some sort bearing inside there, there was one on the top. If the ring is worn out we have two options I guess. We could bore out the hole a little larger and make a sleeve to press into it. First though, we'll see if the parts boat we'll be getting has a good ring, in that case well be good to go. On a side note, when I was removing the bell housing I didnt need a slide hammer, I pulled the hinge pins out by hand. Is this a bad thing as well? Are they supposed to be really tight?

Getting close to the end of deconstruction. Almost ready to start buying materials. We will be using tulip wood for the stringers and bulkheads, its light, tight grained, and strong. And a 6x6 piece of oak for the front motor mount. We will be getting the wood for a great deal from an amish sawmill owner who our neighbor set us up with.

Thats it for now

Thanks
Andy


IMG_4531.JPGIMG_4519.JPGIMG_4524.JPGIMG_4526.JPGIMG_4528.JPG
 
Last edited:
Mud Puppy

Petty Officer 1st Class
Joined
Sep 8, 2013
Messages
276
Re: 1973 Arrowglass Cheetah Restoration
Great looking boat with all kinds of potential there Awc9372 and welcome!

Mind if I climb aboard and tag along?
 

Awc9372

Cadet
Joined
Apr 25, 2013
Messages
22
Re: 1973 Arrowglass Cheetah Restoration

Hey thanks! and of course!

More Pics to Come!

-Andy
 

Awc9372

Cadet
Joined
Apr 25, 2013
Messages
22
Re: 1973 Arrowglass Cheetah Restoration

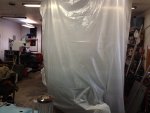
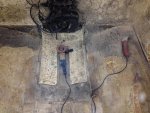
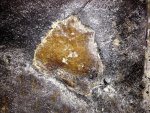
Got some work done today! Put up a large plastic curtain around the boat to contain the grinding/cutting dust, and went to town on the fiberglass. I'll tell you, those oscillating cutting tools are the bee's knee's when it comes to cutting fiberglass. As of now we just have to finish grinding everything smooth and we should be good to go. Picked up one of those abrasive flap discs for the grinding, and that also works very well. One of the more interesting things I did today was get a peek at the transom wood. There was an air pocket in the fiberglass next to the bilge, so I figured that would be a good spot to cut open for a look. Got it open and found a second layer of fiberglass, and what appeared to be good wood under that! Still debating on whether or not to remove the brass drain tube to be sure its good all the way to the bottom, but its a very good sign so far!

Besides physically working on the boat, I have also been making sketches of all the wood parts in preparation for the purchase of the wood. I also plan to create autocad drawings of everything, and a solidworks model of the whole boat as well. Why? Because I can I guess LOL

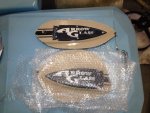
Also, the arrow shaped badges on either side of the boat were both broken. Luckily we found an unbroken set on ebay for $50. A good deal IMO, because I would assume they are quite rare non-broken.

Thinking about removing the gimbal housing and transom bracket to replace the gasket, don't know yet though...

Anyways, that's it for now.

Thanks
Andy

IMG_4582.JPGIMG_4581.jpgIMG_4583.JPGIMG_4576.JPGIMG_4580.jpg
 

Awc9372

Cadet
Joined
Apr 25, 2013
Messages
22
Re: 1973 Arrowglass Cheetah Restoration

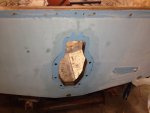
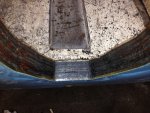
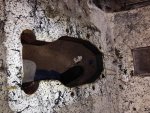
Had some free time today so we got some things done. First we cleaned up the shop, it was getting a little cluttered and hard to work in. Gotta have a clean work environment. We removed the gimbal housing and transom assembly, it came off without a hitch thankfully. All the wood around the keyhole is good and solid (it looks black in the picture because of all the grease and oil that was in there, someone used way too much grease) so I'm 99% satisfied that the transom is good. Really, though, I am quite surprised considering it is 41 years old. Just gotta finish the grinding/sanding and we'll be ready to start reconstruction! We're shooting for one month as a goal to have the cap back on by.

Thanks
Andy

IMG_4597.JPGIMG_4598.JPGIMG_4599.jpgIMG_4602.JPG
 

Mud Puppy

Petty Officer 1st Class
Joined
Sep 8, 2013
Messages
276
Re: 1973 Arrowglass Cheetah Restoration

You've got yours at the same stage mine is in currently. I've no room in our garage so I have to pull mine out to the shop to work on it. You may very well have yours back together before mine!

While you have the Transom Mount out do a Sonic Tap Test. That's a fancy aviation terminology for tapping lightly on the glass on the inside. :plane: Anything that is good will sound like a high "click". Things that are not so good will sound deeper or hollow. Tap the whole thing out, but especially the keyhole and around the floor-line and the bottom, anyplace water could intrude and cause damage.

Now would be the ideal time to cut out any bad glass and get it fixed before you proceed. Also a close visual inspection of the keyhole for any hairline cracks; awe heck, I would probably clean it real good with Acetone until you can't get any grease color on a white rag, lightly sand it, Acetone, and just seal it with resin to be on the safe side.

What does the top of transom look like? Mine wasn't glassed and it was just raw board.

Anyway, Looking Good! I can feel the water splashing on my face already!
 

Mud Puppy

Petty Officer 1st Class
Joined
Sep 8, 2013
Messages
276
Re: 1973 Arrowglass Cheetah Restoration

Also the transom through holes too!
 

Awc9372

Cadet
Joined
Apr 25, 2013
Messages
22
Re: 1973 Arrowglass Cheetah Restoration

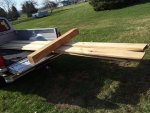
Well, been real busy lately but we are finally making progress. I have finished all the sanding/grinding and were getting all the mercruiser parts ready to be painted. About a month after our order, we finally got the wood. The total was only $54! I guess it was worth the wait. The wood is all rough sawn, so well have to plane it, and we have plenty of extra. We placed the order for resin/glass as well.

Now that the ground isn't all muddy we'll probably be getting our parts boat real soon.

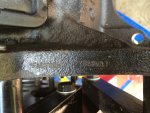
Also, as I was cleaning the grease off the engine I found "Factory Rebuilt" stamped into the side of the block, so it was rebuilt at some point.

Anyways, more info/pics and stuff to come!

-Andy

IMG_0055.JPGIMG_0056.jpg
 
Top