86 Sea Ray Restoration [Splashed Oct 2017]

Goldie627

Lieutenant Junior Grade
Joined
Oct 28, 2013
Messages
1,010
Stick the round end of a combination wrench, like a 9/16 or a 5/8 over the 'T' on your allen wrench and give it a twist counter clockwise. It'll turn. The zinc or aluminum anode at the other end is pretty soft and even if corroded will not resist like you'd see with a steel bolt to steel threads.

The bottom transom bolt looks like it is in good shape. Those rubber washers I personally would not reuse. They don't cost much. When I install mine after my transom is totally finished I will use new washer and a little bit of 4200 to seal off that hole. Stupid aluminum bolt. They get wet they pit and eat away from electrolysis. Stupid.....

Rick

Thanks Rick, I'm on my way to the boat now...
 

Goldie627

Lieutenant Junior Grade
Joined
Oct 28, 2013
Messages
1,010
You experienced guys please ignore this, it's intended for noobs like me :D

How I found parts for my boat? (Thank you tpenfield!)

Lets start with the motor and outdrive. They both have serial numbers respectively. Honestly, they are not hard to find. However, a google search would return an accurate location for your rig. My outdrive serial number was located on the starboard side of my drive housing if I remember correctly. The engine serial number was near the top of the engine on the side. The engine serial number should start with 0 or 1 followed by a letter then 6 numbers. For example my engine serial number is 0B430075.

If you go to mercruiserparts.com select ?search with pictures?

then select the desired product line
(I would choose ?Mercruiser Sterndrive & Inboard (Includes Diesel) & Mercury Racing?)

then select a category
(I would choose ?4 Cylinder Engines?)

now select a model. This is where knowing your engine horsepower and year comes in handy.
(I would choose ?140 GM 181 I/L4 1982-1986?)

now you select a serial number range
(I would choose ?6229718 THRU 0B450800?)

As you can see my engine serial number falls within that range. The advantage of mercruiserparts.com is that they only have Genuine Mercury Marine parts (OEM = original equipment manufacturer). So its kinda like being at the root where all other aftermarket manufactures will reference the OEM part # against their own aftermarket part #.

For example, lets say I need an ?Oil Pressure Sender Assembly? and the OEM part number is ?8M0068784?. You could then go to ebay or the parts house of your choice and search for ?8M0068784?. By using the OEM part number to search you will get hits for the OEM part as well as aftermarket manufactures version of the same part (if available). Remember, the aftermarket manufacturers will advertise the part with their part number but will always include the OEM number for reference.

Some popular aftermarket manufactures are SEI, Sierra and GLM.

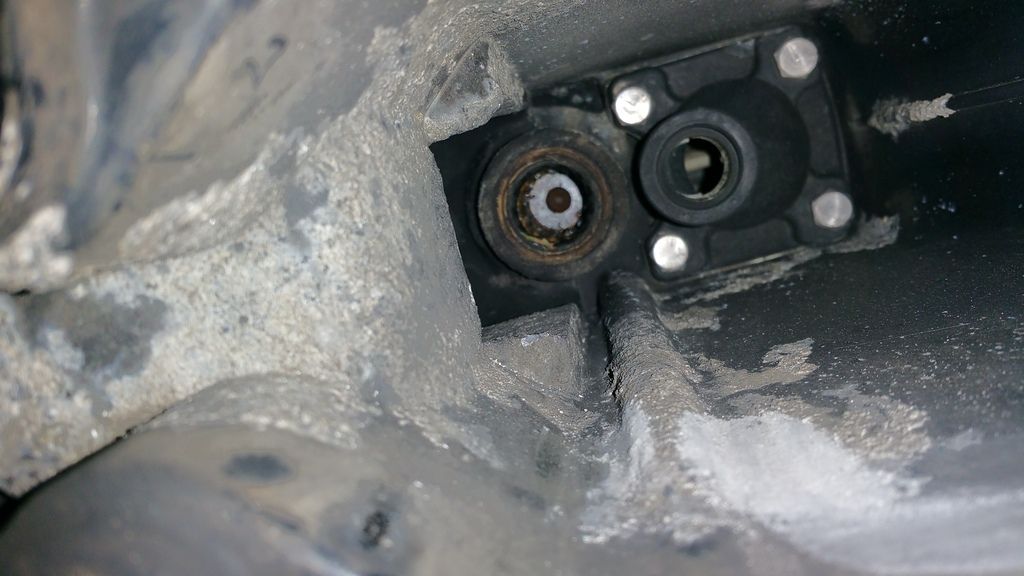
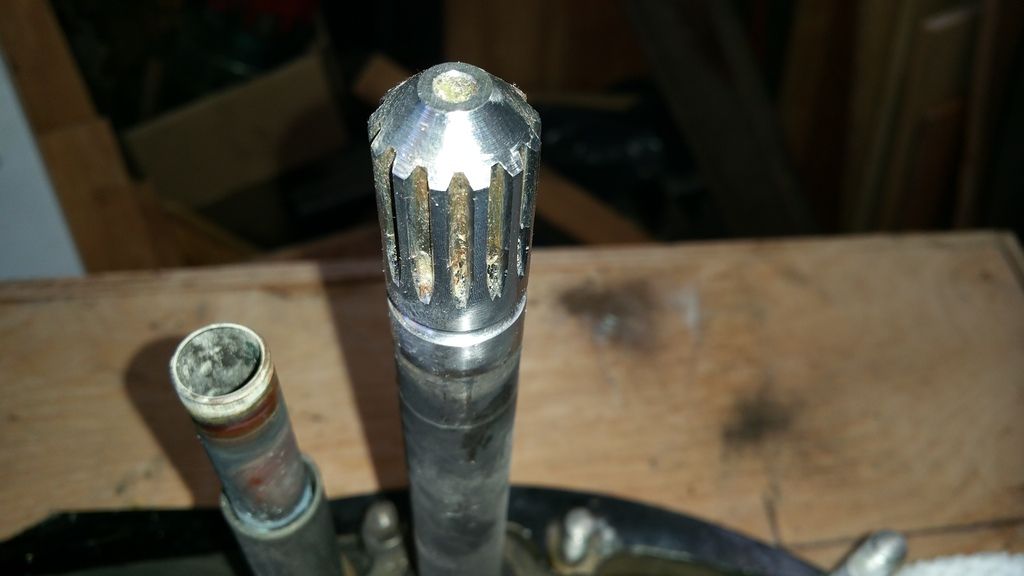
The same process applies to your outdrive, rinse and repeat.

Another tip is get a manual! The exploded views and info contained within are vital when part searching. Manuals used to be a free download but I think Mercury is now charging for them. If you search enough you may find a free one here or there.

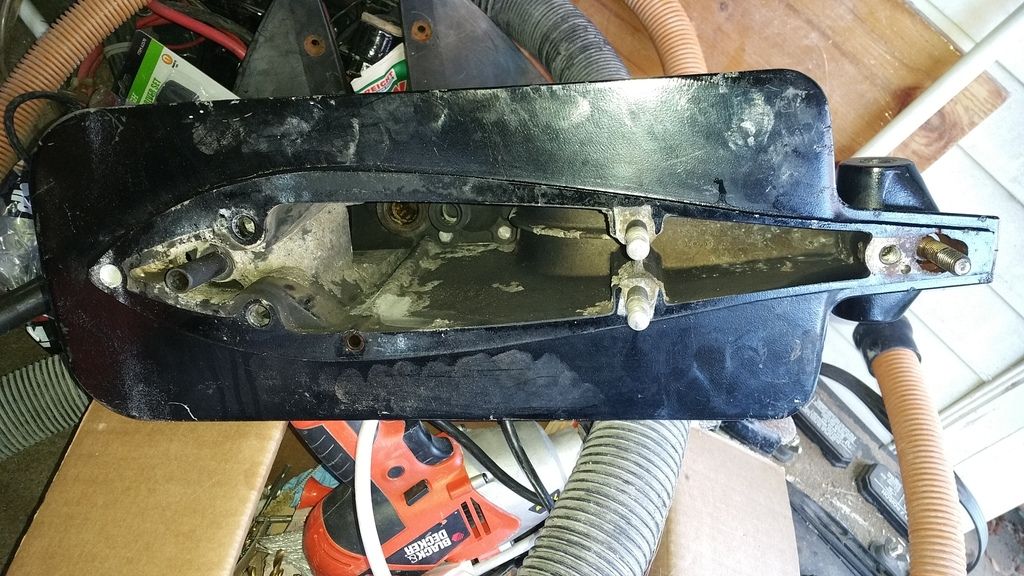
My 1986 Sea Ray is kinda old now so non engine / outdrive parts are scarce. I would recommend doing a local search for boat wreckers, and boat parts. Chances are one of those may have a part or know of a spot locally where you can go and take a look around. Sometimes used parts aren?t so bad you just may have to clean them up a bit. Also check ebay and craigslist but be extra cautious when ordering from individuals.
 

Goldie627

Lieutenant Junior Grade
Joined
Oct 28, 2013
Messages
1,010
Hello all, I hope everyone had a wonderful holiday! Do you guys think I could weld a piece of steel in this spot where its missing? Then maybe spread some JB Weld to smooth the edges? Or should I just leave it like it is? It was like that when i bought the boat so I have no idea how it happened.... it's seems like an odd place for damage.

20151128_124832_zpse6bitoiy.jpg


20151128_124902_zpsng4oiivb.jpg
 

Goldie627

Lieutenant Junior Grade
Joined
Oct 28, 2013
Messages
1,010
Any corrosion / rust cleaning tips? I plan on leaving as much of the original paint as possible while removing all of the rust and corrosion.

20151128_124828_zpsnkiivr0q.jpg


20151128_124820_zpsngvsilw2.jpg


20151128_124753_zpsvcn29ncr.jpg


20151128_124734_zpsjfubr8tm.jpg


20151128_124808_zpsgak4fuvo.jpg
 

Goldie627

Lieutenant Junior Grade
Joined
Oct 28, 2013
Messages
1,010
I have tried to detect slop in the steering by moving the steering lever and the gimbal ring. I cant feel or hear any sloppy behavior. My question is I really want to do a good job painting the gimbal but im not sure if i can with the gimbal ring in the way. If the steering was bad id have a reason to take out the swivel shaft. Do you think a good job of sanding and painting can be done with the gimbal ring not removed?
 
Last edited:

Rick Stephens

Admiral
Joined
Aug 13, 2013
Messages
6,118
Jeez Goldie - you had ME squirmin while you were loosening that &@^$# bolt.

Most of the rust inside the central cavity of the outdrive is from the exhaust manifolds and engine flaking off rust which sticks in every which corner through the outdrive - mostly manifolds. You should be able to wire brush it off. Might have to touch up some paint. Usually the outdrive bolts and other hardware are stainless so you can assume the rust came from the engine and is just sitting there.

The entire outdrive casing is aluminum, so you would need to trim out a piece of aluminum to fit and tig or mig it back into place. Not necessary though. You'll never notice the difference in operation.

RIck
 

Rick Stephens

Admiral
Joined
Aug 13, 2013
Messages
6,118
Oh, and everything actually looks pretty good. Nice looking drive.

I touch up paint a lot without disassembly. Get what you can and ignore what you can't - or disassemble everything....... No way I'm taking everything apart unless I have to.
 

Goldie627

Lieutenant Junior Grade
Joined
Oct 28, 2013
Messages
1,010
Jeez Goldie - you had ME squirmin while you were loosening that &@^$# bolt.

Most of the rust inside the central cavity of the outdrive is from the exhaust manifolds and engine flaking off rust which sticks in every which corner through the outdrive - mostly manifolds. You should be able to wire brush it off. Might have to touch up some paint. Usually the outdrive bolts and other hardware are stainless so you can assume the rust came from the engine and is just sitting there.

The entire outdrive casing is aluminum, so you would need to trim out a piece of aluminum to fit and tig or mig it back into place. Not necessary though. You'll never notice the difference in operation.

RIck

I used to be a bull in a china closet, now I'm more like a guinea pig in a china closet! :D Sometimes getting older is bitter sweet :)I wish I would have been recording when that hex bolt finally moved, it was a loud pop! sounded like a lil 22 :D

I'm undecided about fabricating a piece to weld in, if I do, any thoughts on what to use to fill the cracks and smooth it out after it's ground down?

This coming weekend I'll start prepping the gimbal and outdrive for paint. I'm going to leave as much of the old paint as possible because the old stuff with zinc isn't available anymore. I've had my tractor paint and hardener for about 10 months. I caught it on sale, looking back I probably should have waited to purchase paint and primer until I was ready to use it. The paint should be ok but I'm worried about the primmer. We'll see soon...
 
Last edited:

Goldie627

Lieutenant Junior Grade
Joined
Oct 28, 2013
Messages
1,010
Oh, and everything actually looks pretty good. Nice looking drive.

I touch up paint a lot without disassembly. Get what you can and ignore what you can't - or disassemble everything....... No way I'm taking everything apart unless I have to.

I'm not going to separate the gimbal from the gimbal ring, I'm just going to do the best prep and paint I can with it together. Should pivot a lot easier once i get the bellows out.

I'm really hoping it cleans up nice and that I'm able to get all of the rust and corrosion. Keeping my fingers crossed that its all on the surface.
 

Woodonglass

Supreme Mariner
Joined
Dec 29, 2009
Messages
25,924
I'm pretty sure you could do a pretty good job with some aluminum from Lowe's and some JB Weld. That stuff is Tough once cured and totally sandable. Once you sanded and feathered it and applied some finishing bondo on it and then painted it...You'd never be able to tell it was there.
 

Rick Stephens

Admiral
Joined
Aug 13, 2013
Messages
6,118
I'm pretty sure you could do a pretty good job with some aluminum from Lowe's and some JB Weld. That stuff is Tough once cured and totally sandable. Once you sanded and feathered it and applied some finishing bondo on it and then painted it...You'd never be able to tell it was there.

That's not a bad idea. I'm a past welder by trade, so I almost always prefer welding to drilling, welding to gluing and welding to bolting. Just the way it is....
 

WOEISMEIGOTTA470

Petty Officer 1st Class
Joined
Aug 31, 2012
Messages
375
Hey WOE, was your gelcoat colored or white? I think it makes a difference in the mekp amounts.

http://www.*****************/pdf/MEKPDirections.pdf

Sorry to take this long to respond, but my gel is pure white. Your progress is awesome, and the gelcoat color you're using is nice! How is the gelcoat curing now that you've added heat into the mix? You are using the waxed gel right? Otherwise the un-waxed gel will cure hard, but remain tacky and likes to pull your socks off, which kinda sounds like what you were describing :lol:. Lookin golden goldie, I need to setup a tent support system ASAP, that's my next chore.
 

WOEISMEIGOTTA470

Petty Officer 1st Class
Joined
Aug 31, 2012
Messages
375
I'm pretty sure you could do a pretty good job with some aluminum from Lowe's and some JB Weld. That stuff is Tough once cured and totally sandable. Once you sanded and feathered it and applied some finishing bondo on it and then painted it...You'd never be able to tell it was there.

Yup, I used JB weld to repair a small knick in my anti-cavitation plate. Sanded it smooth and painted it can't even tell it was there, so far so good 8 yrs. and counting. However. any repair large enough for structural concerns, I'd probably get it professionally welded.
 
Last edited:

Woodonglass

Supreme Mariner
Joined
Dec 29, 2009
Messages
25,924
There's a youtube vid floating around somewhere that has a testimonial of a guy that swears he repaired a cracked block with JB Weld and then he came back a year later and posted again stating that the motor was still running strong with no adverse effects.:noidea: I just know that I've used it a lot and it's always worked GREAT for me. I've even drilled it and tapped it with threads!!!:eek: Mebee I need to learn how to Weld!!!!
 
Last edited:

89 resorter

Petty Officer 1st Class
Joined
Oct 3, 2013
Messages
287
Years ago I had taken a chunk out of the bottom skeg of my outdrive about 1/2 the size as yours. I filled the entire area with JB Weld and feathered it out on both sides of the drive and it lasted the last three years I owned the boat and is probably still holding. Like Wood says, the stuff is very durable and easy to shape and sand. Once I had it feathered in and painted you could not even tell it had been repaired. It makes me wonder if you would need any filler piece at all????
 

Goldie627

Lieutenant Junior Grade
Joined
Oct 28, 2013
Messages
1,010
I'm pretty sure you could do a pretty good job with some aluminum from Lowe's and some JB Weld. That stuff is Tough once cured and totally sandable. Once you sanded and feathered it and applied some finishing bondo on it and then painted it...You'd never be able to tell it was there.

This weekend I'm gonna pick up some aluminum and a few packs of JB Weld so I can make a test piece for everybody's idea. This is gonna be fun :D The finished test pieces will be judged by strength, appearance and difficulty of repair. I need to think of a prize for the lucky winner(s)!!!!

I'm calling the contest "JB Weld Fest 2015" :D

Me and Rick's piece will be welded and cracks backfilled with JB Weld

Woe and Woody's piece will connected with JB Weld and smoothed out with bondo

89 Resorter's piece will be no piece! :D All JB Weld!!! I'm rootin for ya 89!!!! :)
 
Last edited:

Goldie627

Lieutenant Junior Grade
Joined
Oct 28, 2013
Messages
1,010
Sorry to take this long to respond, but my gel is pure white. Your progress is awesome, and the gelcoat color you're using is nice! How is the gelcoat curing now that you've added heat into the mix? You are using the waxed gel right? Otherwise the un-waxed gel will cure hard, but remain tacky and likes to pull your socks off, which kinda sounds like what you were describing :lol:. Lookin golden goldie, I need to setup a tent support system ASAP, that's my next chore.

WOE! Dude..... I'm thinking you're 100% correct on all accounts! It "IS" un-waxed! I don't know how I missed that fact about the surfacing wax. I have surfacing wax that I purchased a long time ago when I got the gel coat intending to use it on the last coat only. I had no idea that non waxed gelcoat drys to the touch but remains tacky without adding the surfacing wax. I thought the surfacing wax was like optional and used on the last coat to make it extra hard. You don't know how relieved I am. I totally was begging to think I had screwed up somewhere. Thank you!!!

My propane tank was low on gas so it didn't run too too long before it shut off. The heat was more of a help in bringing my substrates up to a desireable temperature than accelerating the cure time. Plus, without the surfacing wax being added to the gelcoat the heat was probably irrelevant to the cure time.

If you use propane heat with no fan to circulate the hot air off the ceiling of your tent support, be carefull for any plastic parts or pieces as they may melt. If you're making it from scratch use wood or anything that wont melt from the heat.

I don't recommend using the boat cover as a tent. Even with the propane heater stopped, between the residual gas and composites fumes its pretty daunting even for a dare devil like me :) that plus being crotched over..... wait.... crouched over LOL isn't very comfortable
 

Goldie627

Lieutenant Junior Grade
Joined
Oct 28, 2013
Messages
1,010
There's a youtube vid floating around somewhere that has a testimonial of a guy that swears he repaired a cracked block with JB Weld and then he came back a year later and posted again stating that the motor was still running strong with no adverse effects.:noidea: I just know that I've used it a lot and it's always worked GREAT for me. I've even drilled it and tapped it with threads!!!:eek: Mebee I need to learn how to Weld!!!!

I cant weld either, but all I gotta do is wait for Scott to walk by the garage :D
 
Top