My EYES. WOG, @*%&* that hurts.

Goldie, having your drive go 18 hours and drop 1 PSI would mean to me it is pretty close to perfect. I would still pull the prop and spray the seal there. Have to watch really close since the bubbles will be tiny and take a long time to develop.
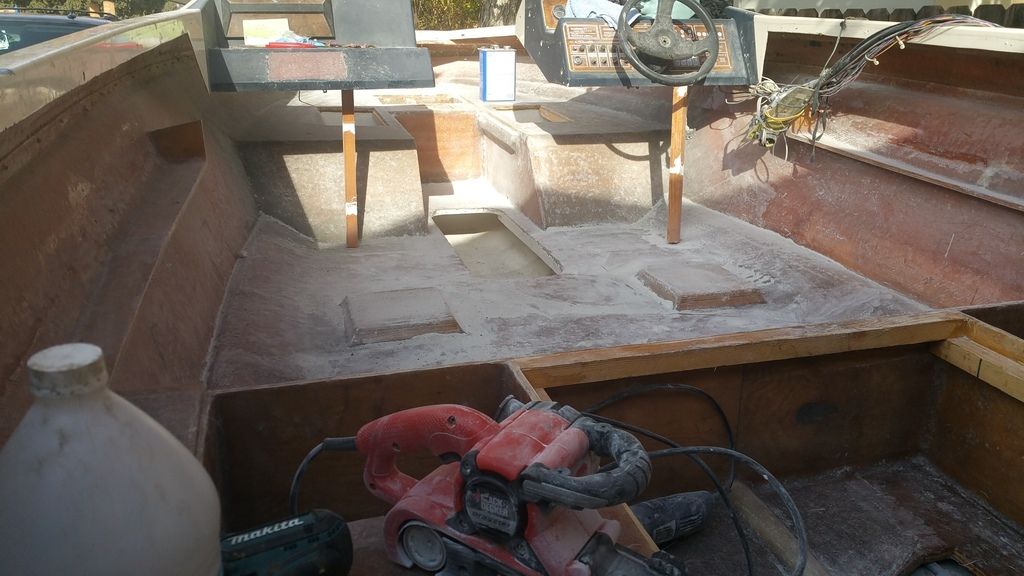
Next, you mentioned oil in the bellows. If you had any water in the bellows, then during use it will mix completely with any grease in there, of which there usually is a lot. What results is a slimy oily looking slurry that the only way you can tell if it is 'oil' or 'water mixed grease' is swipe a finger through it and smell it. Grease has almost no smell, gear oil smells like gear oil. You should be able to tell pretty much immediately. I'm betting no oil, just grease and water. If so, then all you need worry about is making sure your bellows and seals are all perfect.
Big O-ring. You are/were 100% correct. That o-ring was destroyed when the drive was last installed. If anything is leaking that o-ring is supposed to keep the water out of the u-joint bellows. Best way to keep it in place is to use bellows cement and cement it right into the bell housing before installing the drive.
Places you need to look for water: bellows of course, both the u-joint and the shift cable bellows are in that list. Not the exhaust bellows as it has water inside and outside and doesn't prevent water intrusion, just direct exhaust and cooling water into the through propeller exhaust passage keeping the boat a bit quieter.
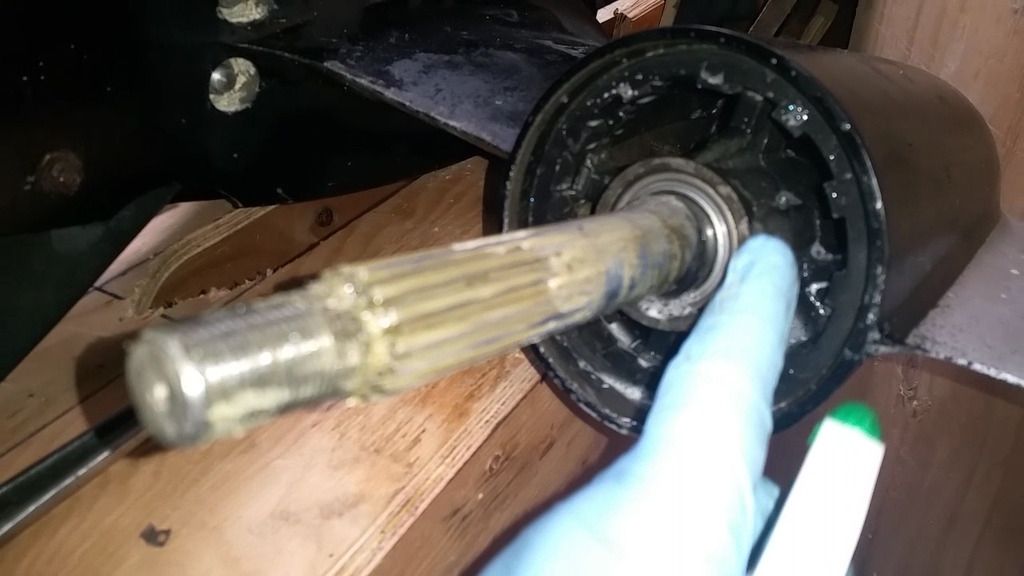
You will need to also check the seal on the shift shaft bushing in the bell housing. That is a likely source of water intrusion. It is hard to tell in the video, but I think it looks like you have the old style shift shaft bushing in the bell housing, which is more susceptible to exhaust gases heating up and destroying the seal, which then allows water up into the shift linkage area of the bell housing, which is supposed to stay dry. IMHO it is worth replacing the bushing with the new style kit. You can make a bushing driver out of a long 3/8 bolt with a nut and a washer on it to drive the seal. You'll know what I mean when you look at the new bushing.
http://www.iboats.com/Bell-Housing-B...view_id.172463
Rick