1957 Duracraft Duraflite Custom

Trooper82

Commander
Joined
Nov 21, 2011
Messages
2,648
Re: 1957 Duracraft Duraflite Custom

^^^yep, that is exactly like the seats in the caraqua
 

laurentide

Lieutenant Commander
Joined
Jul 24, 2011
Messages
1,869
Re: 1957 Duracraft Duraflite Custom

Just chiming in to follow, JB. Awesome vintage boat you've got.
 

jbcurt00

Moderator
Staff member
Joined
Oct 25, 2011
Messages
25,043
Re: 1957 Duracraft Duraflite Custom

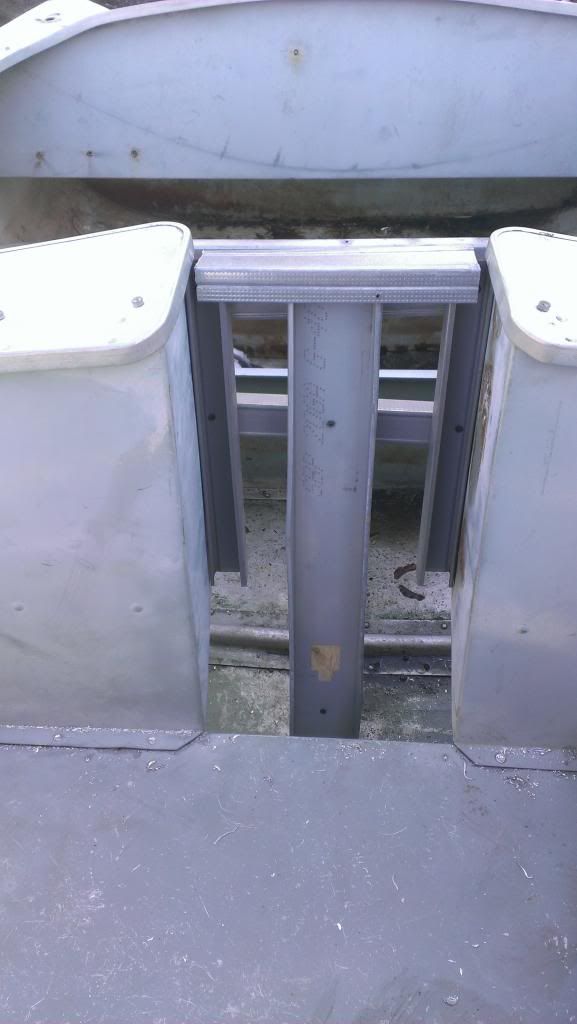
Here's my take on those loops. I'd bet its for a removable Seat back. Something like this, made with an aluminum pipe that would slip down into the loops.
^^^yep, that is exactly like the seats in the caraqua
That'd be a possibility if:
1) The loops/straps are only on the front of the front bench
2) The rear bench only has the loops/straps on the back of the bench
3) The Duraflite has permanent seat backs on both the front & the rear bench

IDK, maybe they used the same bench seat in multiple models, and had 2 w/ loops already installed on top of the correct size pile of parts. Used what ever bench setup was next on the pile, loops ~ no loops, what ever....


I can't believe you had a rotten cat in your new boat! Gross!:tongue:

Not sure whats they calls 'em in yur neck o the woods, but 'round these here parts, that there is called O-Possum, and fricasseed w/ some bread crumbs, o'er some slow cooked beans & greens (wit' them lil pearly onions, yummy I tells ya) it all makes for a right tastey supper
:puke:
:puke:
:puke:

Thanks for stopping by, 1 & all....
 

m casey stock

Chief Petty Officer
Joined
Apr 29, 2012
Messages
514
Re: 1957 Duracraft Duraflite Custom

That'd be a possibility if:
1) The loops/straps are only on the front of the front bench
2) The rear bench only has the loops/straps on the back of the bench
3) The Duraflite has permanent seat backs on both the front & the rear bench

IDK, maybe they used the same bench seat in multiple models, and had 2 w/ loops already installed on top of the correct size pile of parts. Used what ever bench setup was next on the pile, loops ~ no loops, what ever....

I have some of the same feelings about all of that. I'd like to add one more in the case of my DuraCraft anyway,

4) if the bench cap (horizontal part) didn't overhang too far and interfere with sliding a tube frame into the loops.

I think maybe you might have hit on one of my other thoughts in that they used the same bench vertical risers regardless of the final options they decided to install. You see this often in the automotive industry.
 
Last edited:

Woodonglass

Supreme Mariner
Joined
Dec 29, 2009
Messages
25,927
Re: 1957 Duracraft Duraflite Custom

Kool, we got ourselves a conundrum!!!!!:D
 

jbcurt00

Moderator
Staff member
Joined
Oct 25, 2011
Messages
25,043
Re: 1957 Duracraft Duraflite Custom

In the waning hours of Veteran's Day 2013, I'd like to thank all of our service men & women for their military service: past, present & future.

THANK YOU!

I greatly appreciate the freedoms your sacrifices have provided! God bless this nation and those that choose to serve & keep us free.

John
thm_phppPqJBK.gif
 

59 Fatty

Petty Officer 1st Class
Joined
Apr 19, 2013
Messages
260
Re: 1957 Duracraft Duraflite Custom

Signing up to see this boat be beautiful again. Nice engine, I have the same one (one year newer). Not many Fat 50's out there! I love your engine cover, it is the best Johnny cover ever made.
 

jbcurt00

Moderator
Staff member
Joined
Oct 25, 2011
Messages
25,043
Re: 1957 Duracraft Duraflite Custom

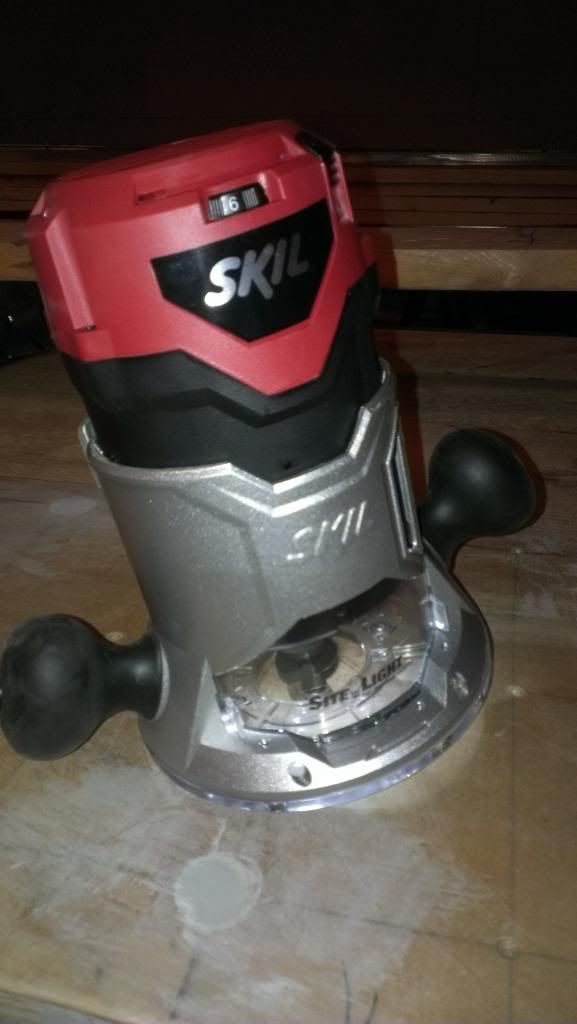
I had a little refund & reimbursement check that could be allocated for a project 'need', so I ordered a fixed/plunge router combo & a big set of router bits. Bits aren't due for a few more days, but I picked up the router today.

Router in fixed base mode:
IMAG1130_zps2ceebcf9.jpg


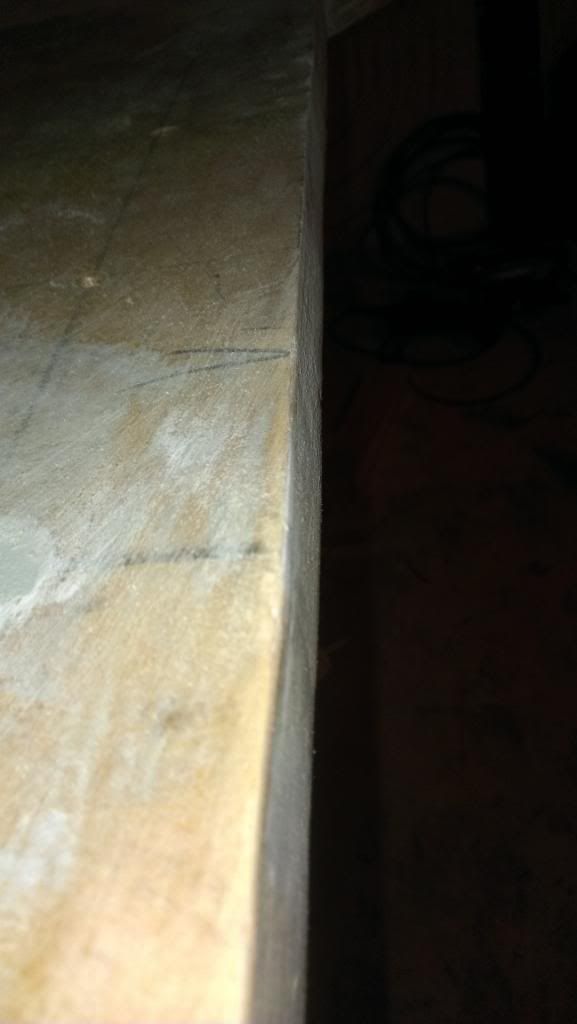
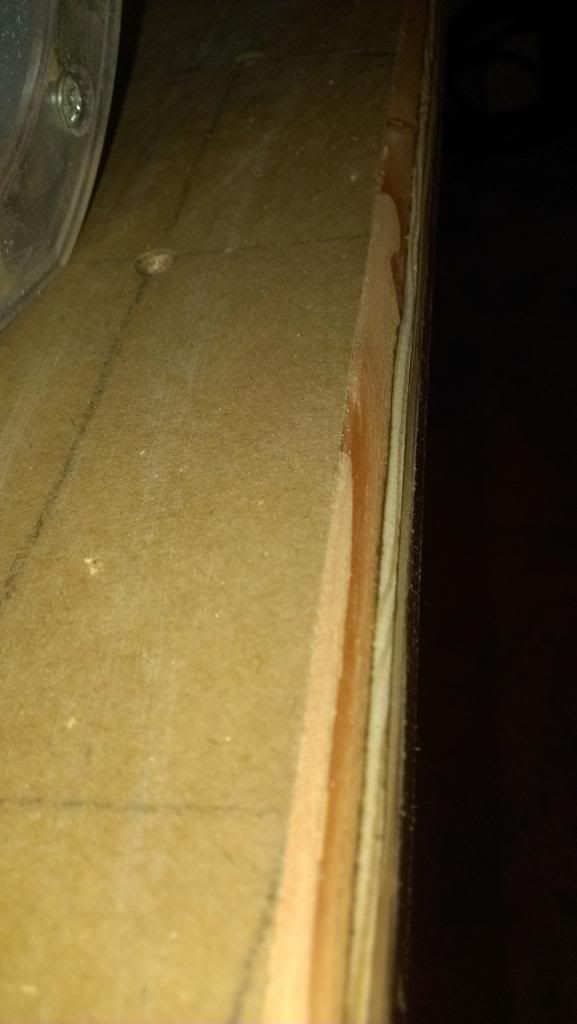
Transom's square edges would be prone to damage even after I seal it up w/ epoxy:
IMAG1133_zps0a9fc86c.jpg


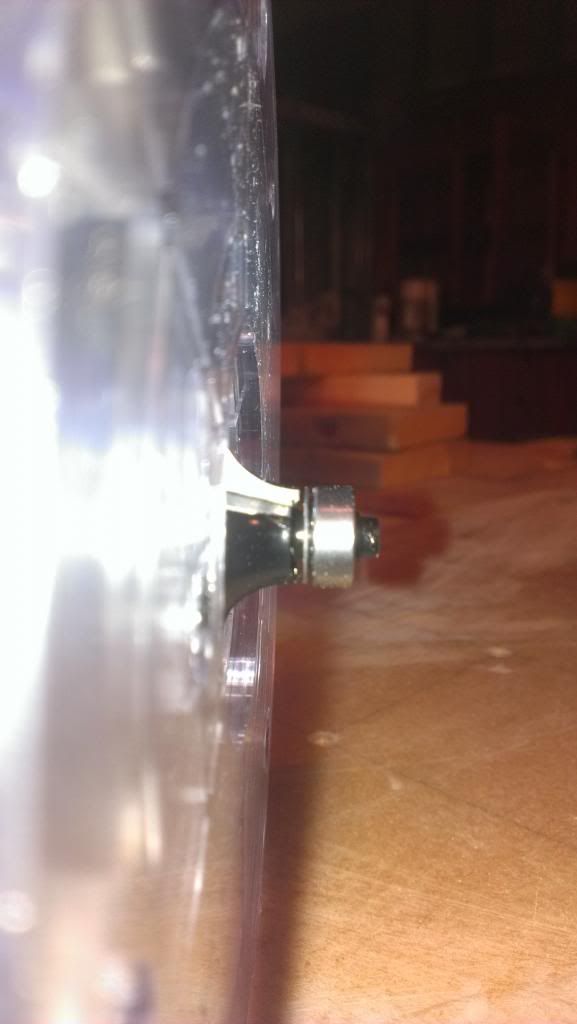
Set a 1/4" roundover bit a tad shallow for the 1st pass:
IMAG1132_zpsff3b6eb0.jpg


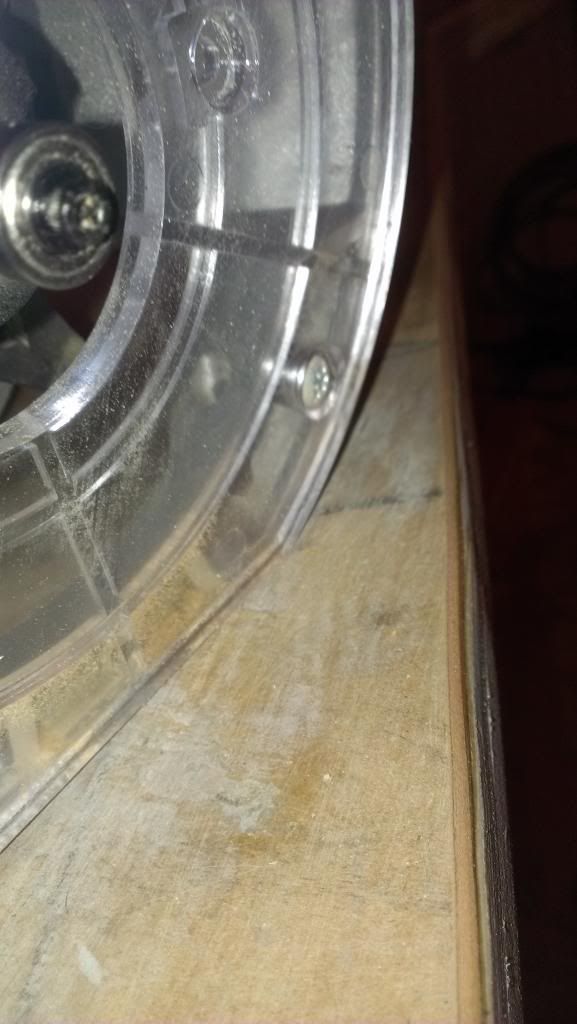
And made a 1st pass over all the edges:
IMAG1134_zpsd97cd857.jpg


Then followed up w/ the 1/4" everywhere the transom abutts a welded seam on the aluminum transom:
IMAG1135_zps93a87a6c.jpg


The other edges I left w/ just the 1st pass routing only. Just broke the edge enough to make the corner less susceptible to damage.....

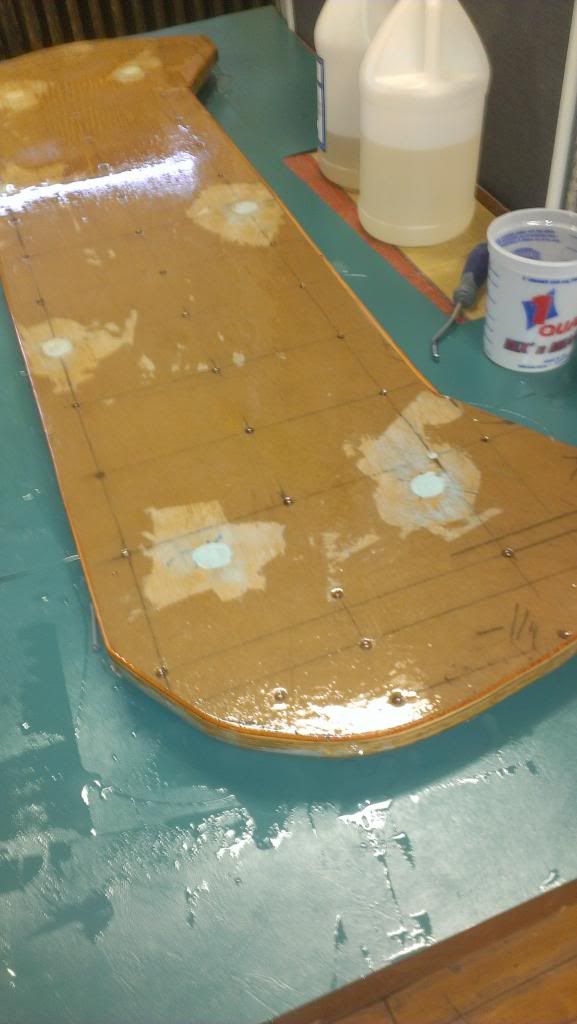
I also did a 2nd pass @filling the large 'vent' holes I drilled in the transom, after sanding the 1st pass prior to the router work. Then left the transom under 3 work lights in the protected warm locker I made to allow epoxy & etc to fully cure overnight. And keep my material/supplies warmed in the low 20's were having overnight for the last several days......

another small step..... :cool:
 

Trooper82

Commander
Joined
Nov 21, 2011
Messages
2,648
Re: 1957 Duracraft Duraflite Custom

Router did it's job....guided by skill'ed hands of course...looking good JB!
 

jbcurt00

Moderator
Staff member
Joined
Oct 25, 2011
Messages
25,043
Re: 1957 Duracraft Duraflite Custom

Yep, sure did. It's not a bad combo base setup for less then $110....
 

Watermann

Starmada Splash of the Year 2014
Joined
Jan 12, 2013
Messages
13,790
Re: 1957 Duracraft Duraflite Custom

That's a very good idea JB, I used my belt sander to put a beveled edge on the bottom side of the SN transom to allow for an easier drop into the lower bracket. The router would be a great way to make it an easy accurate job, the belt sander not so much, it took awhile and although it won't be seen again it wasn't a perfect beveled edge like you have there.

What kind of ply do you have there? It looks to be high quality, no voids I can see.
 

jbcurt00

Moderator
Staff member
Joined
Oct 25, 2011
Messages
25,043
Re: 1957 Duracraft Duraflite Custom

Watermann: Even a broken watch is right twice a day, so yep, I have my moments :D I try to put most of those moments on the plus side, but often times, the negatives fills up quicker... :eek: Thanks for the compliment.....

The 3/4" is ACX and it has a few voids, but NOT many along where I cut out the transom. There were a NO knot holes on the back side of the ply (side w/ the printing) so I figured it was going to be a pretty good sheet. Actually, my supplier had several bunks of it, and that sheet was on top :watermelon: So no digging thru 10 or 15 sheets to find a good one.

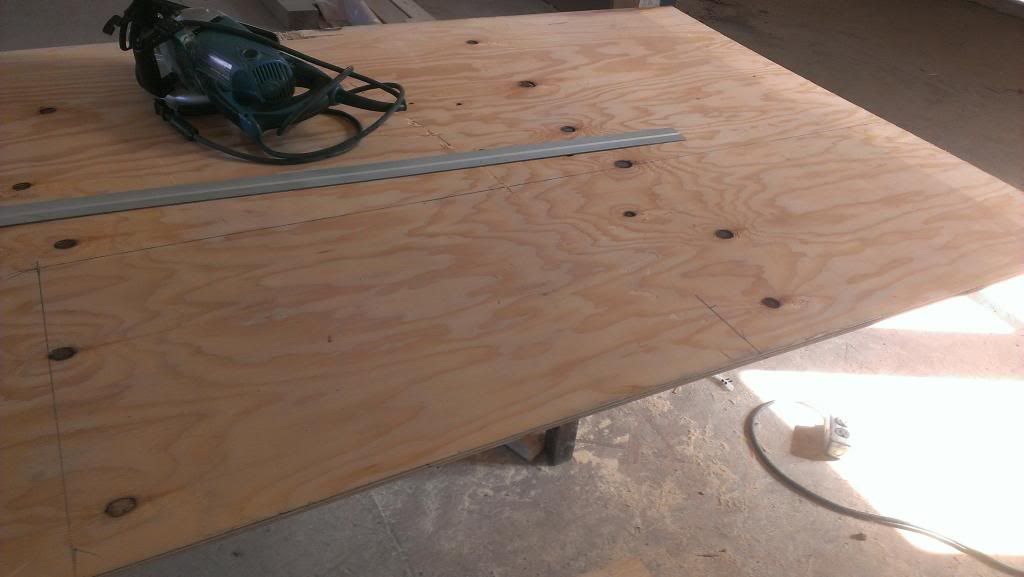
The 1/2" is MDO 1good face. The back did have a few knots, but I took a couple minutes to lay out the piece I needed so to minimize the # of knot holes:
IMAG1024_zpse54f16e5.jpg


The MDO's been great to work w/, & for an extra $20+/- I could have gotten good 2 sides MDO, but I didn't expect it to have that many knot holes, or I might have. Since they ordered it, and it took 5 days to get here, I took it, knot holes & all.

I filled the knot holes before laminating the 2 sheets together......
 

m casey stock

Chief Petty Officer
Joined
Apr 29, 2012
Messages
514
Re: 1957 Duracraft Duraflite Custom

I so Love my router! You can take an average looking project and give it a professional look in a matter of minutes. Nice!
 

59 Fatty

Petty Officer 1st Class
Joined
Apr 19, 2013
Messages
260
Re: 1957 Duracraft Duraflite Custom

JB you da man. Router.........AWESOME!!!! Gotta make seat backs and bases for my 'liner, that will be so much better than trying to round off the edges with anything else. Thanks for the tip.
 

Woodonglass

Supreme Mariner
Joined
Dec 29, 2009
Messages
25,927
Re: 1957 Duracraft Duraflite Custom

FYI, If you're not into woodworking and you just want a tool to do some round overs on your stringers, transom and other stuff and don't want to invest a lot...Then this little jewel will get the job done. I bought one 10 yrs ago and it is NOT a quality tool but...It's still working, it still gets the job done, and I got in On Sale for $13 bucks... Good Ole' Harbor Freight!!!

image_23217.jpg


Regular price on the Trim Router is $30. bucks. Only acceps 1/4" shank bits but it's pretty powerful for the money and I've used and abused it over the years. Wouldn't want to use it to build furniture but for boat work, it's plenty good. :D
Their 1/4" Round Over Bit is $5.00 bucks
 

jbcurt00

Moderator
Staff member
Joined
Oct 25, 2011
Messages
25,043
Re: 1957 Duracraft Duraflite Custom

Yeah, I thought about using a laminate or trim router, and probably don't 'need' the router & bits I bought. But I do like building stuff & at some point may be able to set up a garage based shop.

The Admiral has requested a built in bookcase, so who knows, I might be building something sooner then I thought..... :)

Although I did run by the boat shed for an hour today @lunch, and have pix, they'll have to wait til later.

For now: Back to work..............
 

Woodonglass

Supreme Mariner
Joined
Dec 29, 2009
Messages
25,927
Re: 1957 Duracraft Duraflite Custom

Like I said, That little thing is JUST for someone that wants one to Just get by. Not for a GOOD tool to use for Serious woodworking. It will round over plywood edges but...Quality may not be the best. For stringers and transoms, its good enuf!!!
 

jbcurt00

Moderator
Staff member
Joined
Oct 25, 2011
Messages
25,043
Re: 1957 Duracraft Duraflite Custom

Although I did run by the boat shed for an hour today @lunch, and have pix, they'll have to wait til later.
For now: Back to work..............
So, lets see, where were we:

I had a bit of tiime midday today, so I ran over to the boat shed to see what I could get into....

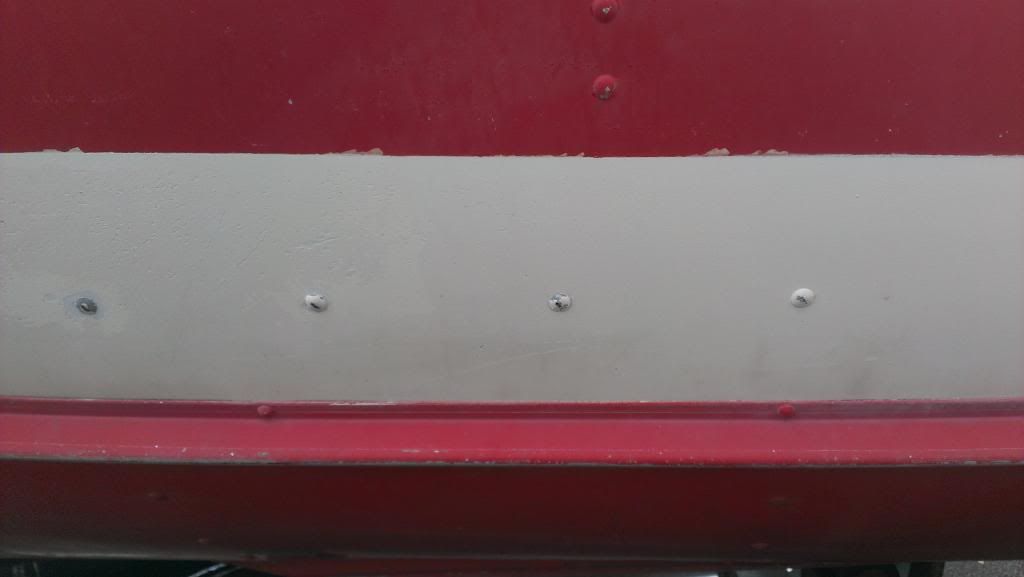
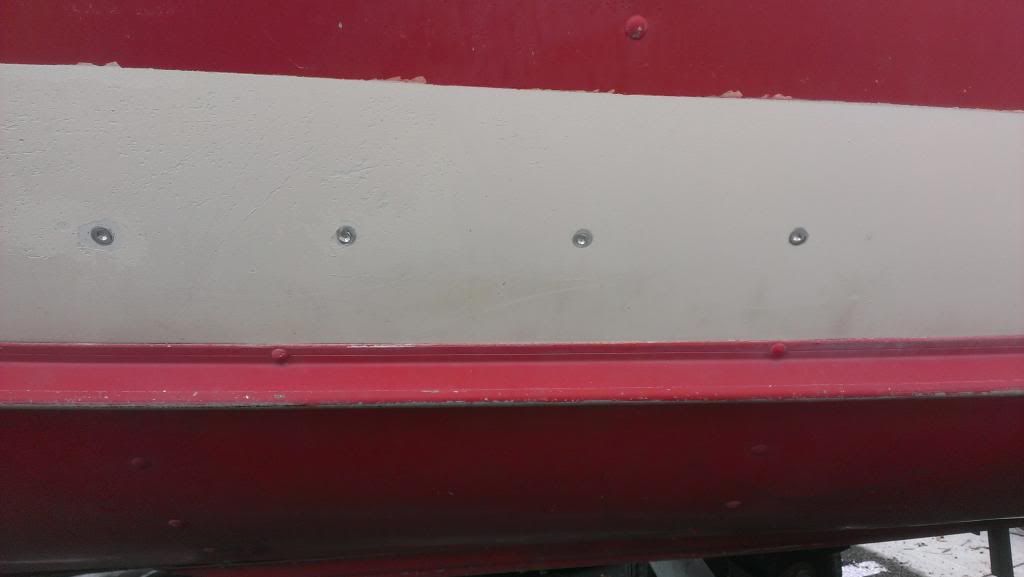
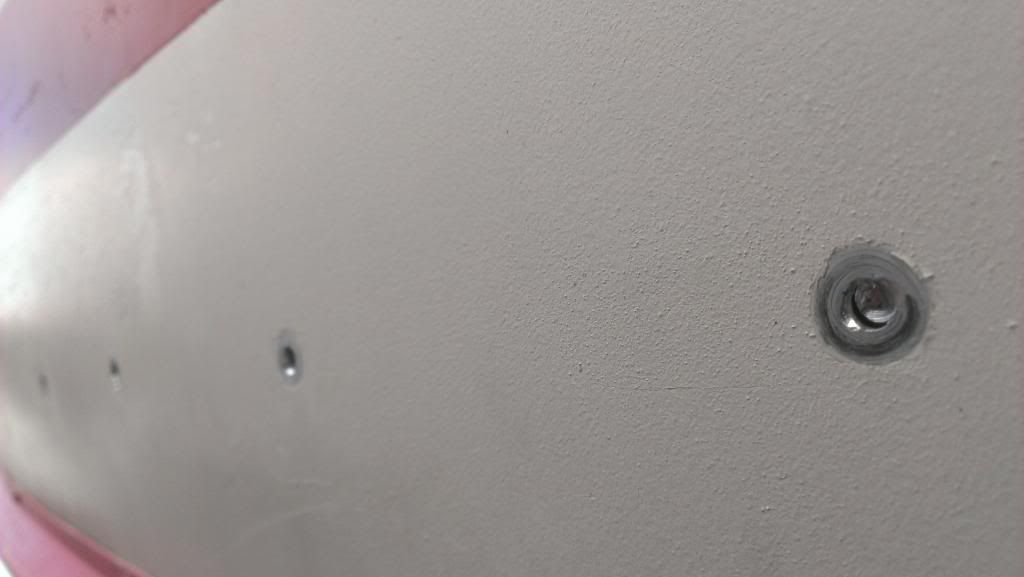
1st up, drill out some thru hull rivets holding the front bench seat top to the hull:
Before:
IMAG1138_zps7e047375.jpg


After:
IMAG1141_zps7cb17954.jpg


Thru punched:
IMAG1142_zpsc58b1085.jpg


Then on to the interior bench top rivets:
Before:
IMAG1140_zps93954b02.jpg


Because the rivets are installed from below, the mushroom'd end is tough to get drilled in the center w/out a punch mark to start:
IMAG1139_zpsb7d0691b.jpg


Center punched:
IMAG1143_zps406f95dc.jpg

hard to see, but there is a center punch mark on each rivet^^^

{continued @next post}
 

jbcurt00

Moderator
Staff member
Joined
Oct 25, 2011
Messages
25,043
Re: 1957 Duracraft Duraflite Custom

After:
IMAG1144_zps65fcece1.jpg


All drilled out ^^^

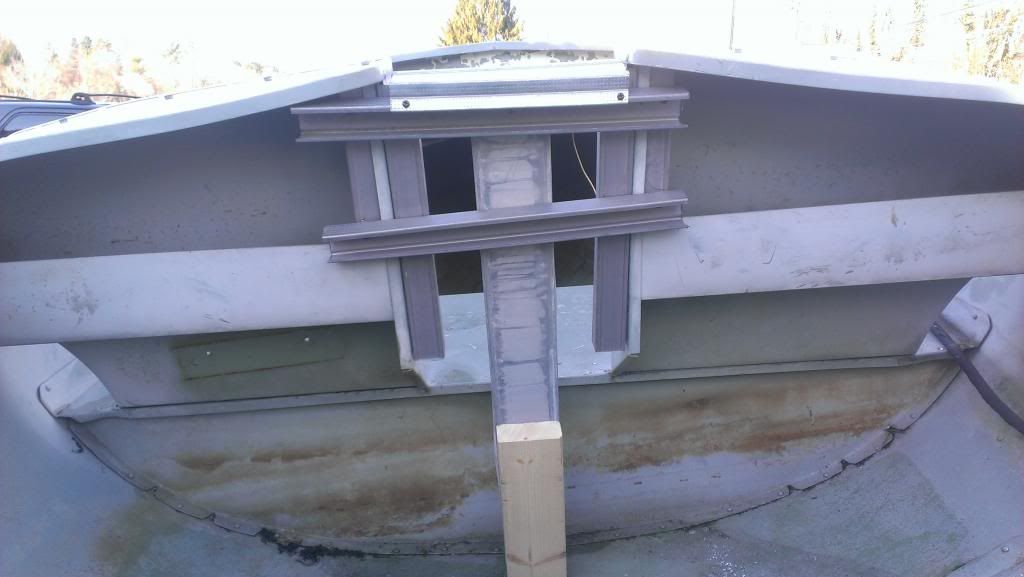
Until I can support the seat backs (which DON'T need to come out) I can't pull the front bench seat top.... So let's see what we can do about that...

I quickly bodged together a support system to keep the seat backs where they are currently:
IMAG1145_zpsff86238e.jpg


And used a piece of 2X4 to keep the metal off the hull bottom:
IMAG1146_zps074c72b9.jpg


It ain't pretty, but it'll do short term. I'll punch out the already drilled rivets and pull the seat top to access the foam & nastiness that likely matches the rear bench's heinous mess. Once all that is out, for now, I'll use some aluminum pop rivets (regular NOT closed or blind) to temp secure the top in place & pull my temp truss system. The weather is against me now, so probably not going to use the Gluvit/Coat-it on the seams & rivets for a bit.....

So, then back to work today.......

After I got the crew lined out & sent on their merry way, I broke out the resin & hardener and mixed up @ 12oz of Epoxy. And coated 1 side of the transom :triumphant:

IMAG1147_zpsd4ed0fdc.jpg


Wow, until I posted that pix ^^^ I knew I'd made a mess, but didn't think it was that big a mess....

Jig, I have NO idea how you use that $5 plastic spreader for epoxy, but it didn't exactly go 'smoothly'......

Nor did clean up. Used acetone to try & clean the epoxy off the spreader, and made an even bigger mess.... Acetone dissolved the plastic...... So for the remainder of the show, I'll likely be using other means to apply epoxy......

Offending spreader:
e89752e7-60fb-4189-bb62-5989f56a7239_1000.jpg


Hey, we've made it thru the half way mark!

Have a great bottom half of the week!
 
Top