Mercruiser Inliner Swap Progress...165 Rebuilt I6 replacing the old 470

WOEISMEIGOTTA470

Petty Officer 1st Class
Joined
Aug 31, 2012
Messages
375
That's some nice work...you'll be fishing in no time at this pace. Always good to note like you do on technique that works as you'll forget how you did certain things 5 years from now when you get a bit nutty and decide to do another one :)

Thanks sprintst. I certainly don't plan on slowing down. I'm not going to stop until I'm confidently sure that I'm fully prepared for a FULL season of boating next year! But before it gets too cold here in NY, I'm going to be focusing priorities on mechanical assy. First step is aligning engine, then replacing bellows, trim hoses, and installing drive. I can stand working on electrical and interior stuff in the cold, but mechanical in the cold :nono: no sir.
 

WOEISMEIGOTTA470

Petty Officer 1st Class
Joined
Aug 31, 2012
Messages
375
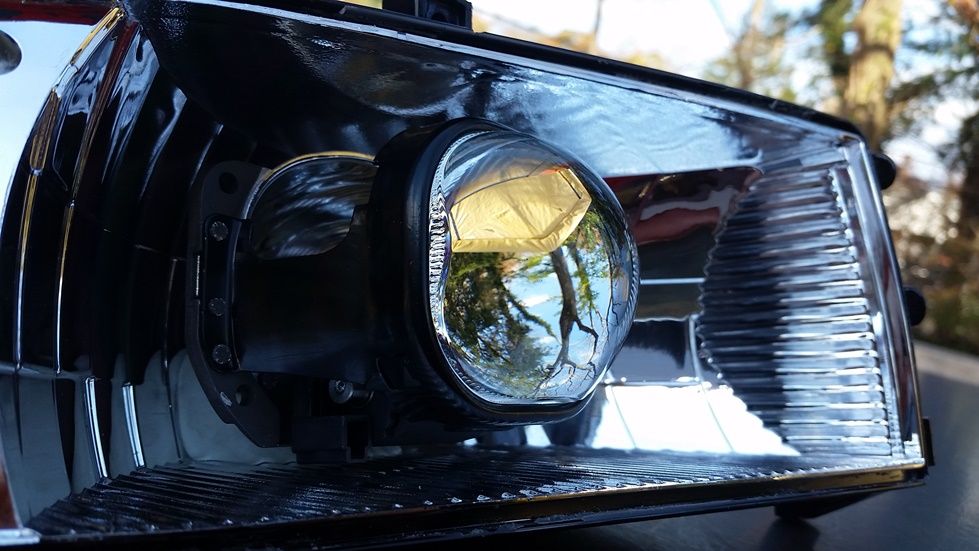
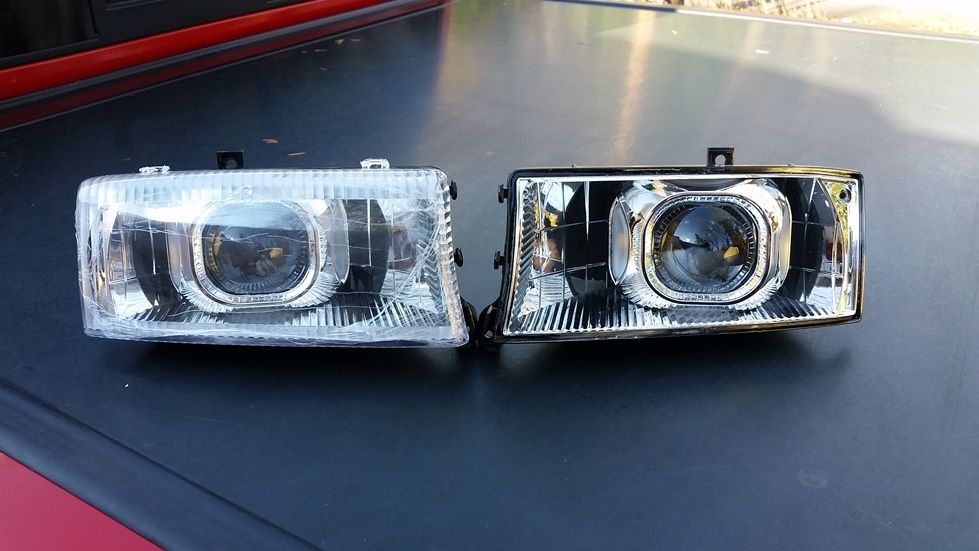
I'm back at it with the boat again. I had to take a break from it as I was in Toronto for business and have also been busy finishing work on retrofitting a custom set of headlights for a member on the Dodge Dakota truck forums I belong to.
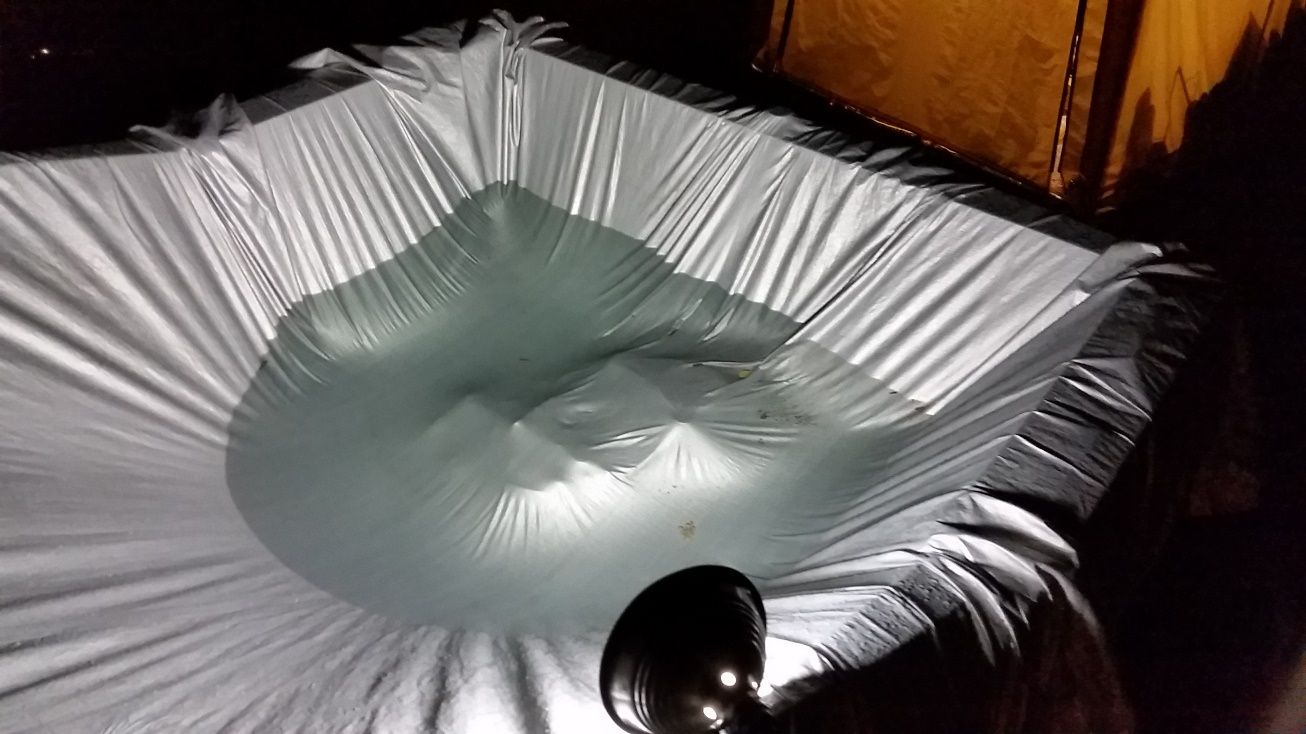
Here's a shot of the bi-xenon lamps I built:


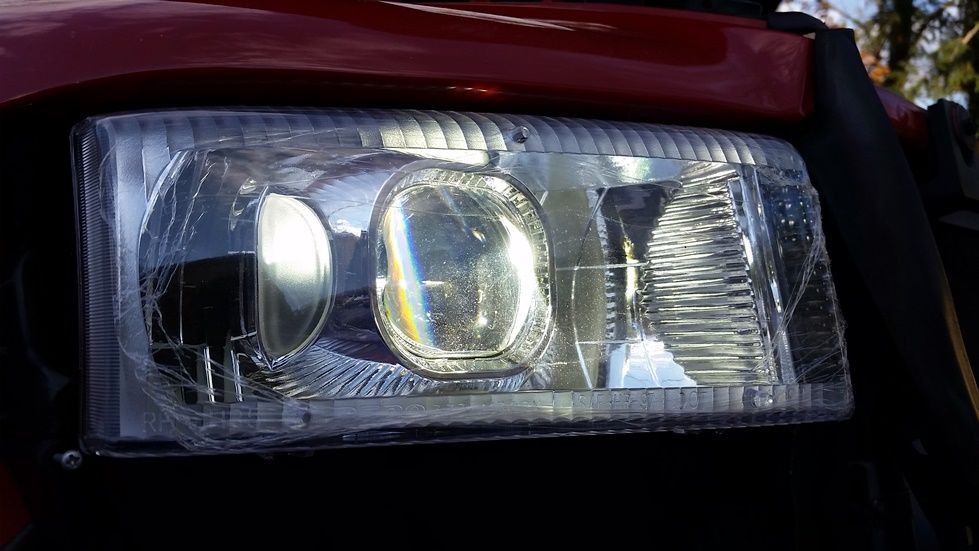
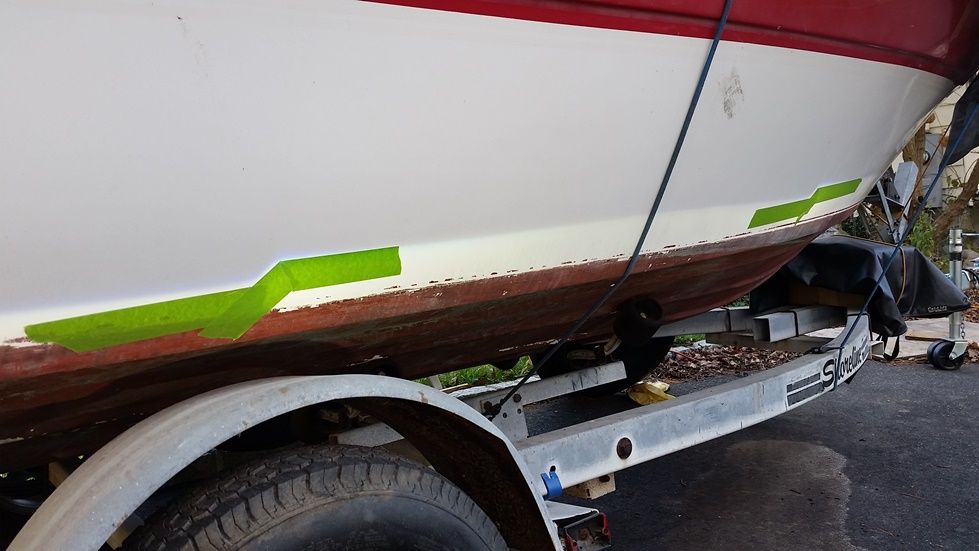
Using the boat as a reference guide for headlight aiming/alignment:


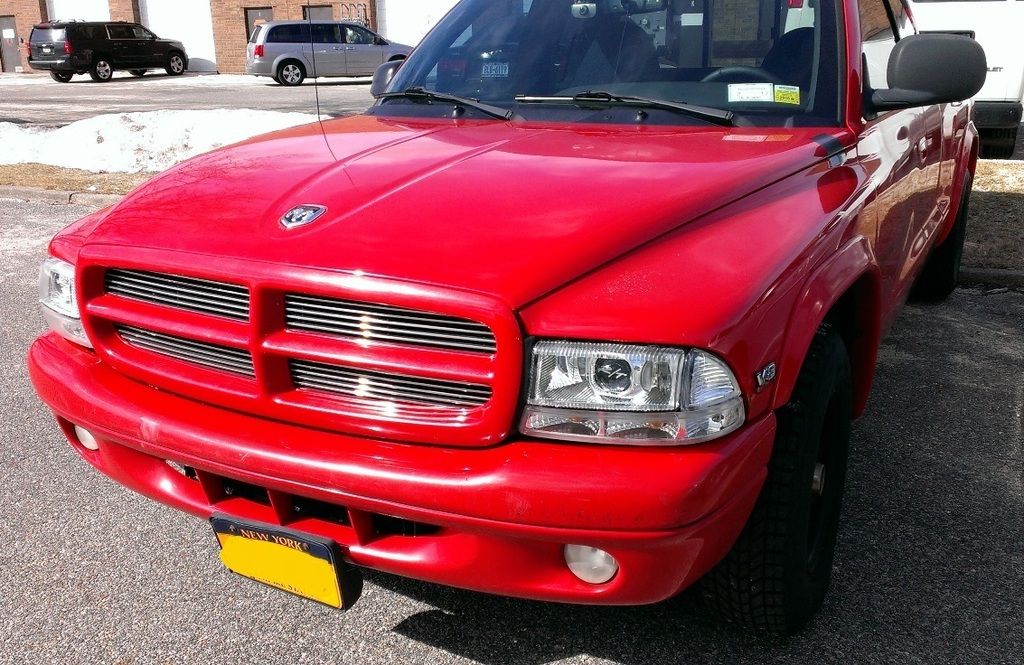
And here's an example of what they look like completed, on my truck:


But enough about silly automotive stuff! :car:
After-all, this is a BOAT FORUM! :fish2: :lol:

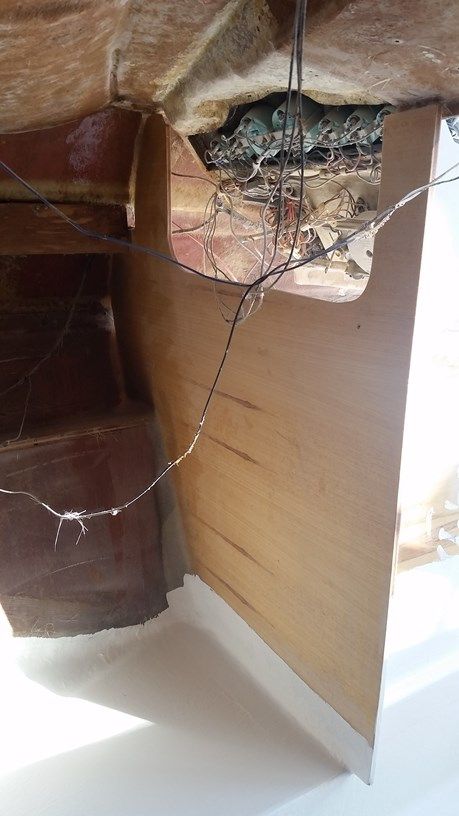
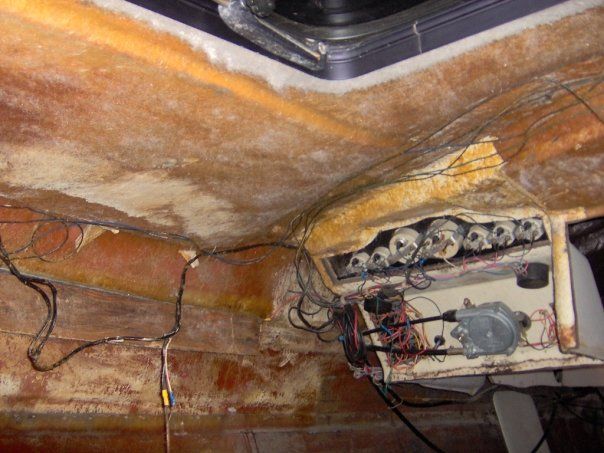
So I'm onto wiring at this point. I plan on getting rid of this mess:


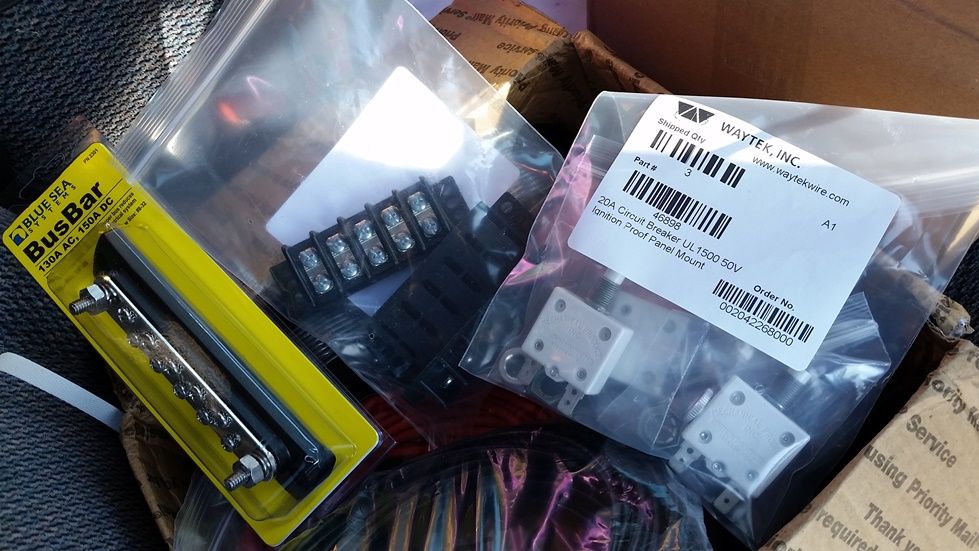
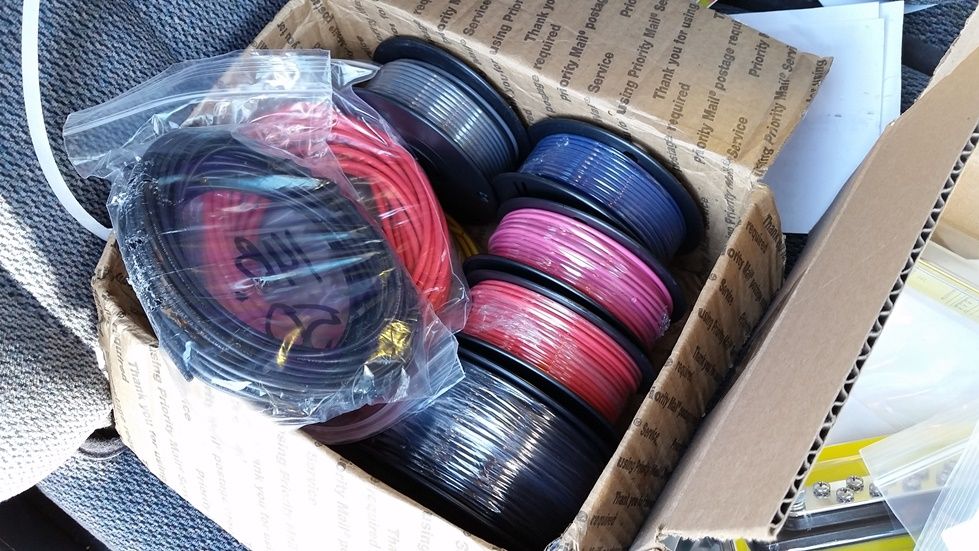
...and stringing new tinned marine wire everywhere to the nav. lights, bilge pump, blower, tank sender, etc. etc., as well as re-wiring the entire console. I bought all my wire from www.bestboatwire.com, they had all the colors I needed at amazing prices. I highly recommend you check 'em out. The rest of my electrical stuff I got from Waytek Wire, which includes all my terminal strips and heat-seal wire terminals, as well as circuit breakers to replace the fuse holders.


Can't wait to get it all neatened up!
 

sprintst

Commander
Joined
Apr 18, 2009
Messages
2,066
This is the cool thing about restoring an old car or boat. You know every bolt or wire in her. In the end it will be better than new cause you had to work to get it there.
 

archbuilder

Vice Admiral
Joined
Sep 12, 2009
Messages
5,697
Its amazing how much wire it takes......I swear I put a mile of it in Miss Morgan, and she is only 16'!
 

WOEISMEIGOTTA470

Petty Officer 1st Class
Joined
Aug 31, 2012
Messages
375
This is the cool thing about restoring an old car or boat. You know every bolt or wire in her. In the end it will be better than new cause you had to work to get it there.

Very true sprintst. It's taking quite a while, always longer than anticipated doing this in my spare time! Haha, but if there ever is a problem down the road, which is inevitable - troubleshooting will be a lot easier. And yes, I have invested quite a bit and not so much in the financial sense of the word, can't wait for the payoff!

Its amazing how much wire it takes......I swear I put a mile of it in Miss Morgan, and she is only 16'!

Yeah, I hope I have enough! All told, I ordered a combined 700ft in 10 total colors varying in gauges and lengths.
 

WOEISMEIGOTTA470

Petty Officer 1st Class
Joined
Aug 31, 2012
Messages
375
It was warm last night, so I decided to do some work on the gimbal housing and begin the arduous task of replacing all the bellows with new rubber. In doing so, I was inspecting the gimbal ring among other things, and noticed a bit of play in the lower swivel pin joint. I didn't notice the play until after I removed the bell-housing. The upper swivel joint seems good and solid with no play, but I'd say the lower joint has about 1/16" movement in the play. Is this something that needs immediate attention? The gimbal ring swivels with ease and otherwise operates as it should, and all other parts appear to look nice and clean. I may also pose this question in the mercruiser section too. Please let me know as I'd like to start installing the new bellows and reinstalling the bell-housing otherwise! Thanks guys!
 

WOEISMEIGOTTA470

Petty Officer 1st Class
Joined
Aug 31, 2012
Messages
375
Hope everyone had a happy thanksgiving! I can't believe it's already December :eek:. While it's getting cold here in NY, on the bright side this season offers many good shopping deals! I picked up a new s.s. telescoping 3-rung ladder and an attwood s.s led stern light for under $95! I also purchased two richie compasses, because I'm unsure which will fit. I'll either return the one I end up not using, or I'll be selling it here :)

Also, I need to fashion a better cover/tent for this winter, so I can comfortably work in there with a heater and also be strong enough to shed snow. I'm thinking maybe EMT conduit and some lumber, but open to ideas...I'm hoping the snow holds off for a while yet :smow: no thanks!
 

archbuilder

Vice Admiral
Joined
Sep 12, 2009
Messages
5,697
Hope you get cover sort ed out. Seems like there would be a great market here if you could come up with a simple cheap, universal cover!
 

WOEISMEIGOTTA470

Petty Officer 1st Class
Joined
Aug 31, 2012
Messages
375
Hope you get cover sort ed out. Seems like there would be a great market here if you could come up with a simple cheap, universal cover!

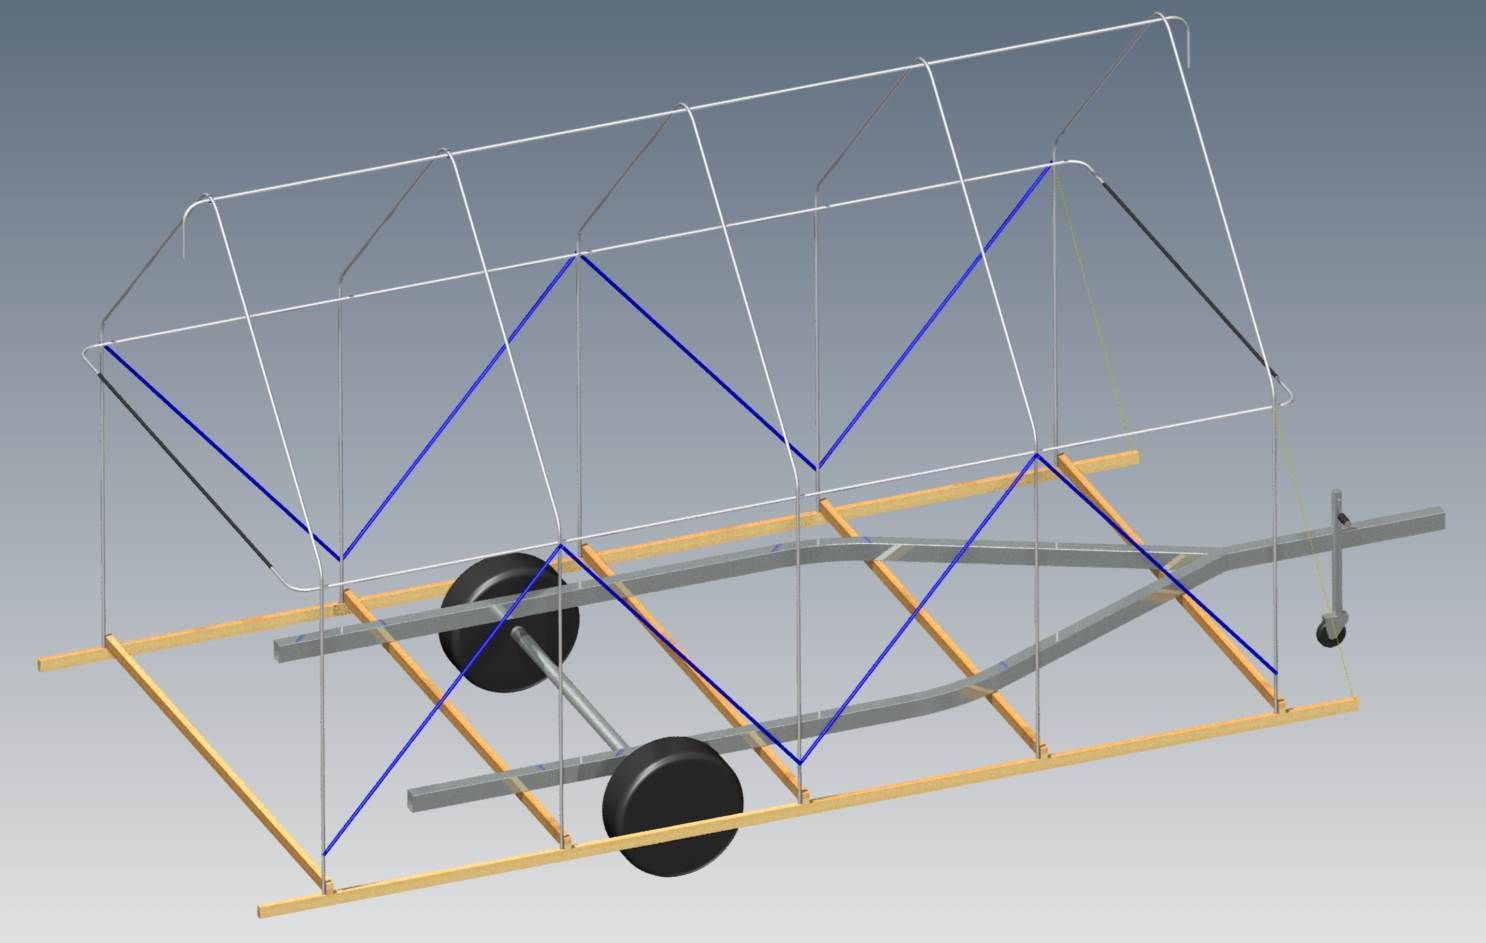
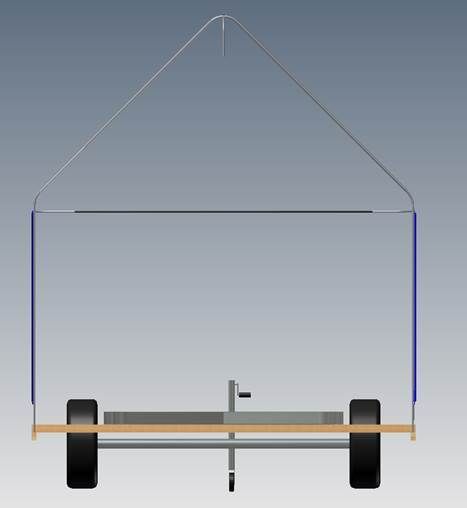
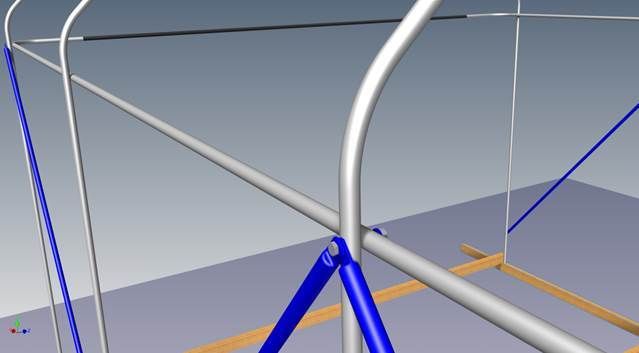
Arch, here's what I whipped up quick on CAD, thought you might get a kick out of it. I'm planning to use 1/2" EMT conduit, which comes galvanized and is cheap @ home depot for $2 or so per 10ft length. I plan on using 2x3x10 studs clamped across the underside of the trailer frame.

I estimate needing about 30 - 10ft lengths of EMT and 9 lengths of 2x3x10 stud.


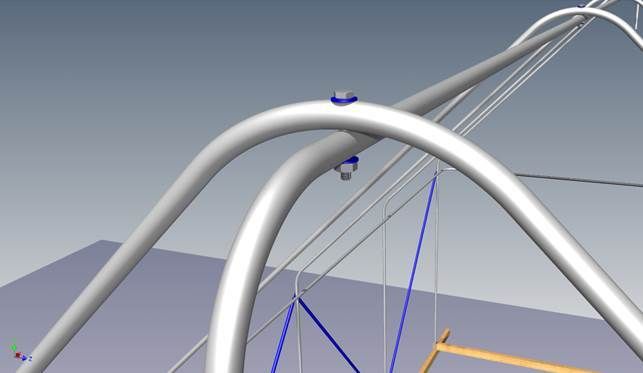
For stiffening the frame, I'll make cross braces by just flattening the ends and bolting the frame together w/ 1/4-20 x 2" bolts...


Haven't modeled the boat in 3D yet... lol
 
Last edited:

archbuilder

Vice Admiral
Joined
Sep 12, 2009
Messages
5,697
If you are doing x bracing. you could just use some heavy wire also. I'd put x braces in each end bay, both in the roof plane and the sidewalls. That should stiffen it up. Do you have a EMT bender? That would make it go a lot faster. Nice work!
 

WOEISMEIGOTTA470

Petty Officer 1st Class
Joined
Aug 31, 2012
Messages
375
If you are doing x bracing. you could just use some heavy wire also. I'd put x braces in each end bay, both in the roof plane and the sidewalls. That should stiffen it up. Do you have a EMT bender? That would make it go a lot faster. Nice work!

Thanks! Yeah, definitely needs support on each opening. I have an EMT bender handy :joyous:, already started making some bends. I was thinking of using steel cable with turnbuckles to make the "X" on either end, that way I can adjust the tension i need be. I suppose small ratchet straps might also work along with some eyelets in key places. I'm hoping to get cracking on it this weekend.
 

WOEISMEIGOTTA470

Petty Officer 1st Class
Joined
Aug 31, 2012
Messages
375
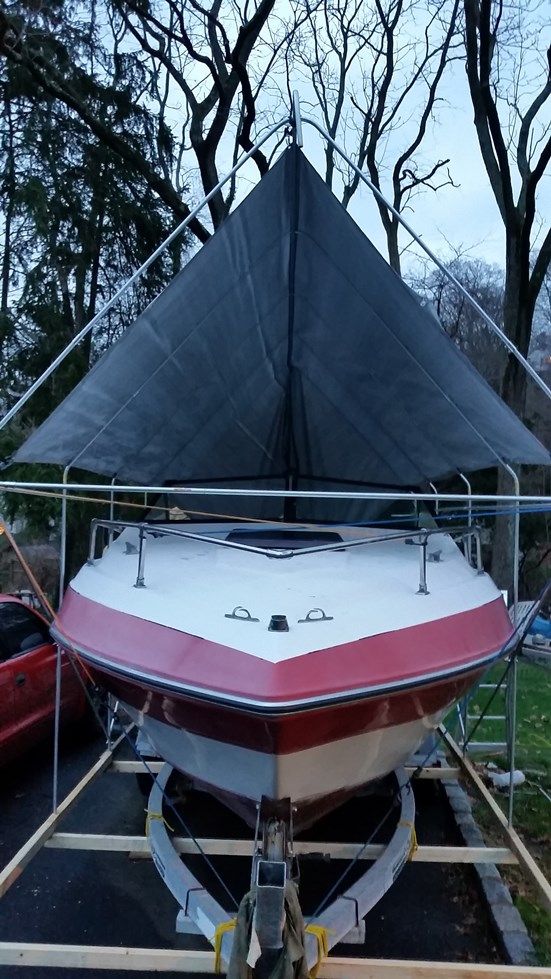
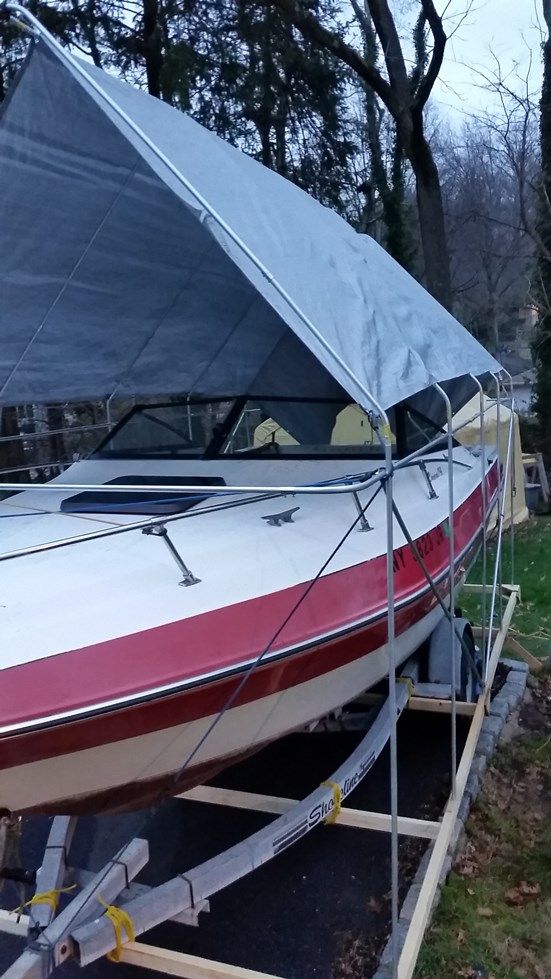
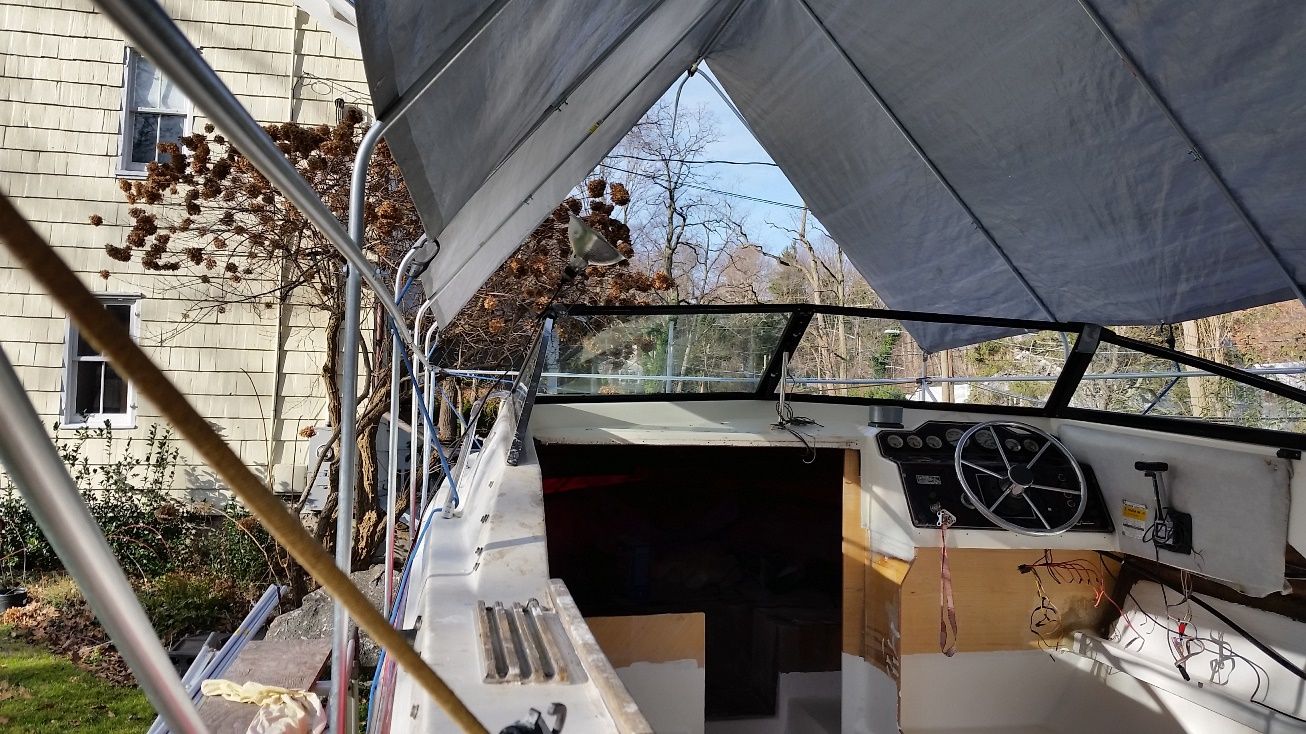
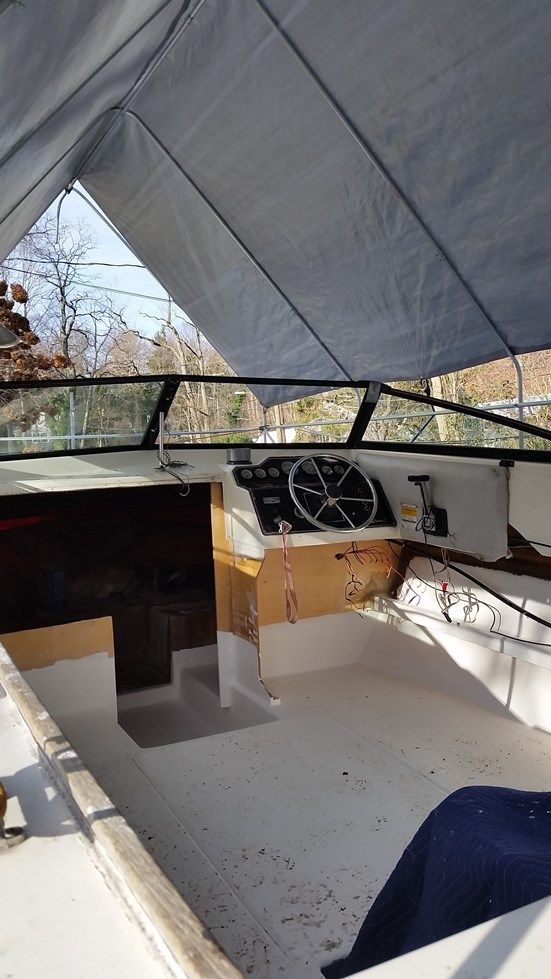
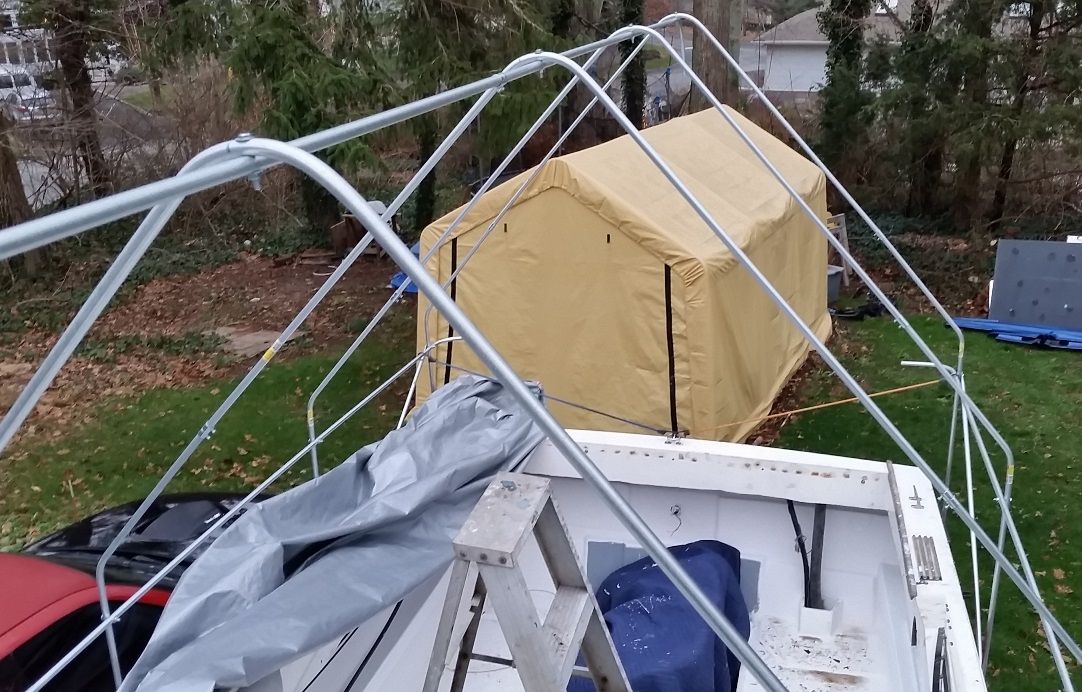
Merry Christmas everyone! Hope everyone enjoyed their holiday, I certainly did! I managed to complete the tent frame I've been working on :D:D:D Just need to get a larger tarp on there. Current one is a 12'x20', a 19'x29' ought to be perfect.
I'm quite happy with it, it seems very solid and it's very roomy inside with plenty of headroom now! With the larger tarp and a space heater, it should be mighty cozy!

BEFORE::grumpy:


AFTER: :happy:


NorthwestChap

Petty Officer 1st Class
Joined
Mar 7, 2011
Messages
224
Hey Woe, had to come over and check out your progress. I see the 2 years went by quickly for you as well. Looking great. And, with that awesome cover, no excuses for a spring launch.
 

WOEISMEIGOTTA470

Petty Officer 1st Class
Joined
Aug 31, 2012
Messages
375
Hey Woe, had to come over and check out your progress. I see the 2 years went by quickly for you as well. Looking great. And, with that awesome cover, no excuses for a spring launch.

Hello Chap, thanks for stopping by!
Indeed 2 years flew by, amazing. Well that's the idea, I made the tent nice and cozy :rain:, so no excuses on being ready by spring this time! I swear THIS is the year! 2016 baby!! Also A great big Happy New Year to all my fellow boating DIYers out there! Lol. :party:
 

WOEISMEIGOTTA470

Petty Officer 1st Class
Joined
Aug 31, 2012
Messages
375
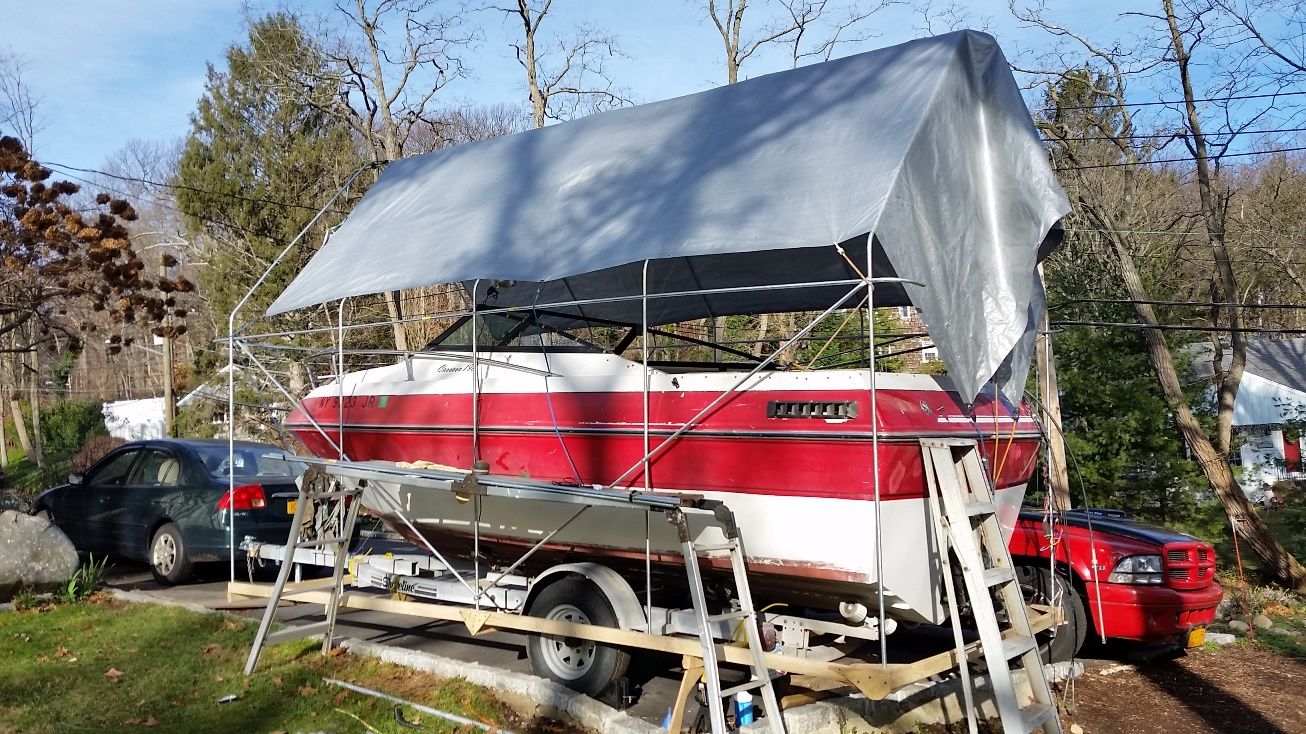
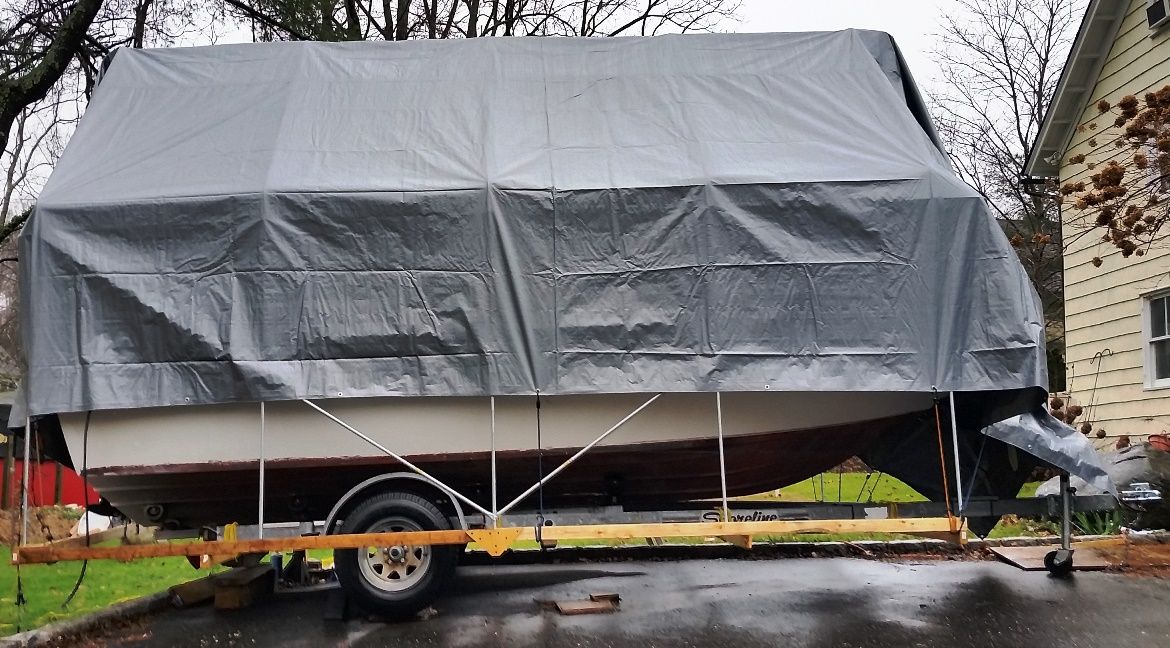
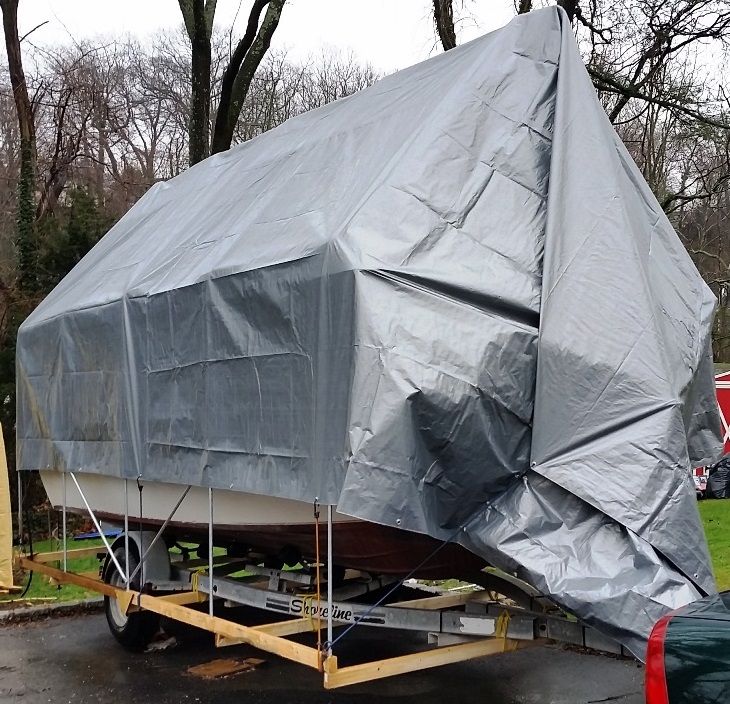
Got the proper size tarp on it now, 19'x29' fits beautiful =P.
All told:
- 19x29 HF tarp = $50
- 25 or so 10' lengths of 3/4 EMT = $50
- 15 3/4 EMT couplers = $15
- 9 lengths of 2"x3"x8' studs, ~$15
- two dozen or so 1/4-20x2" bolts, ~$10
- One custom cover that is sure to greatly boost my winter boatbuilding productivity?? = priceless!! (actually $140-150)

Now I just have to get my propane tank filled :D


Brickie

Seaman
Joined
May 15, 2013
Messages
59
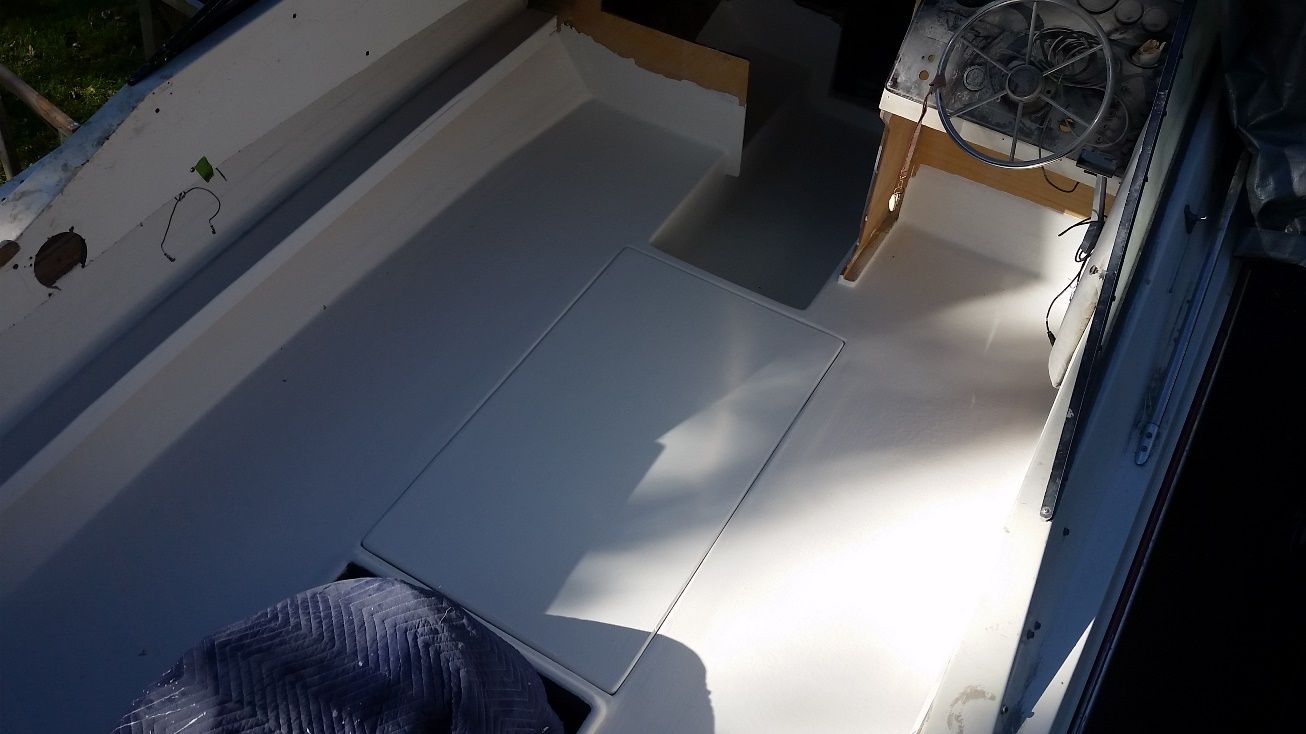
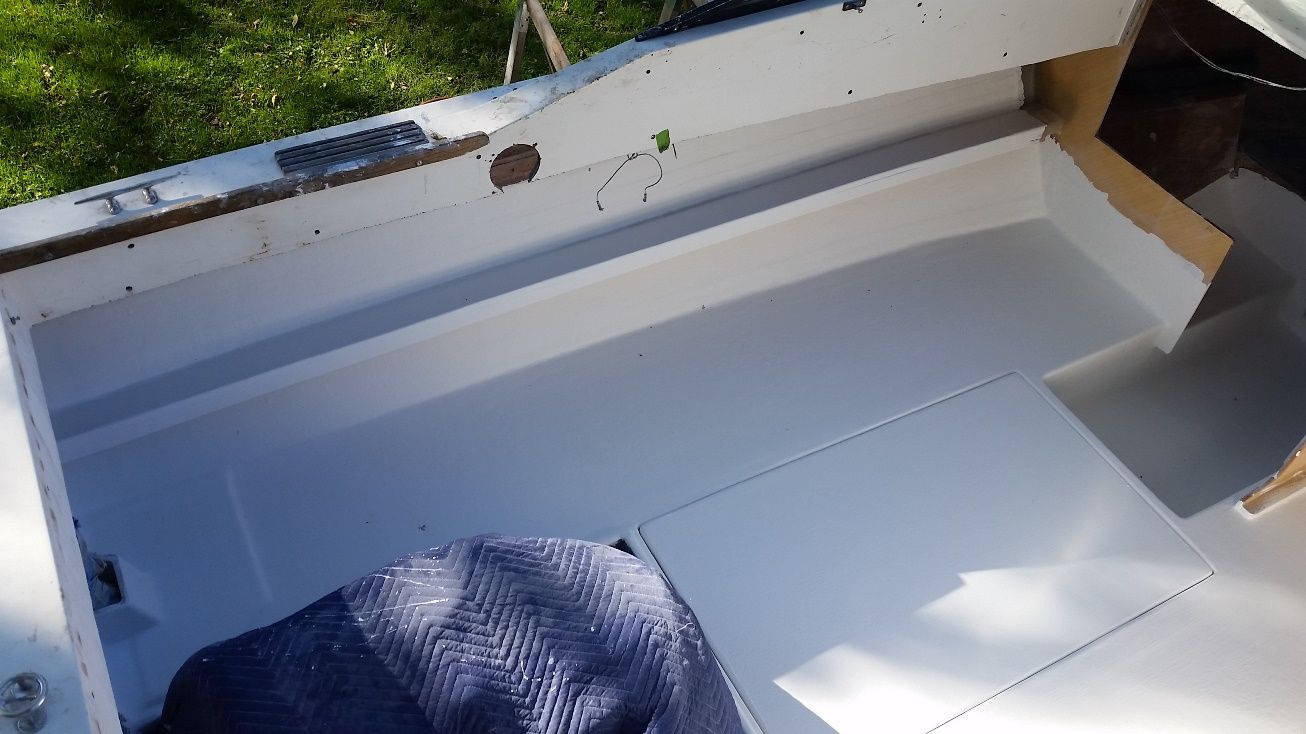
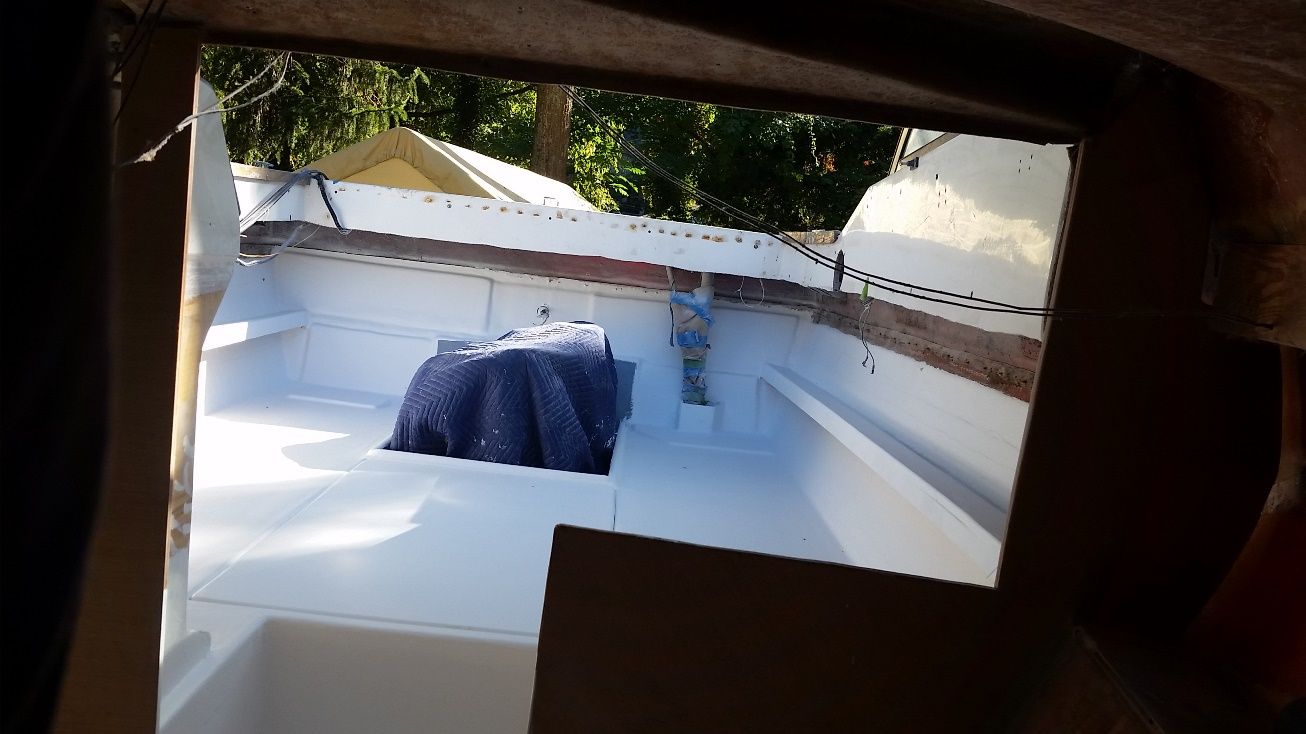
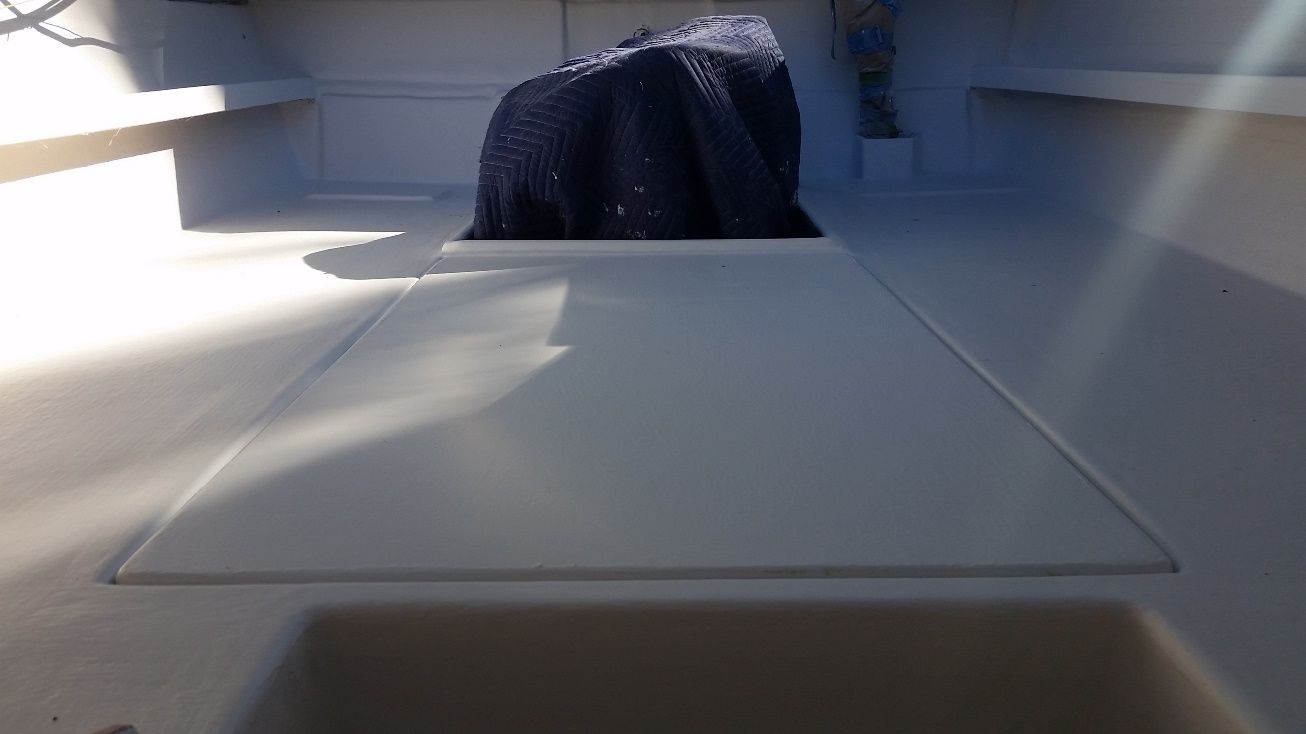
Way to go that gel coat on the boat floor looks awesome:applause: I think i'm going to try that on mine. Carpet is hard to maintain . Maybe gel coat with snap in. Keep up the great work. Today it is 10 degrees. No work on my boat today . I have been back to work on it though and ordered some new out drive decals, Brickie
 
Top