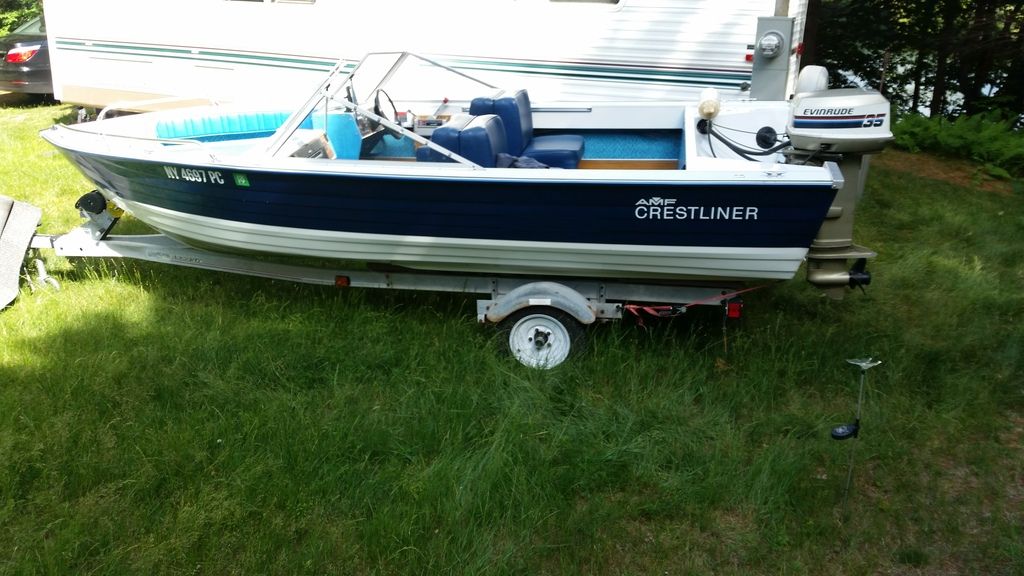
Aluminum 1977 Crestliner Rebuild Finally Underway

Status
Not open for further replies.

Patfromny

Lieutenant Junior Grade
Joined
Dec 2, 2012
Messages
1,197
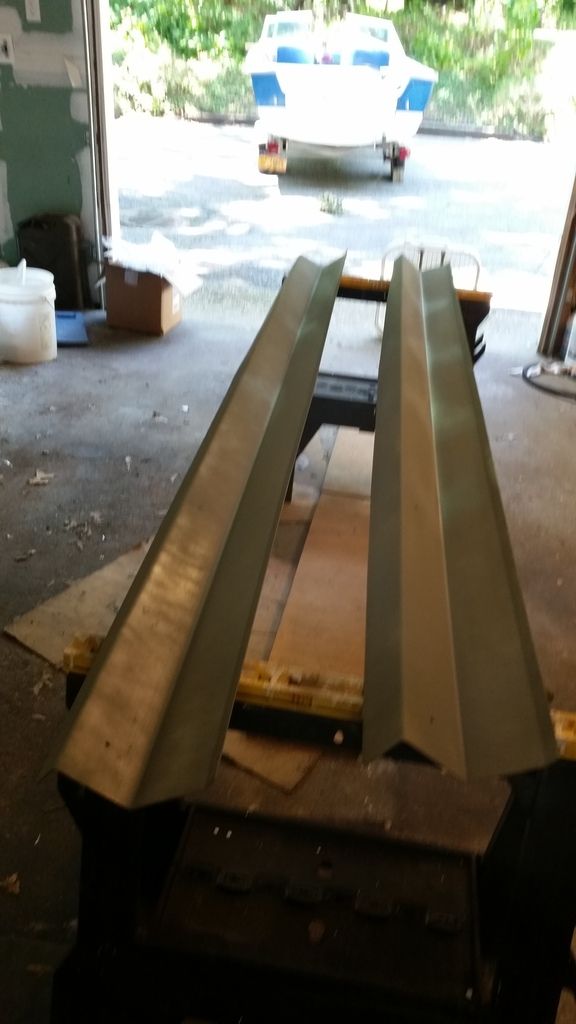
My boat is all welded. The stringers were welded in and left odd creases at weird angles all down the bottom of the boat.
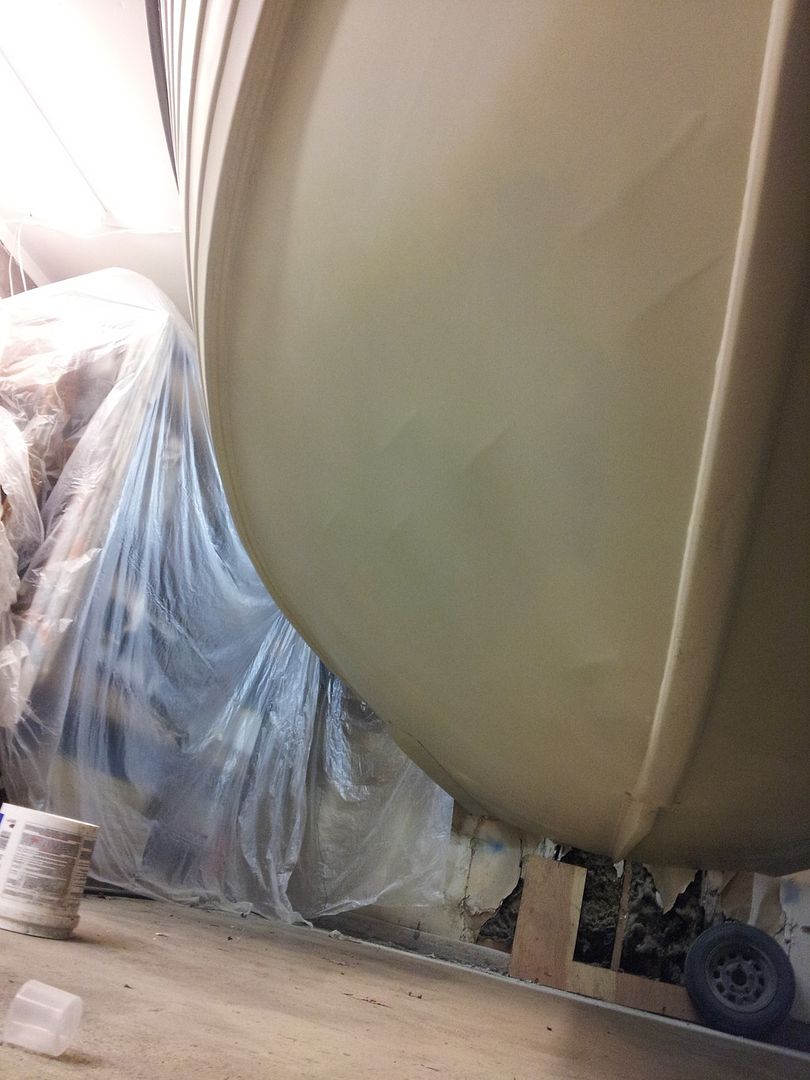


They wouldn't look pretty polished. It is a shame because the blue would go great with an unpainted bottom. I will take the creases over bucking rivets and gluvit though and they really don't stand out with Paint on them.

The epoxy is actually loctite marine epoxy I used on my metal interior pieces to fill the pitting. I was going to buy jb weld but this stuff said it was good for aluminium. Anyway, I am going to etch prime the pieces and was wondering if I can etch over the epoxy.
 
Last edited:

Watermann

Starmada Splash of the Year 2014
Joined
Jan 12, 2013
Messages
13,753
Ok, gotcha yeah I SE prime and paint of JB, marine tex and gluvit epoxy and it's worked just fine for me so far. Nobody will notice those lines on the bottom of the hull except for you anyway. :lol:

On the welded boat bliss, don't go reading the cracked hull stories here from guys with cracked up 10 year old welded Trackers and Polar Crafts it might make you start wondering. On the other hand I was giving the Starcraft made Starweld boats the hairy eye there for a while but couldn't see spending the money on one.
 

Patfromny

Lieutenant Junior Grade
Joined
Dec 2, 2012
Messages
1,197
Thanks WM, you just eased my mind. I didn't want to mask off all the pitted areas before spraying. The welded boat cracking is pretty rough. Mine will probably never Crack while in my possession, it is in a small lake with a 40 horse max rule(no large wakes), it only has a 35 hp on it and hopefully a 40 in the future (rated for up to a 90), and it is built exceptionally well. Look up at the beginning of this thread and check out all the inner bracing. Thick angle too. But I guess all it takes is one bad weld right? I looked mine over pretty well while building just because it kinda shocked me how much structure was there and it all looked as good as new. There was no noticeable difference in rigidity from when the boat is together to when it was ripped apart. With the exception of the side consoles, which are supported by some wood pieces. I'm sure the wood deck supplies some structural help but they didn't relay on it it seems. Fingers crossed is the only thing we can do when these boats are done I guess. I built it to the best and safest of my ability, I cannot control anything else. I guess i'll have to buy a starcraft one of these days as an emergency plan. Break glass in case of weld failure. Lol
 

Patfromny

Lieutenant Junior Grade
Joined
Dec 2, 2012
Messages
1,197
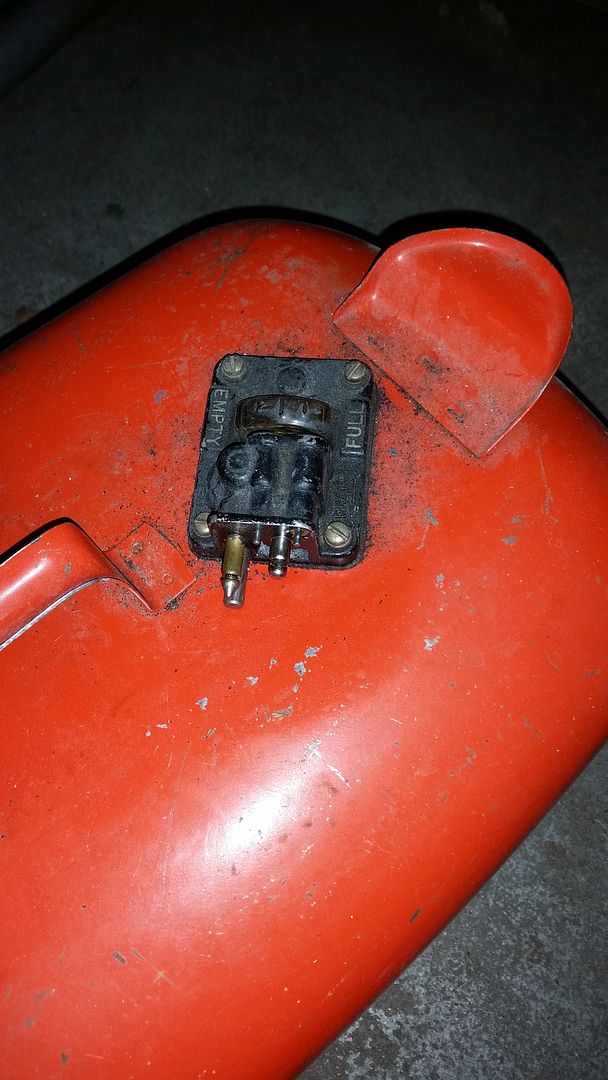
I do have another question for the iboaters following along. I have the original metal 6 gallon tanks and they are in good shape. One of them however leaks out of the supply nozzle or nipple. I have to run it dry and then loosen the cap otherwise fuel will pour out. I have seen a YouTube video on how to repair and it seems easy to do but I have priced the repair and it will cost about as much as a new plastic tank. My question is, are these new tanks any good? Reading the reviews on every 6 gallon plastic tank proves fruitless. You will get an equal amount of glowing reviews and horrible ones for the same tank. My tank's also pressurize it seems as evidenced by the hosing down of the boat or me when disconnecting the bad one and the whoosh of air when opening either one. I was wondering if I should buy a new sender, which is cheaper than replacing all check valves and springs in my old sender, or buying a new plastic one? Any thoughts or opinions? I am sick of the leak and having to leave the cap off when bringing the tank aboard after filling it up. Just the jostling from walking with the tank full will make it leak fuel.
 

Watermann

Starmada Splash of the Year 2014
Joined
Jan 12, 2013
Messages
13,753
For a 6 gallon portable tank I researched some and bought a 5 Oceans. Steer clear of Attwood! The 5 O tank is rigid unlike the Attwood so it doesn't blow up and leak. It has a fuel gauge in the cap which is about the only thing I don't care for. There's a 'moat' around the filler cap too so if you spill when fueling it doesn't run down the sides. The fuel outlet is done well too and doesn't leak a drop. In my SN I installed a garage drip pan with a buckle strap to hold the tank down. So the tank is fixed and if it doe leak it's an easy clean up without having pre-mix soaked decking.

The pic has my old Attwood leaky tank that soon after went to the dump. It was the reason I thought of using the drip pan. The pan is secured to the deck with SS screws and 5200 with the tie down strap underneath. I can open the hatch and fuel the tank while in the boat but normally take it out so it's grounded when I fill it. I almost forgot to post the link to the 5 O tank I bought. http://www.amazon.com/Marine-Gallon-Reinforced-Portable-gauge/dp/B00CZBXOPU

IMAG0444.jpg
 
Last edited:
Patfromny

Lieutenant Junior Grade
Joined
Dec 2, 2012
Messages
1,197
Hey TruckDrivingFool.
Here is a pic. I've heard it called a bayonet clip. Basically, the tank is pressurized and these senders have check valves behind the fuel line that stop the flow of fuel when the gas line is disconnected. One of the balls is frozen open I guess or the spring that seats it is worn out.there are three of those press plugs like you see on carbs that you drill out to replace the springs and ball bearings. I have found that the whole sender unit is cheaper than buying these three ball bearings, springs, and new press plugs. Pretty silly huh. Don't mind the dirty tank. To my unfocused eyes it looked clean.😁

URL=http://s1297.photobucket.com/user/Patfromny/media/20160507_080243_zpsccajrbhi.jpg.html]
20160507_080243_zpsccajrbhi.jpg
[/URL]

Wmann,
thanks for the info and the link. That one there is a little bit more than the others but there is usually a reason for that. Still in the ball park though. You have answered the two questions I would have had as well. No changing shapes and no leaks by the sender. What don't you like about the gas gauge? I just do the pick it up method because my gauges don't work but you can't do that because you have them strapped down. Great idea btw. I have a nautilux floor and a new plastic tank would wind up next to me quite often I would imagine. Probably not a good thing to have it sliding around. Plastic likes to friction spark. I found that out the fun way while glass beading a car part. Maybe a plus for the metal tank. Oh the indecisiveness. I have to do one or the other before this season.
 

Watermann

Starmada Splash of the Year 2014
Joined
Jan 12, 2013
Messages
13,753
The gauge in the cap problem for me is the float assembly is attached and has to be drug out of the fuel and it drips. That's about my only dislike but I've learned to have a paper towel handy to wrap and set it on when I take the cap off that way it doesn't get dirt on it or drip.
 

Patfromny

Lieutenant Junior Grade
Joined
Dec 2, 2012
Messages
1,197
The gauge in the cap problem for me is the float assembly is attached and has to be drug out of the fuel and it drips. That's about my only dislike but I've learned to have a paper towel handy to wrap and set it on when I take the cap off that way it doesn't get dirt on it or drip.


Oh, hadn't thought of that. That must be annoying. Between the float and the spiral piece it must drip some. But I guess it is usually pretty empty anyway. I usually run it till the engine sputters and change tanks so mine might have a pint of fuel inside when I fill up.
 

Patfromny

Lieutenant Junior Grade
Joined
Dec 2, 2012
Messages
1,197
Well, not much to report here. The boat is collecting dust. Softball season has started for my daughter and for me. I play 2 nights a week and manage her team as well as one of mine. Add recitals and holiday weekends and birthdays that land on Saturdays and you get the picture. Sad news as well. A good friend who I have played ball with for 25 years and is on both my teams past on Monday at 45 of a heart attack. Crazy how short life is. He wasn't the best one on the team but up there for sure. He was the best teammate I have ever played with though. Always happy and super competitive to the end. Consistent 800 hitter. His last hit was an opposite field double...his trade mark. Rich (Squishy), (don't ask) you will be missed.
On a happier note, we went away quadding over the holiday weekend and the small upstate town had a tractor supply store. I was able to pick up the hardener and reducer and am ready to paint the side pieces whenever I get a day to myself. Probably sometime in July the way things are going. Probably will turn out to be the day before we go up for the first time which will be for the 4th.
 

Patfromny

Lieutenant Junior Grade
Joined
Dec 2, 2012
Messages
1,197
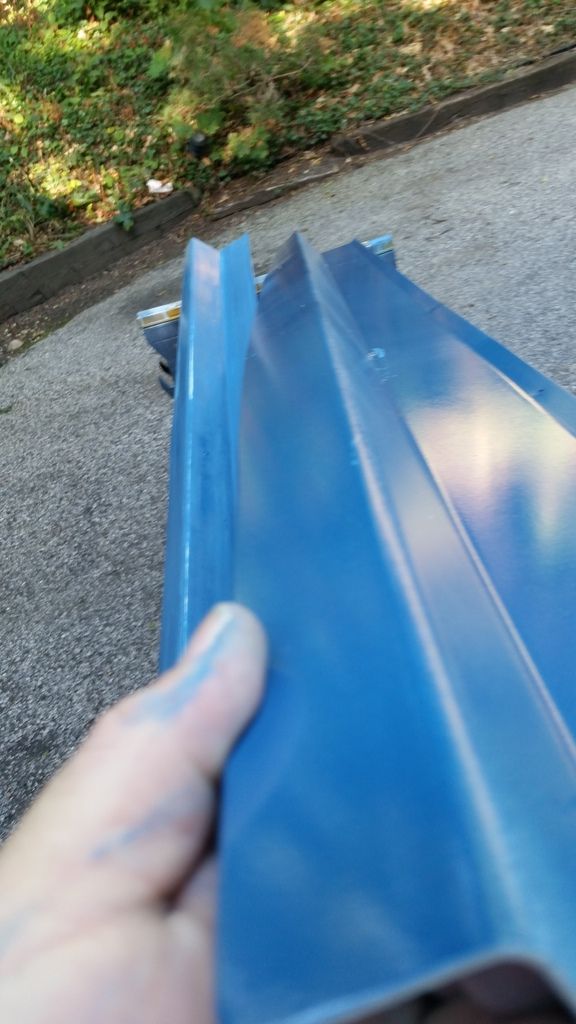
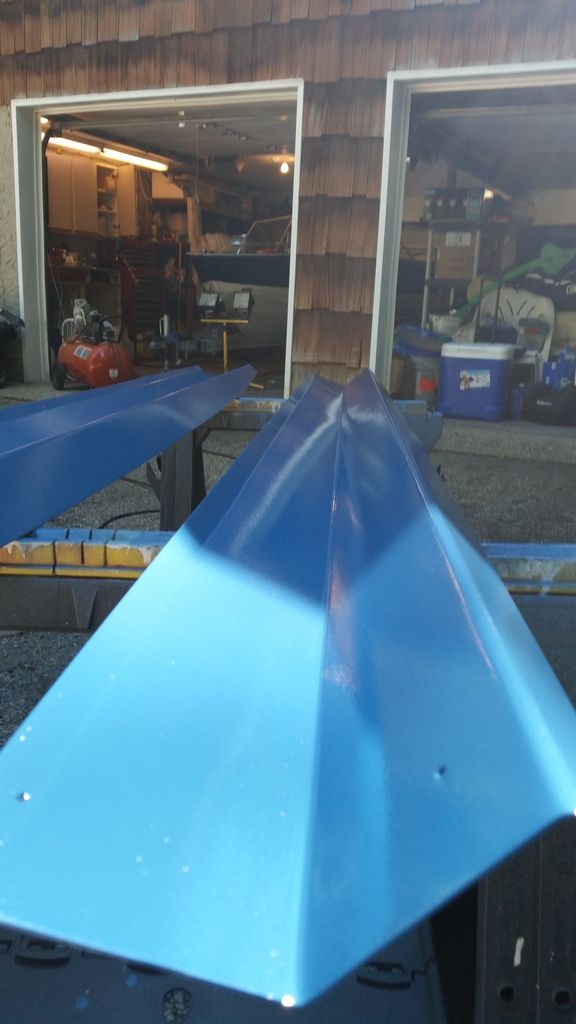
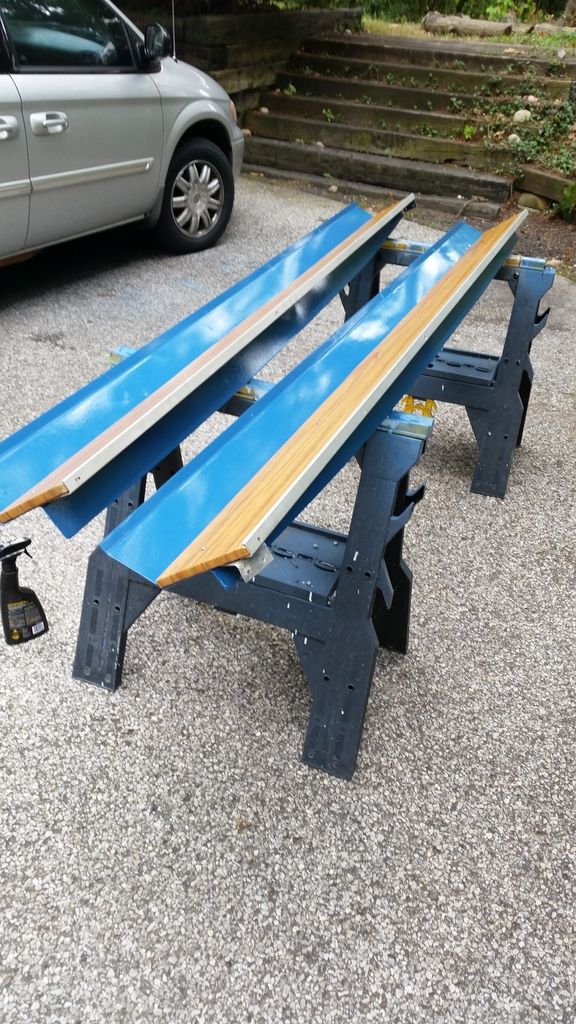
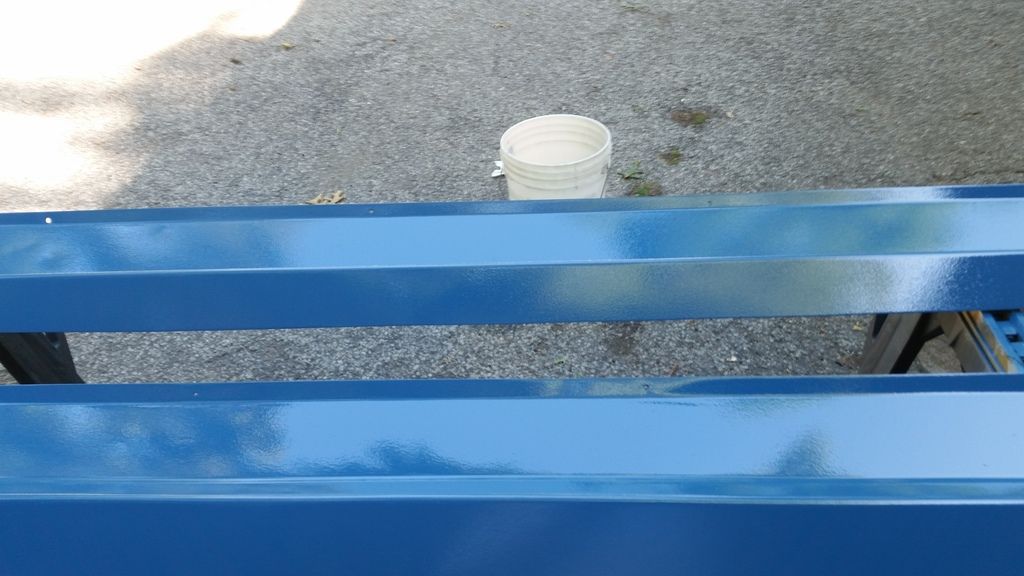
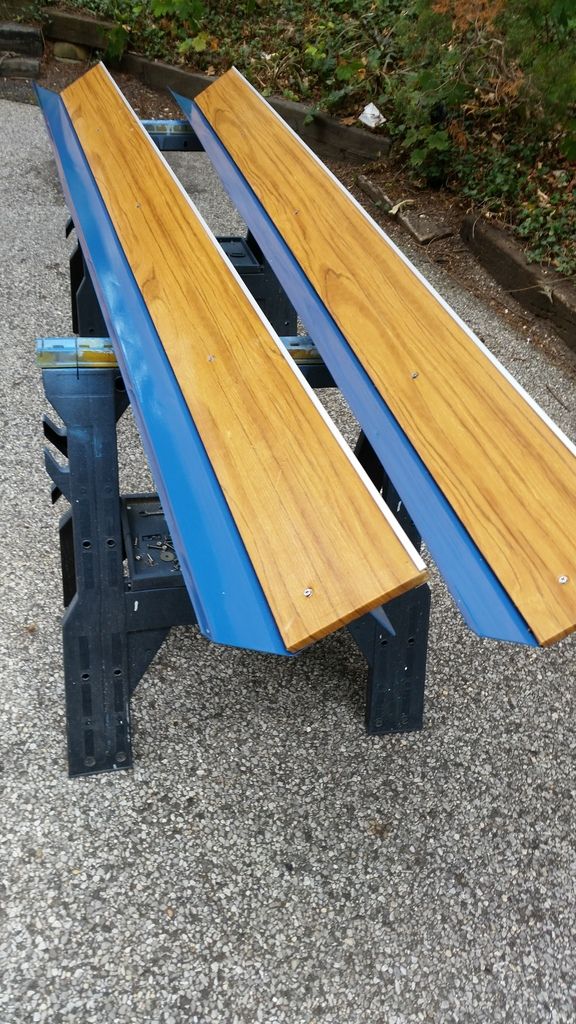
Okay, so the 4th came and went and I have some good and some bad news to report as well as catch up on my progress. First off, I finished the side pieces the night before going up and had to put them back together and back in the boat...with the car packed, my wife and daughter waiting, and the boat hitched to the van. Why does it always work out that way. Here are some pics.


Etch primer cured for a month lol and ready to sand before clean metal primer. No picks of the clean metal primer because I was cooking the paint between coats and getting the gun/compressor/myself ready to attempt the first coat. I must mention here that I had a lot of guidance from a fellow iboater through PM's and later by phone throughout this whole process. I was real unsure of myself and he helped tremendously. I'm not going to mention his name but his initials are WOG. Thanks for all the hand holding and reassurance Woody. The technical side was a huge help too. You got me right on the money with the mix and the gun set up. If only I made sure the little things where working. Lol.

WOG spent a bunch of his time making sure this job went well only for me to shoot the first coat with the compressor unplugged. Some friends stopped by and one of them must have kicked the plug out of the wall. I figured this out while cleaning the gun and realizing the pressure was decreasing. Another problem was with my regulator. It didn't work but it was 8 pm when I started so I adjusted the pressure by ear and went for it. I think it turned our super well considering all that and it being my first time with an HVLP in my hand.

first coat, sorry not too focused.


I wet sanded the heck out of it to flatten out the orange peel, double checked the compressor, cooked some more paint, and went at it. Here it is wet sanded


Watermann

Starmada Splash of the Year 2014
Joined
Jan 12, 2013
Messages
13,753
Nice work :thumb:

I do like blue on boats and home boat paint jobs are certainly passable to me just as long as you don't expect results like a pro using $1500 paint with clear coat buffing.
 

Patfromny

Lieutenant Junior Grade
Joined
Dec 2, 2012
Messages
1,197
I'll tell you what watermann, it layed down so nice compared to what I was expecting. I'm sure I was spraying at 60 or so and I was at about 6 inches away the first coat like the instructions said. Wood had me step back a bunch and it was even better. These pieces get stepped on to get into the boat. How perfect do they really have to be? They matched the floor perfect and look pro when standing over them looking down. I am a rusto fan for sure.
 

Patfromny

Lieutenant Junior Grade
Joined
Dec 2, 2012
Messages
1,197
Here are a few with the wood pieces back on and ready to go back into the boat. My wife and daughter made me stop taking pics because they wanted to get going 😠😤


Patfromny

Lieutenant Junior Grade
Joined
Dec 2, 2012
Messages
1,197
So that all worked out in the end (the bitter end). It wasn't all ice cream, rainbows, and over sprayed now blue driveways though. I had too much going on to commit to spraying these things so I decided to do a few odds and ends jobs whenever I had a few hours...big mistake. I wound up half way through four projects waiting for parts or just jumping back and forth and making no progress on any. The final week I had to finish them all. First, I decided to rewire the trailer it's 4 wires and a ground I thought, how long can that take? Boy oh boy. I removed the old harness only to find the side markers tied into the harness with wire nuts????? The whole trailer gets submerged except for the tongue so no wonder they never worked. I took the new harness out and put it next to the trailer to mark where I wanted to splice in the side markers only to find the harness was only 20 ft long. My trailer is 19 ft. So I shelved that project until I could get a new harness. Since it was early I decided to get at a few dock rash scratches with some rubbing compound. No difference, how about some 1500 paper? Why not just wet sand the whole side? After wet sanding I attempted to rubbing compound the scratches out only to find that it would take me a week by hand to do so. Shelf that project until I can get to harbor frieght and buy a buffer, while I was in a rambunctious mood, I decided to take off one of the bow rails that had a slight bend in it and straighten it in my vise. Well, now there are vise scratches in that, break out the wheel polish...well 1500 seems to work nice before the polish. Now the other rail looks like crap. Oh boy oh boy oh boy.

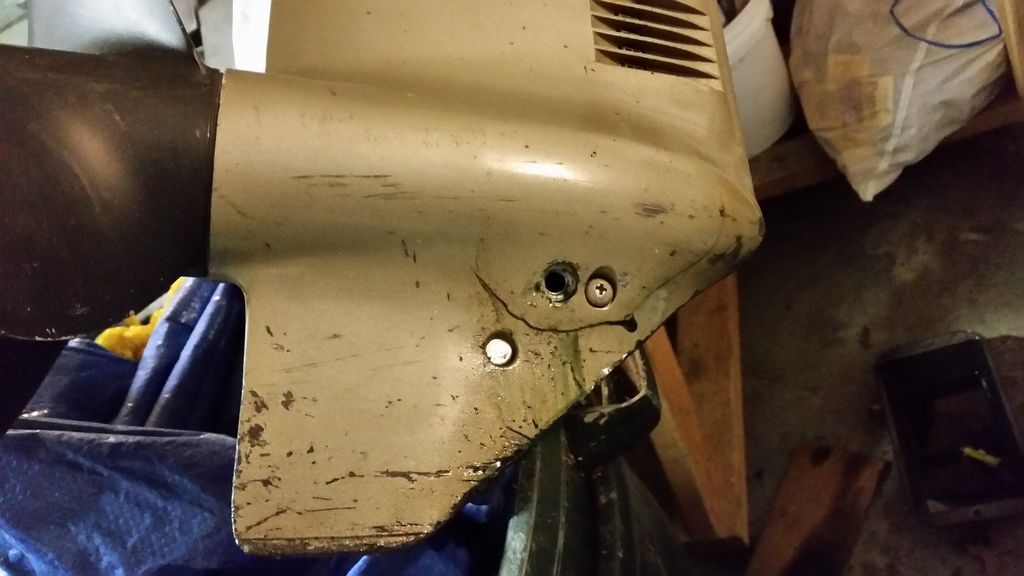
I also put new races and bearings in the hubs. Oh, and a few days before take off I found this.


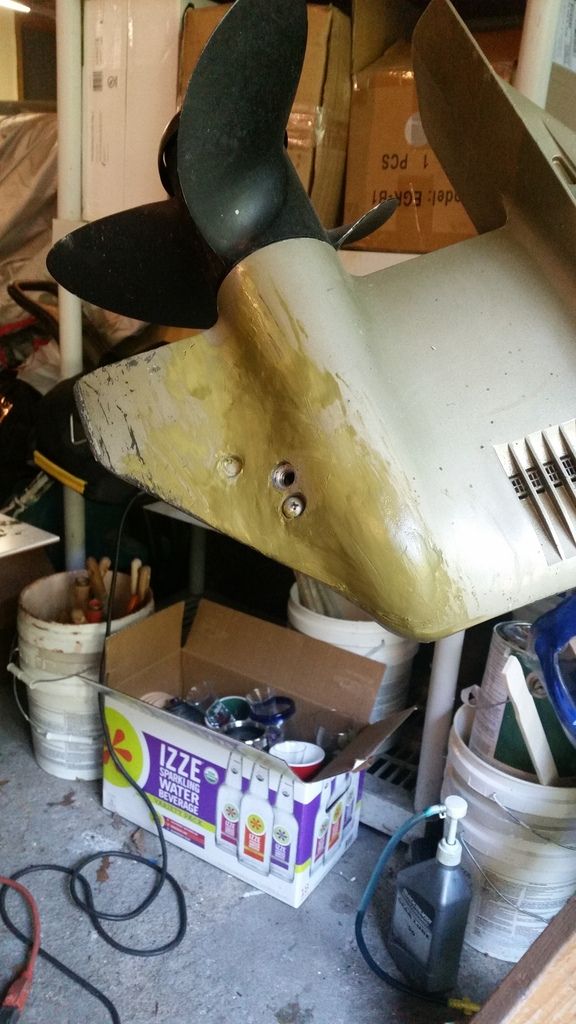
I don't remember there being a smiley face under the drain hole? Craigslist, and eBay from here (long island) to the finger lakes turned up exactly zero lower units for a 78 35 hp. So I did this


Last edited:
Watermann

Starmada Splash of the Year 2014
Joined
Jan 12, 2013
Messages
13,753
Yikes, that's a big crack in the gear case, so what's that you put over it?
 

Patfromny

Lieutenant Junior Grade
Joined
Dec 2, 2012
Messages
1,197
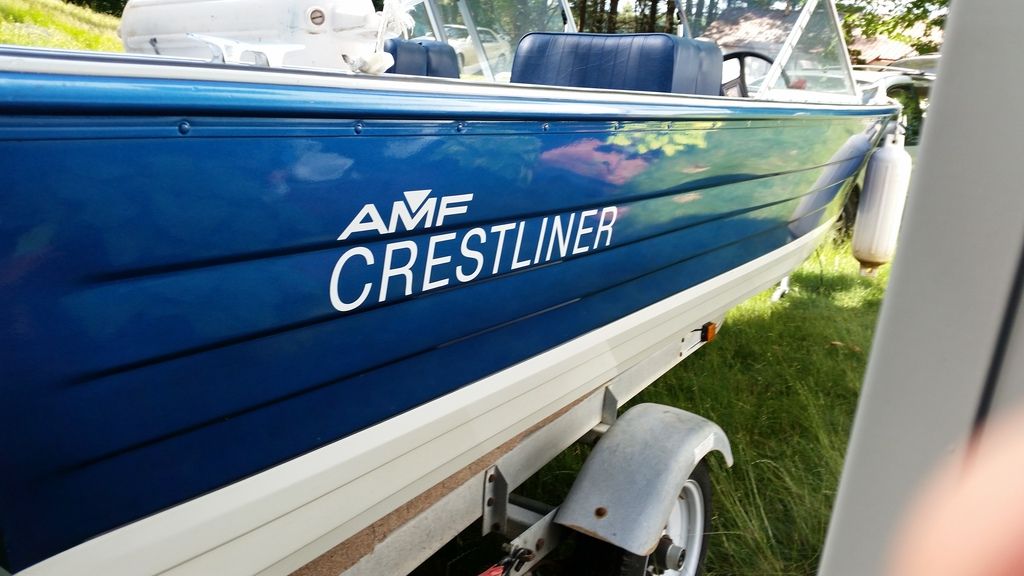
I went to HF and got a buffer cheap...like it wouldn't be. And they also sold a four step meguires buffing system. Home run. While there I was perusing their trailer section and came across a 14 gauge wirE harness for the trailer. Homerun. Brought them home and started buffing. First time with a wheel and after hearing all the horror stories about using one I was nervous. It turned out very well. The side came out perfect. I decided to take the registration numbers off to wet sand since the other side was removed to repaint and I didn't remeber where I got them anyway. The sticker was up anyway so that had to come off. I have been meaning to put AMF CRESTLINER stickers back on since I had it repainted but couldn't find the right length. I Googled them and the right size came up. In the process of buying them I noticed they offered regi. Numbers pre spaced so I pulled the trigger. I needed them anyway and would rather put them on as one piece anyway. They came out great. As did the AMF logo.


I was super pleased with the quality and quick shipping. The Crestliner stickers really wake the blue up too.
 

Patfromny

Lieutenant Junior Grade
Joined
Dec 2, 2012
Messages
1,197
Sorry WM. Was busy typing away. As I have mentioned in past posts, my buddy is a machinist, race engine builder and very smart cookie who comes to my rescue at least twice a year. Probably more. He came over and looked at it and suggested I epoxy it with this marine epoxy they use when they port heads. He could have welded it but we only had 3 days and i had too many projects in the air. I didnt have time to pull out the guts and then throw them back in again. The epoxy is water proof and stands up to gas. It actually cures underwater. I borrowed his aluminum grinding wheel grinder and took off the paint and roughed up the case. I also V grooved the Crack and mixed up a batch of the epoxy. It went on ok but was pulling a bit so the bell in my head went off. Cures under water. I wet my gloves and the stuff was like molding clay. Smoothed out great. My buddy says it could possibly last forever. If it doesn't come apart in the first five minutes, it won't come apart is what he said. It wound up lasting the 4 day weekend with us beating it to death. I lined up another motor while looking for the lower unit. More on that in a bit.
 

Watermann

Starmada Splash of the Year 2014
Joined
Jan 12, 2013
Messages
13,753
The repair may last a long time and you have nothing to loose by trying. Only thing I would've added is to have stop drilled out the ends of the crack so it doesn't try to crack out from under the repair.

You should wake the Crestliner up by finding a 3 cyl 70 HP Johnnyrude. There's lots of them out there and are one of the best motors around.
 
Status
Not open for further replies.
Top