Finnish fishing boat overhaul [Splashed 2017]

Mikeopsycho

Senior Chief Petty Officer
Joined
Feb 6, 2014
Messages
738
I removed the aluminium backing from the poly sheets, some people seem to use aluminium foil as a mold release, so it felt more secure this way. Then again, I spent most of the day sanding and messing around with the sheets because of that.

I think removing the aluminum backing was well worth the extra effort. :encouragement: You gotta be able to sleep :sleeping:, and worrying about whether or not leaving the aluminum on was going to be a mistake might've kept you awake at night.

You're doing a great job, it's a pleasure to watch your progress! :pop2:

I mixed my first batch of PB too thin and too hairy, making it very difficult to work with. The chopped strand is something you can measure out quite easily, but I am on my second gallon bucket of cabosil, and it takes a lot less of it to thicken resin than the first bucket did. It also blends in much easier and quicker, with much less of a cabosil cloud floating around.
 

Red Herring

Chief Petty Officer
Joined
Oct 1, 2012
Messages
536
One of the most productive days this far! With your help and Rick Merrils tips my fillets are smooth! Mixed more than ten batches of PB and managed to get all the parts filleted and ready for tomorrows glassing. Built a cutting table for the mat and cut the pieces for tomorrow, the biggest ones are a scary 223cm x 120cm. The layup shedule will be as follows: 2 x 300g CSM, 1 x 450g biaxial, 2 x 300g CSM, 1 x 450g biax and finally 1 x 150g surface veil. Ought to give me a plenty of thickness if I calculated everything right. The 450 biax will apparently give approx 1 mm of thickness, so it should all end up with about 1/4 inch(6mm).

So tomorrow I'll wake up early, sand a bit, vacuum, wipe with acetone and glass until done. I'll probably forget to eat tomorrow as well, the new PB recipe and the new "methods" made it all so fast and enjoyable. Nothing like the scraping with the hairy mess from yesterday.

I was far too excited to remember to take photos though, I'll try and fix that tomorrow with a before and after shot if nothing else.

Thanks again everyone!
 

Red Herring

Chief Petty Officer
Joined
Oct 1, 2012
Messages
536
Oh, and please excuse the metrics. I've yet to find conversion tables/guides for the different mat thicknesses. Apparently they're measured in some other way as well, so I'm still in the dark with how it could be done.

And yeah, getting rid of the aluminium was surely the right thing to do, as you said Mike I would've probably lost way too many hours of sleep otherwise. I'm starting to recognize that feeling now: you know how it should be done, but you still secretly hope that the easier and less labor intensive way would cut it. In the end I end up doing the extra work every single time, I could just stop having these daydreams and just accept it and get to work much faster...

Edit:

Found some conversion table: apparently the CSM I'm using is 1 oz(weight per square foot), and the biax is 13 oz(weight per square yard).
 
Last edited:
Joined
Aug 17, 2009
Messages
941
Red,

Just went through your thread here. Wow!!! There is going to be some serious boat envy going on around this site when you are finished. (No pun intended) :facepalm:
 

nurseman

Lieutenant Junior Grade
Joined
Jun 2, 2013
Messages
1,045
That is awesome Red! Glad to hear that things worked out for you. Can't wait to see pics of your progress!
 

Red Herring

Chief Petty Officer
Joined
Oct 1, 2012
Messages
536
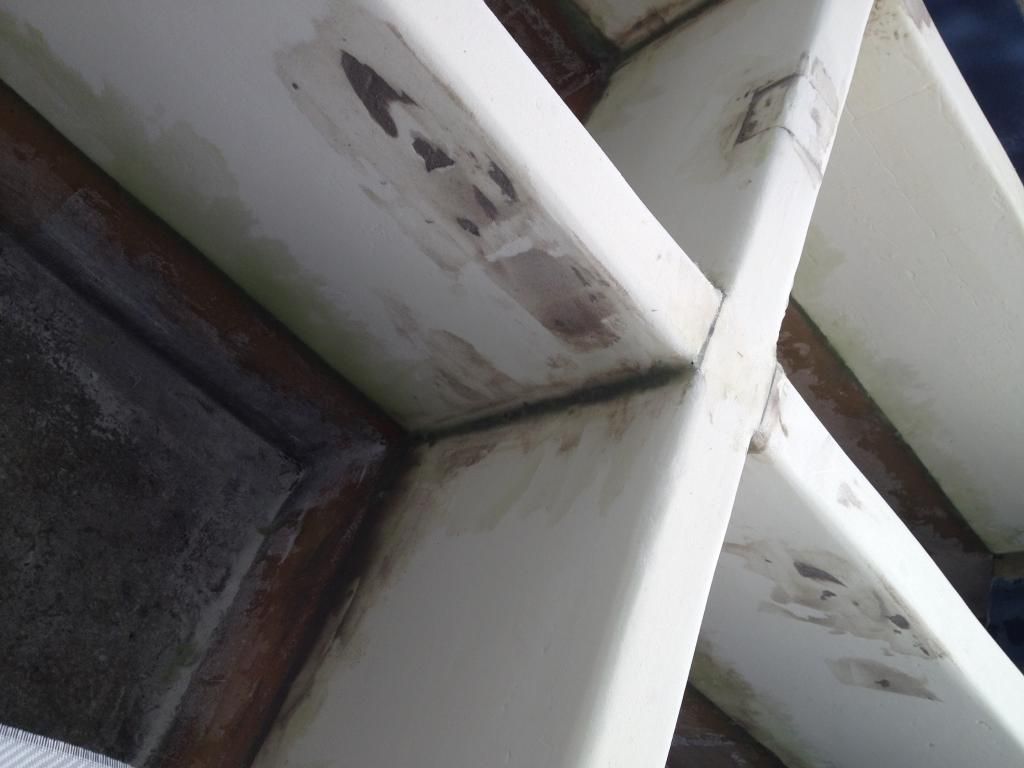
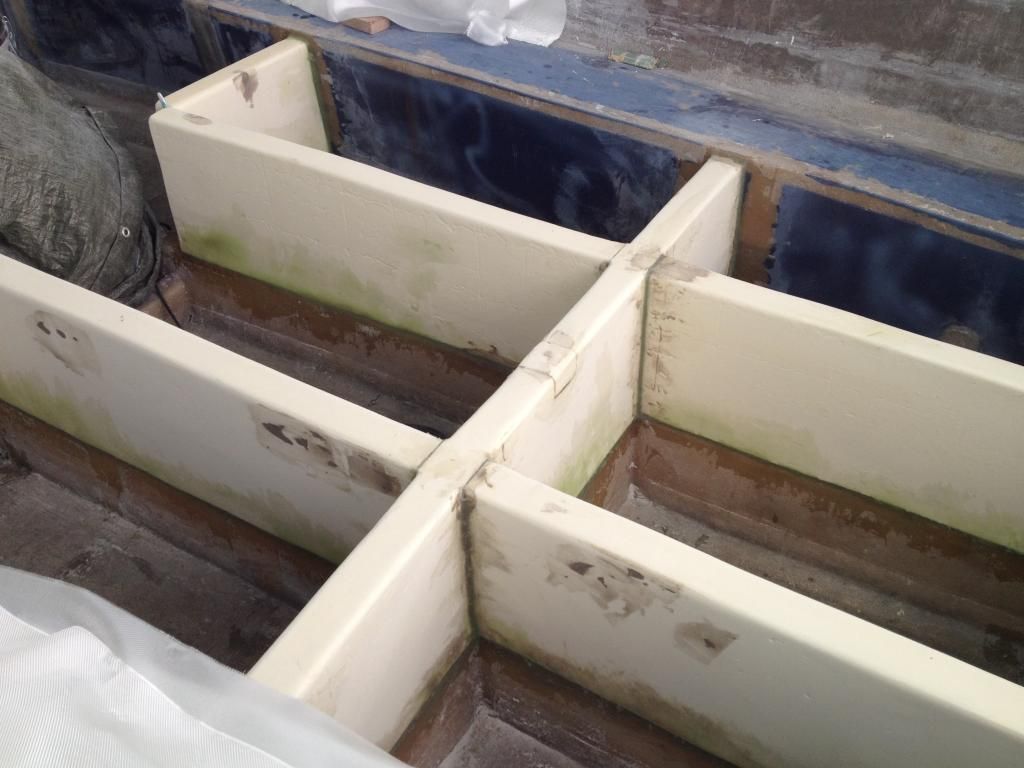
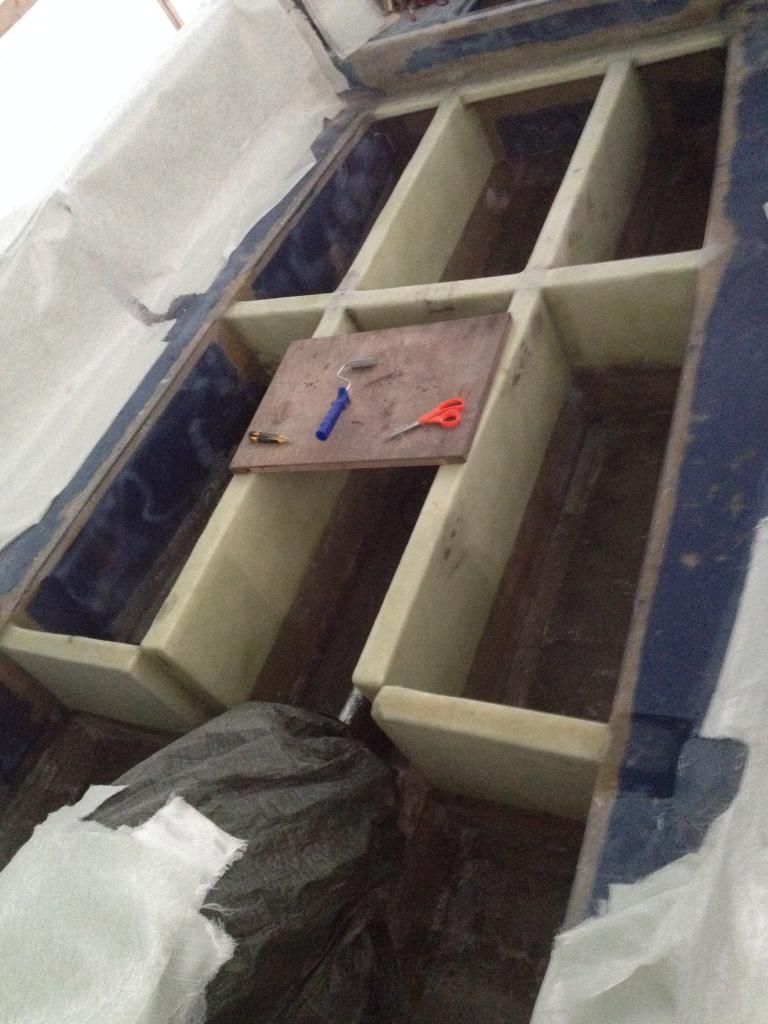
Well, things didn't really go as planned. The sanding took longer than I thought, and then I decided to prefit all the mat pieces I cut yesterday. Six hours later I had fitted the stringer extension pieces and precut everything so they fit nicely even though they're dry. I'll do the same with the bulkhead pieces tomorrow and then start glassing. Had a moment of total chaos when all those 40+ pieces were scattered around the boat, took me an hour just to get it organized. The photos are pre-sanding, and they look quite messy, but I got them reasonably smooth.
 

Red Herring

Chief Petty Officer
Joined
Oct 1, 2012
Messages
536
First layer (!) of csm in place. Took me seven (!) hours. Managed to avoid bubbles this far, will have to see tomorrow and hope for the best. So, apart from being slow I made a horrible mess on the boat floors. Resin everywhere, fiberglass stuck here and there, you know the drill I guess. So tomorrow I'll try and be faster and neater. Will try a roller instead of the 3 inch brush for the wetting, the mess is a bit trickier. I guess it all ends up with more sanding and grinding, big surprise :) Any tips on wetting and rolling vertical surfaces with more finesse? Photos tomorrow when the sun is up. I'll need to drive to town in the morning though, I've eaten bananas for lunch the last two days...
 

Red Herring

Chief Petty Officer
Joined
Oct 1, 2012
Messages
536
Ok, thanks. I'll pick some up tomorrow. I just checked on the curing, everything seems ok apart from five-six bubbles that I'll apparently get to sand and patch tomorrow :)
 

Red Herring

Chief Petty Officer
Joined
Oct 1, 2012
Messages
536
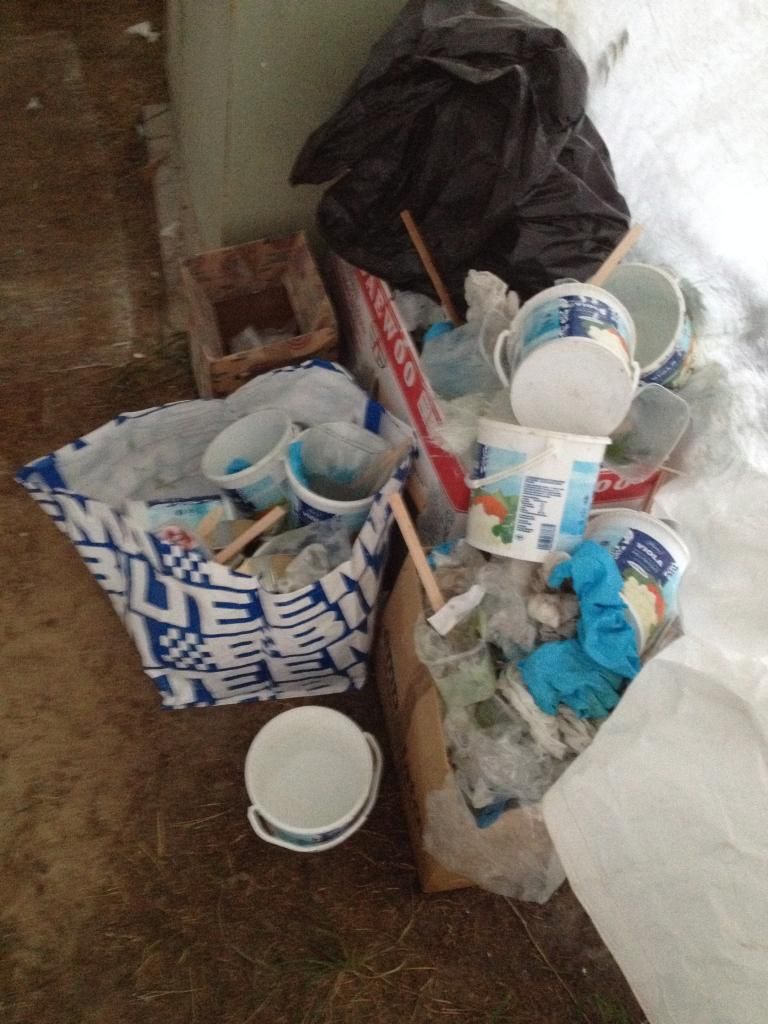
The rollers made all the difference! Buying them and using the tray visible in one of the photos made the work a lot easier and cleaner. There's just one thing though, can I clean the rollers somehow after using apart from acetone? They cost me 6€ a piece(no Harbor freight equivalent close by) and it will get hellishly expensive if I dispose of them after one use.
 

Red Herring

Chief Petty Officer
Joined
Oct 1, 2012
Messages
536
I spent most of the day scraping of the resin mixed with dirt I walked around in yesterday. Then I sanded and filled the holes from the bubbles with peanut butter. So I just got to glass two pieces on today. This time with much more focus and much slower than I tried yesterday. The rollers and other shoes just meant for the boat interior kept everything much cleaner. Spending more time for each piece also made a difference, at least as of now I couldn't see any bubbles anywhere. That's how I'll continue from now on, one piece at a time, proper rollers and a slower speed keeping everything neat and organized. Less stress and no bubbles :)
 

nurseman

Lieutenant Junior Grade
Joined
Jun 2, 2013
Messages
1,045
Red, I will put the roller into a bucket of acetone along with my bubble roller, in between batches, and then use a scrap piece of plywood to roll it dry on. This only works for about one day, I tried to save one over night, but I couldn't get it clean enough, and the next day it was nice and hard and stuck to the frame.:facepalm: I do everything I can to avoid throwing them away until they are ruined. Consumables can really ruin the budget.
 

Rickmerrill

Senior Chief Petty Officer
Joined
Mar 13, 2014
Messages
686
Not sure I understand this statement "can I clean the rollers somehow after using apart from acetone?". Do you want to clean rollers without using acetone? Anyway, I've had good luck reusing rollers by doing this. I use furniture stripping gloves whenever cleaning with solvents. For rollers the first step is to remove as much resin as you can. As Nurseman said a scrap piece of ply or cardboard is good for this and can be reused. Next use a small amount of clean solvent, say about 50-75ml, work it in good then get as much of the liquid out of the roller as you can. You can save that contaminated solvent, covered for nastier cleaning jobs later. For the second and subsequent rounds you can use less solvent but it should be clean. It usually takes three or four rounds. Take the roller off the handle and clean the inside of the roller and outside of the handle. Once the roller dries it can be a little stiff but when you put it in the next batch of resin it will relax and works fine. For me few things are as satisfying as tossing a used roller in the trash after a challenging round of glassing and sometimes I splurge and do that but usually I put on the gloves and respirator, get out the acetone and get to work - just to save a buck.
 

Red Herring

Chief Petty Officer
Joined
Oct 1, 2012
Messages
536
Yeah Rick, that's what I meant. I know I can wash them with acetone the way you described, it's just that I'm going through a lot of the stuff and thought about alternatives. Someone advocated dishwashing powder, might have to try that. Another problem surfaced today. I've got a bunch of tiny bubbles in the laminate. Probably nothing serious, but I'm wondering what could be the cause: I don't stir too vigorously, the surface is properly prepped and clean. The resin and the air temp should match ok. But, I've put the diesel heater on every evening to keep the temp above 15c, so the tent temperature has risen a bit during the evening. Could this be the reason for the bubbles? Would it be better to not turn it on and let the morning heat take care of the curing? Just anxious to let it sit in the cold and moist the whole night.
 

Rickmerrill

Senior Chief Petty Officer
Joined
Mar 13, 2014
Messages
686
Hum, don't think the heat is your problem. Do you see the bubbles immediately or do they take time to develop? Did you see them when you were using the chip brush?
 

Red Herring

Chief Petty Officer
Joined
Oct 1, 2012
Messages
536
They take some time, since I roll out everything during layup, but the next morning/after a few hours they're there. Actually I didn't get as much of them with the brush. The roller is foaming it up somehow?
 

Rickmerrill

Senior Chief Petty Officer
Joined
Mar 13, 2014
Messages
686
Well Red you may have stumped me. I think your mixing technique is ok if you aren't seeing any bubbles after mixing and your rolling technique is ok if you aren't seeing any bubbles immediately after rolling - as long as you are not pushing the roller too fast and once the glass goes translucent move on (don't overwork it). If it was me I'd do a small test layup on a piece of plywood. If you still get the tiny bubbles I'd suspect the resin or catalyst, if you don't get them I'd suspect some form of contamination. Wet-out the bare wood first, let it tack up then apply the CSM and let it cure in a warm/dry place if possible.
 

Red Herring

Chief Petty Officer
Joined
Oct 1, 2012
Messages
536
Haha, I doubt I managed to stump you. I'm probably overworking it with too much speed. Now when you said it I realized the parts that show most small bubbles are the ones I was most "thorough" with: the ones I rolled and mangled for ages. So I'll try and find the golden middle ground from now on, and keep the vigor in check. The resin has some bubbles though when it comes out of the drum, is there something I could do about that? Put down the first pieces of biaxial today, looks good and sturdy. It ought to be tough enough when this is done,
 

Rickmerrill

Senior Chief Petty Officer
Joined
Mar 13, 2014
Messages
686
Phew, I was afraid I was going have to appeal to a higher authority (Woodonglass) to bail me out! You might try letting the resin sit for several minutes before mixing, the bubbles should make their way to the top.
 

Red Herring

Chief Petty Officer
Joined
Oct 1, 2012
Messages
536
So now the first layer of biaxial is in, this is going real slow. But if I want the overlaps to cross then I guess I'm stuck with this. Thinking of laying the two next layers of csm at the same time though. Might have to try that out tomorrow.
 
Top