Finnish fishing boat overhaul [Splashed 2017]

gm280

Supreme Mariner
Joined
Jun 26, 2011
Messages
14,590
Just ordered wax fillet ball tools and some pva. I don't want to do this same job over with the six remaining hatches. Rolling a fifth layer of topcoat today just to make sure I won't sand through...

So the next batch of lid molds will be done really, really carefully and well. I'll screw down the melamine planks to avoid warping and really spend time working those fillets. Then wax, then pva and see if the results are better.

Sounds like a good plan. Surely you will post those results as well... :thumb:
 

Red Herring

Chief Petty Officer
Joined
Oct 1, 2012
Messages
536
I sure will. I made another fairly big decision today. Currently the boat is 220km away from where I live at my fathers summer cottage. Now I'm going to move the boat to a warm indoor spot right next to my flat in Helsinki. This means I will be able to work on it non stop the whole winter and hopefully be done next summer!

I'm really excited, since this makes everything so much easier: buying resin and whatnot can be done much faster, I can actually continue my own life while building, I can get help much easier since it's close by and so on and so on. It's got a concrete floor so everything is clean etc.

And yeah, it's quite expensive as well, but I've been at this for three years now, I'd like to make some proper progress and get done with it!
 

gm280

Supreme Mariner
Joined
Jun 26, 2011
Messages
14,590
I sure will. I made another fairly big decision today. Currently the boat is 220km away from where I live at my fathers summer cottage. Now I'm going to move the boat to a warm indoor spot right next to my flat in Helsinki. This means I will be able to work on it non stop the whole winter and hopefully be done next summer!

I'm really excited, since this makes everything so much easier: buying resin and whatnot can be done much faster, I can actually continue my own life while building, I can get help much easier since it's close by and so on and so on. It's got a concrete floor so everything is clean etc.

And yeah, it's quite expensive as well, but I've been at this for three years now, I'd like to make some proper progress and get done with it!

HA I absolutely know what you're talking about. When I started my boat rebuild, I had this wild idea that it would be a few months and done... that was over two years ago. So life does change how things really turns out instead of how we thing it will go. But I too enjoy the efforts and coming up with new ideas to solve new problems that I have never before tackled. So I will be watching your efforts closely because I really like your abilities and work ethics... :thumb:
 

Red Herring

Chief Petty Officer
Joined
Oct 1, 2012
Messages
536
Oh yes! I can't get a grasp of why my optimism constantly tells me everything will be a walk in the park at first, time schedules are usually paying the price for this mental defect. But maybe some day...

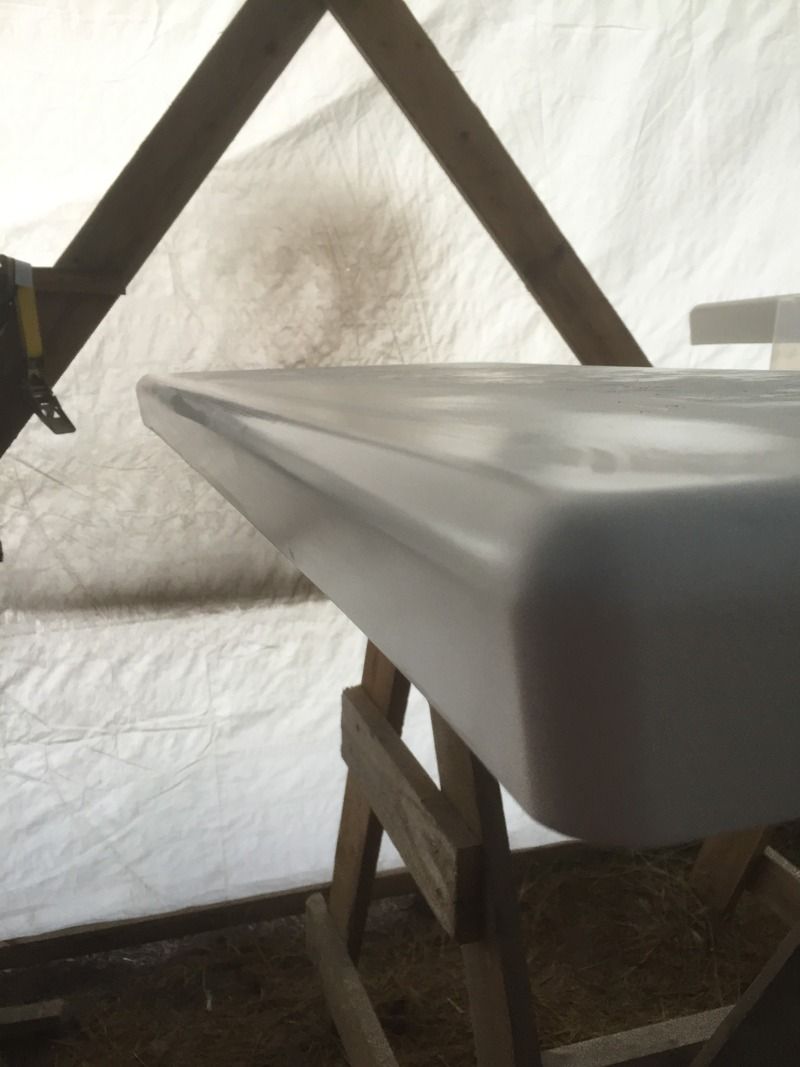
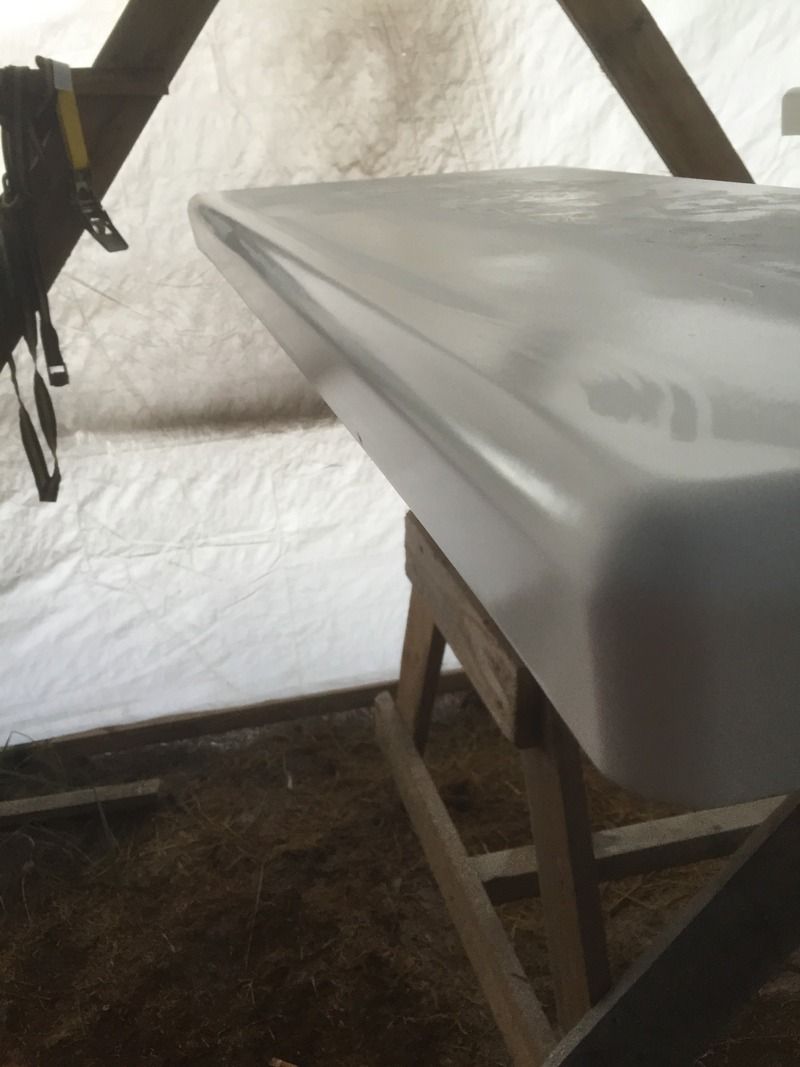
Wet sanded one side of one hatch lid, took me two hours. But at least I now know what I'm up against :) The result is really good though! Well worth the work.
 

Red Herring

Chief Petty Officer
Joined
Oct 1, 2012
Messages
536
Sanded through in a couple of spots, but overall it's going really well. Just need to let my fingers heal for a while and then continue sanding again (I need to start wearing gloves while doing this).
 

Teamster

Lieutenant Commander
Joined
Nov 8, 2010
Messages
1,923
Looks like your making great progress,..............

I look forward to the rest of your build,.
 

gm280

Supreme Mariner
Joined
Jun 26, 2011
Messages
14,590
Sanded through in a couple of spots, but overall it's going really well. Just need to let my fingers heal for a while and then continue sanding again (I need to start wearing gloves while doing this).

Yea sanding can be tedious and tiring. Are you using just your hand or a block sanding application? I usually use a block to get flat finishes. I also use a guide coat because then I know how straight the sanding is going. However, I am also usually sanding on auto finishes and not boat projects...yet! Post those pictures. I want to see... :thumb:
 

Mikeopsycho

Senior Chief Petty Officer
Joined
Feb 6, 2014
Messages
738
Very, very nice work, the hatches look great and you're moving along at a great pace. Congrats on the indoor shop rental near your home! Sounds like it'll make the project so much easier for you.
 

Jeep Man

Commander
Joined
Oct 17, 2008
Messages
2,803
Nice work Red and congrats on the new shop. When you put your rent up against the wear and tear on your vehicle, fuel for the 440 km. trip and 5 to 6 hrs. in travel time you might find your saving money, not to mention how much more convenient it will be.
 

Red Herring

Chief Petty Officer
Joined
Oct 1, 2012
Messages
536
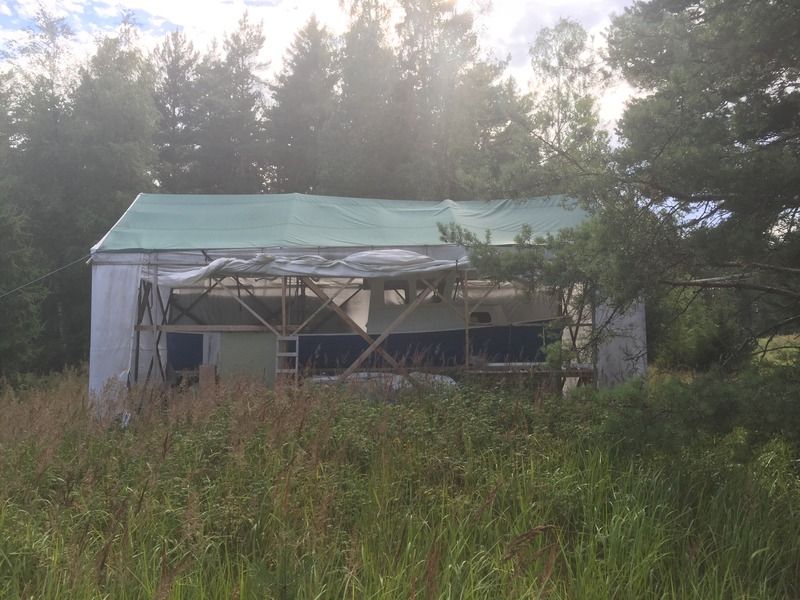
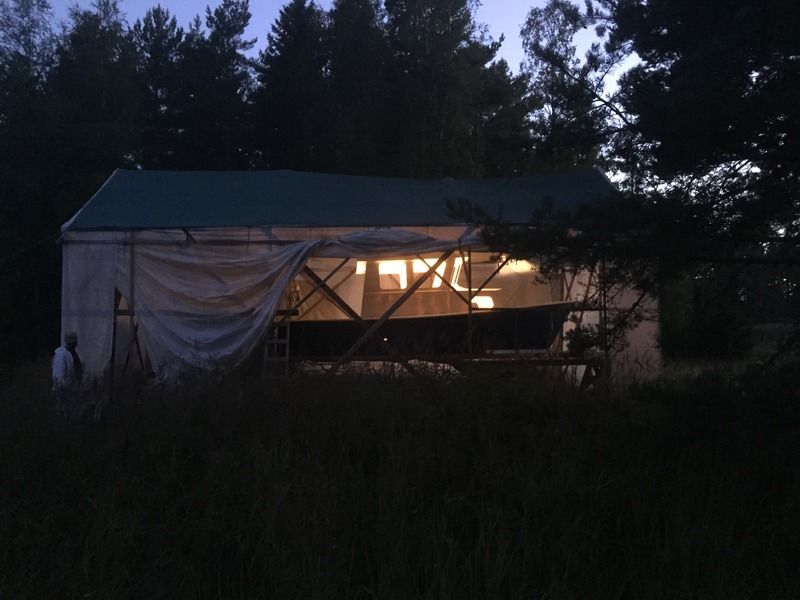
Thanks guys! Now the new shop is official and the contract is done. The only problem will be dust control, I'll have to build some light tent around it again to keep the dust inside.


After 320!
 

gm280

Supreme Mariner
Joined
Jun 26, 2011
Messages
14,590
Red, I always like seeing your pictures. You do such fine work. Yes any time you sand anything, the dust can get overwhelming really quick. I hope you are using some protection against that dust. Like a good dust mask or a 3M 6700 filtered half face respirator. I like that 3M respirator myself. It doesn't interfere with breathing and keeps all dust away... What is you plans of the hatch covers? Are you looking to paint or what. Because they really look good at 320 grit effort. Are you dry sanding or wet? I recently repainted an old car and wet sanded with 600. It was so smooth I almost left the primer that way and not painted it. But the paint finish was amazing after it was all finished... Keep posting your pictures... :thumb:
 

Red Herring

Chief Petty Officer
Joined
Oct 1, 2012
Messages
536
I'm wet sanding with a small oblong block that's originally intended to work as a "sand paper cleaner". It doesn't really work in the intended way, but it makes a nice hard rubber block for sanding!

I'm going to continue with 600 grit at least, possibly 1000 as well. Then just wax the edges and after paint the non skid with a mohair roller and some silica blended in the top coat. Of course I'll still need to install the latches and topcoat the inner side.
 

Red Herring

Chief Petty Officer
Joined
Oct 1, 2012
Messages
536
And yeah I'm using P3 dust masks from Scott of course. The shop tent will have to be sealed well enough not to contaminate all the other boats in the same premises, so that'll take some taping and such. It doesn't have to stand up to snow/rain or wind though, so the construction can be fairly flimsy even. If you guys have any ideas on how to build such a tent with the least amount of work then please let me know!


Oh and yeah, Jeep man. The thing is I don't even have a drivers license, that's why I bought the moped so I could get some food while building :) But your point is very valid nonetheless, I'm paying 70? for the trip here from Helsinki, that makes 140? just to come over once. That adds up quickly (approx 200 dollars each time I guess).
 
Last edited:

gm280

Supreme Mariner
Joined
Jun 26, 2011
Messages
14,590
Red, When I built a make-shift tent when I painted the car, The PPG auto Paint store had these huge plastic tarps (for lack of a better word) that were extremely cheap, very thin and were huge. So maybe you could find something like that. I believe two sheets would build most any tent you would ever need. And if you have access to such things, bricks, blocks, wood anything could be used to hold down the tent on the inside or out on the bottom. That would save taping it... Just an idea... Keep posting... :thumb:
 

nurseman

Lieutenant Junior Grade
Joined
Jun 2, 2013
Messages
1,045
If you are using poly, then 3M's Super 77 Spray Adhesive works awesome to stick edges of poly together. Way faster than taping.
 

Red Herring

Chief Petty Officer
Joined
Oct 1, 2012
Messages
536


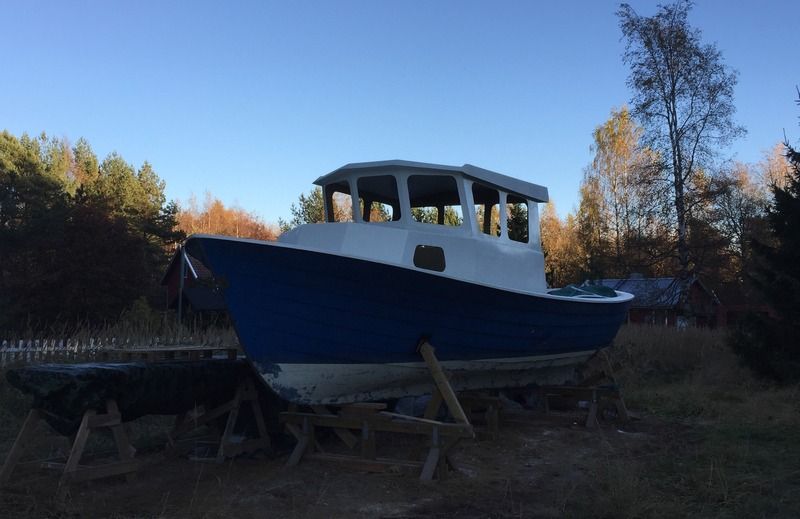
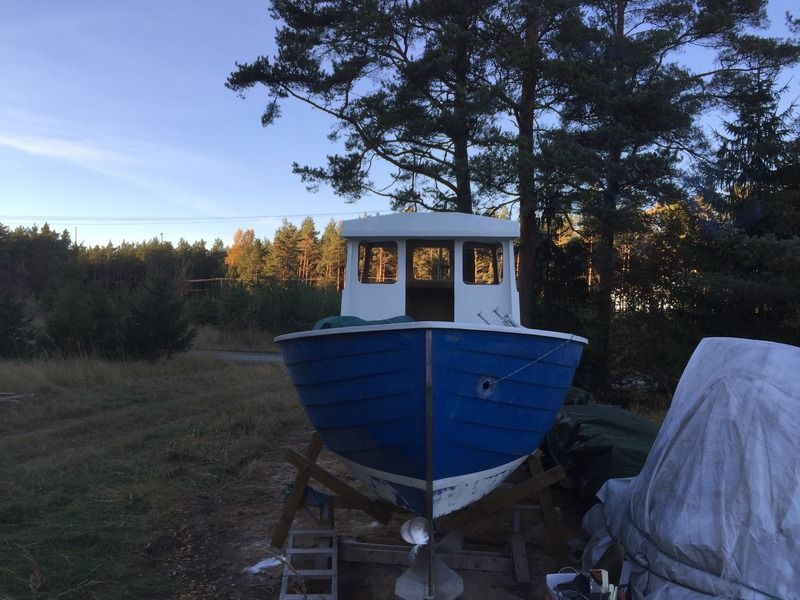
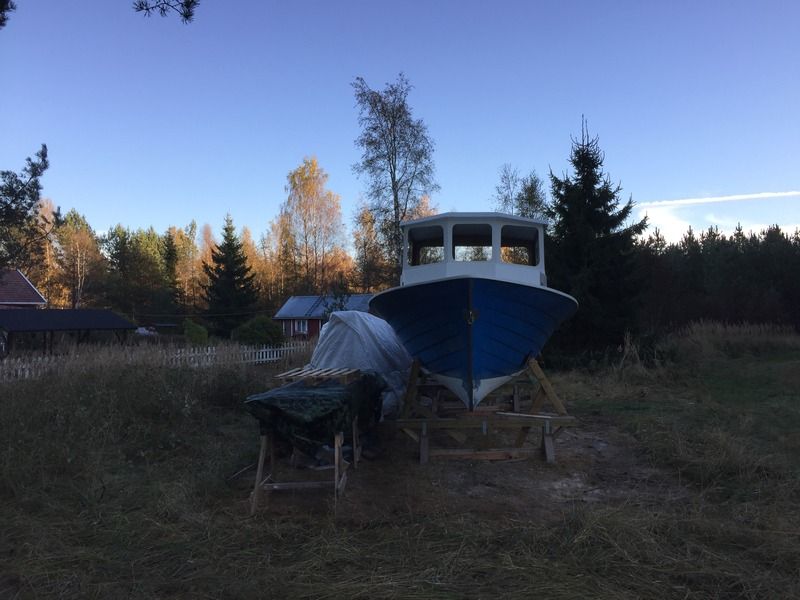
The cabin is glassed now, the darker shot shows the final alignment. The lighter one was the first version, but it looked like it's toppling over. So I had to compromise a bit and pull the cabin backwards. Now we'll have to step out from the insides a bit differently, but it looks better imo.

Anyhow, now it's done so no changing minds anymore :)
 

gm280

Supreme Mariner
Joined
Jun 26, 2011
Messages
14,590
Looks like it would work pretty well to me...go for it... :thumb:
 

Red Herring

Chief Petty Officer
Joined
Oct 1, 2012
Messages
536


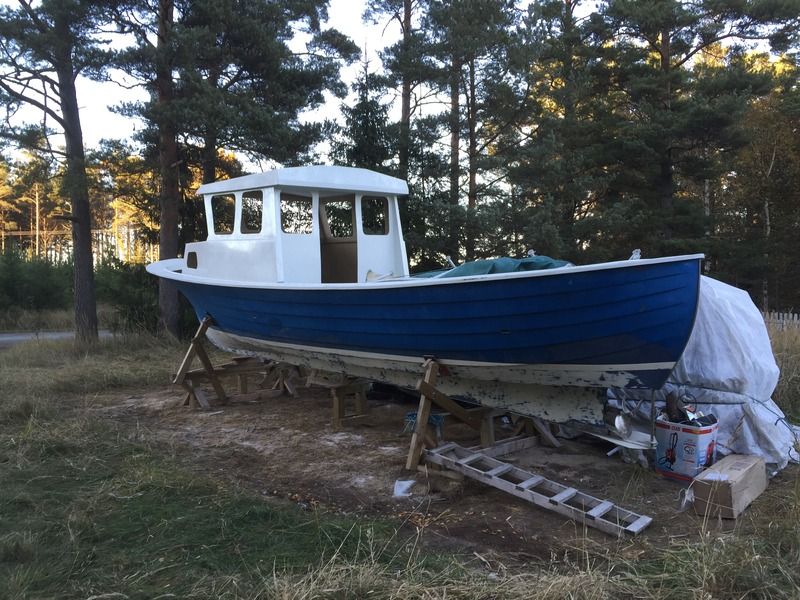
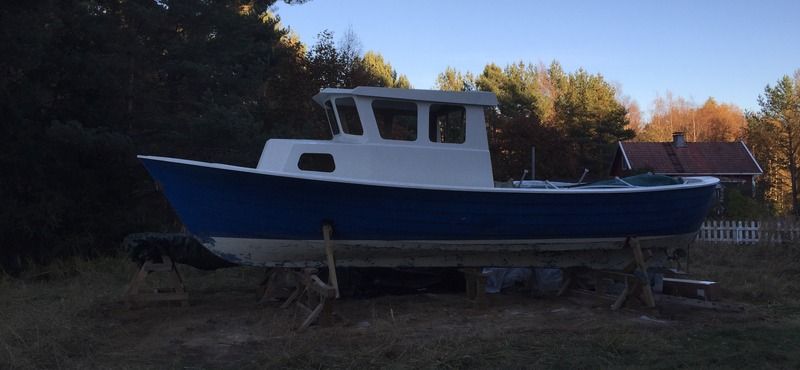
Here we go again! The tent is down and I finally got a good look at the boat from all angles. The pilothouse is a bit wide, but all in all I think it looks good! Very excited to start working on it again.
 
Top