Finnish fishing boat overhaul [Splashed 2017]

nurseman

Lieutenant Junior Grade
Joined
Jun 2, 2013
Messages
1,045
Cool! I'm sure you will come up with a good method of installation.:thumb:
 

gm280

Supreme Mariner
Joined
Jun 26, 2011
Messages
14,593
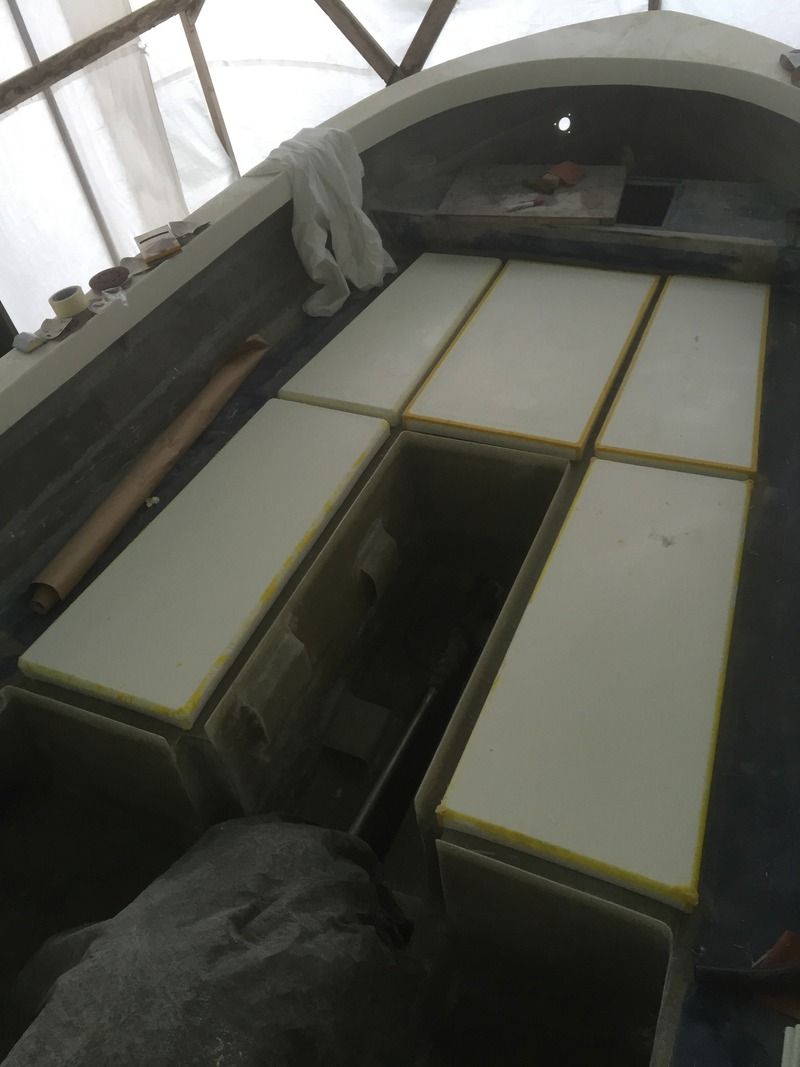
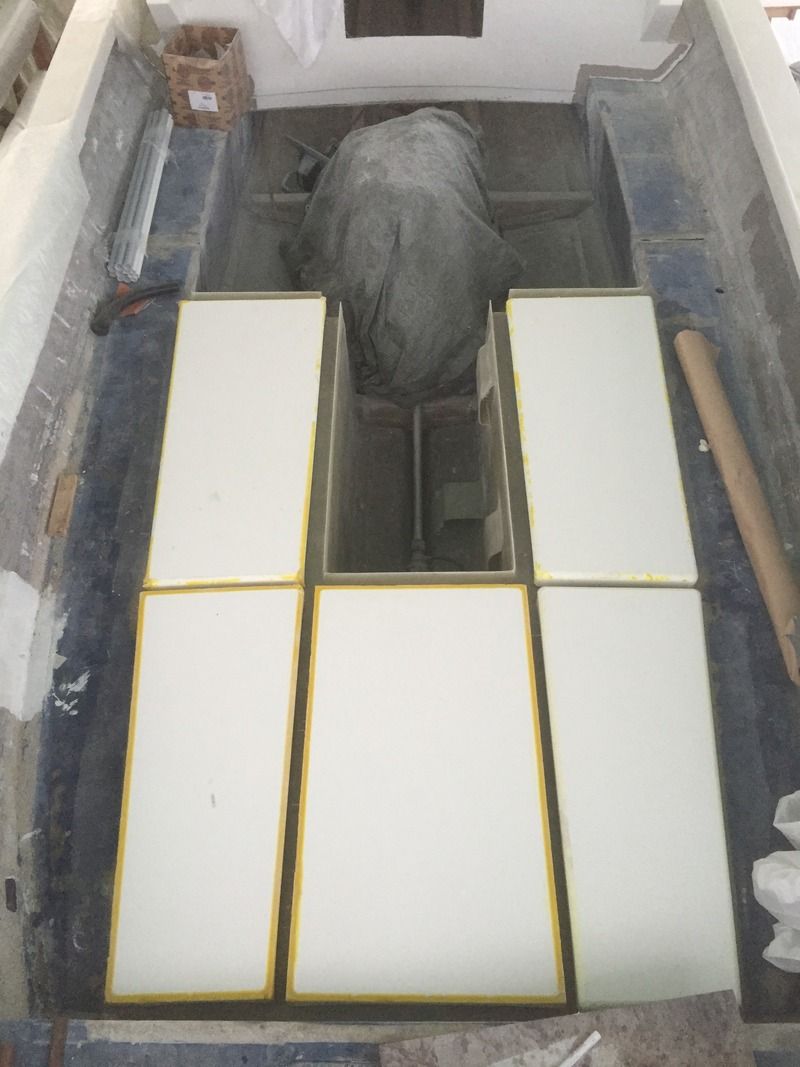
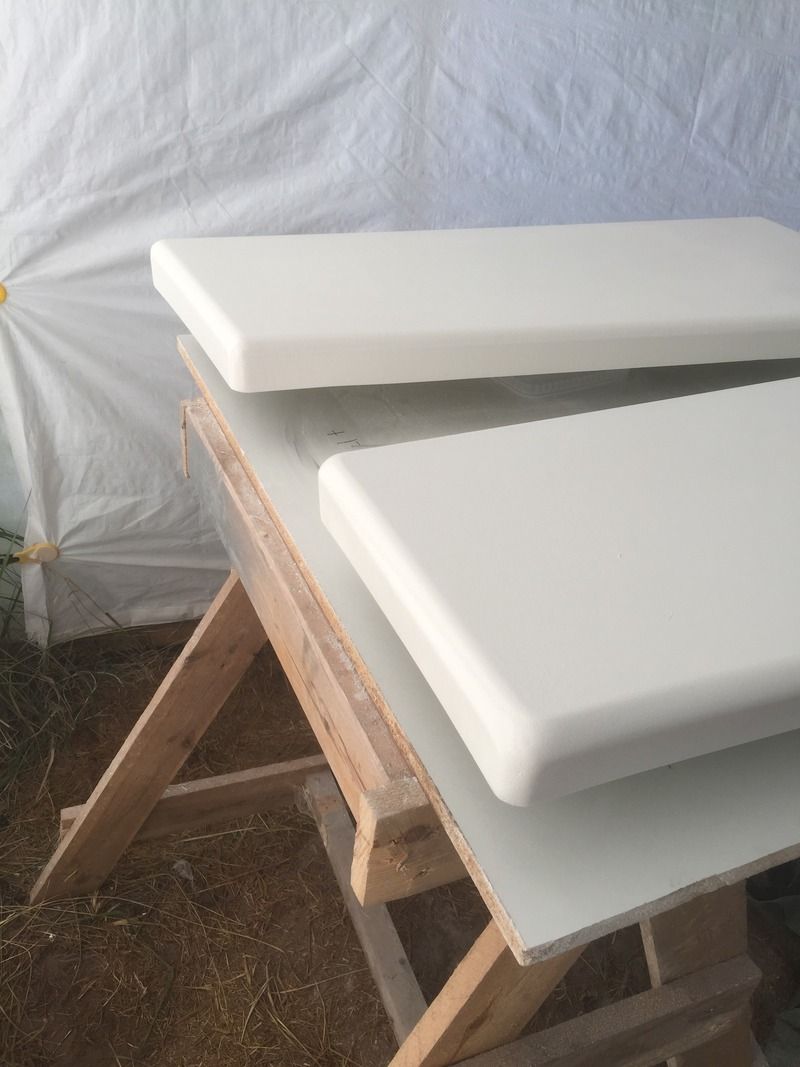
Red, I am extremely impressed with your hatch lids. What did you use for the underside support? They are certainly professional looking for sure... :thumb:
 

Red Herring

Chief Petty Officer
Joined
Oct 1, 2012
Messages
536
Thanks to you both. I'm quite happy with them, there's quite a lot of small blemishes and cracks to fix though, but we ought to get that sorted out by tomorrow. The core material is plain old divinycell!
 

Red Herring

Chief Petty Officer
Joined
Oct 1, 2012
Messages
536
Now we've spent two days sanding, fairing and sanding the lids again. Burnt through the gelcoat due to uneven fillet molds many times. Now the form is good, now we'll just have to try and fix the spots. Not quite sure how it'll work as of yet.
 

Red Herring

Chief Petty Officer
Joined
Oct 1, 2012
Messages
536
Any tips on fixing gelcoat burn throughs? Thinking of rolling and tipping first once/twice and reeeeally gently sanding with 320 grit or finer?
 

gm280

Supreme Mariner
Joined
Jun 26, 2011
Messages
14,593
Any tips on fixing gelcoat burn throughs? Thinking of rolling and tipping first once/twice and reeeeally gently sanding with 320 grit or finer?

That depends on how "straight" you want the lids. If you are going to truly flat straight lids, EverCoat makes a really good body filler called Z-grip that you mix with a hardener and use a fat spatula type application tool. Wait about 10 minutes or less and start sanding. It sands like butter and is non-clogging and is really nice product. If you long board it with a cross hatch pattern and guide coat you can make them look amazing. It is really up to you what you're wanting... JMHO
 

Red Herring

Chief Petty Officer
Joined
Oct 1, 2012
Messages
536
Hmm. Ok, the lows are filled with a mixture of topcoat and silica as of now, and all the high points are sanded down. Some of the high points left polyester showing from underneath the gelcoat and after all the sanding and work the gel coat is really thin in some places as well. So my idea was to add more topcoat and sand it down, I'd just like to avoid bumps and keep it all nice and smooth?
 

gm280

Supreme Mariner
Joined
Jun 26, 2011
Messages
14,593
Hmm. Ok, the lows are filled with a mixture of topcoat and silica as of now, and all the high points are sanded down. Some of the high points left polyester showing from underneath the gelcoat and after all the sanding and work the gel coat is really thin in some places as well. So my idea was to add more topcoat and sand it down, I'd just like to avoid bumps and keep it all nice and smooth?

If you're wanting to stay with polys and such then more of the same and feather the edges as needed. I just know how hard it is to sand poly. It seems to gum up the paper really quick...
 

Red Herring

Chief Petty Officer
Joined
Oct 1, 2012
Messages
536
It sure does, but yeah I'd still like to stick with it (since that's the stuff I've got at hand). Guess I'll have to overlap the paint quite a bit to make big and "smooth" feathered edges so the repair isn't visible.
 

Mark72233

Ensign
Joined
Jul 11, 2014
Messages
926
Red, isn't it past your bedtime :sleeping:. Hard to think that it is 11:55pm where your at right now right :confused:. The hatches are looking awesome.
 

Red Herring

Chief Petty Officer
Joined
Oct 1, 2012
Messages
536
Yeah it's midnight now, and I probably should be going to bed! The colleague working here with me makes me adhere to some sort of decent sleeping cycle with early wake ups and proper lunches and all that. I hope I can post pics of some finished lids tomorrow!
 

Red Herring

Chief Petty Officer
Joined
Oct 1, 2012
Messages
536
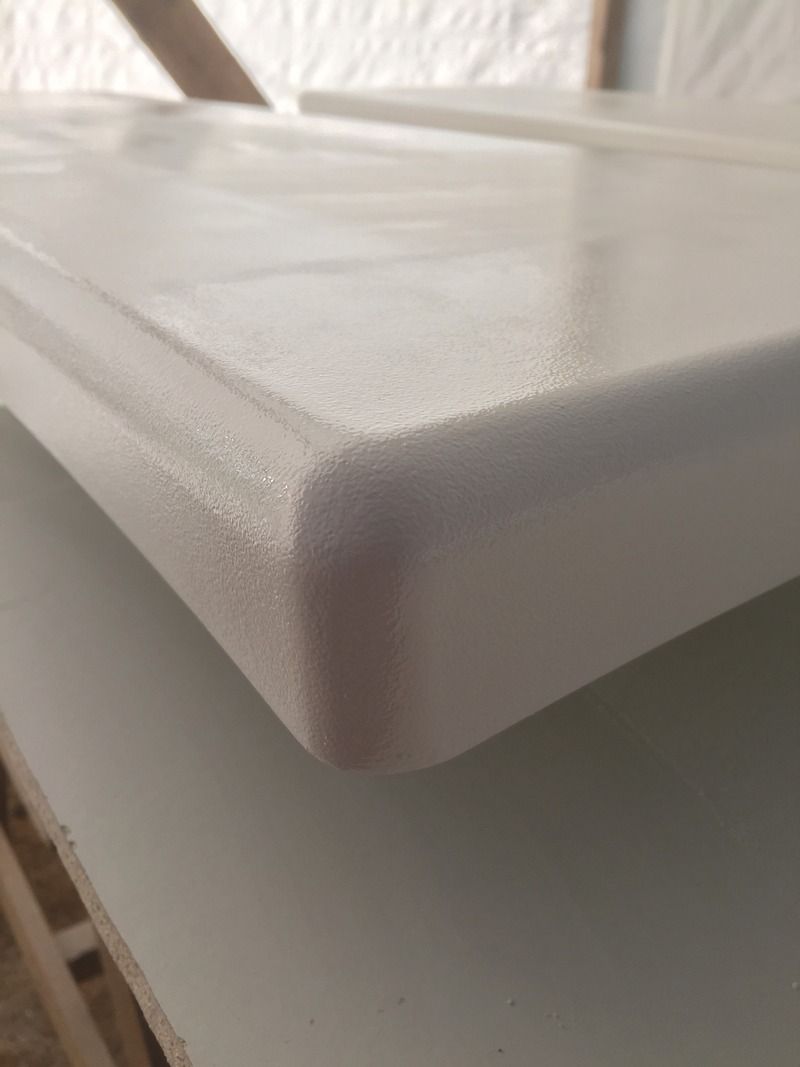
Ended up rolling all the sides of all the hatches evenly with a foam roller four times. The roller leaves a noticeable but low orange peel that should be distinctive enough to know when to stop sanding. Will try 320 wet sanding first, and see what happens.
 

Mark72233

Ensign
Joined
Jul 11, 2014
Messages
926
Those look really good Red. They look like you bought them from a manufacture which I guess you kind of did, Red Herring Boat Hatch Company :thumb:
 

gm280

Supreme Mariner
Joined
Jun 26, 2011
Messages
14,593
Red, I can see a pebbled finish, but nothing I would worry about. It looks pretty good with that finish. Not sure I would sand them out myself... :thumb:
 

Red Herring

Chief Petty Officer
Joined
Oct 1, 2012
Messages
536
It's my backup finish if I can't seem to get the sanding working well, but the hull will have that particular finish and I'd like there to be a difference. We'll see!
Thanks again!
 

Red Herring

Chief Petty Officer
Joined
Oct 1, 2012
Messages
536
Just ordered wax fillet ball tools and some pva. I don't want to do this same job over with the six remaining hatches. Rolling a fifth layer of topcoat today just to make sure I won't sand through...

So the next batch of lid molds will be done really, really carefully and well. I'll screw down the melamine planks to avoid warping and really spend time working those fillets. Then wax, then pva and see if the results are better.
 
Last edited:
Top