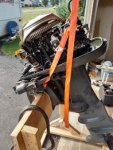
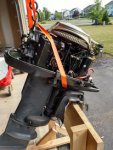
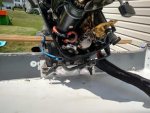
I see. it looks like your motor has a different type of mount where there isn't room to insert the bolt. Just push the bolt through from the inside and put the nut on the outside.

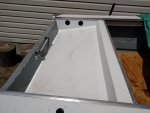
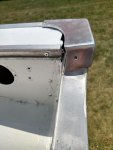
We're talking about the circled hole right?
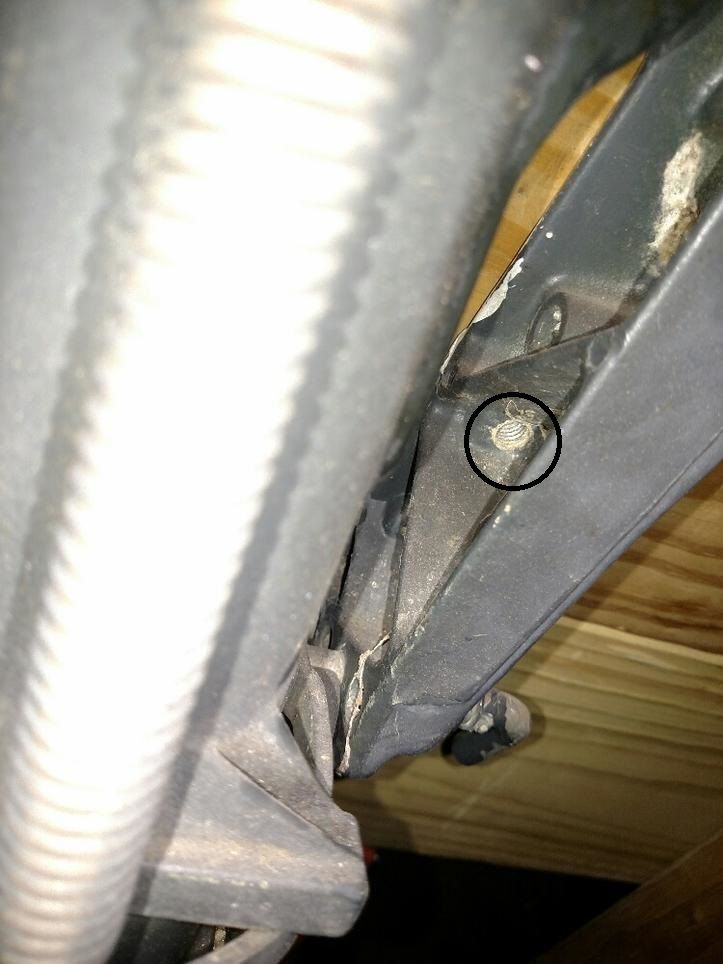
That one looks to be threaded (If it's not it could be very easily) to be through bolted from the inside, no nut required.
Hang the motor, mark the holes, remove the motor, and drill the holes.
Marking holes in tight place - Simplest is a whittled down pencil, More complicated - Make marking studs from some of the appropriate size all thread(threaded rod) grind an end to a centered point, leaving some threaded portion cut off a small bit of the rod. With the motor off thread your marking studs into the holes so that the point is just barely out. Hang and position the motor then give the brackets enough of a tap to register the hole locations.
Hope that makes sense.
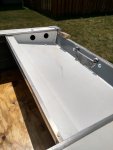
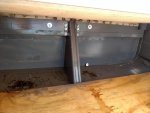
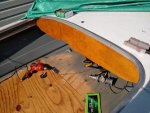
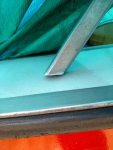
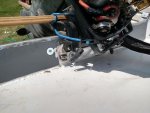
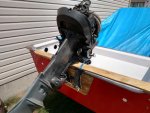
Best I got is to ignore the original holes and see if you can position the caps so they cover the gap and look good. If so mount using new holes. Might also have to consider fabbing up some simple filler panels.
Worst I got is to unrivet the sides of the SW and see if you can move the trans with say a ratchet strap or the likes to make alignment better.
I'd obviously chose the first choice
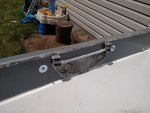
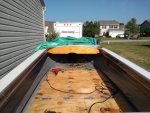
I've run into the misalignment problem before and was able to coax the stern back into shape and use the original holes by angling a ratchet strap and pulling back in alignment.
No I had to do the strap pull on my SN so that wouldn't be much help on your SC. You thinking a bit too much got cut off the end of the gunnel?
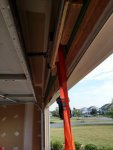
Oh man what a bummer to have those little setbacks so close to the finish line. :blue:
Looks like you were able to recover and by posting mistakes it gives others a chance in the future to learn the easy way rather than the hard way. :thumb: