1970's Aluminum Mckenzie Cherokee Runabout Rebuild

Status
Not open for further replies.

jhendery

Petty Officer 1st Class
Joined
Jun 14, 2012
Messages
336
In the event I go ahead with new pedestals and bases what are good functioning, quality made pedestals? I have been doing some research and think an adjustable pedestal is the way to go. Ideally I just want something functional that is well built.

I found these kits at BPS that have base, post and seat mount

http://www.************/Bass-Pro-Sh...t/product/1212070202/?cmCat=CROSSSELL_PRODUCT

Or these base and pedestals

http://www.************/Explorer-Pedestals/product/23469/?cmCat=CROSSSELL_PRODUCT

Don't think I am going with removable pedestals instead the base and pedestal will be permanently anchored to the 3/4" deck.

What size hardware should be used?
 

jhendery

Petty Officer 1st Class
Joined
Jun 14, 2012
Messages
336
In terms of mounting hardware for the pedestals I think I need to go with SS self taping screws? Not sure of any other way without removing the deck..
 
Last edited:

jhendery

Petty Officer 1st Class
Joined
Jun 14, 2012
Messages
336
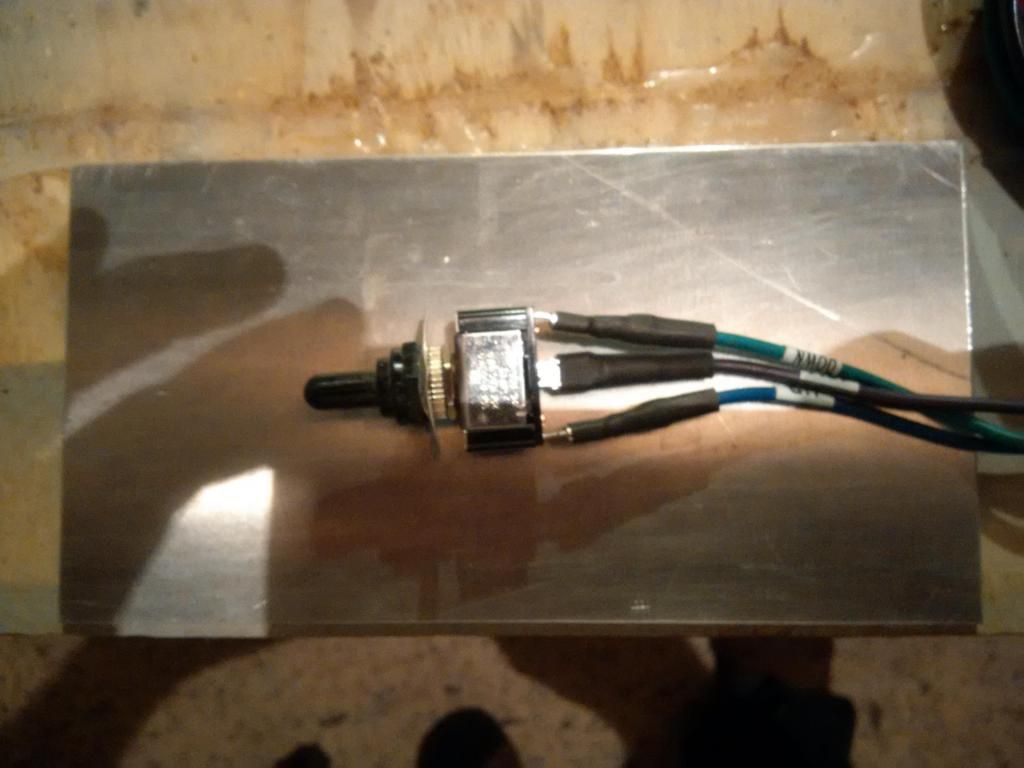
Got a piece of 4" x 8" x 1/8" aluminum. Think it should work well to mount the switches.

Measured the diameter for the cmc tnt switch - I think around 7/16". Does the base rest flush behind the mounting plate? There are two fasteners that can be tightened when the switch is passed through the plate.


Thinking about another list. Need to track these things. :)

Going to pickup pedestals tomorrow after work. Likely go with non adjustable pedestals - driver side 9" and passenger 15". Just not sure how much I want first mate exposed to the elements. 15" would likely make the height too tall.
 

jigngrub

Fleet Admiral
Joined
Mar 19, 2011
Messages
8,155
In terms of mounting hardware for the pedestals I think I need to go with SS self taping screws? Not sure of any other way without removing the deck..

1/4-20 bolts and T-nuts will be your strongest build, but that will require removing and replacing the deck again.

For an "on top" install I'd go with a #14 SS sheet metal screw, big gnarly threads that grab! The threads of a self tapper will be too fine and can strip out upon installation in just plain wood and will eventually pull out in just plain wood. The sheet meatl screws will grab the wood and a stringer too if you hit one.

Predrill your holes first before installing sheet metal screws.

http://www.homedepot.com/p/Unbrande...s-2-Pack-34611/202706527?N=5yc1vZc2bwZ1z0yg27
 

jhendery

Petty Officer 1st Class
Joined
Jun 14, 2012
Messages
336
1/4-20 bolts and T-nuts will be your strongest build, but that will require removing and replacing the deck again.

For an "on top" install I'd go with a #14 SS sheet metal screw, big gnarly threads that grab! The threads of a self tapper will be too fine and can strip out upon installation in just plain wood and will eventually pull out in just plain wood. The sheet meatl screws will grab the wood and a stringer too if you hit one.

Predrill your holes first before installing sheet metal screws.

http://www.homedepot.com/p/Unbrande...s-2-Pack-34611/202706527?N=5yc1vZc2bwZ1z0yg27


Awesome. Thanks Jig.
 

jhendery

Petty Officer 1st Class
Joined
Jun 14, 2012
Messages
336
Picked up a few items last night. Bow light, 12 v bilge pump and one 9" 2 3/8 pedestal.

I think I may re-use my stern light. Will post pictures later ...

New list hopefully for this weekend.

- mark and drill switch holes in switch plate (switches on order)
- mount switch plate to dash using SS hardware (maybe)
- roll second coat of TC primer onto bow and gunwales topside
- sand 320 Kingston grey port and starboard sides
- roll second coat of Kingston grey port and starboard sides
- roll 1st coat of ocean blue onto bow and gunwales topside
- re-assemble lower unit seals and propeller
- install control box mounting board
- install control box

That's it for now. More to come.

Have a good one folks! :)
 

jhendery

Petty Officer 1st Class
Joined
Jun 14, 2012
Messages
336
Got a few things done yesterday ...

- mark and drill switch holes in switch plate (switches on order)
- mount switch plate to dash using SS hardware (maybe)
- roll second coat of TC primer onto bow and gunwales topside
- sand 320 Kingston grey port and starboard sides
- roll second coat of Kingston grey port and starboard sides
- roll 1st coat of ocean blue onto bow and gunwales topside
- re-assemble lower unit seals and impeller
- install control box mounting board
- install control box

Red = complete

Need to pickup more SS hardware this morning and a marine battery. Then mount the control box.

Be interested to hear ideas how to secure battery to deck. Maybe a strap is the way to go.

Should be able to hit topside bow and gunwales with 320 and roll and tip ocean blue second coat.

Have a great day folks!

:)
 
Last edited:

jigngrub

Fleet Admiral
Joined
Mar 19, 2011
Messages
8,155
You need to install one of these for your battery:
http://www.************/webapp/wcs/st...=battery+boxes

It'll catch any acids that may leak out and prevent the accidental contact of terminals.

Edit:
Search marine battery boxes on your favorite marine supply site... the competitor censor kicked in on that Basspro link to battery boxes.
 
Last edited:

jhendery

Petty Officer 1st Class
Joined
Jun 14, 2012
Messages
336
You need to install one of these for your battery:
http://www.************/webapp/wcs/st...=battery+boxes

It'll catch any acids that may leak out and prevent the accidental contact of terminals.

Edit:
Search marine battery boxes on your favorite marine supply site... the competitor censor kicked in on that Basspro link to battery boxes.

Thanks Jig. I purchased a battery box with lid from BPS last year. Got a little ahead of myself. :) And lo and behold there was a strap packaged inside with mounting hardware. So I should be good to go.
 

jhendery

Petty Officer 1st Class
Joined
Jun 14, 2012
Messages
336
Hit the topcoat with 320 and rolled a second coat of ocean blue.

Also got the control box mounting board and box installed. :)

Took La Boat to the marina and going to have a technician connect everything and fire up the outboard. Fingers crossed!

Hope to get bow light, stern light and bilge installed this week. Waiting for the switches to arrive. And on the weekend install the windshield.

And if all goes well splash La Boat and see how she handles.

Have a good one eh!

:)
 

jhendery

Petty Officer 1st Class
Joined
Jun 14, 2012
Messages
336
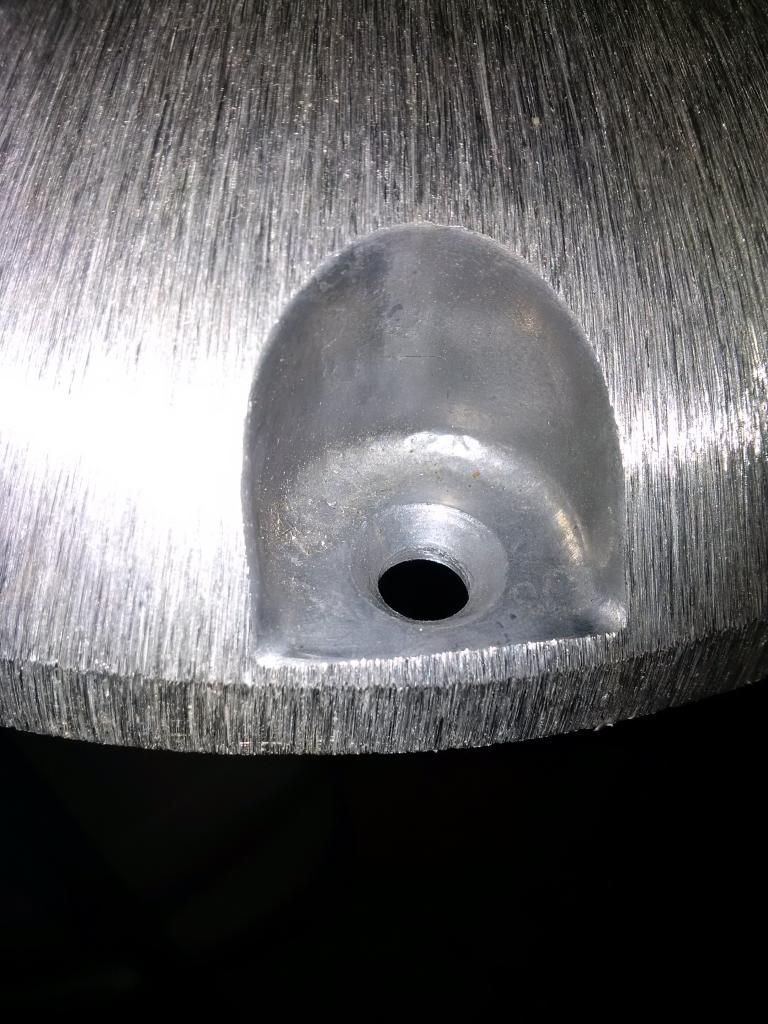
Here is the pedestal. Holes are countersunk.


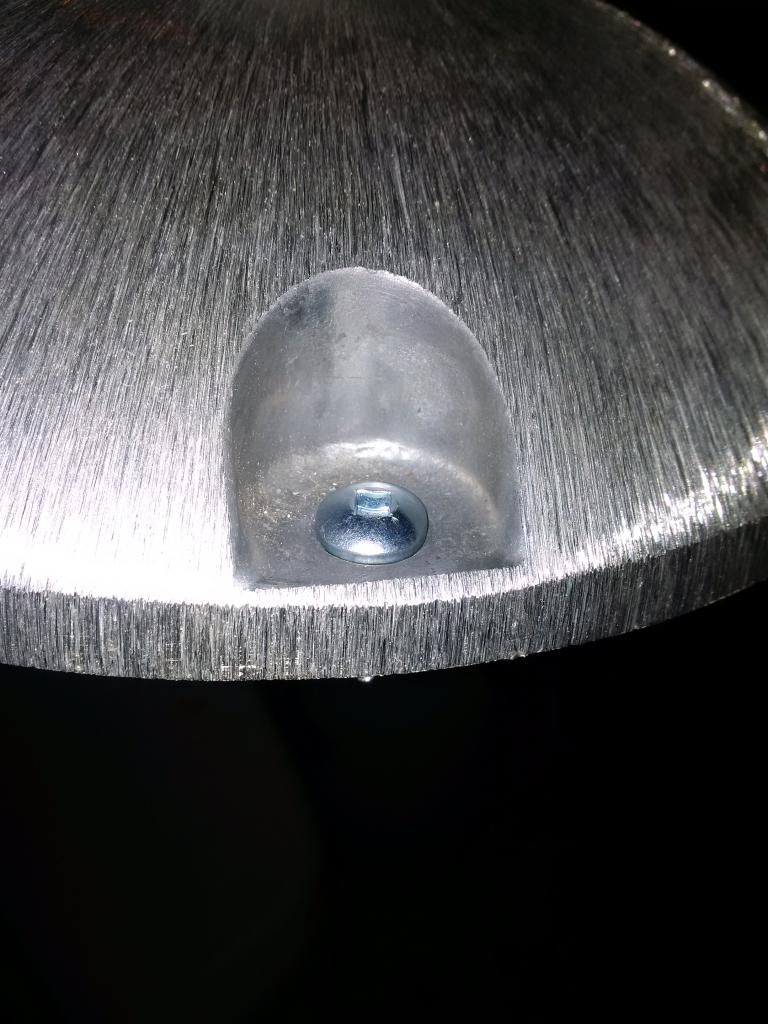
#14 metal screws placed in pedestal


Are the screws supposed to sit at the bottom? Seems like the heads are too large?

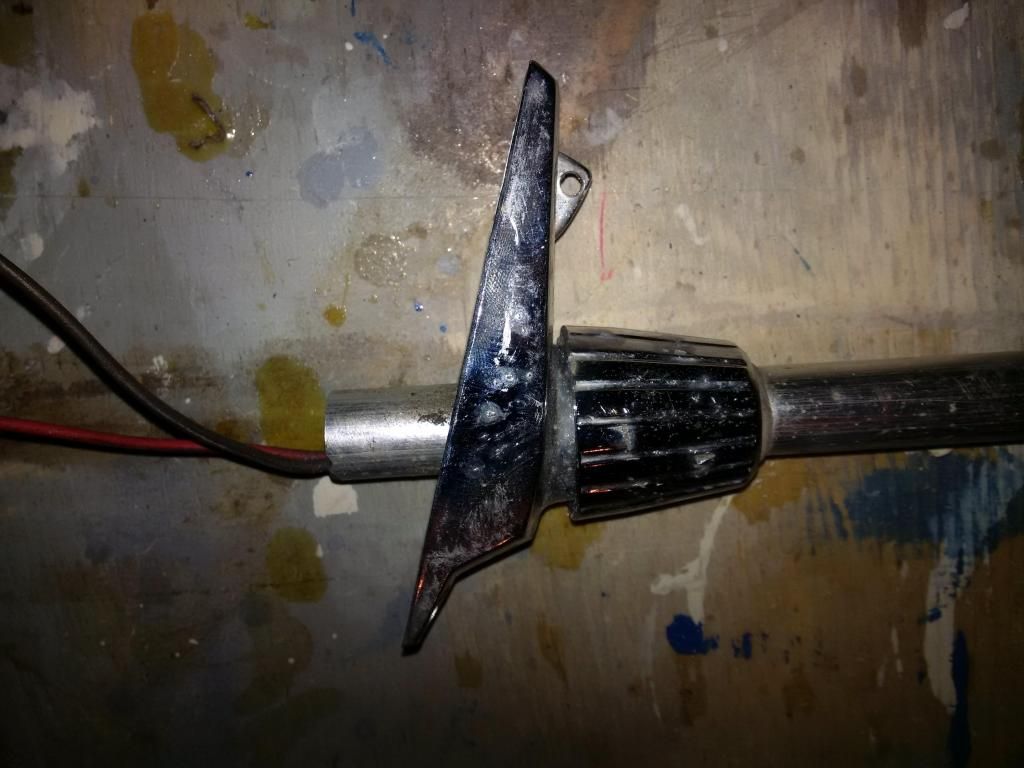
Here is the original stern light for La Boat. I think the base is missing but not really sure.


jhendery

Petty Officer 1st Class
Joined
Jun 14, 2012
Messages
336
Do the #14 screws look like they're the right size? Head diameter seems too large. 1" screws would penetrate about 1/2" into the deck. Would need to go with 1 1/2" screws.

Curious to know about how to mount stern light. The stern light pictured above ^^^^ does not have a base. A 3/4" hole would need to be drilled to fit the tube and then screwed down from topside. Doesn't seem right?
 

jhendery

Petty Officer 1st Class
Joined
Jun 14, 2012
Messages
336
Hey folks. I've requested this thread be moved to the Cherokee boats forum. I just think La Boat rebuild deserves to be grouped with other Cherokees. At this stage I think there's only one other thread. LOL But what the heck gotta start somewhere.

Please look us up in the Cherokee boats forum and keep in touch. Enjoy hearing from all contributors.

http://forums.iboats.com/Boats/Cherokee-Boats

And splash is approaching !!!!!!!!

:) :) :)
 
Last edited:

jhendery

Petty Officer 1st Class
Joined
Jun 14, 2012
Messages
336
Got a few more things done this weekend.

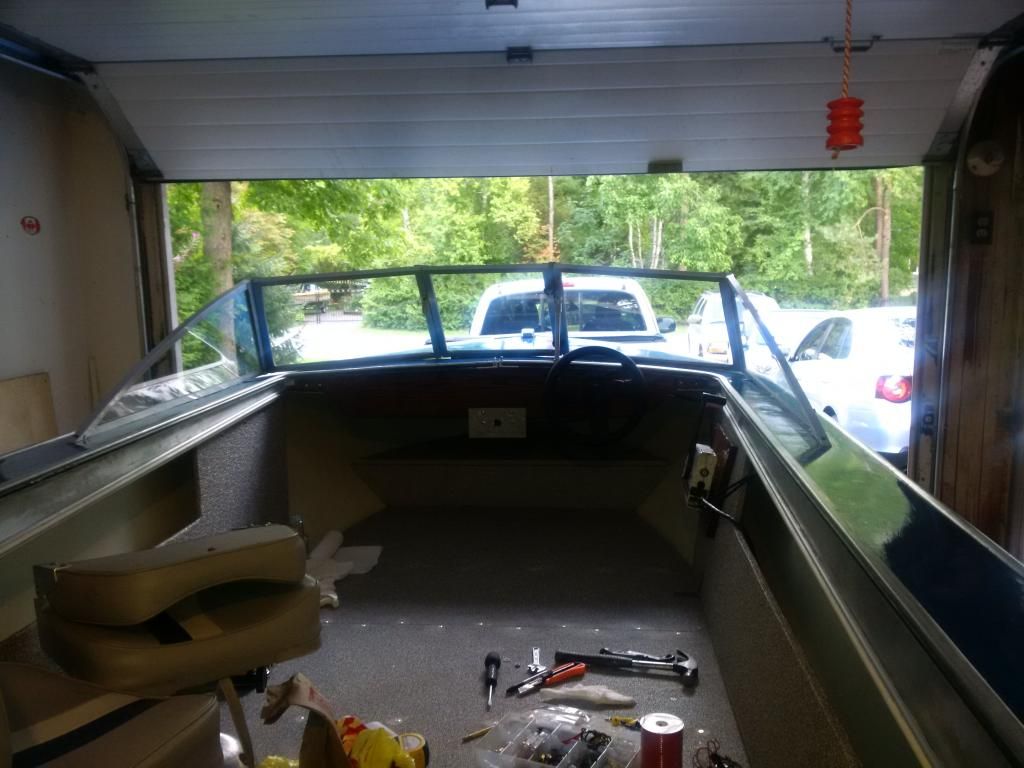
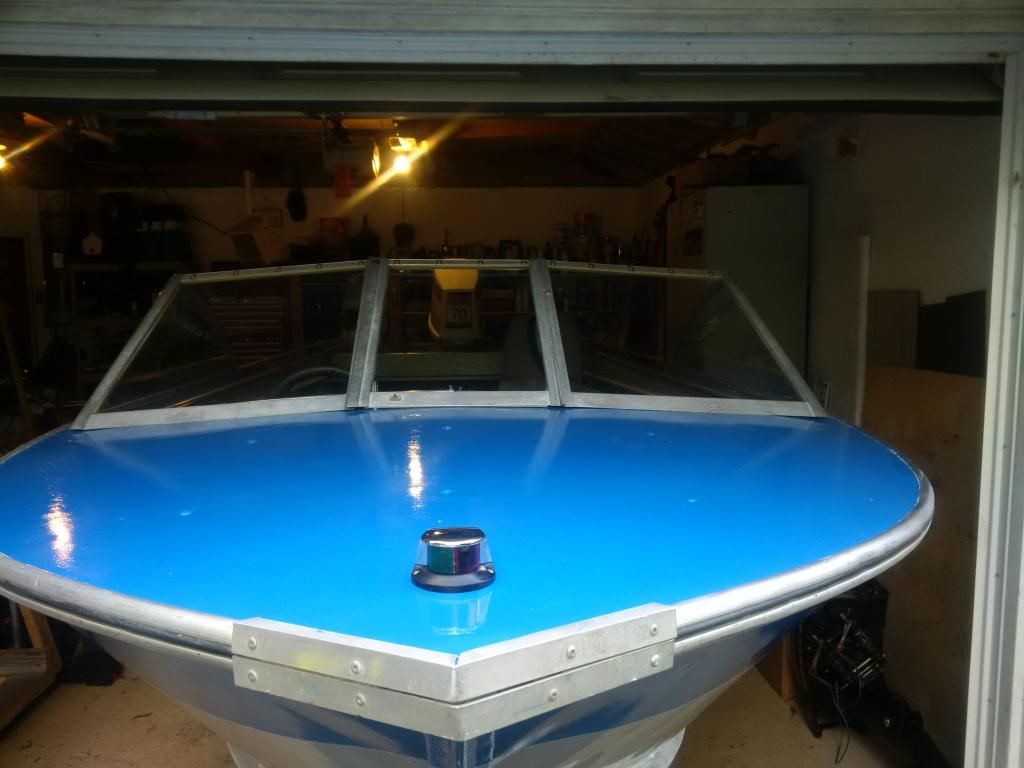
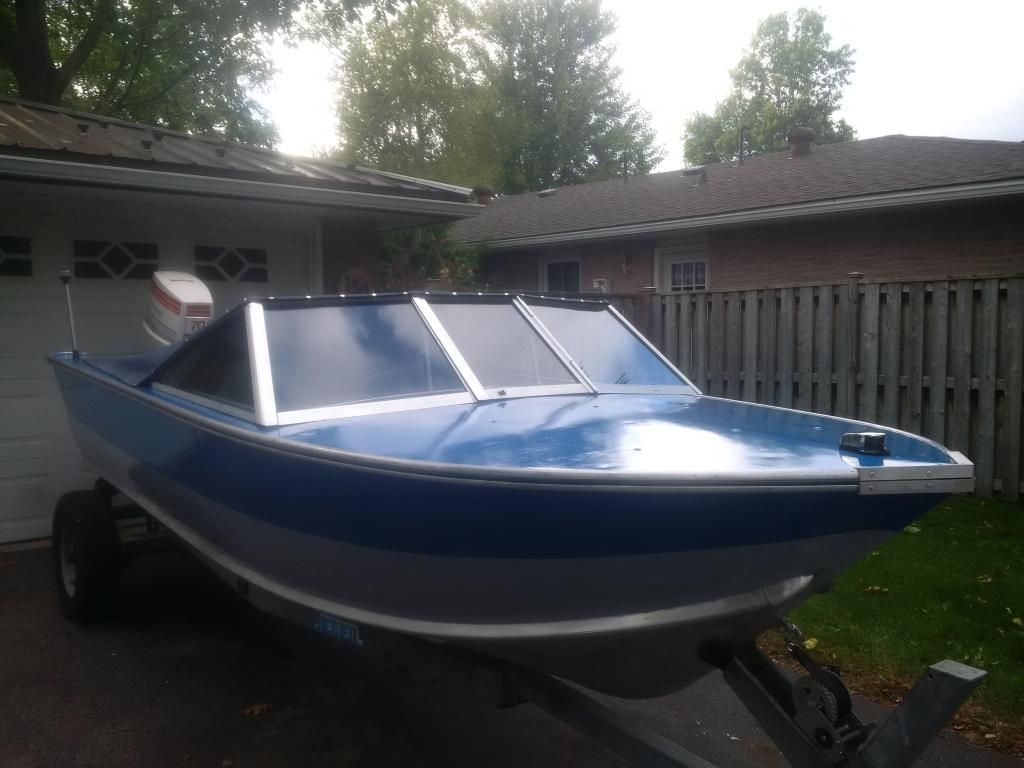
Windshield installed. Takes some time to line up each piece but it fits alright and I like the way it looks. :)

Still need to connect front supports - should be able to get this done Thursday.

Also got the switch plate installed and switches mounted into place. Look below the dash.


Bow light installed


Stern light installed


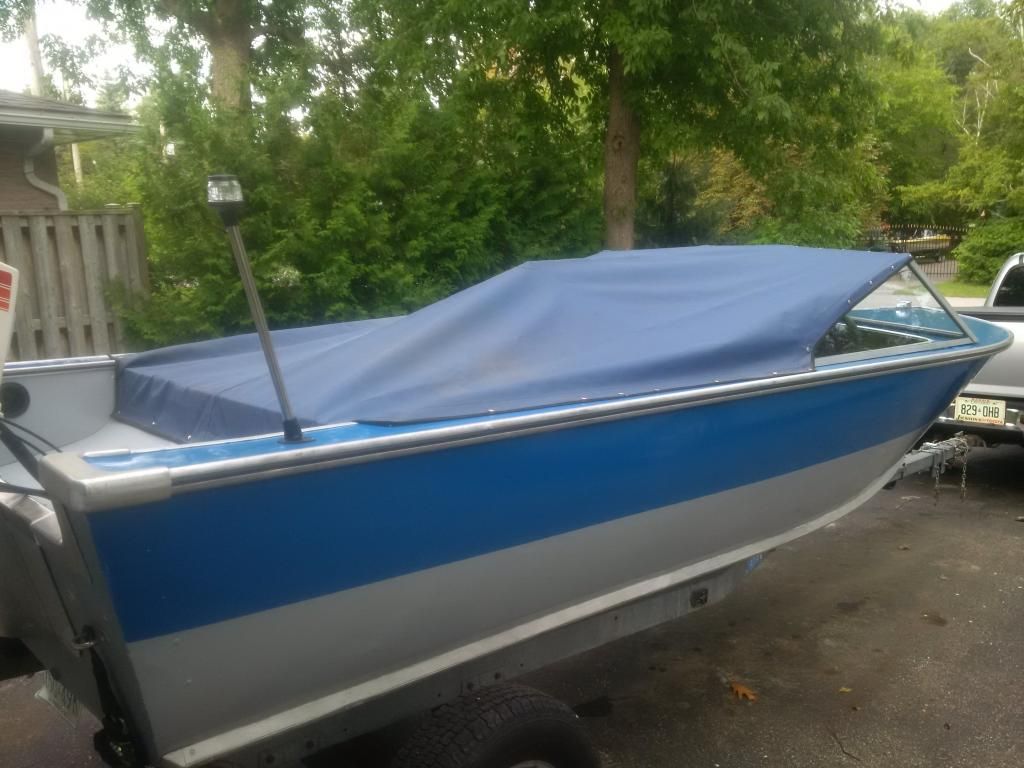
Canvass with snaps installed


Yet another list ..

- install splash well boots with SS hardware
- install seat pedestals with SS hardware
- install two cleats
- install La Boat identification numbers
- prepare La Boat for fishing trip with boat equipement

Is it ok to use chrome plated cleats?

Going to splash Thursday and check things out.

Have a good one eh! :)
 

jigngrub

Fleet Admiral
Joined
Mar 19, 2011
Messages
8,155
WTH??? ... that's not even the same boat eh?! Did you borrow that boat from a neighbor to take pics of so we'd think you're close to being finished and la boat is really sitting in the back yard?;)

La Boat looks great J!!!... and I don't think anyone that saw it when you first started would've thought it would've turned out as magnificently as it has. I know I didn't. You done real good!

I really like the canvas mooring cover, that thing will go a long way in keeping your boat dry and preventing UV damage keeping it looking new for many years.

Again, you've done a helluva job on that boat and you should be proud!
 

jhendery

Petty Officer 1st Class
Joined
Jun 14, 2012
Messages
336
Thanks Jiggy.

Thought about swapping boats a long time ago but glad work is finally coming to an end. :)

Without your help and others La Boat would surely be bass bait.

Thank you so much for your contributions keeping me on track.

Will post splash results in the coming days. And maybe even a video. :rolleyes:

Going to create another thread - probably in the Cherokee directory.

I will have updates as more things get done. Bench, etc.

Have a good one eh!

:)


I should know this but here goes anyway .. . are chrome plated cleats ok to use on aluminum boats?
 
Last edited:

jhendery

Petty Officer 1st Class
Joined
Jun 14, 2012
Messages
336
Lake Temagami Trip Report

Splashed La Boat Thursday evening. Started no problem with good idle.

Turning radius is good. TnT works well. Power head getting lots of water - good pee.

Small dash around the bay - well pleased with performance. :)

Back onto trailer for Friday am departure.

On our way Friday morning with a couple of stops along the way for supplies.

Launched La Boat into Lake Temagami and tightened bunks on trailer.

A small drive in La Boat and found our island lodging at CANUSA vacations.

Unloaded La Boat and met with Nelson who gave us a map and location for Friday and Saturday fishing.

Took La Boat to Crow Bay and fished until dark. No problems.

Saturday raining. Mid morning the rain subsided and went fishing to Spawning Bay. On the way back couple hours later torrential downpour.

Late afternoon rain stopped and back on the water. Purged the bilge for about 10 seconds and completely dry again. Fished until 7:00 pm and another downpour.

Boat stayed mostly dry except for rain water. With TnT raised and some throttle La Boat seems to jump. Trim down TnT and she goes good.

GPS reads 55 KPH which translates to about 34 MPH. :) Lots of punch and go!!!

Cheers for now! Have a good one eh!
 
Status
Not open for further replies.
Top