1964 Larson 16' All American Project

willamettejeff

Chief Petty Officer
Joined
Nov 15, 2004
Messages
550
Re: 1964 Larson 16' All American Project

I mixed up a ton of epoxy 'peanut-butter' to glue my floor down. Since have read where others are instead using PL Heavy-Duty Construction Adhesive. If I were redoing a floor today, that's the way I'd go. Much cheaper and longer working time. Fasten down with some stainless steel decking screws here and there, countersink them, and fill over with thickened resin before fiber glassing over the floor. Ain't going to leak and screws will stay in place.

-- Jeff
 

bret_dmb

Cadet
Joined
Jun 21, 2010
Messages
21
Re: 1964 Larson 16' All American Project

I would love to hear a little more about the bilge part of your project Jeff. If you have any tips or wisdom that would save me some time I would appreciate it!
 

willamettejeff

Chief Petty Officer
Joined
Nov 15, 2004
Messages
550
Re: 1964 Larson 16' All American Project

I would love to hear a little more about the bilge part of your project Jeff. If you have any tips or wisdom that would save me some time I would appreciate it!

Well since you asked.

1. What I found on my boat was that the floor rot started at the bow and progressed back to under the lounge seats. I believe this was because water under the floor wanted to settle at the lowest point in the hull which is the deep V at the bow. The original bilge in the Larson had 3 holes leading to the under floor areas, so any water that entered the boat from above, such as rain, water spray, or people getting back in the boat after being in the water, would flow back under the floor. I didn't want this, so I re-designed the bilge.

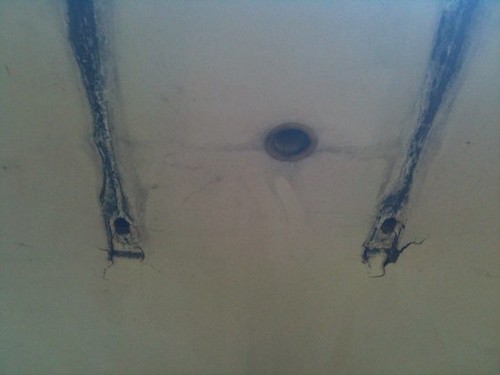
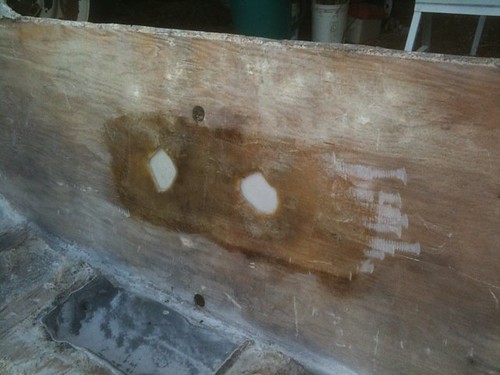
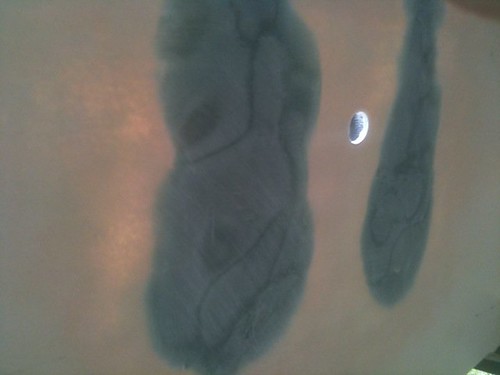
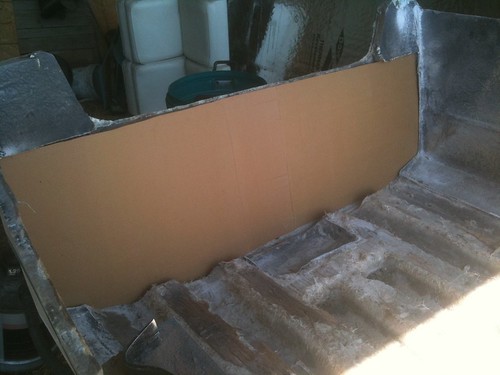
First, as you can see in the pictures I posted, I cut the center stringers back to fit the new bilge. I laminated a couple of 3/4 plywood pieces together and shaped to fit the hull across the cut end of the stringers between the 2 outside stringers and even with the top of of all of them. This then became not only the front wall of the new bilge but also a cross-member to support the floor. I then built a 2 sided box with a 3/4" bottom to fit between the bilge front wall and the transom. The box sides form the side walls of the bilge which I dattoed into the front wall piece and cut the rear of to match the transom angle. After grinding the inside of the hull flat where the bilge was to be mounted, all was glassed into place. Hint: The hull is flat where the planing plate is. Best if bilge is made no bigger than this area which makes for a maybe overly large one anyway. Personal choice here.

Now, this is where I fixed the problem of water going under the floor from the bilge. My bilge is actually 3 bilges. One open and exposed from above for any water coming in on the floor to drain into, but with no openings in it to the under floor area. To either side of the open bilge is an enclosed bilge sealed from the forward under floor area by the bilge front wall. That is except for a short piece of 1" PVC pipe that extends through the front wall at the lowest point in each side bilge which is up against the outside of the side walls of the center bilge. To each of the pipes a 45 degree joiner with another short pipe extenting into each side bilge and rising up and against the side wall. What this does is makes a one way valve essentially. When the boat is being trailered up the ramp or a hill, or has the bow tipped way up, or during accelleration to get on plane, water flows from the front under floor space into the PVC pipes, up the 45 degree hills, and falls into the side bilges. Once there, the water can not flow back out the pipes as it can't rise up to get back into them. I then have 3 drains in the transom; 2 gar-board style drains for the side bilges and 1 regular drain for the exposed open bilge that uses the typical rubber drain plug. I only rarely check the side bilges for water as there should not be any there unless there is a leak somewhere through the floor or hull.

As long as I had the floor out, I also installed a PVC pipe under the floor from the bow back to the exposed bilge. This will serve as a drain pipe for an anchor locker should I ever decide to put one in.

In the end this is probably all overkill, but hey, it is my boat and it was kind of fun designing it all.

Now some other tips.

1. Water most often gets under the floor, other than through the bilge, from around any mounting bolts penetrating it, such as for the seats, battery, or gas tank. I avoided any holes through my new floor by making mounts from 1/2" plywood and installing stainless T-nuts from the back side before the mount is epoxied to the floor. You can see this in done for the gas tank mountings in the one picture showing the exposed bilge. Threading nylon screws from the top into the T-nuts and placing a small piece of painters tape over the bottom of the nuts will keep the epoxy from getting into the threads as the mount is epoxied to the floor. Epoxy does not stick to nylon or to the sticky side of blue painters tape either.

2. To prevent water damage to the wood in the transom where engine mounting bolts, drain holes, and tow rings mount through it, create a thick epoxy lined hole for each. Should any water leak past the sealing for any of these, the wood will be protected from the water. To do this, bore the 1/2" oversized holes in the wood on the inside of the transom for any bolts or drain holes that are going through it, but not through the fiberglass outer skin. You can do this by first drilling a 1/4" pilot hole straight through from the outside of the transom to the inside of the boat in each location. The outside skin will have only the actual size hole needed through it or if a new hole, the 1/4 pilot hole. Then with a hole saw 1/2" bigger than the final hole size and with tape placed around it to mark for the thickness of the transom less the width of the outside skin bore from the inside of the transom to the inside of the fiberglass skin. It is better to go a little shallow here instead of too deep. Use a flat bladed screw driver to break out the wood plug the hold saw made until the end of the hole is only the clean fiberglass skin. Place blue painters tape over each hole on the outside of the transom. Fill each hole from the inside of the transom with thickened epoxy. You can use a piece of blue painters tape on the inside covering all but the top of the hole to form a dike to keep the epoxy from flowing back out. Tipping the bow of the boat up helps with this. Fill each hole in stages only 1/3 to 1/2 full letting the epoxy harden in between as too much at one time will cause the epoxy to flash over in the hole (overheat and foam up). If this happens you'll need to bore the epoxy out and start over. When complete, drill correct size holes straight through from the outside of the transom. And there you have it, each hole will be sorrounded with 1/4" of epoxy protecting the wood from any water intrusion and thus rot. Why epoxy resin? Well it adheres far better than polyester resin to about any surface and unlike polyester, it remains adhered to wood even if the wood should get wet.

3. Underside of floor does not need to be fiberglassed. A coating of epoxy resin will make the floor last for at least several life times. To save money, polyester resin will work also, but as noted above, is not as good. Personal choices for much of any of this. Original floor lasted decades in my boat with no coating on the underside at all.

-- Jeff

Geez, wrote a book here. Well, you asked. I could go on forever.
 

willamettejeff

Chief Petty Officer
Joined
Nov 15, 2004
Messages
550
Re: 1964 Larson 16' All American Project

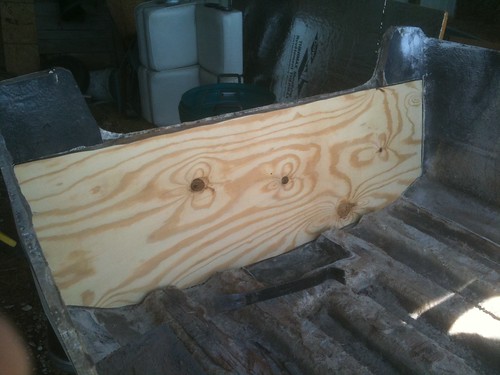
The transom came out without too much work. You can see the top pieces are still on, they were made of different pieces of wood so I left them for now. I can always take them off if I decide to go with one solid transom.

I left those top pieces in too. Just filled void between them and new transom with thickened epoxy and glassed over all. No hint of a problem even with tow/trailer hold-down loops mounted through them. Do have a 1" think piece of Sea Board behind each one though. Boards are also held in by the top cap on 3 sides as well.

-- Jeff
 

bret_dmb

Cadet
Joined
Jun 21, 2010
Messages
21
Re: 1964 Larson 16' All American Project

Wow, I love this forum! I can't even tell you how many questions you guys have answered for me especially in Jeff's last post. I'm sure I will have a million more, it's nice to have someone with such a similar boat to bounce stuff off of.

I plan on trying to get the new floor and transom in this weekend so I'll keep you guys updated on the progress.

Thanks again!
 

Swivelhart

Petty Officer 2nd Class
Joined
Nov 5, 2008
Messages
185
Re: 1964 Larson 16' All American Project

Keep up the good work. Now I know why my floor is so solid. They really did build these Larsons like tanks! I agree with the bilge...seems rather small from factory.

Thanks for your reply about my red one. It is the one reason I like the Larsons. They just have a unique look to them. They remind me of those little merry-go-round boats at the carnival I used to ride back in the early seventies as a kid. Love the stripe down the middle.
 

bret_dmb

Cadet
Joined
Jun 21, 2010
Messages
21
Re: 1964 Larson 16' All American Project

I promise I've been working on the boat but after long days of sanding and glassing on the boat the only thing I want to do is take a shower to get rid of the itch and have a beer or two.

Whew..... where do I start?

It's been about a month since my last post and two of my weekends were hampered by either sickness or weather, but I have made a lot of progress. I haven't uploaded all of the pictures yet but here are a few:

In this one you can see how the engine bracket had broken through the fiberglass.
5658364289_0a15f397b5.jpg


I cut out all of the damaged fiberglass and taped cardboard wrapped in wax paper to the outside of the transom.
5658938578_3aa4045688.jpg


I layered the inside until it was slightly thicker than the hull and sanded it down flush. On the outside there were a few tiny pits and voids. I used a fiberglass reinforced filler and sanded her smooth. I'm pretty proud of this part considering I've never really done any body work. You won't be able to tell at all once she's painted.
5658364703_1f9b081b0d.jpg


Creating a good cardboard template for the transom was a bigger chore than I had expected. Maybe I'm just a little too picky but I made at least 3 of these things.
5658365951_58fe21df77.jpg


But the transom turned out really pretty. I dug through the whole stack of 3/4" plywood at Lowe's to find the cleanest and least knotty piece. It sure looks good for a piece of wood that won't see the light of day for the next 40 years...(that's the plan anyway)
5658367247_63f1645bbe.jpg


I doubled up the plywood so I have a full 1.5" transom and man is it solid. It's quite a bit thicker than the one I ripped out.

That's where the pictures stop, I left my camera out at the shop. I have since encased the transom in glass, sealed it in to the boat, and tabbed it to the sides. So now its on to the body work. I've sanded most of the gelcoat down using a pneumatic orbital sander with 120 grit paper. I plan on flipping it this weekend so I can get to the cuts and gouges in the keel. Hopefully I'll have it ready to ship of the the painter by Monday!

I've looked around this site so many times to figure out what kind of paint to use and I'm still confused. Some say you can use automotive and sand down to 400ish grit as long as you're trailering (which I am) others say you have to use anti-foul and should only sand it to 220 so your paint gets a "good grip". I know there are plenty of sites that explain painting (I've read through most of them) but I'm still not sure what I need to get a good shiny paint job on gelcoat that will last and won't blister.

Lastly, has anyone ever used Allure flooring in their boat? Seems like a good cheap wood alternative. Especially in a smaller boat like mine.

Thanks again for all of the help, I'm having so much fun redoing this one that I've been watching Craigslist for my next project. I should really get a less expensive hobby, or maybe I should just do this for a living....
 

ezmobee

Supreme Mariner
Joined
Mar 26, 2007
Messages
23,767
Re: 1964 Larson 16' All American Project

If you aren't leaving it in the water, you definitely don't need anti-foul.
 

bret_dmb

Cadet
Joined
Jun 21, 2010
Messages
21
Re: 1964 Larson 16' All American Project

If you aren't leaving it in the water, you definitely don't need anti-foul.

Ok, so definitely no anti-foul. If someone could give me a brand and type of paint that they have used on gelcoat that they are pleased with, I'd love to hear it.
 

bret_dmb

Cadet
Joined
Jun 21, 2010
Messages
21
Re: 1964 Larson 16' All American Project

Got a little more done this weekend. The weather is still not cooperating but I keep trudging along when I can.

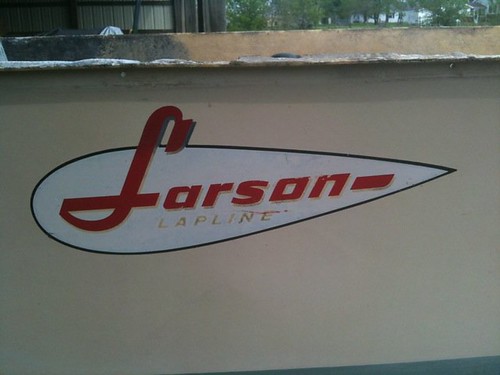
I ordered new decals last week. You can see the foil on the old ones was almost completely gone. I ordered them from vintageboatsupply.com they aren't responding to any emails but hopefully I hear back soon.
5682275050_9c743fe7e1.jpg


My dad helped me build a support structure on top of a flat bed trailer to make bodywork a little easier. We just used 2x4 risers with 2x6 crossbeams, seems to be more than enough support. I am going to take it down to get painted like this and hopefully I won't have to move it around too much, it makes me nervous every time I have to flip it over.
5682275396_902e1a7384.jpg


After that I started sanding away. I found three pretty good size patches on the bottom. I thought it was some kind of epoxy but it looks like someone cut out the cracks and filled it with fiberglass and caulk. I cut it out and have started repairing the damage correctly.
5682275450_36481ea81d.jpg


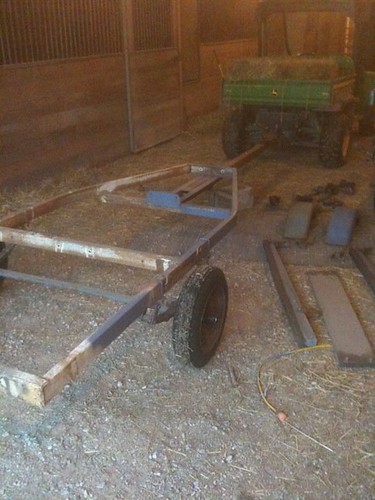
Unfortunately it turned so cold Sunday I couldn't finish the patches. By the time I got out to work on ithe boat it began to pour so I decided to pull the trailer in the barn and work on it.
5681709265_fb2c7fc43c.jpg


After removing all of the roller brackets, bunks, and fenders. I used a cup wire brush on my grinder and went to work. Ive think I'll use electrolysis to remove the rust from the brackets they have too many little teeth on them to try and clean with steel wool or a brush.

I'm still curious about paint. If you guys have any advice for a boat like mine I'd love to hear it.
 

Woodonglass

Supreme Mariner
Joined
Dec 29, 2009
Messages
25,924
Re: 1964 Larson 16' All American Project

Well, my keel looked almost just like yours. Repairs looked just like yours. I'm using Pettit EasyPoxy for mine. Lot's of others have too. Lot's of debate on here as to it's quality so you will have to decide if you want to use it. I will be putting on my final coat this week so I will keep you posted on what my impressions are.
 

bret_dmb

Cadet
Joined
Jun 21, 2010
Messages
21
Re: 1964 Larson 16' All American Project

Well, my keel looked almost just like yours. Repairs looked just like yours. I'm using Pettit EasyPoxy for mine. Lot's of others have too. Lot's of debate on here as to it's quality so you will have to decide if you want to use it. I will be putting on my final coat this week so I will keep you posted on what my impressions are.

Look forward to seeing the results!
 
Top