99 Bayliner Capri 1954 redeck

P3FE

Seaman
Joined
Apr 2, 2010
Messages
66
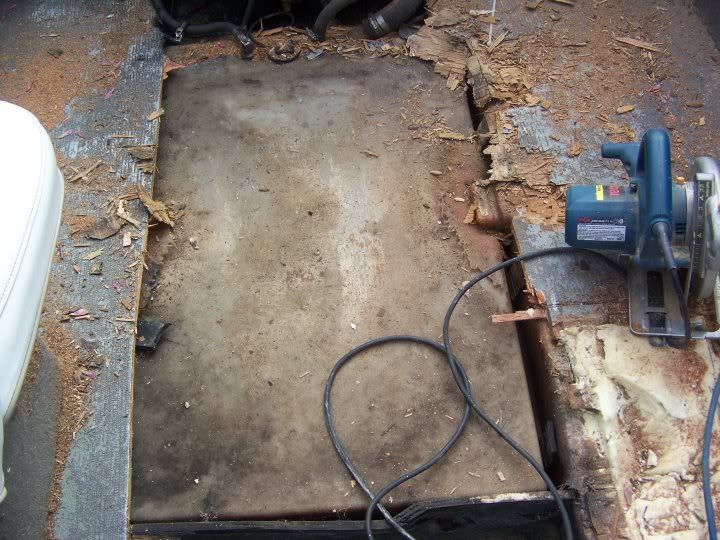
Started my project and will post pics soon. I have been bitten by the rotten wood bug. So far the stringgers are in good shape. I am having serious problems cutting old wood deck out- especially where it meets the hull, and some of the wood braces for the bow "furniture". I am using a rotozip, a sawzall and a circular saw. Does anyone have any suggestions as I would love to cut that old stuff out to use as templates. Thanks- any suggestions are much appreciated- Happy Easter everyone!:)


http://www.facebook.com/#!/photo.php?pid=30943625&id=1521775115
http://www.facebook.com/#!/photo.php?pid=30943633&id=1521775115
http://www.facebook.com/#!/photo.php?pid=30943620&id=1521775115
 

avimgod

Petty Officer 3rd Class
Joined
Nov 22, 2008
Messages
90
Re: 99 Bayliner Capri 1954 redeck

I am using a 4.5 inch grinder to grind out the glass at the joints on mine... grind the glass out of the joints, and the pannels in my case have come right out for the most part, you just have to look at how they have been fitted to see how to take them out...
 

ezmobee

Supreme Mariner
Joined
Mar 26, 2007
Messages
23,767
Re: 99 Bayliner Capri 1954 redeck

Welcome to the forum. I don't recommend using facebook as your picture host. A lot of our members surf from work (on their breaks of course :p) and social networks are often blocked. I'm also not sure if you have to be a member to view them. I recommend something like photobucket.com.
 

avimgod

Petty Officer 3rd Class
Joined
Nov 22, 2008
Messages
90
Re: 99 Bayliner Capri 1954 redeck

Welcome to the forum. I don't recommend using facebook as your picture host. A lot of our members surf from work (on their breaks of course :p) and social networks are often blocked. I'm also not sure if you have to be a member to view them. I recommend something like photobucket.com.

I can't see Photobucket at work either... but my droid shows everything no mater where I am!
 

P3FE

Seaman
Joined
Apr 2, 2010
Messages
66
Re: 99 Bayliner Capri 1954 redeck

Thanks for the excellent advice-it is much appreciated
 

avimgod

Petty Officer 3rd Class
Joined
Nov 22, 2008
Messages
90
Re: 99 Bayliner Capri 1954 redeck

Thanks for the excellent advice-it is much appreciated

BTW, I am using a Ryobi grinder from home depot, picked it up for $39, but I am confident the $29 would work just as well... I wouldn't waste time with the cordless unless you like recharging bateries...

I have also heard stories about guys having good luck with the cheap grinders from Harbor Freight...
 

bear_69cuda

Commander
Joined
Oct 10, 2008
Messages
2,109
Re: 99 Bayliner Capri 1954 redeck

Howdy and welcome to iboats!

Looks like you have a good project ahead...

I restored the same boat a year ago. You may find some of the info helpful in the link below my signature...

Cardboard is great template material for the deck. Not sure if you have enough good wood left for an accurate template?
 

P3FE

Seaman
Joined
Apr 2, 2010
Messages
66
Re: 99 Bayliner Capri 1954 redeck

Yep- 'cuda- i found your project very enlightening. I used the harbor freight 4 1/2 grinder and have ground the boat out- Funny how everytime I remove something- i find something else that needs adressing. I just took the last piece of deck out-now one chine away from being done- Then on to removing foam. I have left some foam in-wish there was a way to tell when you really need to remove it! I will post more pix soon- and then do a picture project for this forum when I have completed the project. It is extremely hot in Florida, and you virtually cannot breathe with respirator after about 15-30 mins. Also the tyvek suit does not breathe, and your latex gloves fill up with sweat so that you cannot use them. I wish i had started the project earlier in the winter! My next stage is foam removal and then starting to replace the deck with 3/4" marine grade glassed plywood. I also have an oil leak in the inboard mercruiser that needs to be fixed-I will fix it before I add the new wood so I can clean the bilge out better. thanks to all for the expert advice and thanks to the originator of this great website- I have referrred many frien s here and everyone is very positive about your website!
 

P3FE

Seaman
Joined
Apr 2, 2010
Messages
66
Re: 99 Bayliner Capri 1954 redeck

Well sportsfans it's called counting chickens before they hatch. One of the stringers is rotten and now I will have to remove the gas tank to replace it. Back to grinding! I have a full tank (28gal) of gas also- siphoned off 15 gallons, but now I am waiting to burn all the gas out of my truck so I can siphon the for siphoning gas- remove the filler hose and install siphon hose in the tank that way instead of trying to force feed it through filler. I have ground the port stringer out as far as I can- plan on taking the gas tank out after I get rid of the residual fuel. So we wait to burn fuel out of truck before I can go any further- may go ahead and cut deck templates for stbd side. I will post pictures soon.
 

P3FE

Seaman
Joined
Apr 2, 2010
Messages
66
Re: 99 Bayliner Capri 1954 redeck

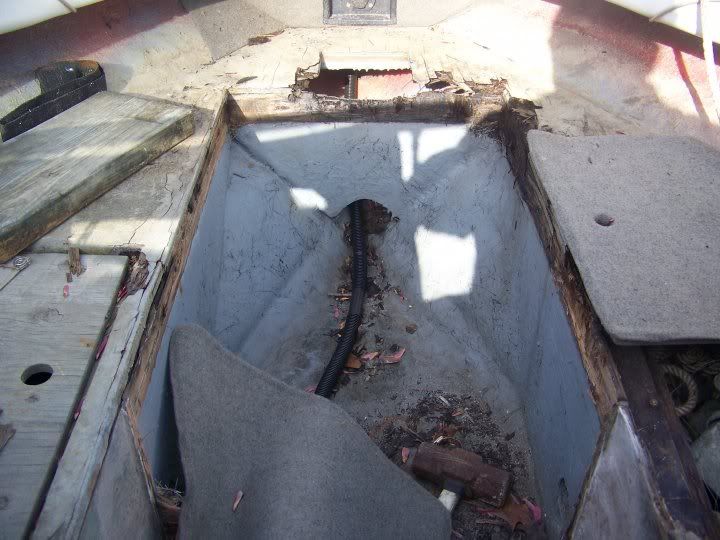
It has been almost year since I began this project - $$ and the heat/weather have slowed me down. Here is a picture of the fuel tank area before I removed it
fueltankdeck.jpg

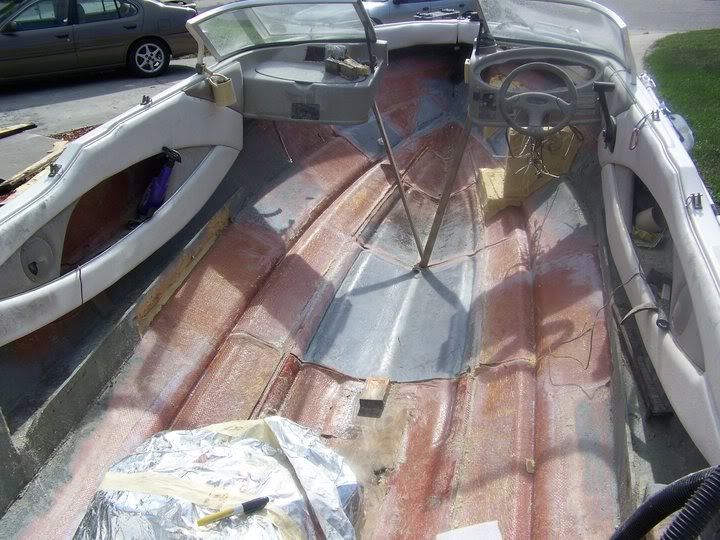
This is how the boat looks after everything was removed- I have posted a chronology on my subsequent posts.
stringersremoved-1.jpg
 
Last edited:

P3FE

Seaman
Joined
Apr 2, 2010
Messages
66
Re: 99 Bayliner Capri 1954 redeck

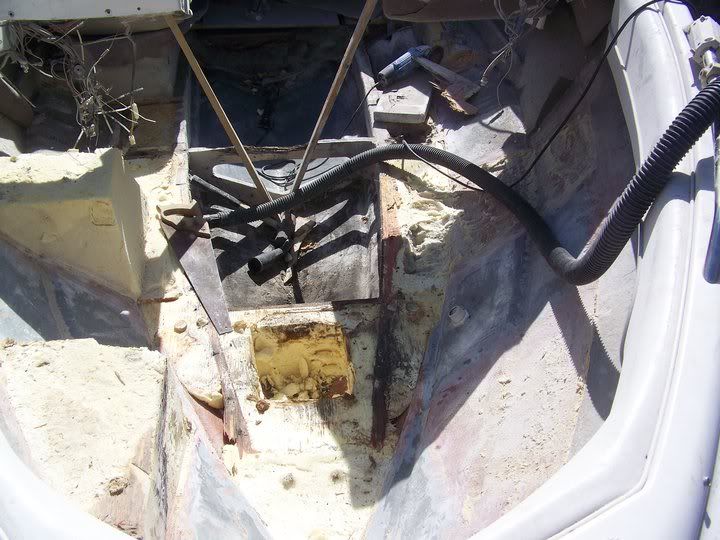
A recap: This is how the bow looked and the sequence of removing the old deck
bowrotten.jpg

bowdeckremoved.jpg


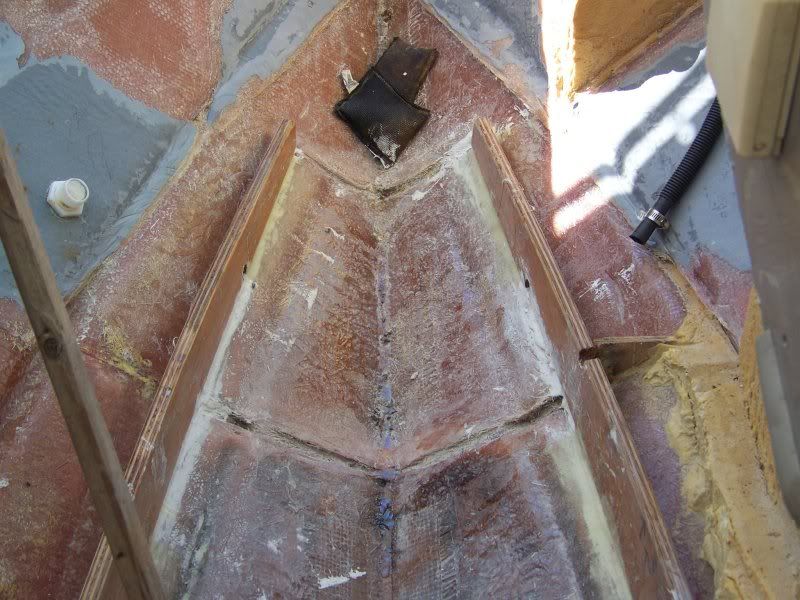
The stringers and foam removed, I pressure washed the hull and wiped it down with acetone and Xelene. (Note there are what I call three transitional sections : 1. the Bow, and 2. the main deck comprising of the passenger/captain area, containing the ski box and 3 the fuel tank/aft area. Looking at the picture you can see where these transitional areas are.)
stringerdsmovingaft.jpg
 
Last edited:

P3FE

Seaman
Joined
Apr 2, 2010
Messages
66
Re: 99 Bayliner Capri 1954 redeck

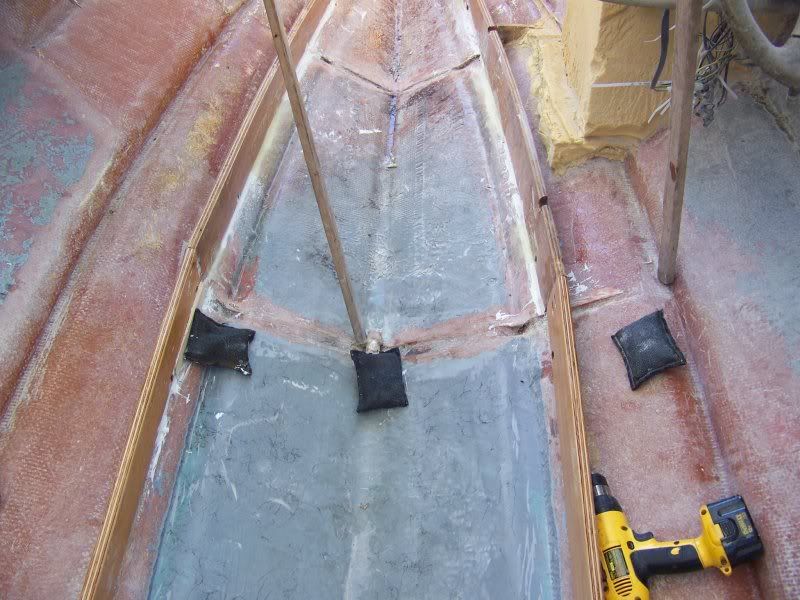
This shows the bow stringer buildup-After coating the stringers with epoxy resin I used 2 I-Beam Scraps to hold the stringer and bend it, with scuba weight to hold it down- I only ground down parts of the existing bow channels left after the factory rotten stringers were removed so the new wood would rest against them- I used scuba weights (the black bags) to hold the stringers down as they tended to want to pop up on me- then I tabbed them with cloth and epoxy. (NOTE I missdrilled the drainholes on the wrong side on the starboard stringer- no big deal- the glass will cover it. The hose is the livewell feed line):
stbdstringersinstalled.jpg
 
Last edited:

P3FE

Seaman
Joined
Apr 2, 2010
Messages
66
Re: 99 Bayliner Capri 1954 redeck

The stringers run the length of the boat- some areas are about 1 inch off the hull- still on the fence about using 5200 to fill the gap- as they are not only used for supporting the deck, but as forms for the fiberglass as well. I am using 3/4" marine grade plywood with fiberglass mat on each side.
stringerdsmovingaft.jpg


This is the first transitional area from the passenger/captain seating main deck to the bow- Was not sure how to join them, then a friend suggested using pocket screws. I bought the jig fixture for boring the holes from Lowe's for about $25.00 and used stainless pocket screws, about 2 inches long. Note the top of stringers have been rounded off using a router- It makes it easier to form the fiberglass, a trick I learned from reading posts on this forum.- Also that is 3M 5200 underneath the stringers- not sure if it is a good idea and I am open to opinions about whether to continue using it for the rest of the areas. Is it a good idea? the stringers are about 1 inch high off the deck in some places- when I nstalled them I used the etch and scribe method posted on another thread in this forum.
stringersattacjhed.jpg
 
Last edited:

Woodonglass

Supreme Mariner
Joined
Dec 29, 2009
Messages
25,927
Re: 99 Bayliner Capri 1954 redeck

Hey P3FE,

Try using the IMG link in photobucket instead of the HTTP It will put your photo directly into iBoats. Makes things easier. IMHO
 

P3FE

Seaman
Joined
Apr 2, 2010
Messages
66
Re: 99 Bayliner Capri 1954 redeck

will do! thanks- updated my post- i didn't know how to do that- much appreciated brother Woodonglass!
 

P3FE

Seaman
Joined
Apr 2, 2010
Messages
66
Re: 99 Bayliner Capri 1954 redeck

I then waited for the weather to warm up so I could glass- I am using West's epoxy resin on the stringers and poly on the deck. Here is a picture of the bow almost finished with cloth, then mat.
bowstringers.jpg
When I glass the stringers- it is a long process due to cure times and my slow methodical approach to applying it. I first wet the stringer with a 2 inch brush and then apply the cloth and rewet it with the brush. Any high places can be ground down with minimal effort.
stbdstringer-1.jpg

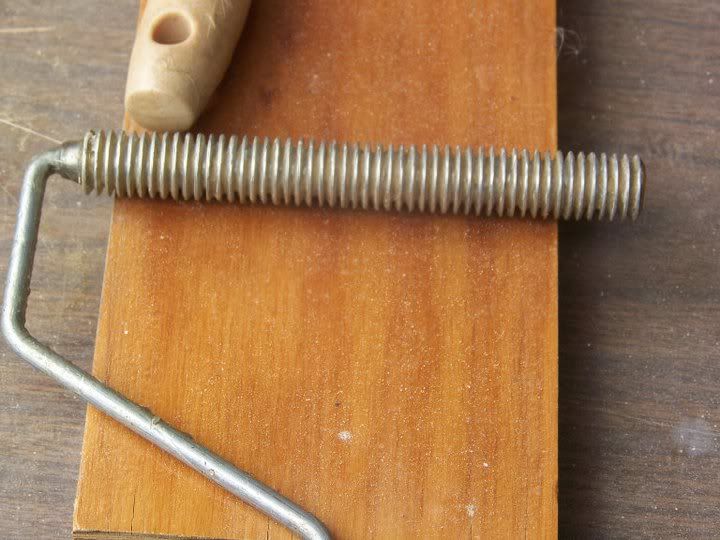
then, after that cures, I wet it again and add the cloth saturating it with resin by painting and "tapping" the resin in with a brush. You want the mat wet. After that I blend in seams and roll out as much air as I can with a fiberglass roller I bought 2 rollers a short one for working in tight areas, and a long one- I have about $45.00 invested in them, but they are worth the investment. The grooves force the wet mat to bond together and also force resin into the matt and relieve air bubbles.
stringerroller.jpg

**NOTE- GREAT TIP!**Subsequent to glassing those tringers with mat..I learned a great trick...tear the edges of the mat with your fingers vice cutting with scissors...the 'strands" will glass and adhere better with the resin****
 
Last edited:

P3FE

Seaman
Joined
Apr 2, 2010
Messages
66
Re: 99 Bayliner Capri 1954 redeck

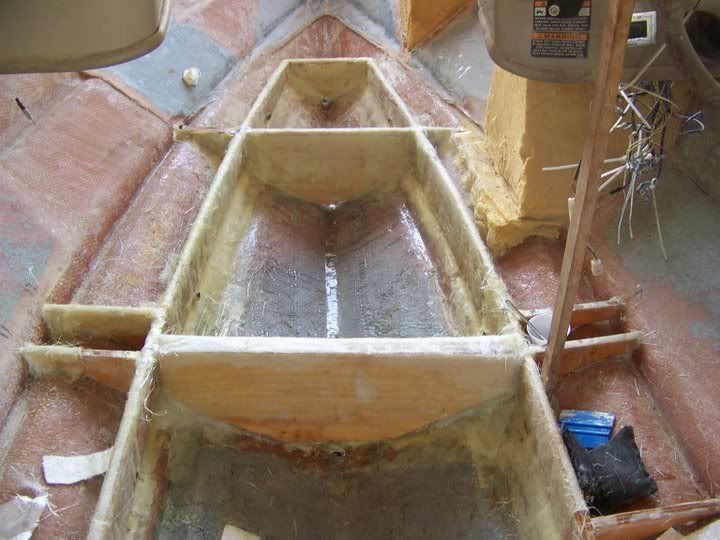
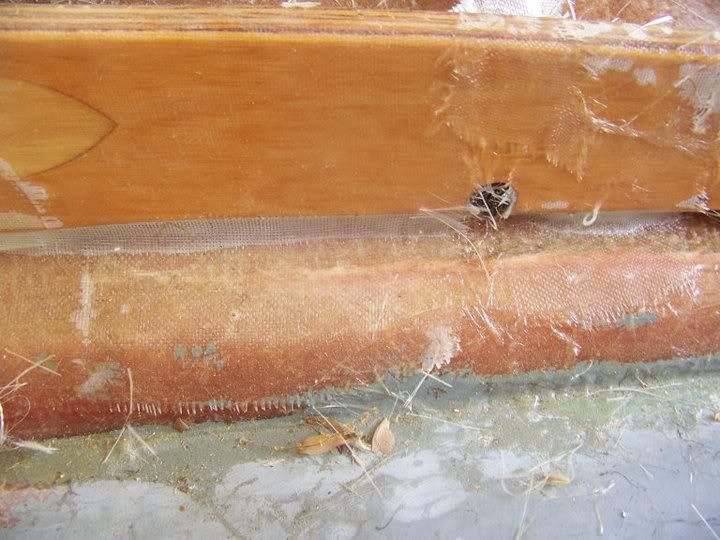
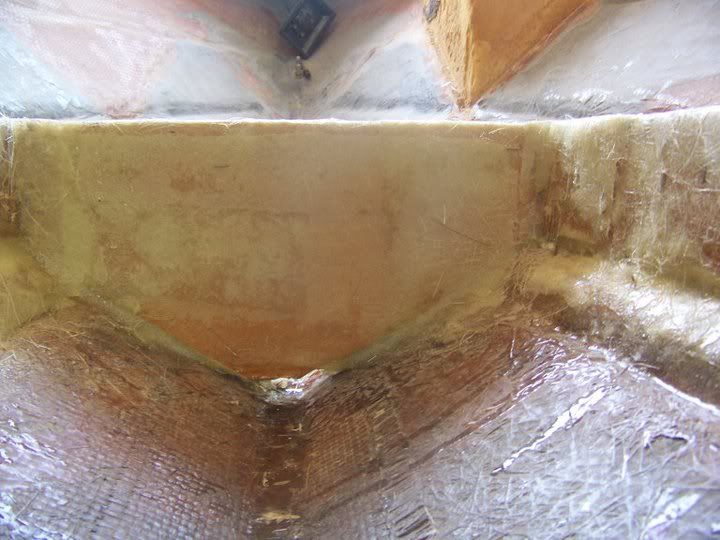
This picture shows the passenger maindeck to bow transitional area after it was glassed. I will be installing a copper tube in the drain hole and using 5200 to secure it.
portstringer-1.jpg


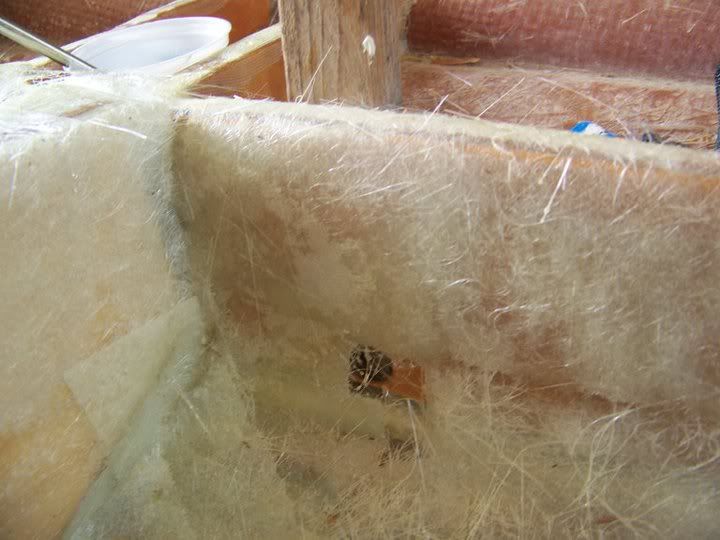
This is the middle bulkhead in the bow- I subsequently opened up the drain hole more. note some of the epoxy ran, not a big deal, just a little sandpaper will remove it.
bowbulkhead.jpg
 
Last edited:

P3FE

Seaman
Joined
Apr 2, 2010
Messages
66
Re: 99 Bayliner Capri 1954 redeck

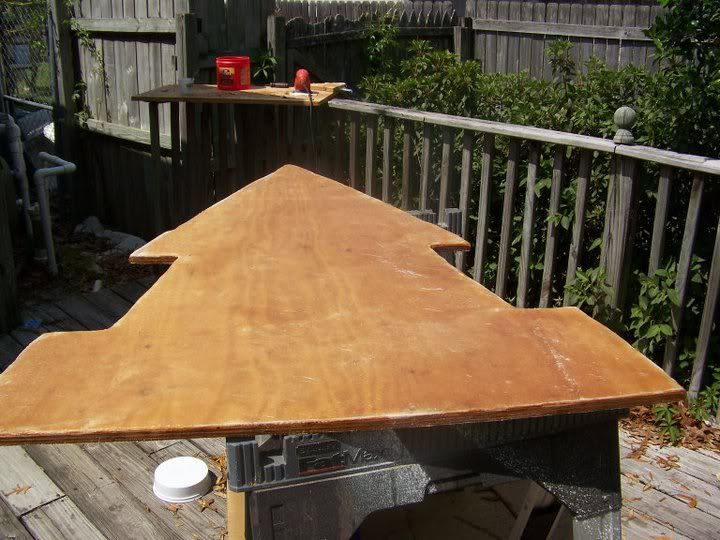
The bow deckplate, hull side. I poly coated the wood, then clothed both sides with mat.
**NOTE**Here is a good tip: Sometimes mat gets creases in it and it is a pain to get it to lay down flush. I had that problem and thought long and hard about it- then it came to me: I cut the mat with scissors, leaving about a 2 inch overhang on the edge of the deckplate. Then I used some scrap plywood and weights and put it on top of the mat to "flatten" it out- Left it for a few days and when I removed the scrap plywood, the creases were gone and the mat had actually stuck to the deckplate like static electricity. I simply folded back the front half of the mat- painted the deck with poly- layed it back down and did the same with the after piece. That poly really kicked fast- so I had to work quick -poured and brushed a new batch on top and rolled that out with the roller! After I had done that I was well pleased with myself, only to find out that I was out of Acetone! So off to the hardware store and back- the poly set up in my roller, so I had use a dremel tool with a cutting disk to remove it- about 2 hours of mini-grinding- Always think about cleanup ahead of time! LOL
If you plan on using this method, it uses about 1 gallon of poly for 4 feet of deck. Also you will have to grind off the excess fiberglass on the edges-and rough up the poly where it will join the other pieces of deck and hull so the joining glass will bond better. I just lightly used my grinder, or used my jitterbug sander.
bowplatehullside.jpg
 
Last edited:

P3FE

Seaman
Joined
Apr 2, 2010
Messages
66
Re: 99 Bayliner Capri 1954 redeck

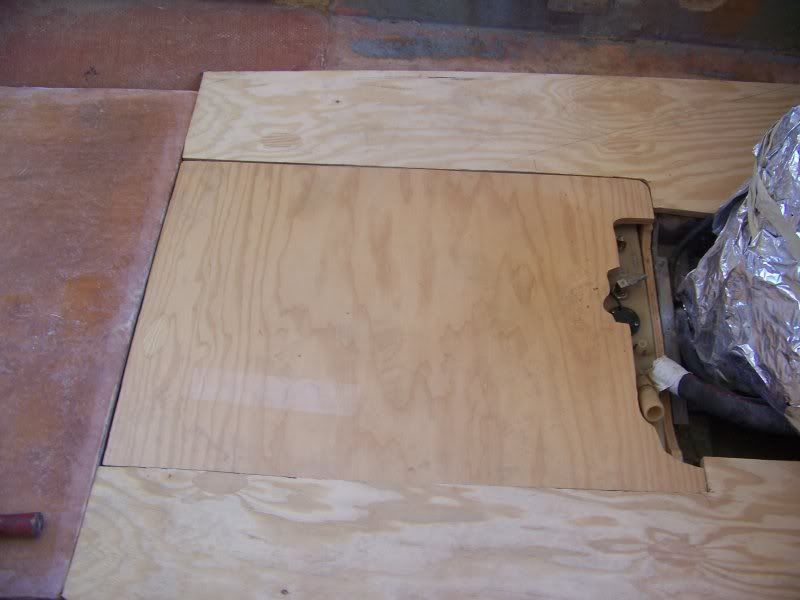
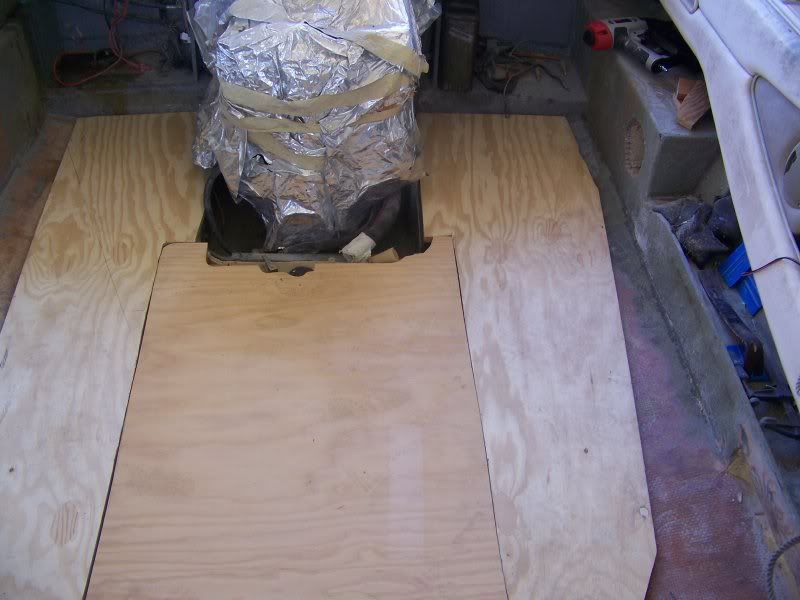
Finished main deck! yay! Now just a little more (9 feet) of subdeck fiberglassing to do

100_2139.jpg

100_2141.jpg
 
Last edited:
Top