


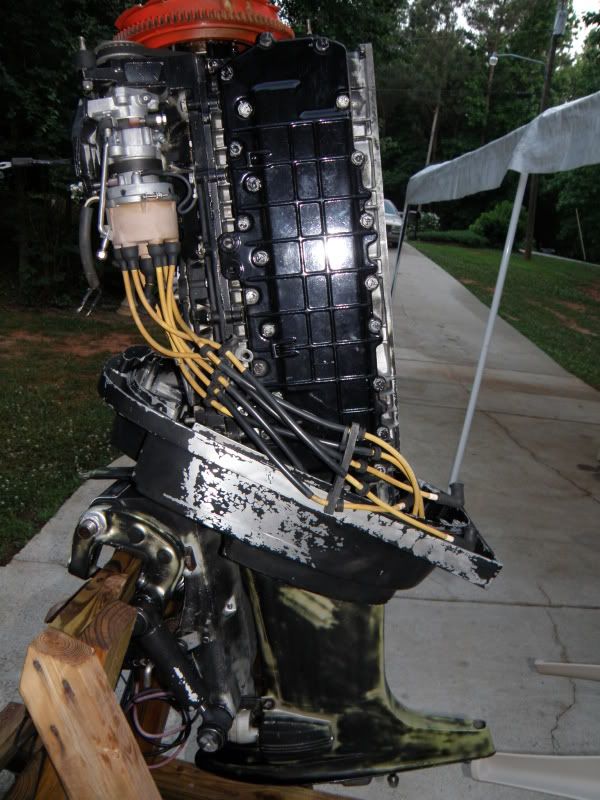
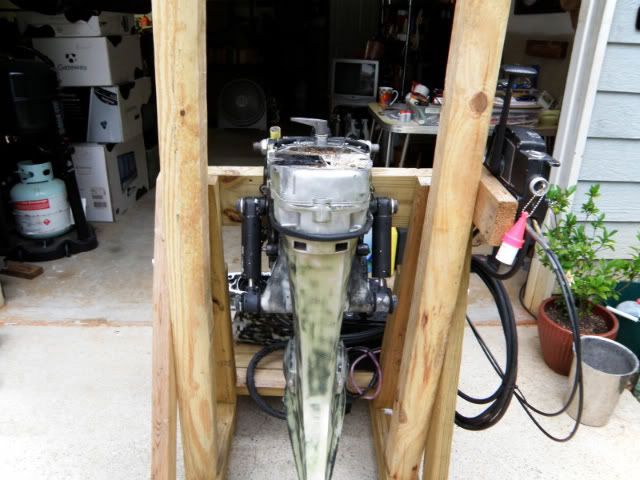
 I do have some good news and bad news with this motor. You want the good or bad first. Well here's both the good and bad click this link and read all about it. http://forums.iboats.com/showthread.php?t=394536
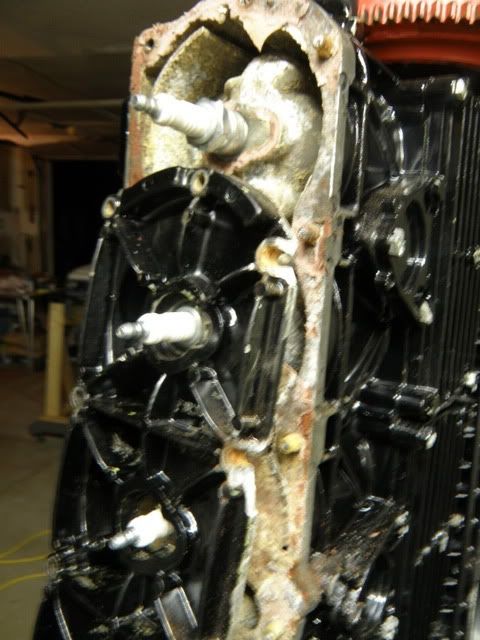
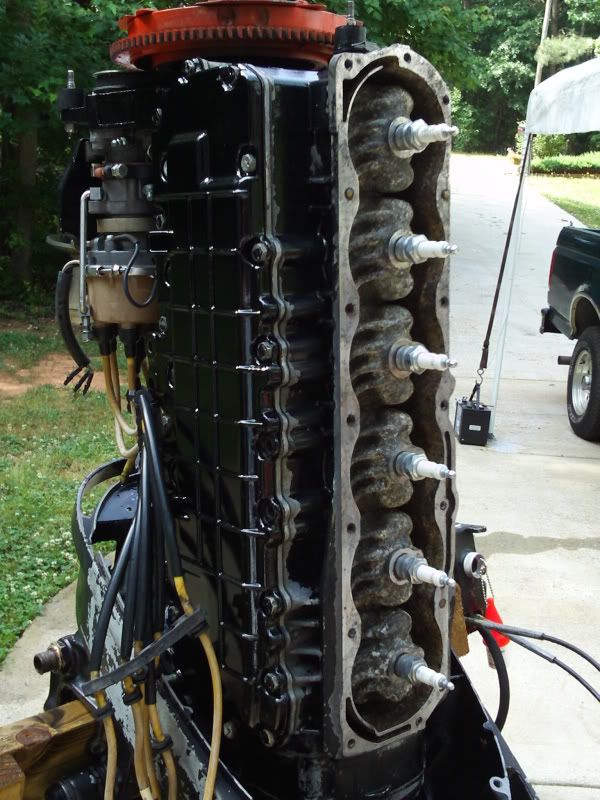
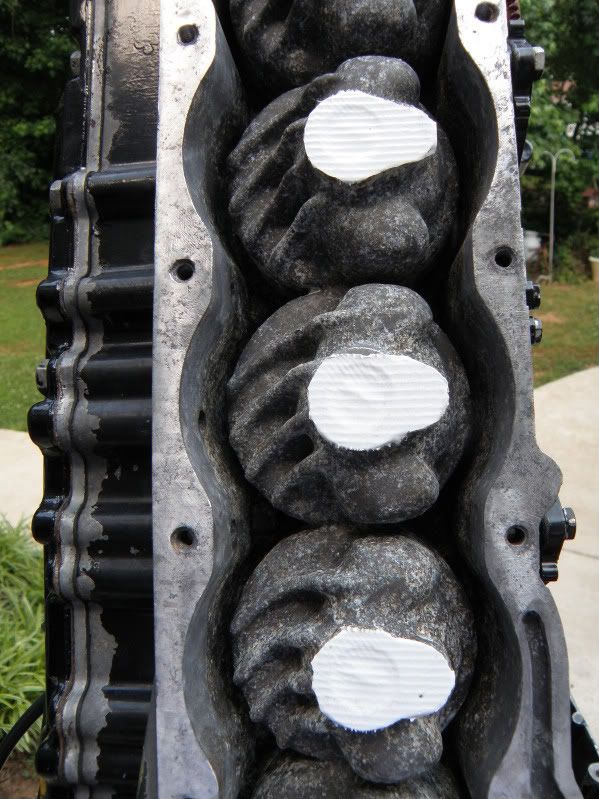
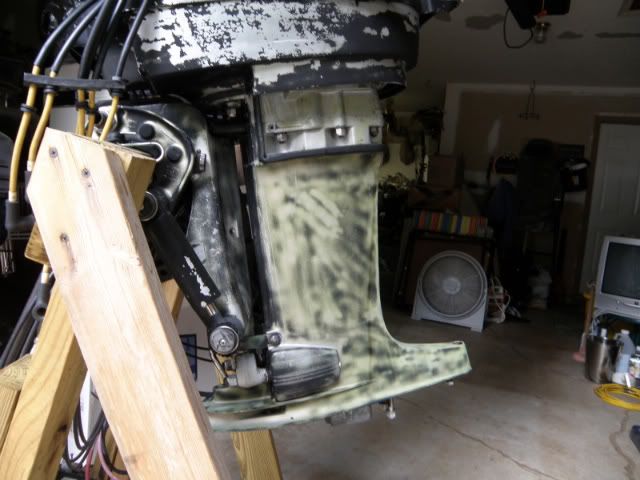
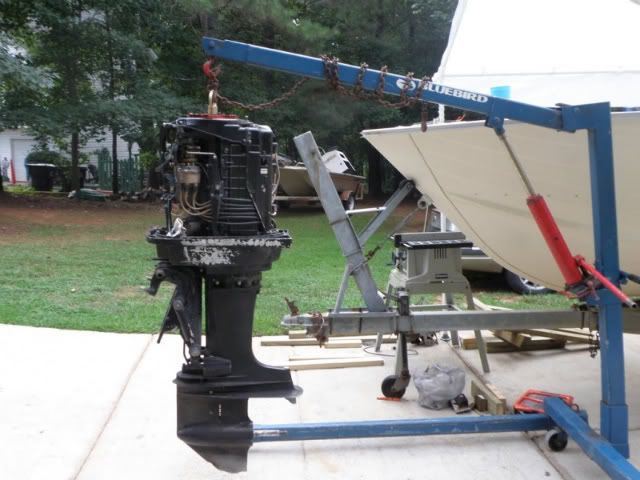 I can tell by this that the PO's of this motor didn't do fresh water flushing after boating with this motor. Well good thing I decided to investigate it further.
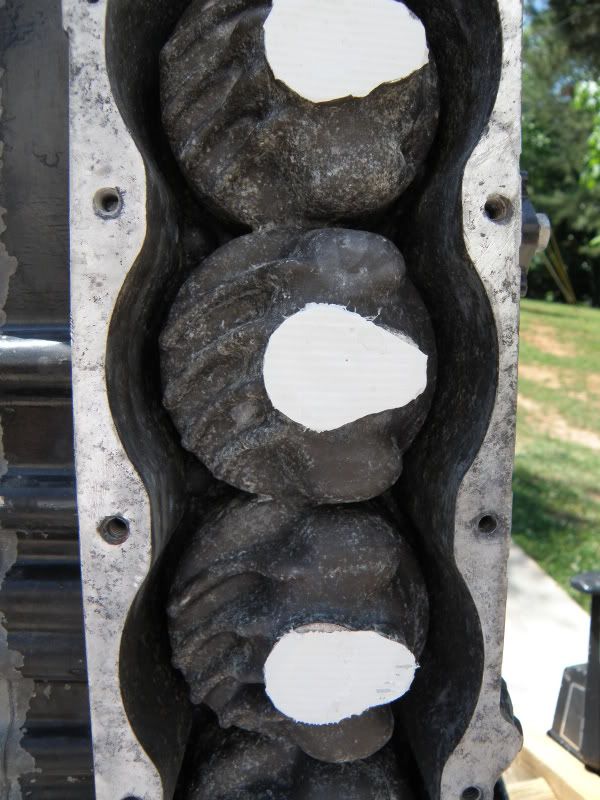
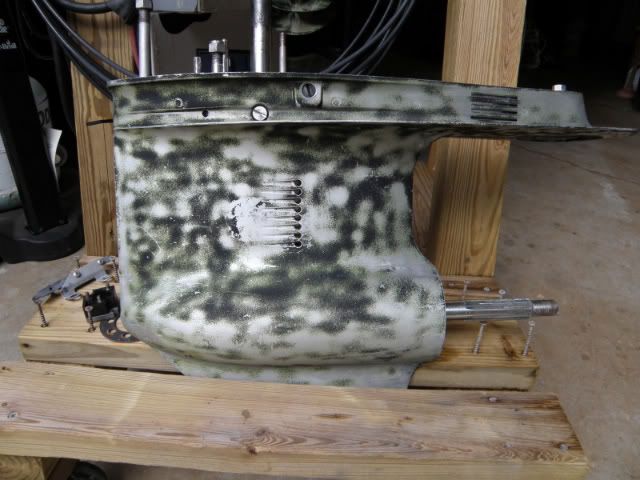
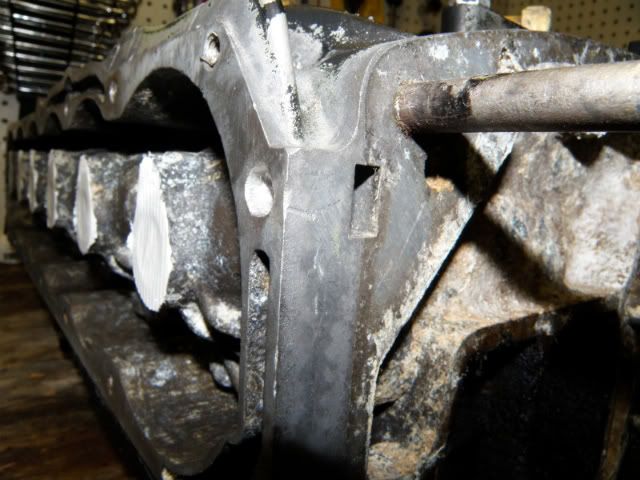
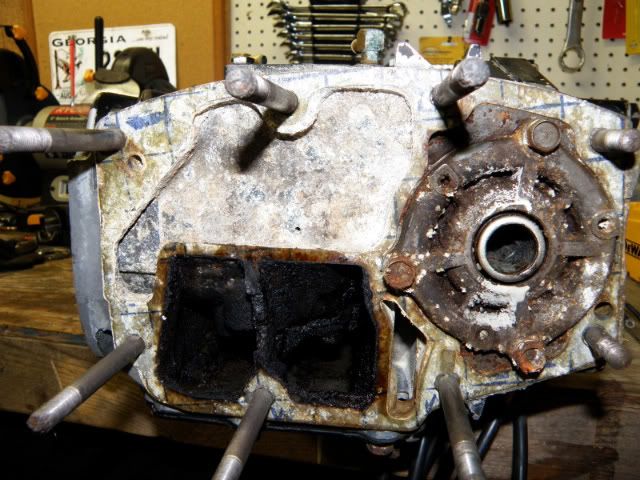
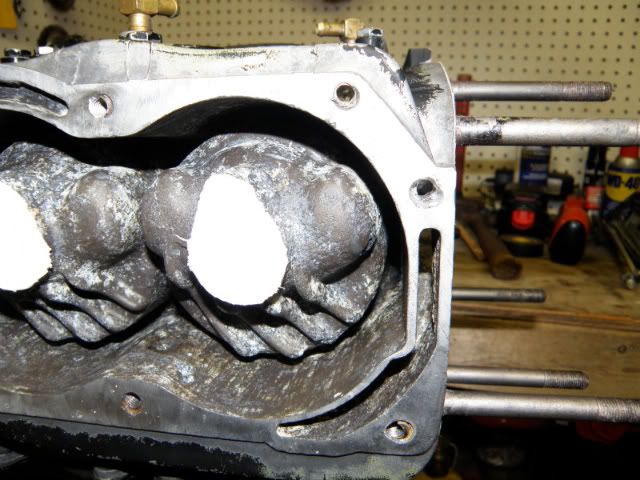
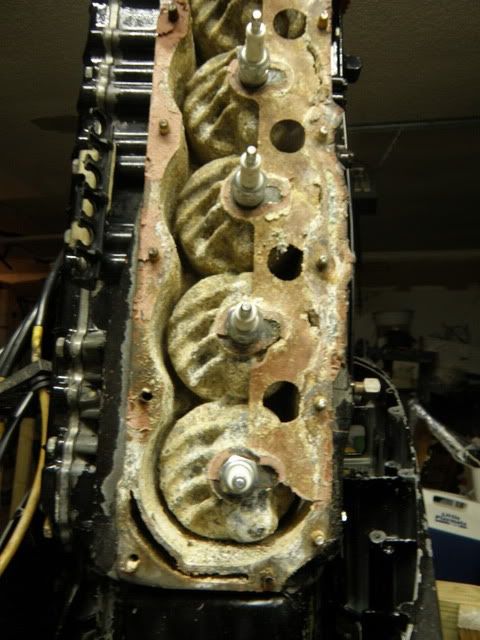
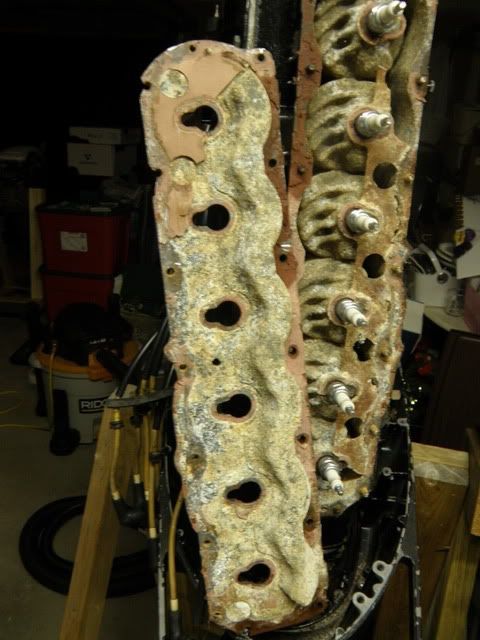
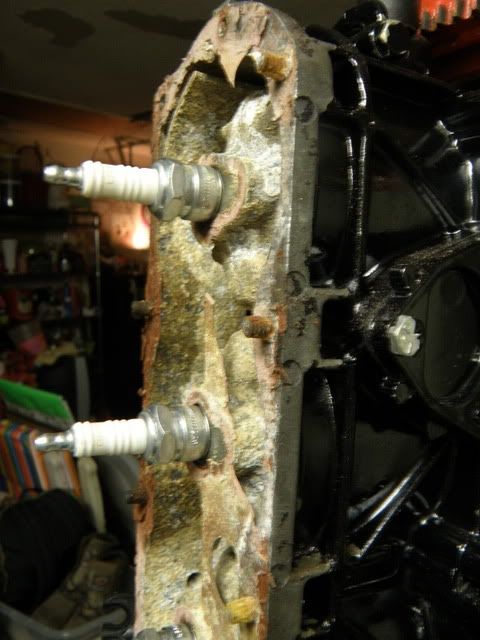
 If you boat in SALT water Make sure you fresh Water Flush after every use. (Cheapboatkev, NorthBeach) and any of you other guy's
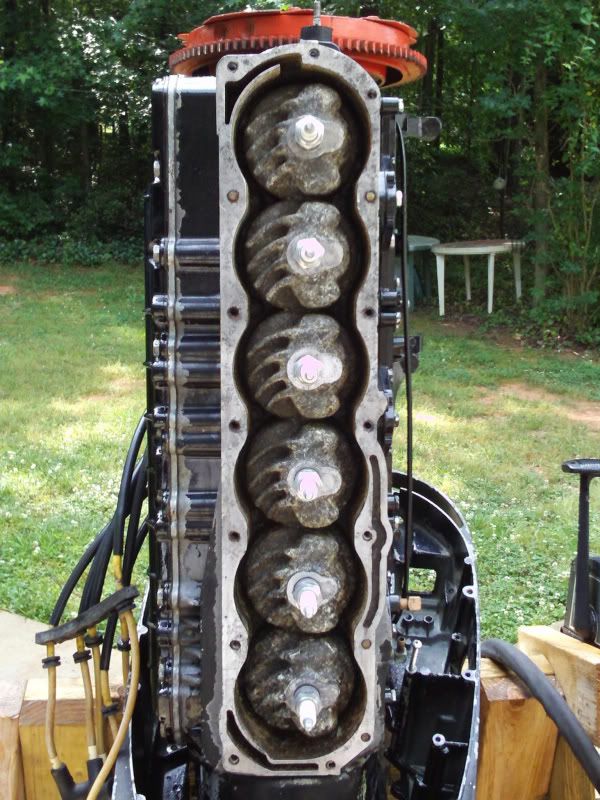
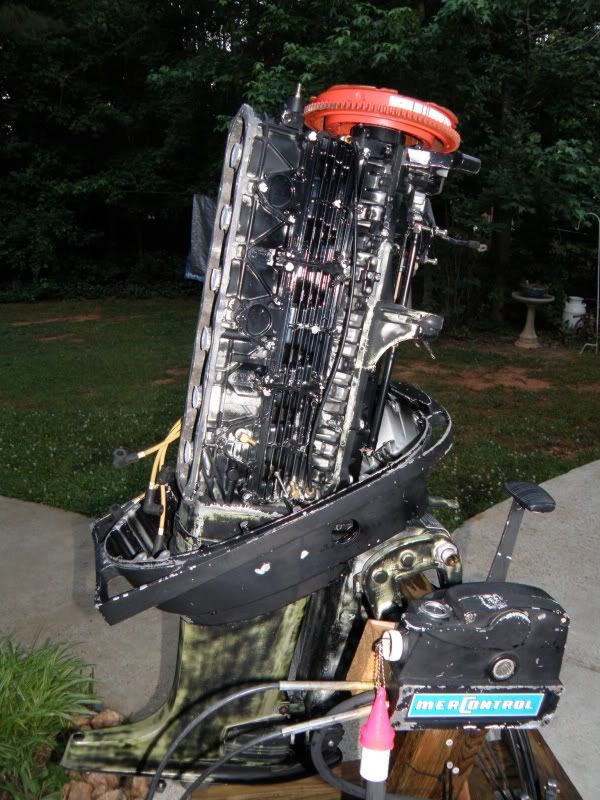
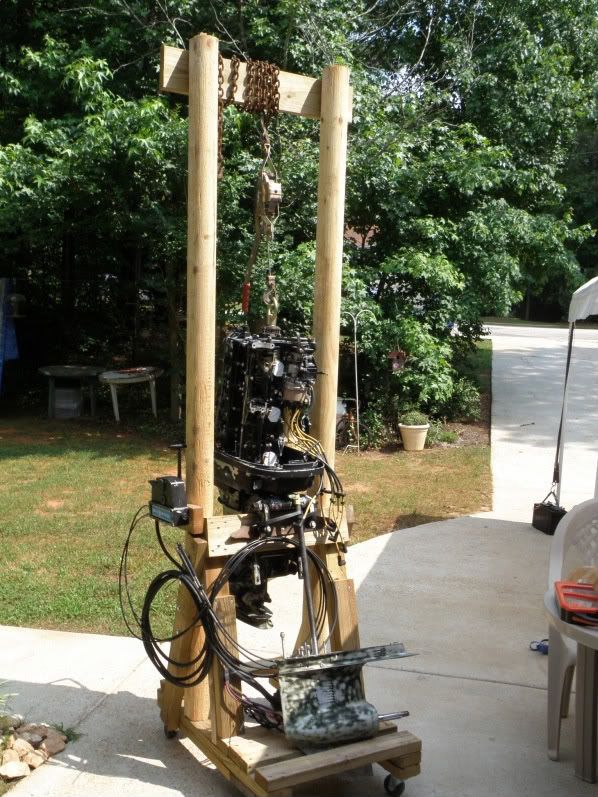
Jim buddy..You have skills..I would never be able to tackle that sonofagun!

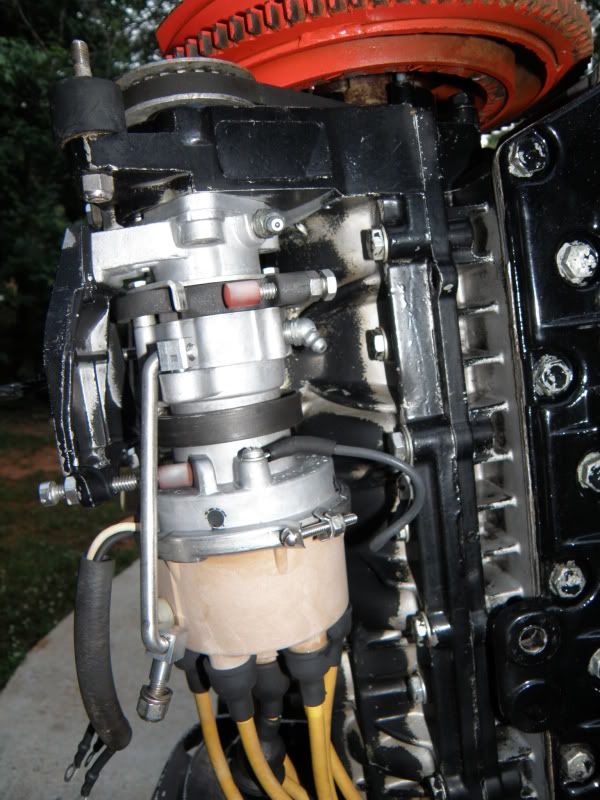

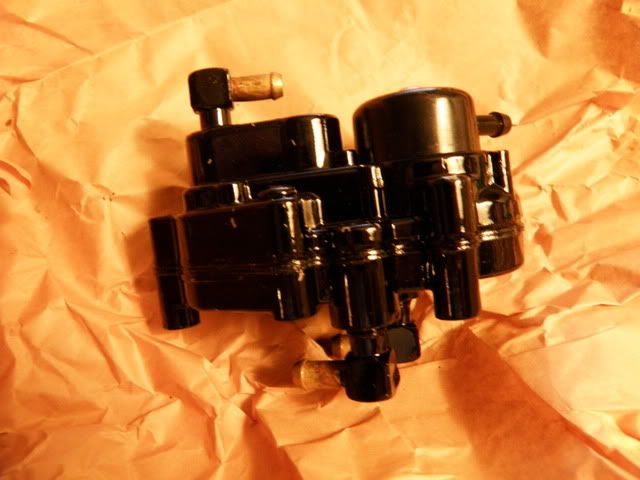
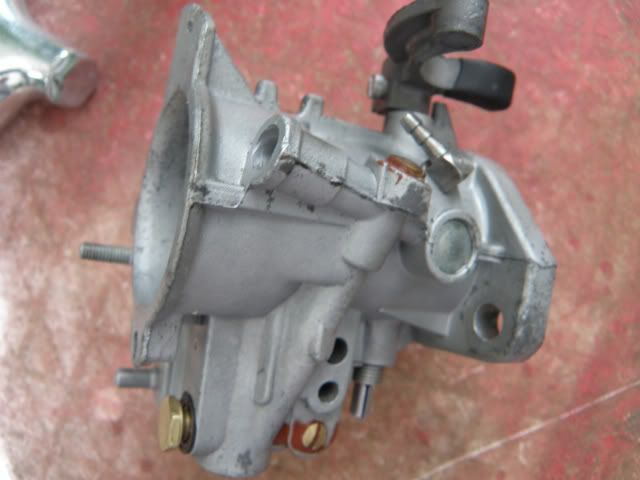
How did the fuel pump go...
But anyway have pulled the 21' mnr out from the back and cleaned it up. been looking around to see what it would cost to have someone build a all aluminum transom.:faint2: The one guy I've talked with will do it but it was way more than I want to pay,$400.00 to build the frame out of aluminum tubing and skin one side and hand it off to me. either I need to buy a welding machine or find someone cheaper. I think I could do it for about 1/4 or so using wood. I really wanted to do it in aluminum,but.Also run a 3" pvc from the stearn up to the bow in 2 sections before and after the center consol so in the future you want to run new wires, shift cables, ect with ez without ripping the floor back up.Oh and i replaced the flotation with a blue color home insulation i dont know what its called but will only retain 1% of water and comes in all thickness 1", 2" and 3" then i cut them to length and whith to stack up under the floor and


