1990 Sunbird 194SPL restore

vietcu

Seaman Apprentice
Joined
Aug 5, 2017
Messages
37
Well I went from owning a little tiny one person kayak(first boat). To owning what I thought was a steal of a deal on a family boat, water ready.
IMG_3752.jpg

IMG_3807.jpg


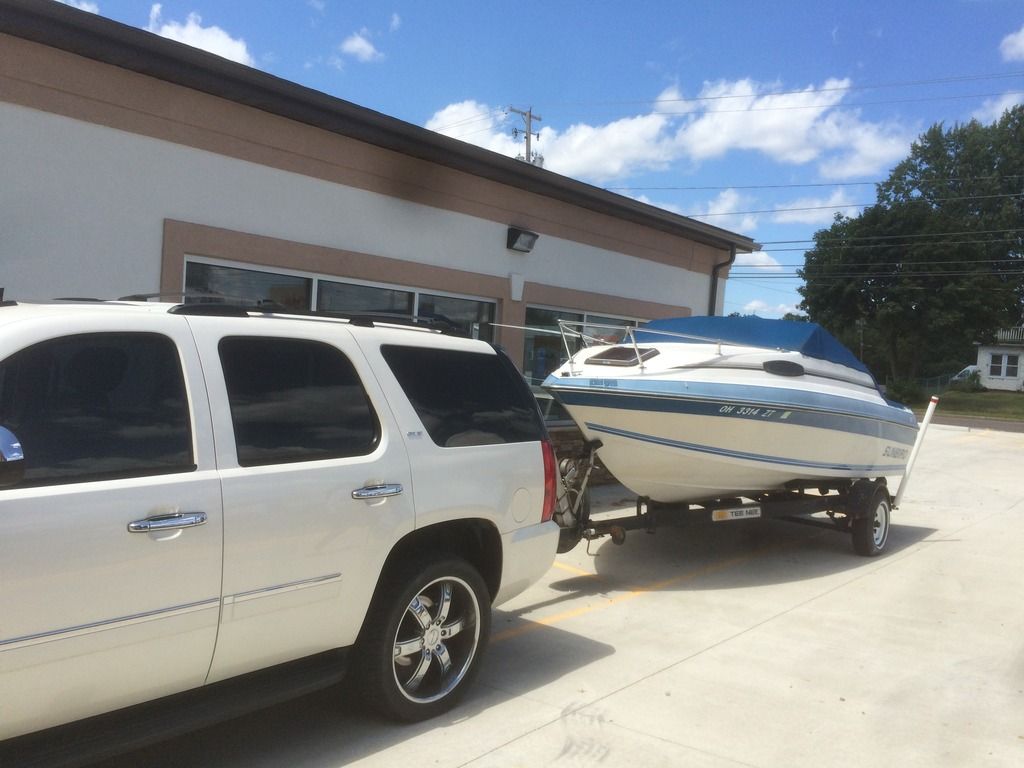
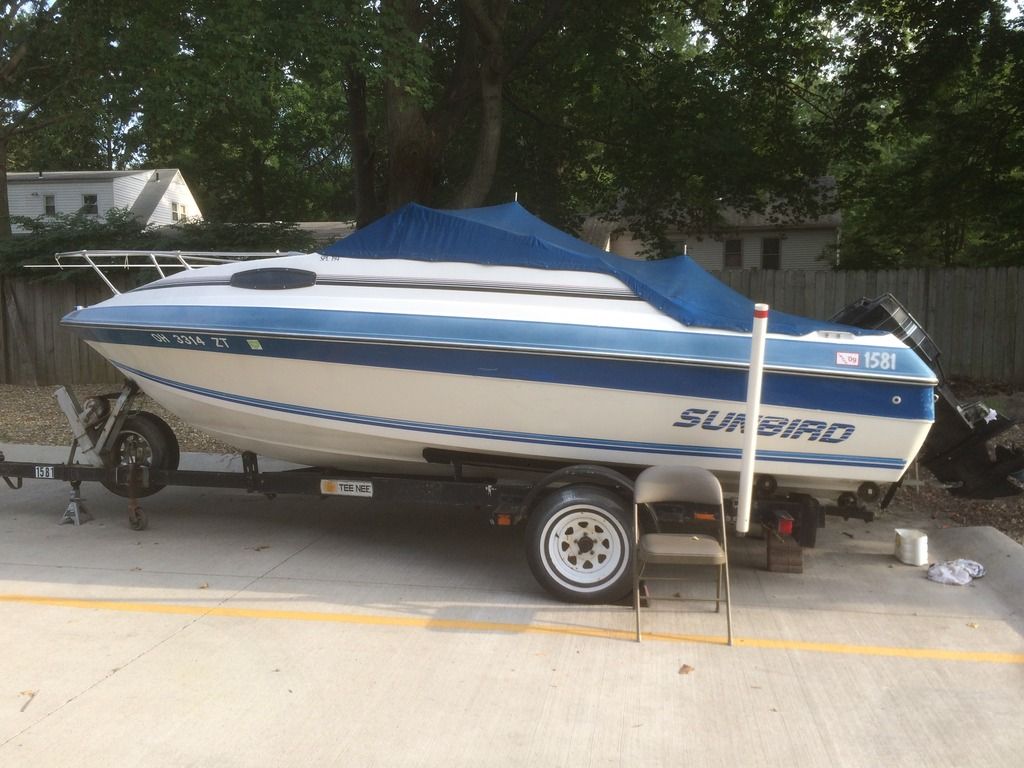
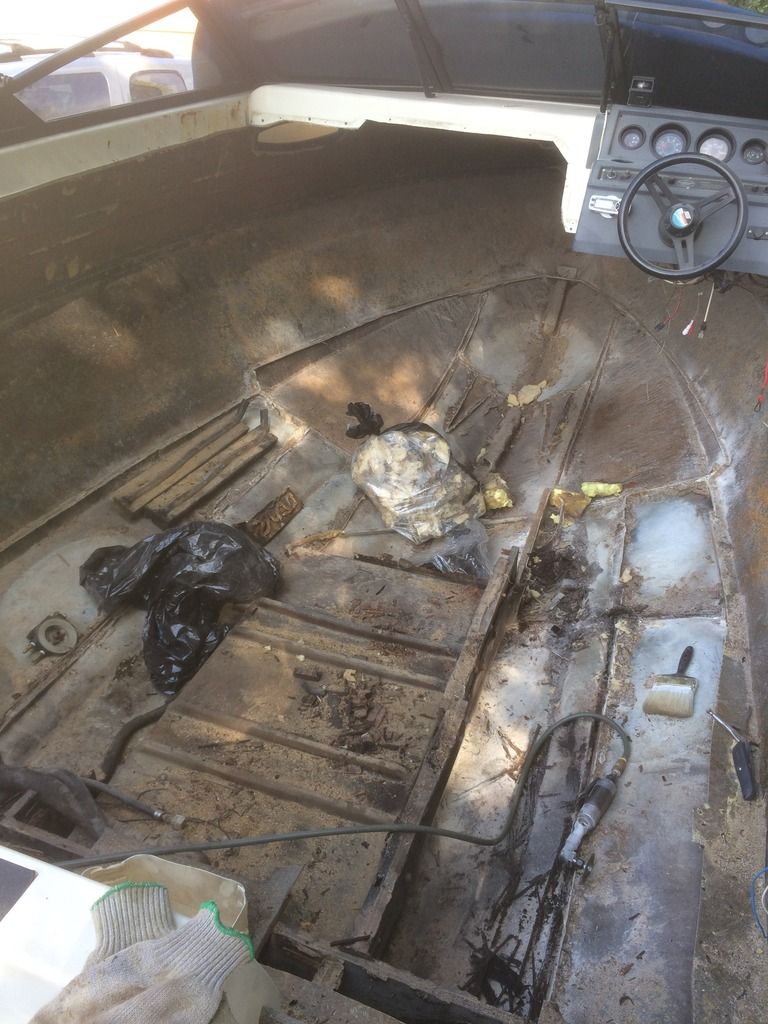
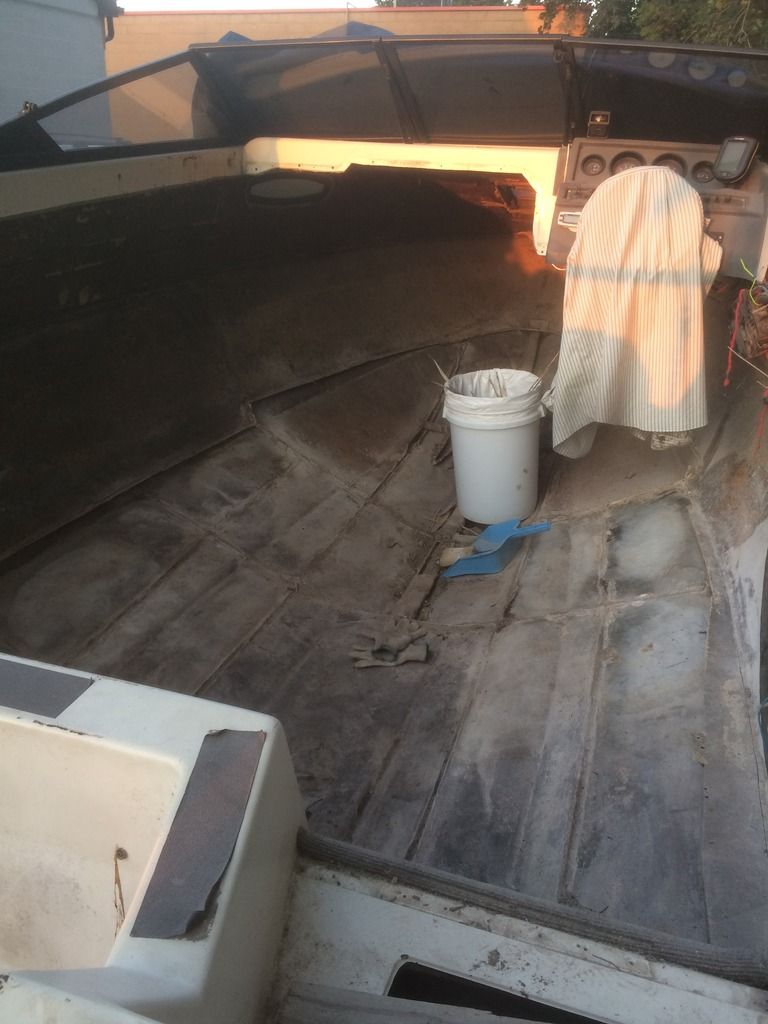
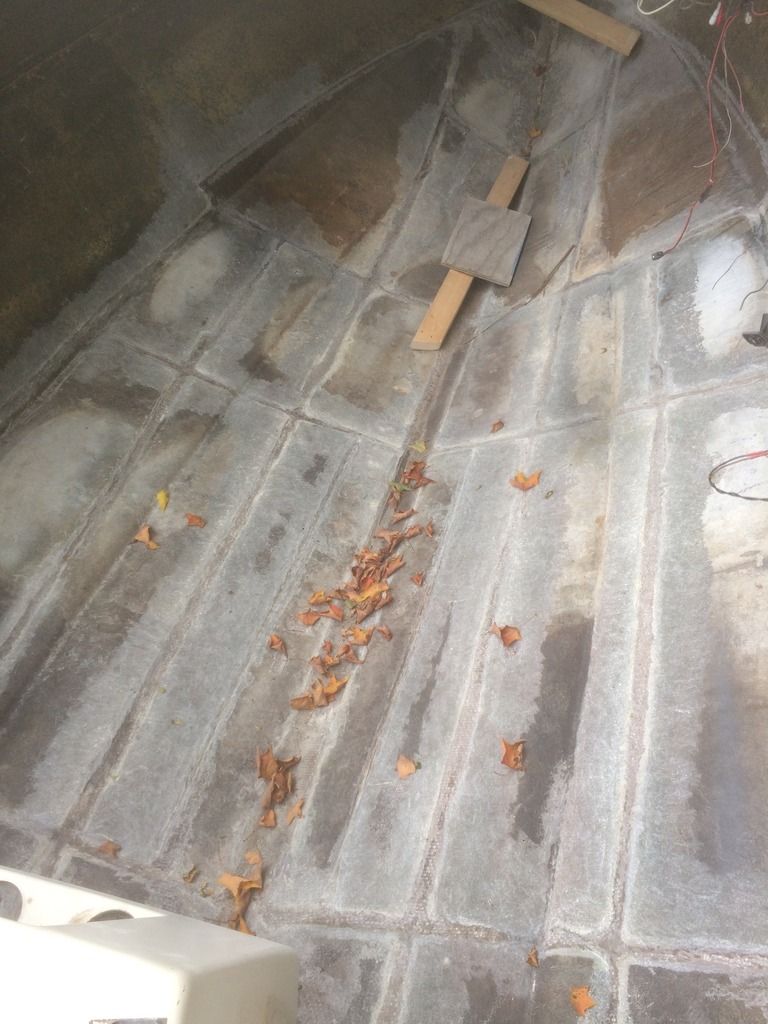
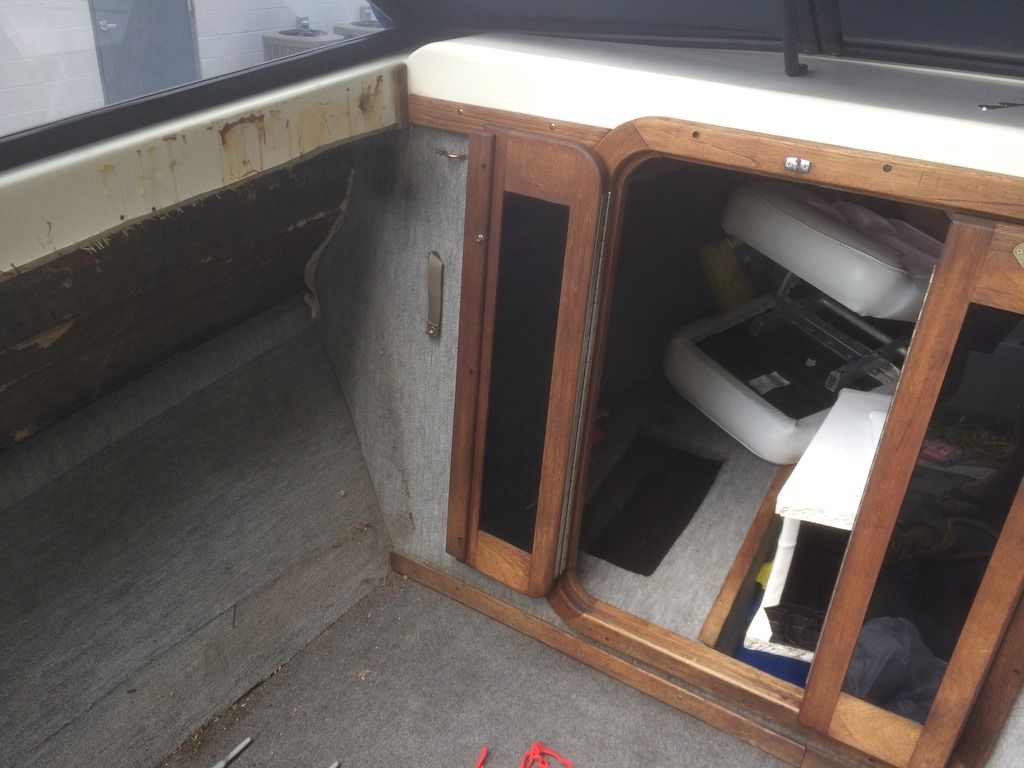
To now owning something that needs to be completely gutted and redone to be safe again on the water. I have already started the dismantling process. Mind you this is my first boat, learning as I go. Luckily I am confident in what skills I have to do this right, thanks to YouTube and this site.
IMG_3809.jpg

IMG_3804.jpg

IMG_3810.jpg

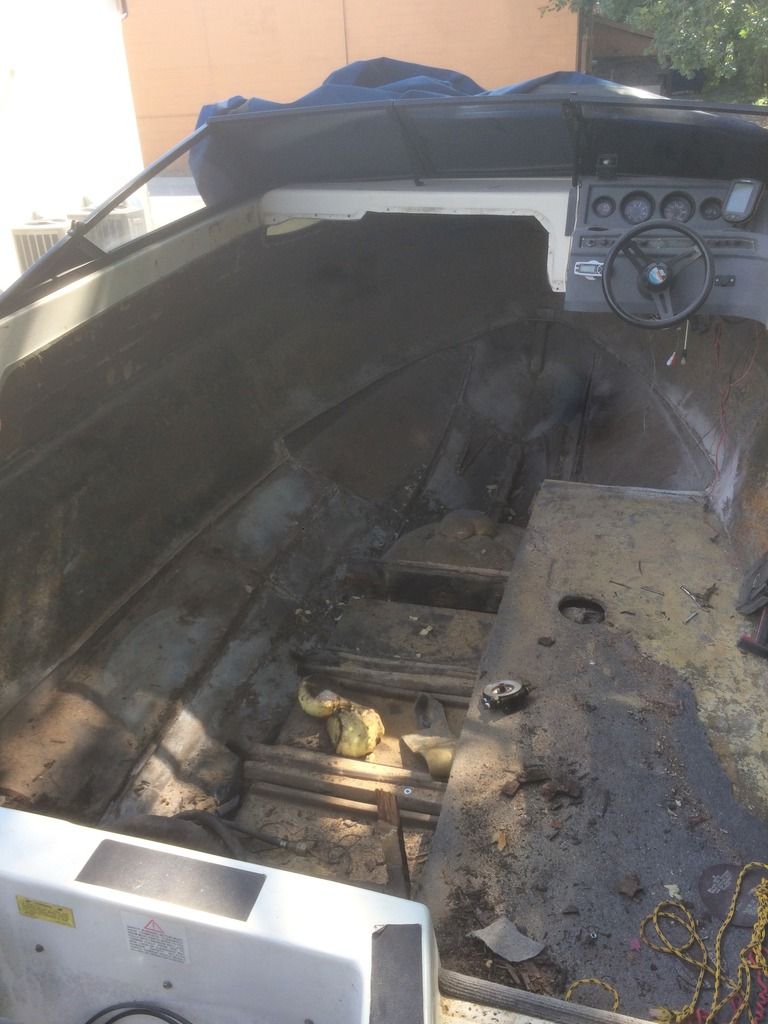
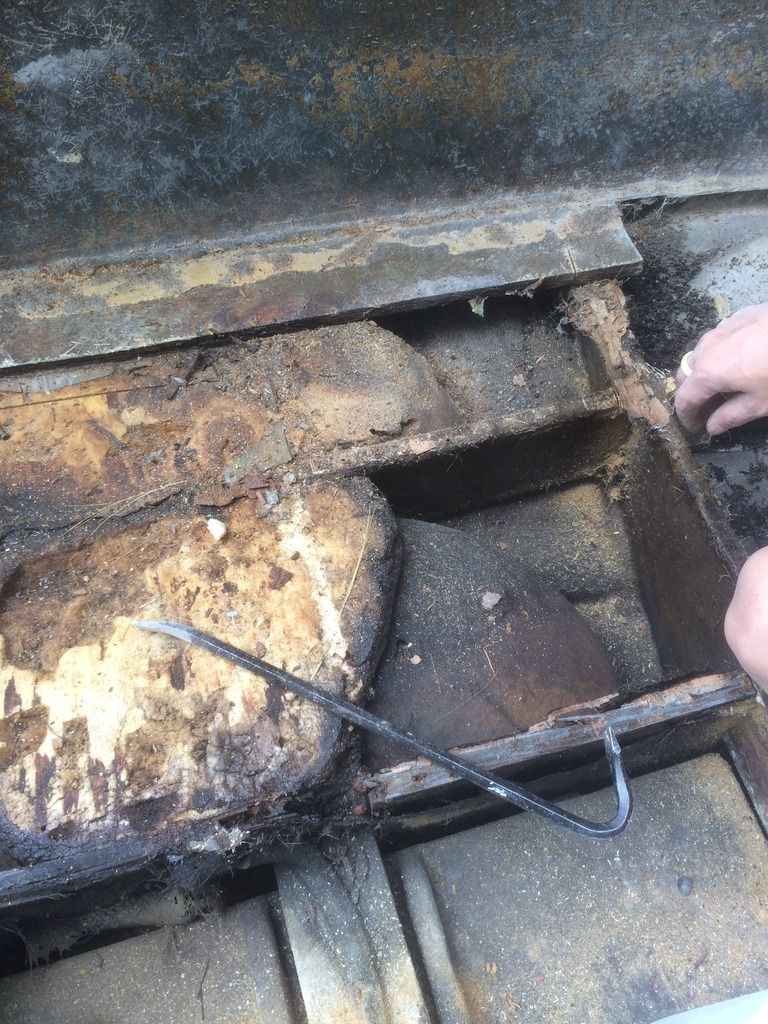
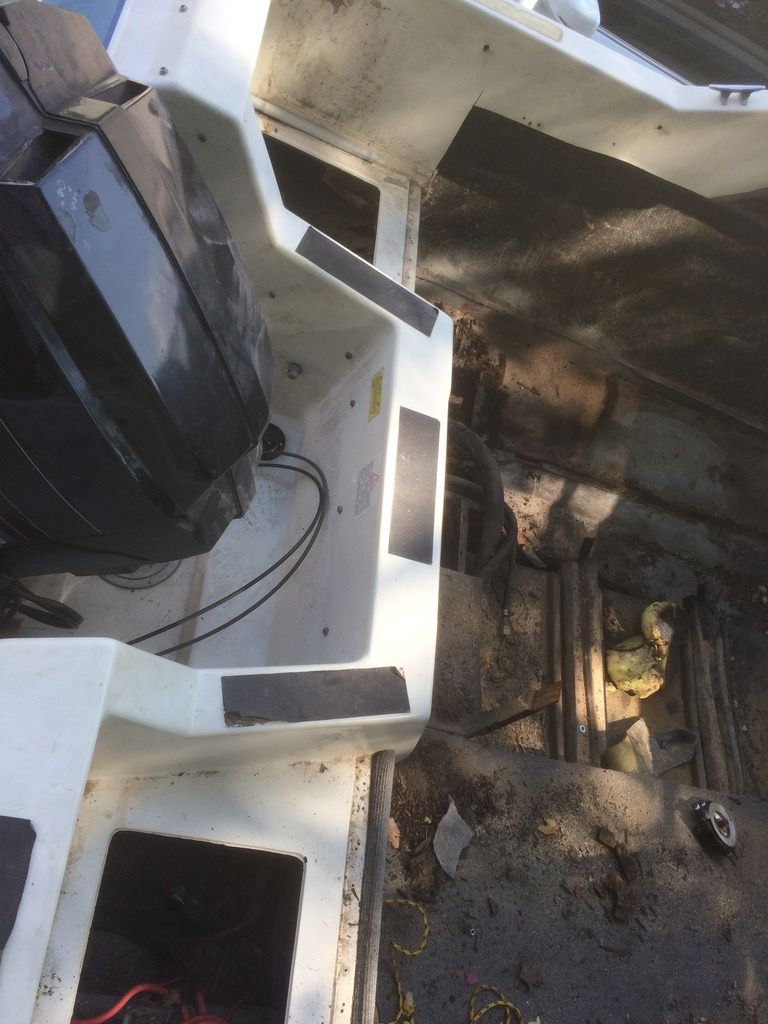
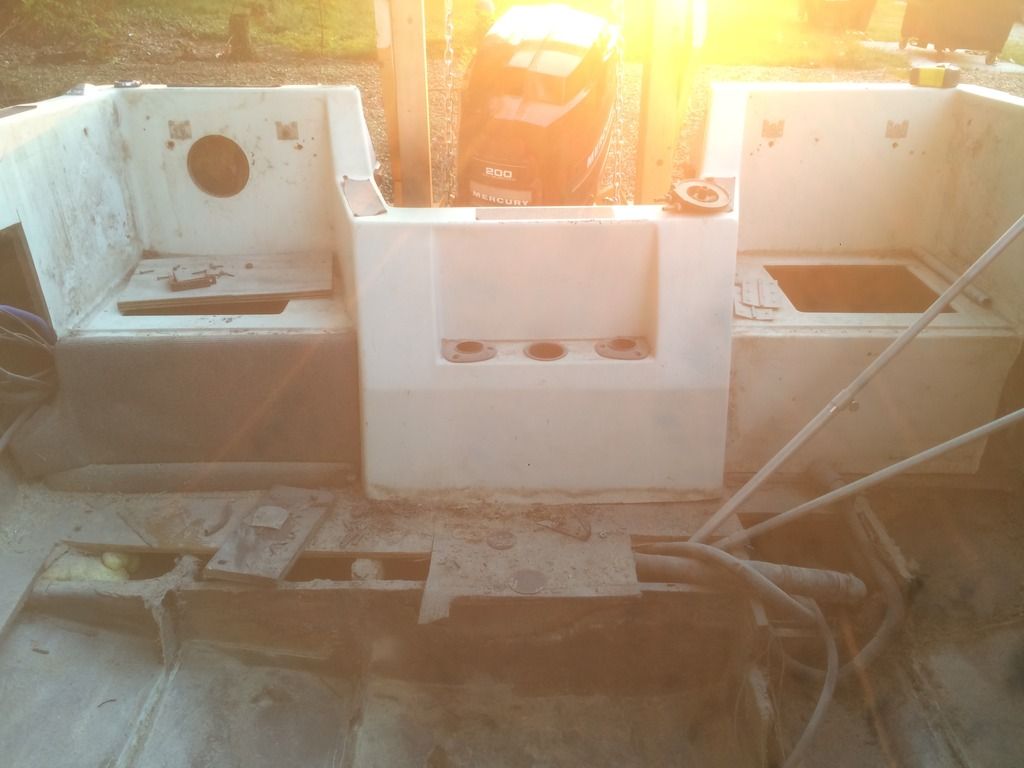
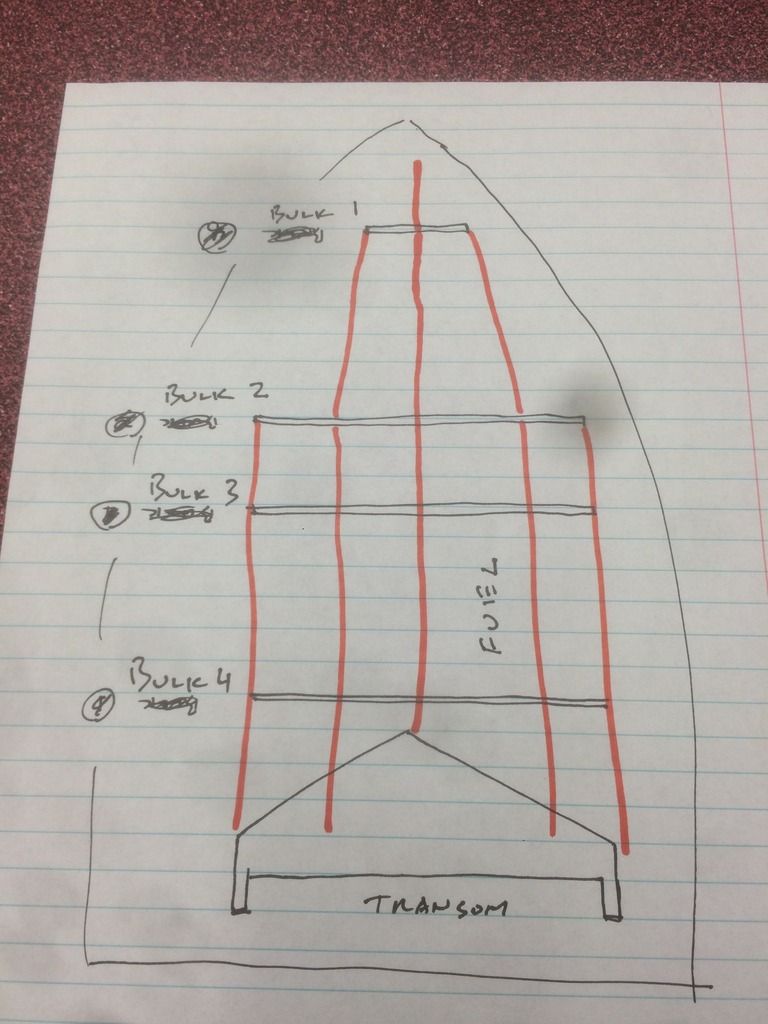
My question is how much material do I need? I've read a few other restore, and I saw 20gallon polyesters resin? Please help me determine how much material, so I don't order too much. Planning on redoing everything, stringer floor and possibly transom( haven't gotten in there yet). Thanks
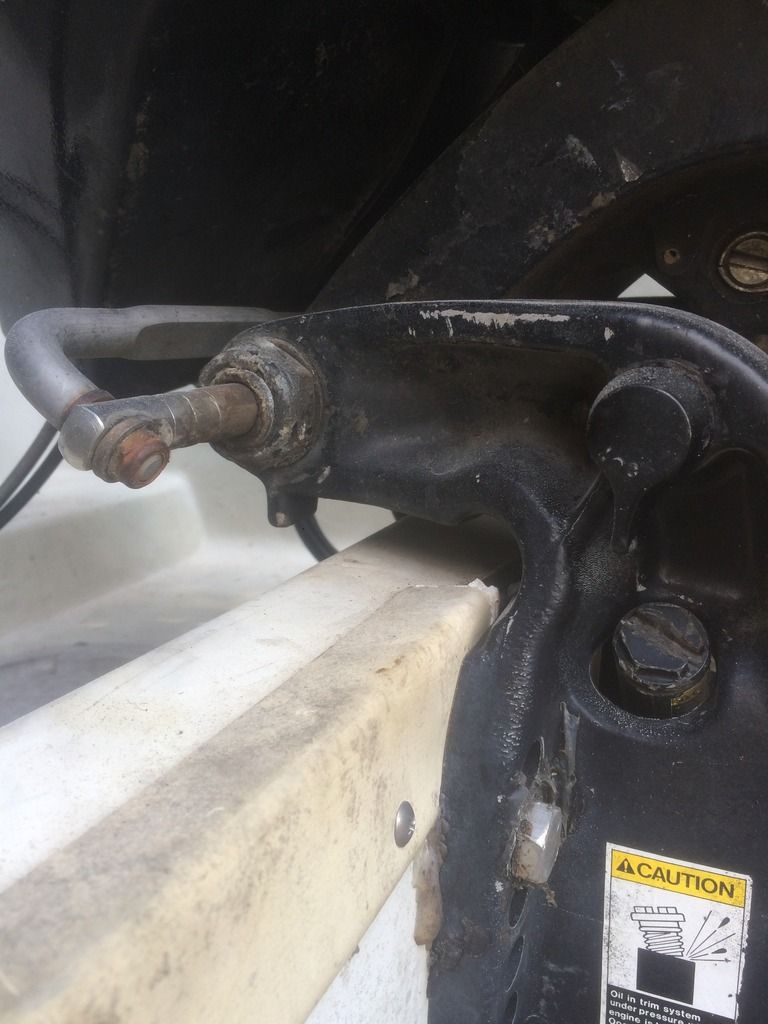
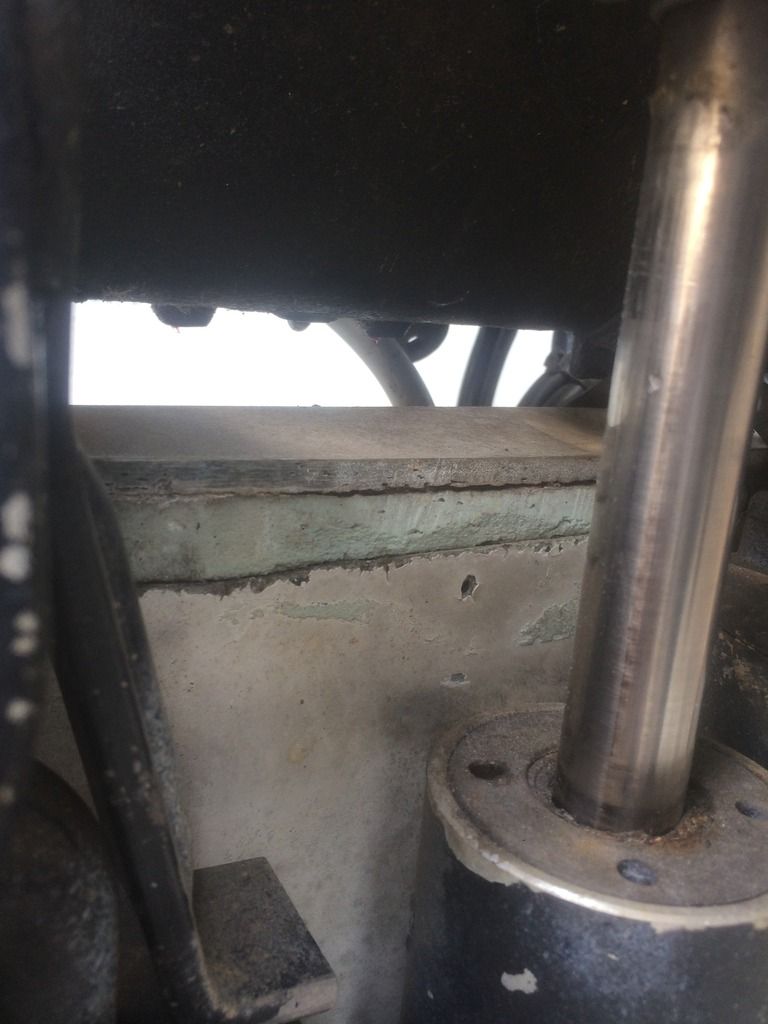
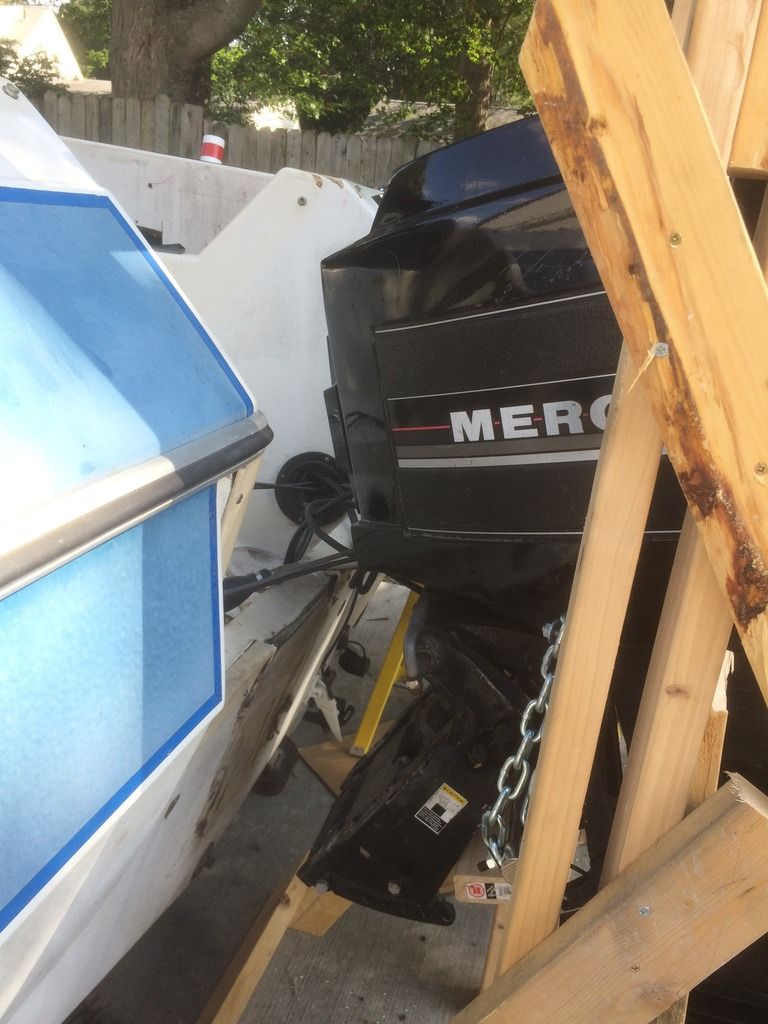
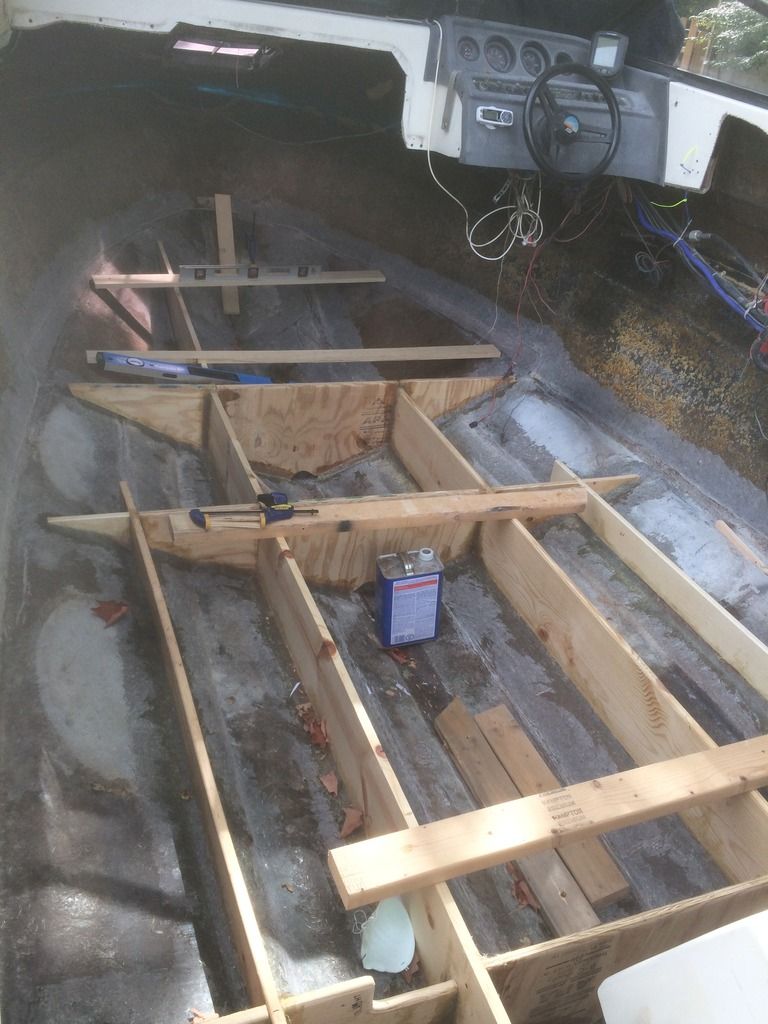
 

vietcu

Seaman Apprentice
Joined
Aug 5, 2017
Messages
37
This is the before picture of the cabin
IMG_3798.jpg

The divider to the cabin
IMG_3782.jpg
 

vietcu

Seaman Apprentice
Joined
Aug 5, 2017
Messages
37
No one is interested in a Sunbird rebuild? Anyways, I went ahead and ordered what I think may be enough fiberglass for this boat. I measured the 4 main stringer to be roughly 10' long, and the 4 stringer in the cabin area to be roughly 5' long. There were only 2 main side brace roughly 4' wide. So I figured wrapping twice with 1708 would be 17-19 yards. The rest I could use for the floors. Now that I am going deeper into the restore, seems that I need to remove the boat top in order to access the transom area considering this is an outboard style boat. Now I have to figure out how to safely remove the engine and the top. Planning on measuring the top and bottom, so I can build some brace to keep the size after the two piece are separated.
 

vietcu

Seaman Apprentice
Joined
Aug 5, 2017
Messages
37
IMG_3940.jpg

While trying to plan a way to remove the engine, I just noticed that the engine isn't even sitting on the boat. Guess I'll just have to suspend it and pull the boat forward.
IMG_3941.jpg

I also noticed this under the mount. It's completely exposed, but it's harder than steel. I'm not sure what it is yet.
 

vietcu

Seaman Apprentice
Joined
Aug 5, 2017
Messages
37
Here I go posting in my own thread again ;). Engine is off the boat, although I still left all the wires connected.
IMG_3946.jpg

And also started to do more demo with interior.
IMG_3947.jpg

Hopefully I can remove the fuel tank so I can grind and sand the area a bit.
 

vietcu

Seaman Apprentice
Joined
Aug 5, 2017
Messages
37
Haha thanks chevymaher for responding. Here she is all cleaned up, although I still need to sand her down some more.
IMG_3949.jpg

I have a question. Instead of removing the top, I was thinking of drawing a straight line across where that crease line is right below the 3 circle in center. That way I have acces to the transom and not have to remove the top. Thoughts?
IMG_3951.jpg

I also noticed this big crack on the outside of my hull today, probably 2' long. How do you fix this? With PB, and jelcoat?
IMG_3952.jpg
 

Tnstratofam

Commander
Joined
Aug 18, 2013
Messages
2,679
Subscribed and following along. Looks like a great project. When you're finished you'll have a better than new boat at a fraction of the cost of a new one.
 

vietcu

Seaman Apprentice
Joined
Aug 5, 2017
Messages
37
Please tag along, but I would also appreciate any feedback and all suggestions. Even bad ones, that way I can get this old brain thinking and maybe come up with something I haven't thought of.
 

savetexomabeaches

Chief Petty Officer
Joined
Jul 4, 2013
Messages
420
Looks as if your transom was replaced with seacast... that'll last forever.. no need to cut that open at all
 

Msky_Hntr

Cadet
Joined
Aug 20, 2017
Messages
15
Much respect for you guys that take on these glass boat repairs. I don't mind the aluminum boats because I can weld beer cans together but I would never have the ability to do glass work and make it look good.
 

vietcu

Seaman Apprentice
Joined
Aug 5, 2017
Messages
37
Spent a good weekend grinding and getting ready to install new stringers. Was hoping to get everything sanded down but not enough time, I'm probably 85% done.
IMG_3970.jpg


Now I have some serious questions, please leave inputs and suggestions on what to do next please.
IMG_3971.jpg

As you guys were aware, all my stringers and bulkhead? We're mush, fertilizer. So I don't know which is one piece and which were not. My question is which is stronger, the stringers as a whole piece, or the bulkhead as whole piece? The middle stringer was just a 1x2 of which I plan on not putting back in. Instead I was going to layer the whole run with 1708 strip, then cover with a 2" pvc pipe cut in half for water flow. Please advise on what to do next
 

ondarvr

Supreme Mariner
Joined
Apr 6, 2005
Messages
11,527
Leave the stringers one piece and cut slots in the bulkheads for them to slip into.
 

Corjen1

Lieutenant Junior Grade
Joined
Aug 24, 2013
Messages
1,237
Leave the stringers one piece and cut slots in the bulkheads for them to slip into.

That would be my plan as well.

On your question about transom access, some one mentioned that it looks like seacast was used, which it looks like it from the pix... Im not sure why its open though. Do you know if a repair was done there? If you need to get at it and replace, it would be easy enough to patch back together.
 

vietcu

Seaman Apprentice
Joined
Aug 5, 2017
Messages
37
That would be my plan as well.

On your question about transom access, some one mentioned that it looks like seacast was used, which it looks like it from the pix... Im not sure why its open though. Do you know if a repair was done there? If you need to get at it and replace, it would be easy enough to patch back together.

I went all the way back to the transom, forgot to post some pictures up. It was a patch job that was poorly done. They fiberglassed another floor on top of the bad one so I couldn't tell the rot. Transom was not mush, but was completely water soaked. Sea foam was used as a filler, only 3" in. So at best was a patch job, thankfully everything is now out, and hopefully redone correctly this time around.
 

Corjen1

Lieutenant Junior Grade
Joined
Aug 24, 2013
Messages
1,237
Im tracking now.... for some reason, part of my statement is missing..... it would be easy enough to to cut where you described and patch back together.

If thats the only reason you have to decapitate it, I would definitely cut it at that center box
 

vietcu

Seaman Apprentice
Joined
Aug 5, 2017
Messages
37
Well slowly but surely I'm chugging along with this project. Spent the whole Labor Day weekend working on this boat, needless to say the wife was not happy with me when I got home. Trying to get her done before it gets cold. Got the transom and most of the stringer peanut buttered in. A lot harder than I thought, with the constant in and out of the boat to measure and cut.
IMG_3978.jpg

IMG_3976.jpg

The outside stringer was cut where it is because that's how they were originally. At first I thought it was weird with the old marking on the boat, but once I tried the full run I knew why. That part bent so much that there was no way to keep it one piece.
 
Top