Woodonglass
Supreme Mariner
- Joined
- Dec 29, 2009
- Messages
- 25,924
The top cap won't fit properly if you apply too much PB to it. As long as you apply several coats of resin and a layer or two of CSM it'll be fine.


The top cap won't fit properly if you apply too much PB to it. As long as you apply several coats of resin and a layer or two of CSM it'll be fine.
I think WOG was concerned that if you removed the cap then did the transom work, that you could potentially have a fitment issue when you reinstall the cap.
If you can do all work without removing the cap, go for it. I just could not see struggling to work under the helm area, so that's why I pulled the cap when the aft stringers were installed.
Thanks Grub. I see your concern about trying to work under the helm, but it's not as bad as it looks. The stringers only go about 4 inches under where it might be a little tough but there is access from the sides. So I'm not removing the cap. BTW your build looks great!
This will be a great family boat when you get done.
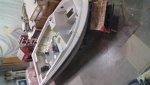
Good morning guys just wondering how my hull should be supported before I completely remove the stringers.
My trailer is a 4 bunk (2x4s) style. Right now I have blocks under the corners of the transom on top of the bunks. The only place they are still touching is about 12ft forward where the stringers stop and the bow is resting on the rubber v-block.
Any advice is appreciated. Thanks

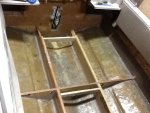
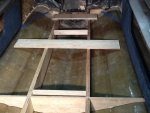
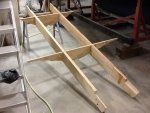
I laid my keel on a 2x6 flat on the floor, blocked the aft corners, measured both sides and leveled it port to starboard. Then blocked the hull fwd and measured, leveled that also. From there, I added 2 sets of bunks from fwd to aft, most of the way down the hull. Then proceeded to cut it apart. It was pretty solid when walking around in there.
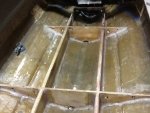
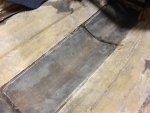
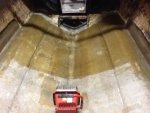
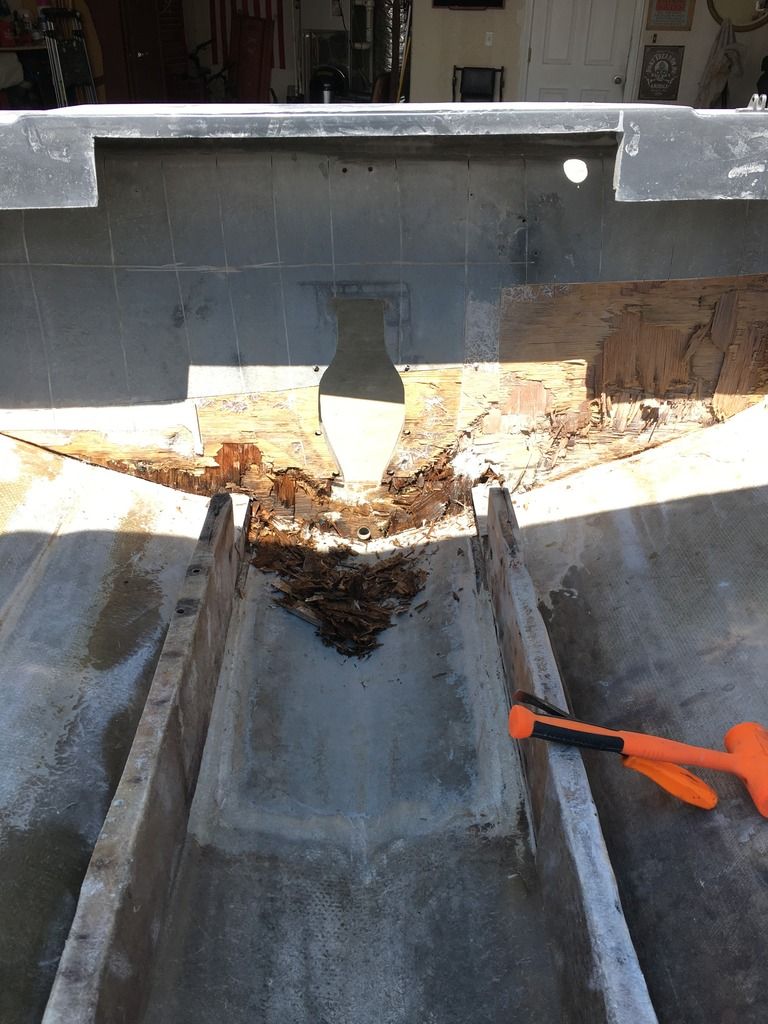
My hull is thin also, I simply supported it before dismantling it. You do not want to have a hook, or bow in the hull. I ground off all the old glass down to clean glass, and layed in 2 layers of chopped to replace what I had to grind out. Then replaced the stringers.
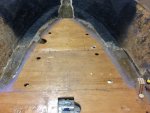
Nice job! When mine was on the bunks you could see it bowing in underneath . Now off the bunks it looks flat just flexes a lot.
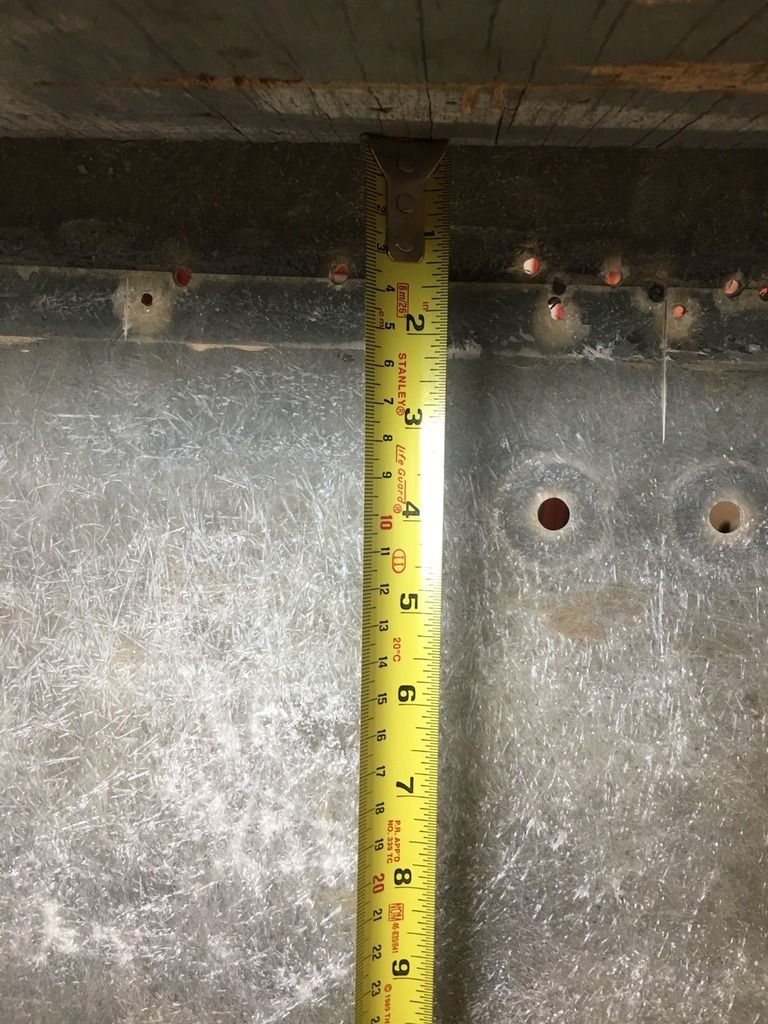
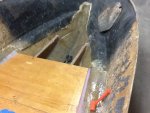
There's only about 1.5" above the new transom before the seam. So all Id be able to do without going over the seam would be a tiny filet and about 1 inch of tabbing...