Baylinerchuck
Commander
- Joined
- Jul 29, 2016
- Messages
- 2,726
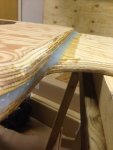
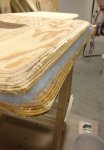
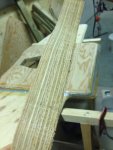
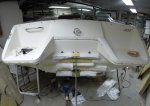
Looks identical to my transom. Feels good to be cutting new wood doesn't it??


Looks identical to my transom. Feels good to be cutting new wood doesn't it??
")
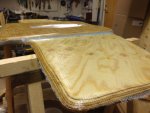
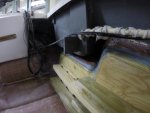
Good luck with your transom install. Hope it goes smoothly and you have some nice pics to share!
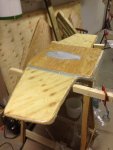
I found that doing a dry run or two - to make sure I knew exactly what had to be done and how quickly - was very helpful.