Starcraft SS16 Floor Repair Help

recka81

Seaman Apprentice
Joined
Aug 17, 2015
Messages
33
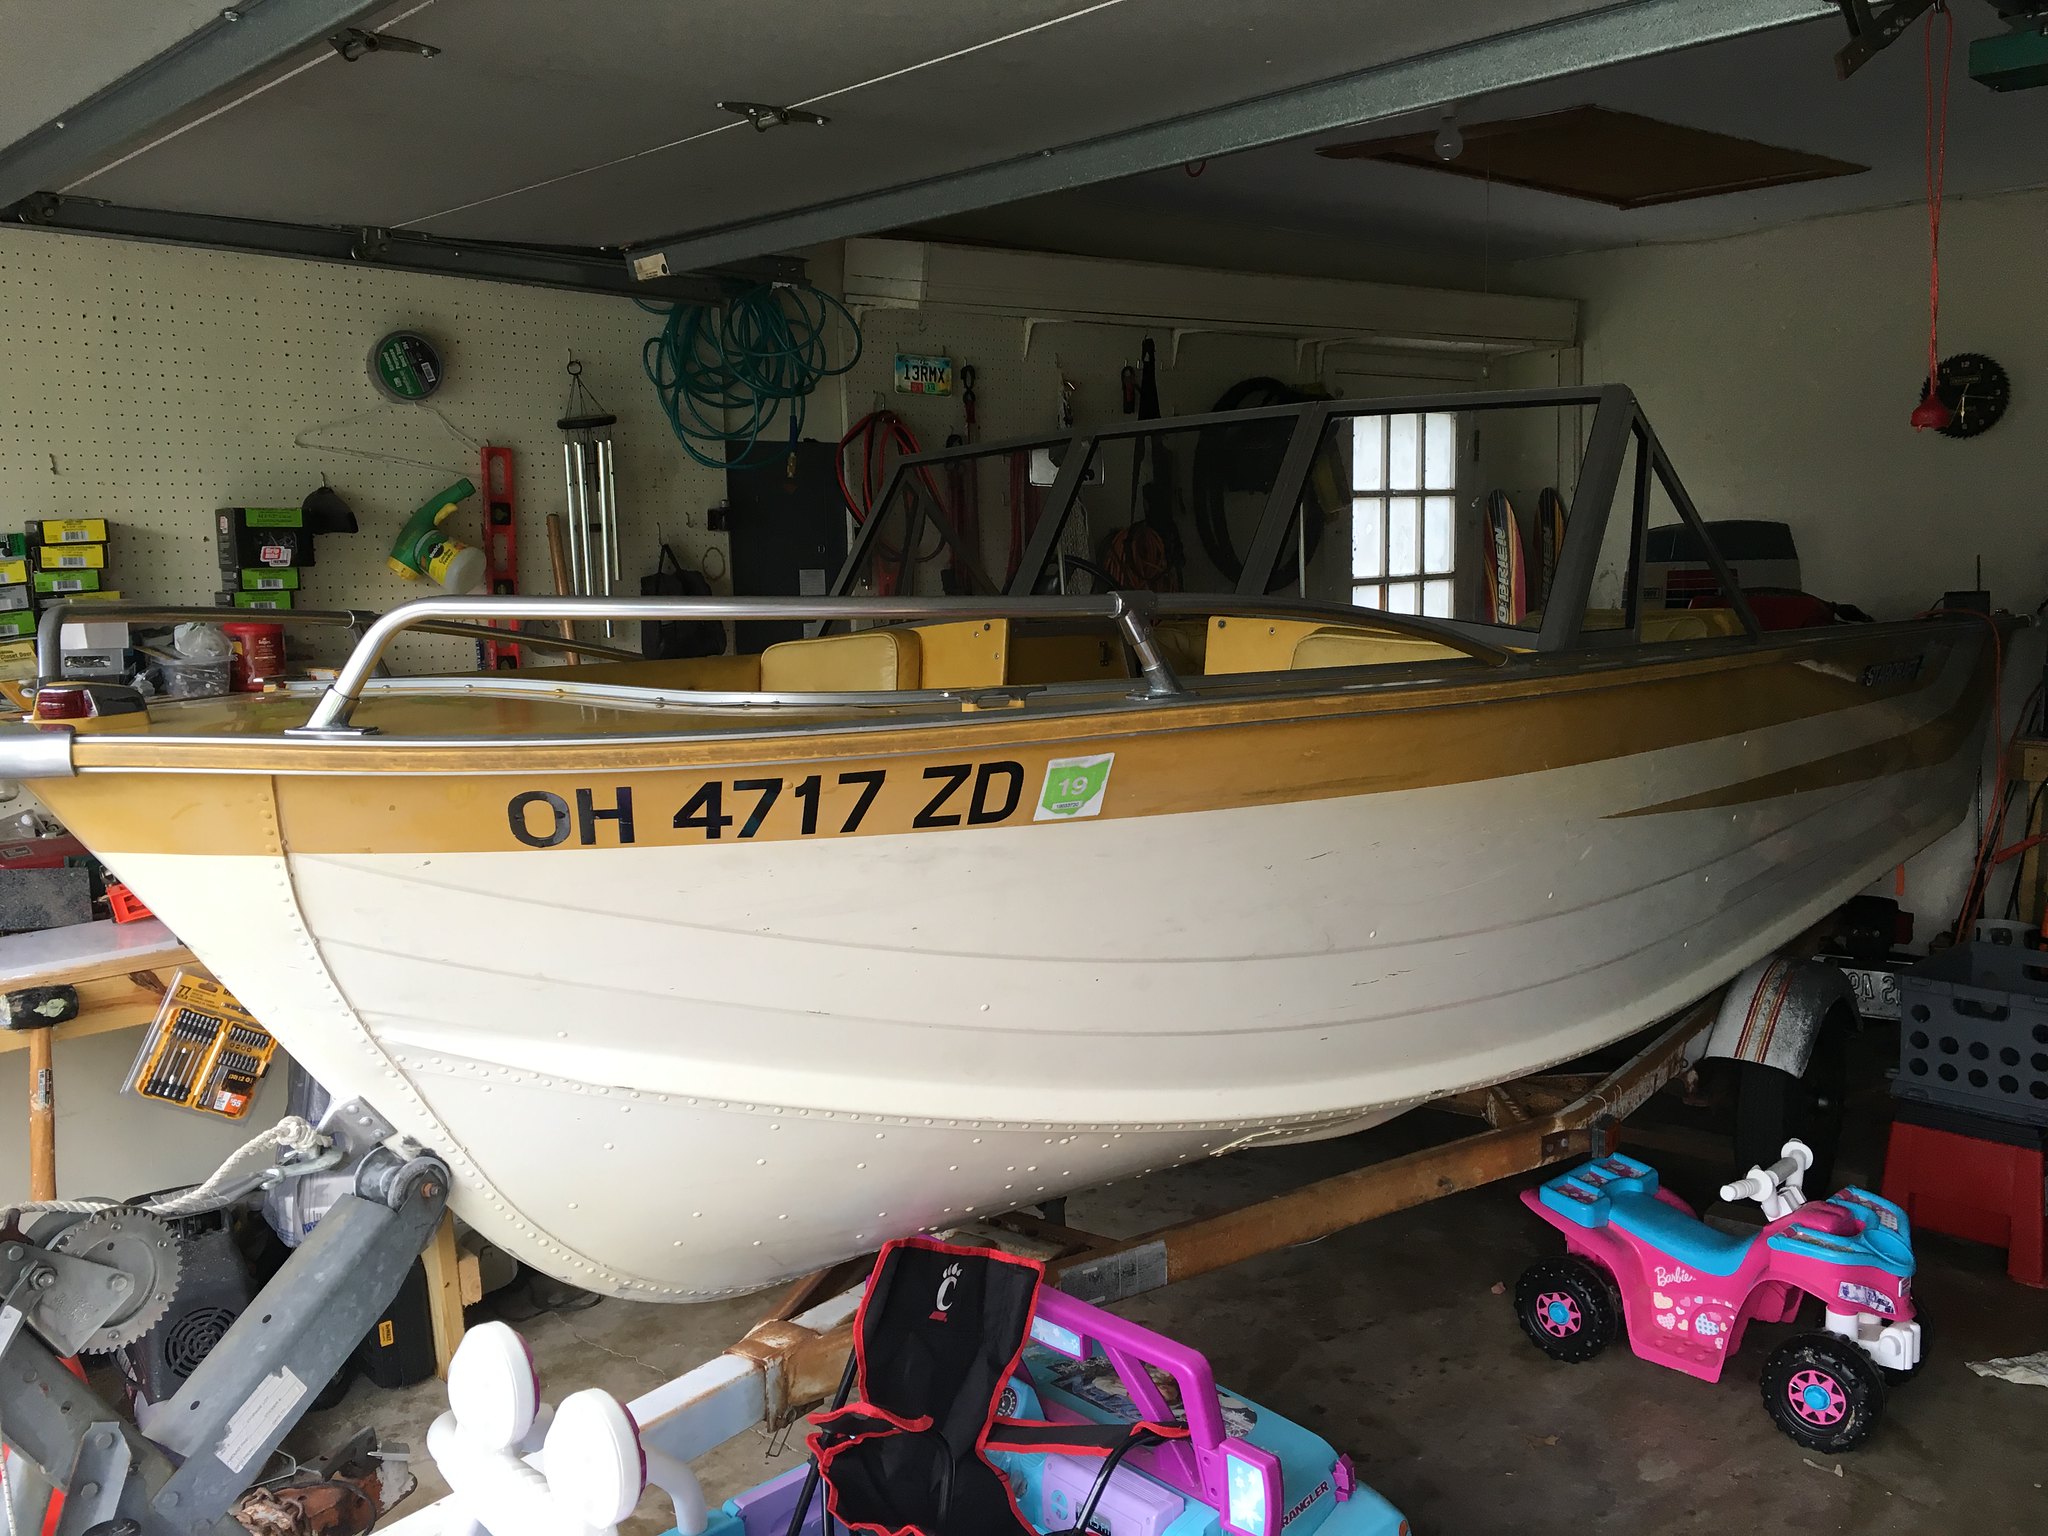
Starcraft SS16 floor repair

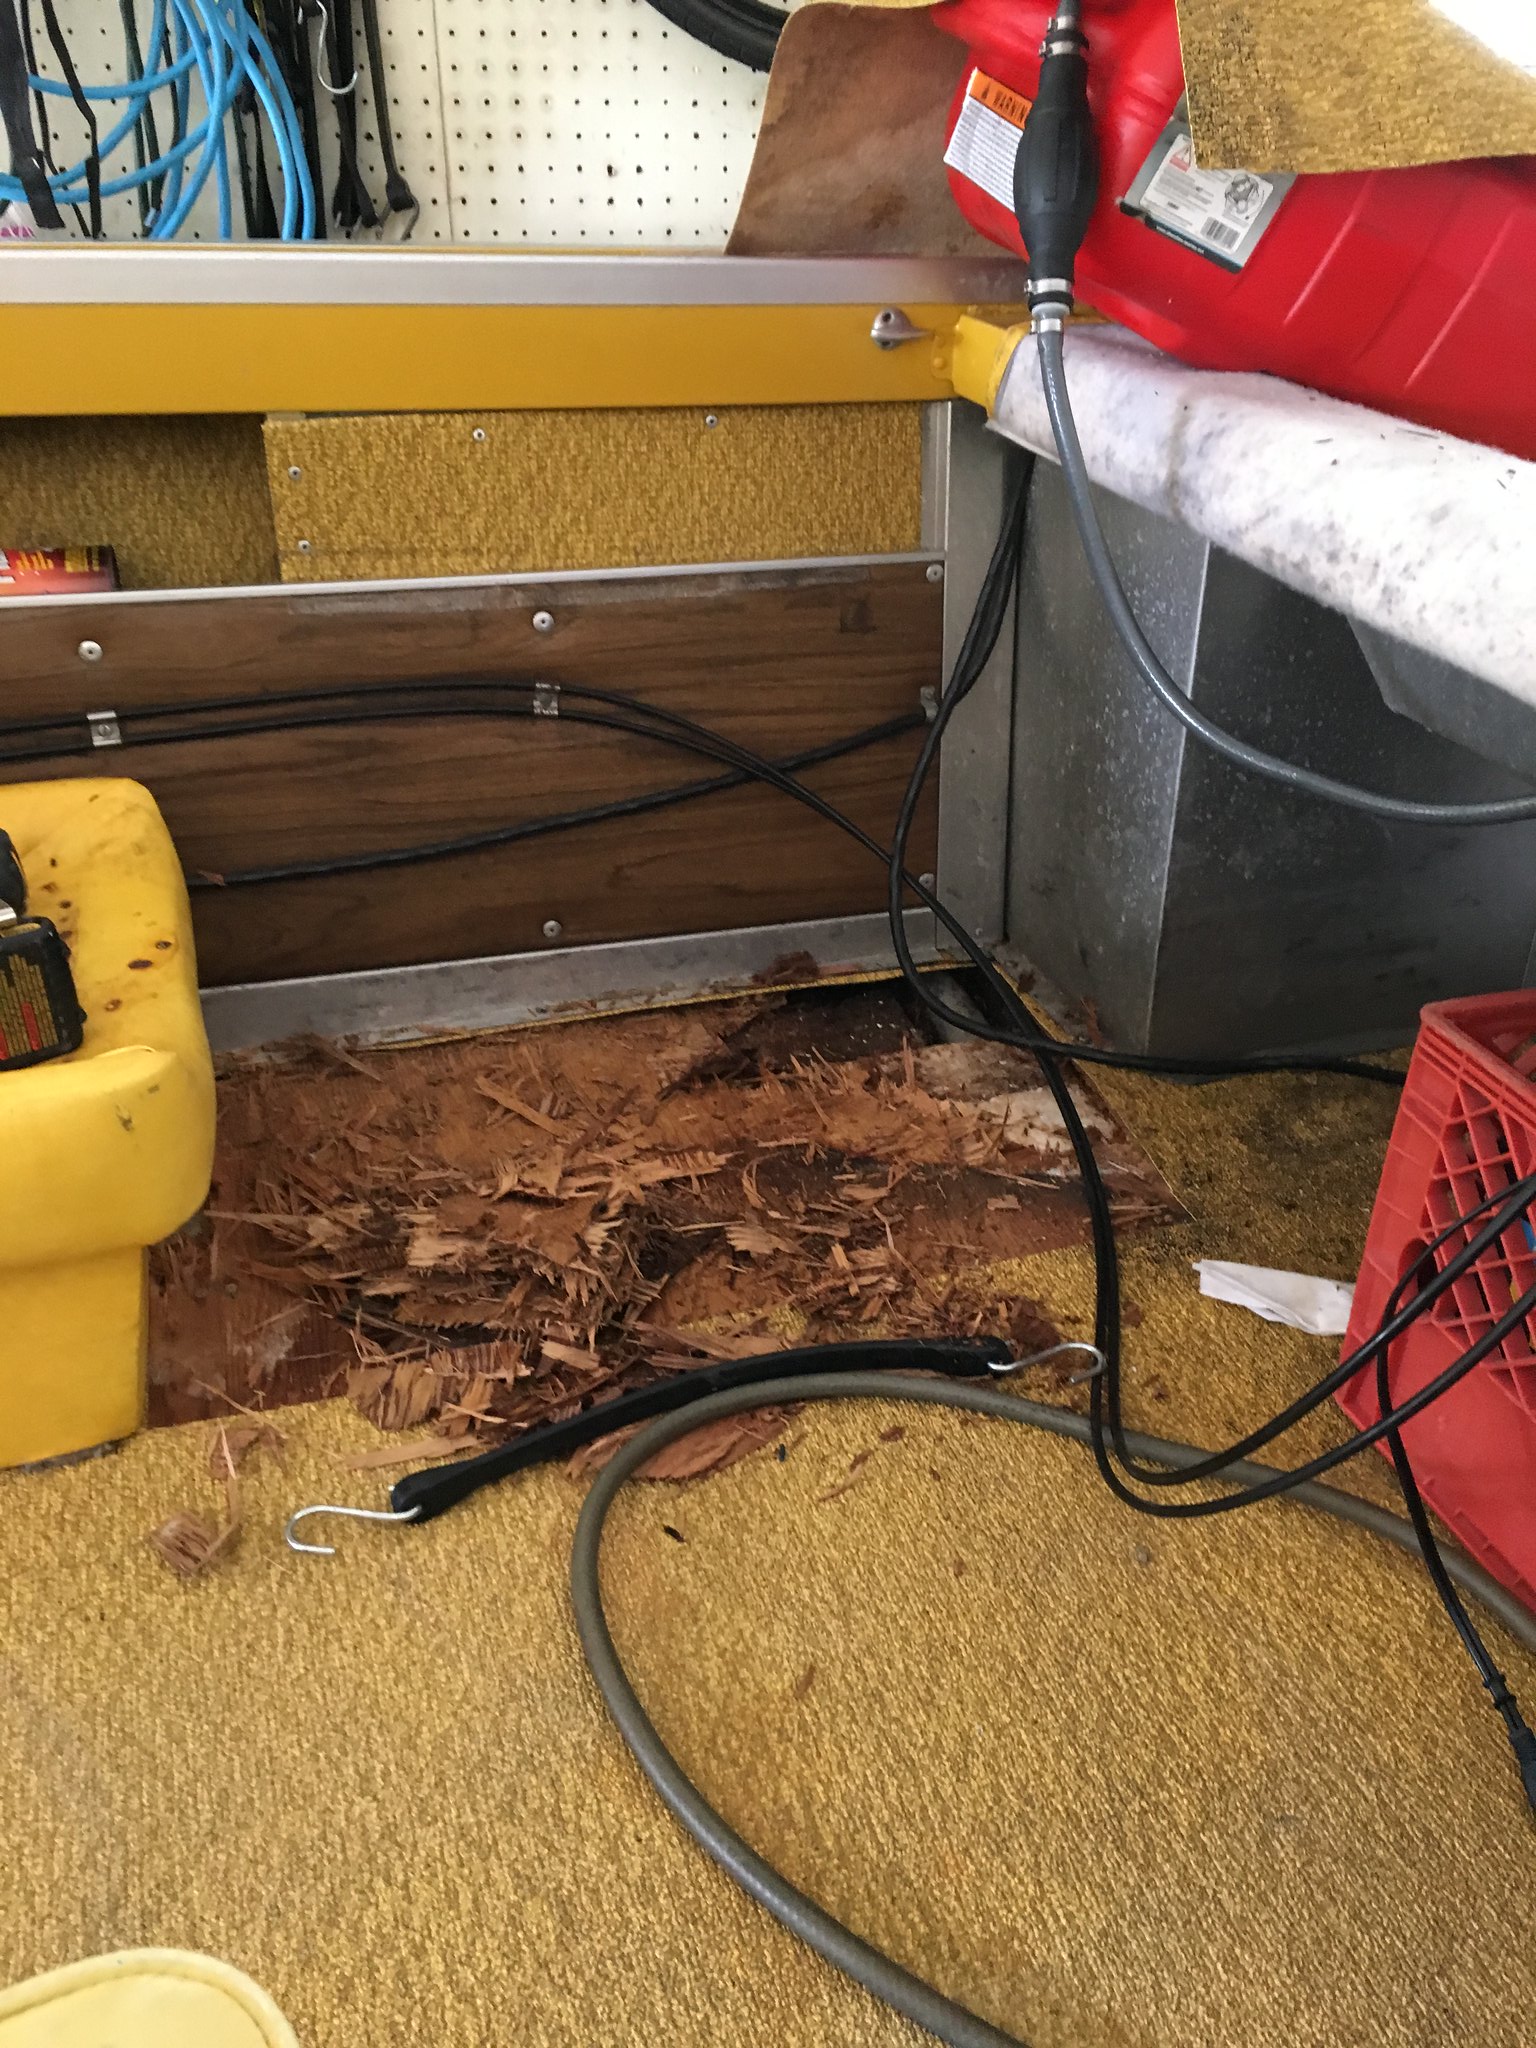
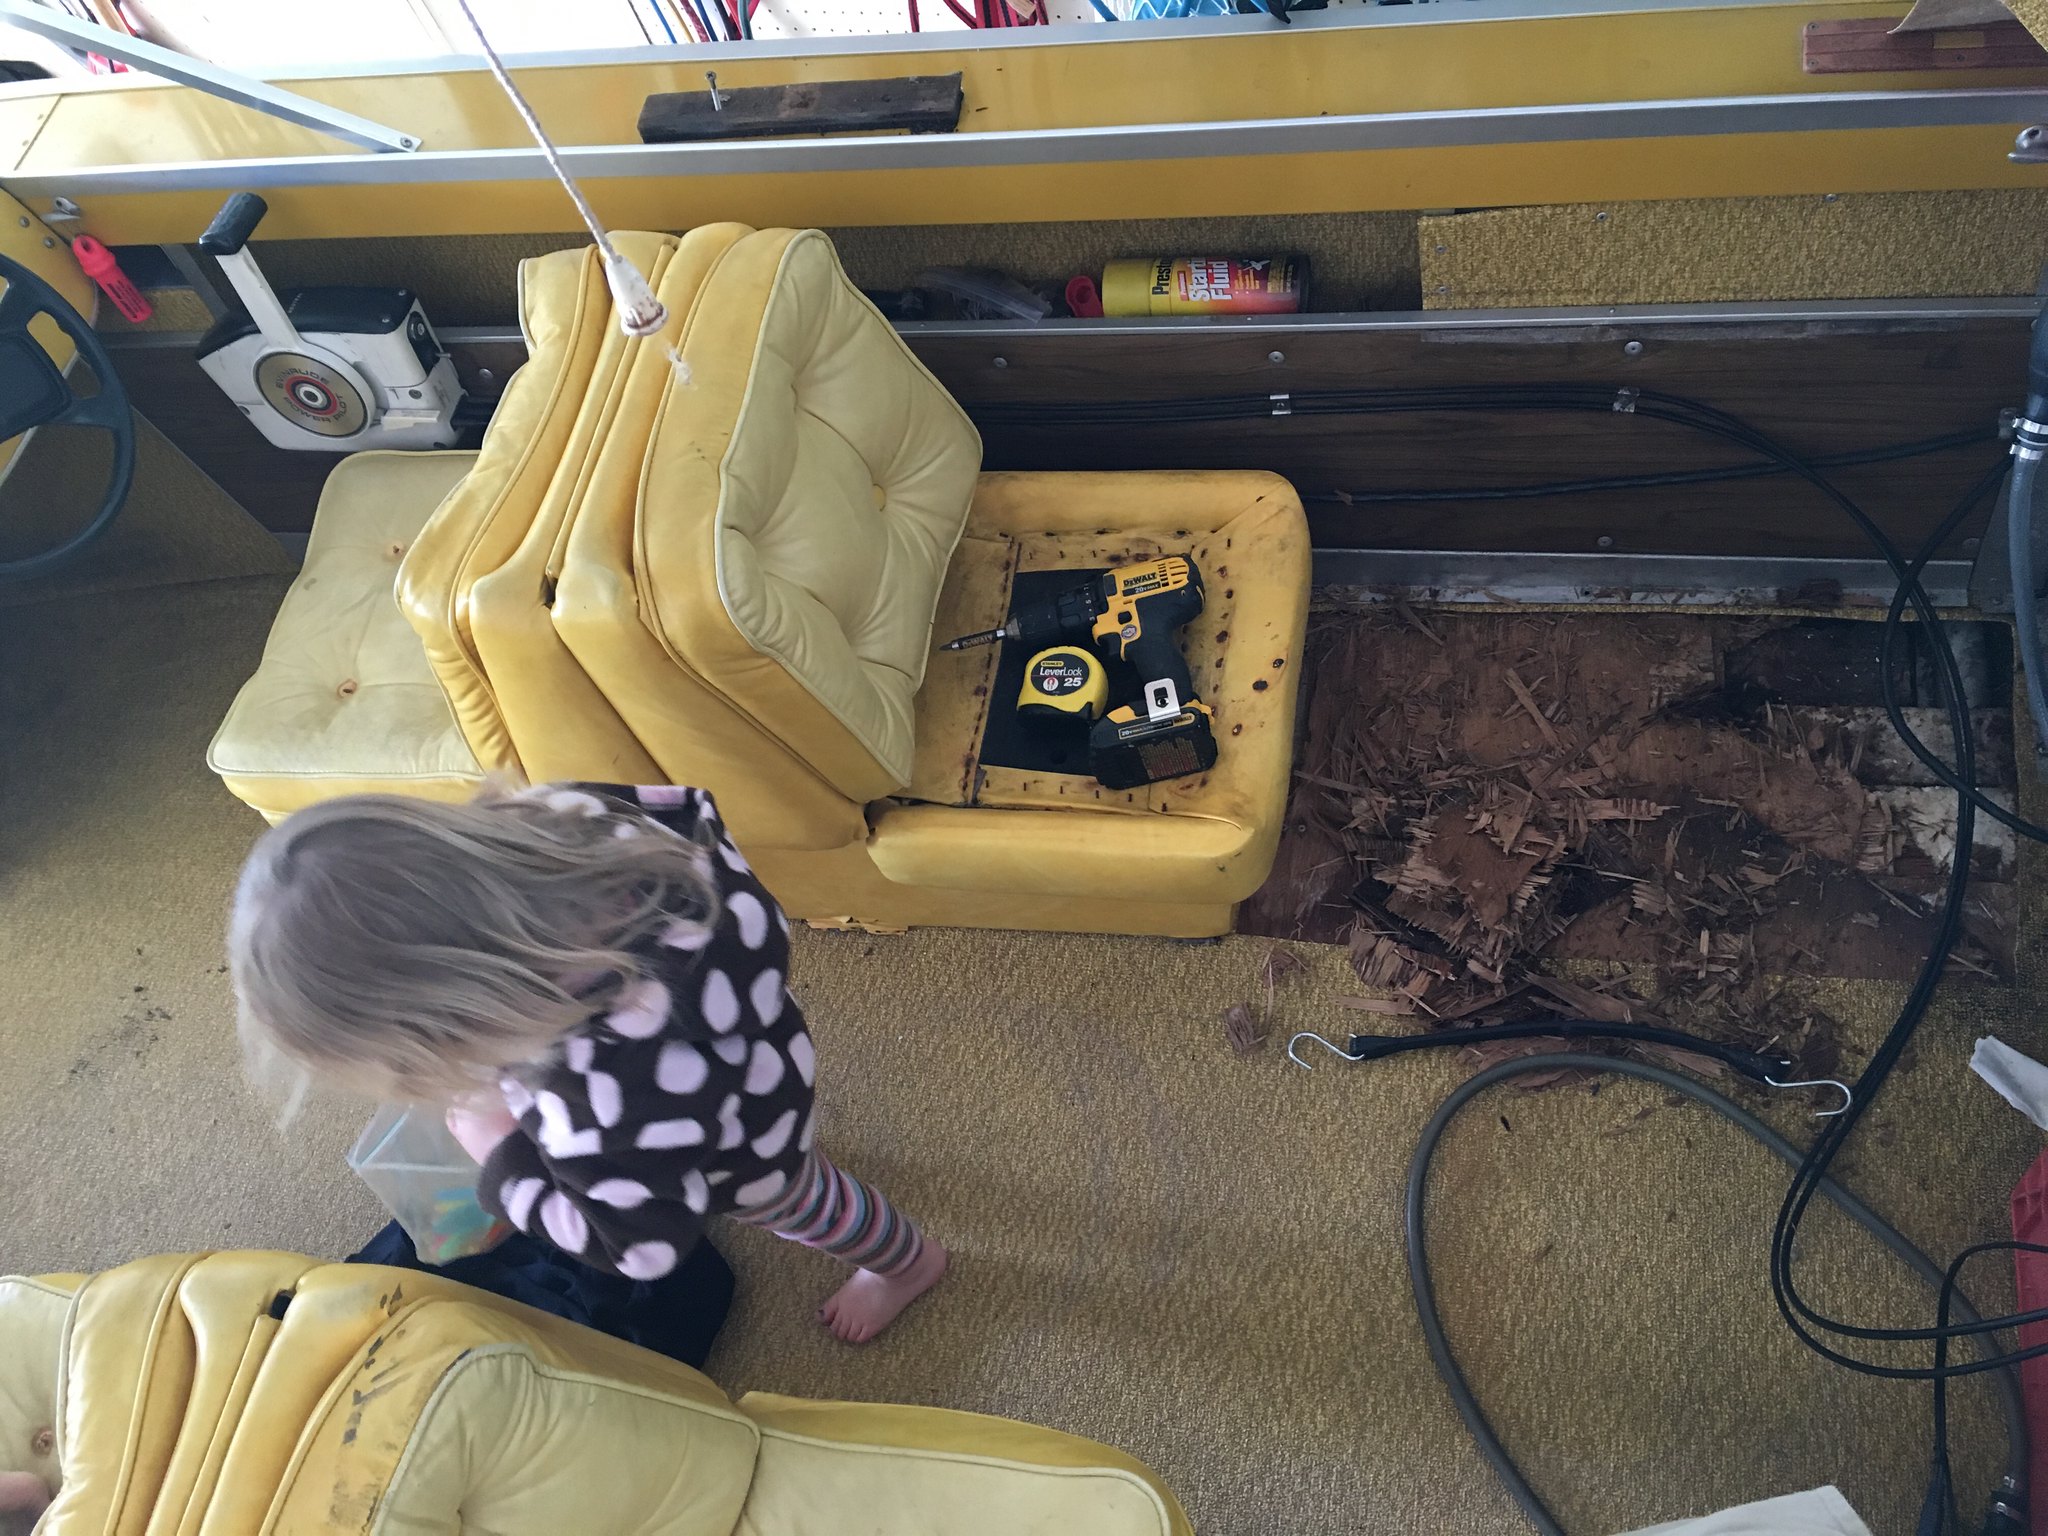
Got tired of a soft spot in my floor and started ripping it up. I wanted to know if I could replace just a section of the floor rather than ripping it all up or do I need to do the entire thing? Finally, how do I remove that brown side paneling so I can get to the edge of the floor?


Thanks in advance!

https://flic.kr/p/H3Zu4N

https://flic.kr/p/H9wjcG
 
Last edited:

Texasmark

Supreme Mariner
Joined
Dec 20, 2005
Messages
14,559
Check out the restoration section for ideas on how to handle repairs of your sort. Starcraft section is all about alum boats and lots of tips there.
 

recka81

Seaman Apprentice
Joined
Aug 17, 2015
Messages
33
I posted this in the wrong section previously - sorry!

I am trying to fix a soft spot that is toward the rear of the deck in my SS16 and had a couple of questions.

1) Any chance I can simply patch this back corner rather than ripping the entire floor up? 2) To get under the edges of the floor, do I need to remove that brown vinyl siding piece? If so, I guess the only way is to drill out the pop rivets? Seems like my little corner repair may become a bit more complicated than I thought!

Thanks for any advice...
Andy

image by Reckerpix, on Flickr

image by Reckerpix, on Flickr

Untitled by Reckerpix, on Flickr
 

dearl

Seaman
Joined
Jul 5, 2009
Messages
54
Nice Boat! If the floor is soft in the area we're looking at, its probably bad under the splash well and gunwale support also. If you do some more probing, my guess is you'll end up replacing the entire floor. I know that's not what you want to hear but its not a real hard job, more time consuming than anything. The splash well support is riveted in, and screwed or bolted to the transom. The Gunwale support is rivet in, and can be removed by drilling out the rivets. Lots of StarCraft guys here that will help you out, Good luck.
 
Last edited:

Patfromny

Lieutenant Junior Grade
Joined
Dec 2, 2012
Messages
1,197
I think you are better off changing the whole floor. That rot seems to be under the seats. Might be where it started. Not the answer you wanted to hear I'm sure but the right way to do it. Everything attached to or thru the floor must come out or be unfastened. I'll let the Starcraft guys get into specifics of what must be removed because they have been there done that but there isn't a lot of bracing under the floor where you can patch the floor like you would sheetrock. Putting a patch in wouldn't be nearly as strong as a whole sheet across the boat. It would likely move everytime you stepped on it. Which, from where it is, would be every time you entered or exited the boat.
 

Frey0357

Petty Officer 1st Class
Joined
Mar 13, 2014
Messages
313
Recka....I agree with the recommendations thus far. I would suggest that you remove the seats, and vinyl flooring to really inspect all of the flooring in the boat. I've seen that same rotten floor look before, as it was in my boat, and in my case everything was rotten including the soaked wet foam and so complete restoration was needed in my case. I certainly do not hope that for you, but be prepared that you need to check it out. A little extra work now could save a bad list of things later when cruising the seas!

Again I would plan on replacing all of the flooring in the boat, it likely needs it. Good luck Andy, and keep the posts coming. There are may folks here that can help you through this, if you would like the assistance!

Frey
 

recka81

Seaman Apprentice
Joined
Aug 17, 2015
Messages
33
Thank you for the responses thus far. I was afraid of having to do the whole thing but I guess I'm not surprised either! Does anyone know how to go about doing it? I mean, I can cut the plywood once it's time to replace, but how about getting everything out? Do I need to drill out all of those pop rivets holding the side panels and floor trim down?
 

fishin98

Chief Petty Officer
Joined
Nov 28, 2009
Messages
521
Looking at issues, and the advise from others.....IMO You would be better off to plan on a complete floor replace. Yes you will have to drill out rivets, which is no big thing. Take pictures as you go along. You can use ACX or BCX exterior plywood as a replacement. Save your old floor to use as a pattern for the new one. Lots of people here with a vast amount of knowledge to help you through this process.
 

PTChief

Seaman Apprentice
Joined
May 1, 2016
Messages
36
Hmmmm..it may be the photos but that looks suspiciously like wafer board on the floor......which means someone was in there before and re-did the floor. I am not aware of StarCraft ever using wafer board for a floor, for a factory build. Anyone else ever seen that? At any rate, because of that alone, I would take up all the way to the seats and perhaps more (like the whole floor) just to get that stuff out of there. Replace it with EXT grade ply, or aluminum, and get along with it. I agree with the others that it's more time consuming than skilled......certainly save whatever you can for patterns or get a roll of floor protection paper from Home Depot and trace out the floor on it before you rip it out.
 

recka81

Seaman Apprentice
Joined
Aug 17, 2015
Messages
33
Hmmmm..it may be the photos but that looks suspiciously like wafer board on the floor......which means someone was in there before and re-did the floor.

I could be wrong but to me it just looked like crappy 1/2" plywood that was coming up in shreds because it's so rotten. I appreciate the advice. After hearing all of this, I'm going to take it out at least up past the seats. Just need to figure out how to get all these weird aluminum trim pieces off first.... :facepalm:
 

dozerII

Admiral
Joined
Oct 25, 2009
Messages
6,527
Great looking SS you have, I'm afraid to say you are more than likely looking at a complete floor replacement. If you head over to the Starcraft owners section you will find a huge amount of info. This is the restoration section, for you to look through SS's are the most popular. Then you can post your questions. If you check the floor (deck) up at the front of the consuls you will probably find more soft plywood.

http://forums.iboats.com/forum/owne...ft-rebuilds-and-restorations-they-re-all-here
 
Last edited:

recka81

Seaman Apprentice
Joined
Aug 17, 2015
Messages
33
Thanks for all the info guys. Those Starcraft rebuild threads are great. Since I'll be pulling the floor up, going to get rid of the yellow carpet and upholstery. I'll keep the hull yellow but collectively, it's a bit much!


jbcurt00

Moderator
Staff member
Joined
Oct 25, 2011
Messages
24,871
Recka,
If you start a topic in the wrong foeum, or decide it needs to be moved, ask any Mod to move it for you, no need to start a new topic.

Merged your 2 topics

Good luck w your project
 

Patfromny

Lieutenant Junior Grade
Joined
Dec 2, 2012
Messages
1,197
Wow Recka, that is a whole Lotta yellow. Just upped the boat budget I guess. What color were you thinking of changing to? Any change would probably mean you would have to paint the splash well and consoles to match the new interior color. Sorry to be spending your money bud. Shame about the color, those seats look pretty comfy.
 

GA_Boater

Honorary Moderator Emeritus
Joined
May 24, 2011
Messages
49,038
^^^^ Some of the Startcrafts back in the day featured BarcaLounger seating. LOL

Recka - I know it sounds and looks intimidating to replace the decks, but it really isn't. Try to keep the decking intact as patterns for the new wood.

Have you looked at the transom wood? Often decks and transoms go hand in hand on the way to the dump.
 

recka81

Seaman Apprentice
Joined
Aug 17, 2015
Messages
33
Have you looked at the transom wood? Often decks and transoms go hand in hand on the way to the dump.

Yep, it's getting soft:


I'm more afraid of transom replacement than the deck. What do people normally use for that? Sheets of wood bonded together or something? Ugh. And I thought I was dealing with a tiny soft spot on the floor!
 

Patfromny

Lieutenant Junior Grade
Joined
Dec 2, 2012
Messages
1,197
If you have basic wood working skills and some patience you can tackle the transom. I am guessing at the Starcraft thickness but I believe you will have to laminate two pieces of 3/4 plywood cut to size together. Save the old transom if possible to use as a template to cut the new pieces. Start reading some starcraft restore threads to get a better idea what your facing. I even looked at a few utube videos which help in a real time sort of way. That's what I did to see if I had it in me to do a transom. It is tedious and kinda dirty but worth it and not super hard with basic tools and the help of these iboaters. You will have an amazing feeling of accomplishment when all is said and done. I know this is a ways off but maybe it will stick in the noggin till the time comes, make sure you use larger washers when reinstalling the engine. That will help distribute the load. Too late for that piece but the larger washers will give your new transom a longer life.

I never realized that starcrafts used the transom wood as the back of the splash well. Has anyone ever cut a piece of aluminum to cover it? That seems like a horrible design. A sheet of aluminium in between the splash well and the wood would protect the wood a whole lot better than paint.
 

dozerII

Admiral
Joined
Oct 25, 2009
Messages
6,527
Yep, it's getting soft:


I'm more afraid of transom replacement than the deck. What do people normally use for that? Sheets of wood bonded together or something? Ugh. And I thought I was dealing with a tiny soft spot on the floor!


That's what we all started out thinking.;):D

Here's a before and after for the 18 SS big sister to yours.


recka81

Seaman Apprentice
Joined
Aug 17, 2015
Messages
33
I never realized that starcrafts used the transom wood as the back of the splash well. Has anyone ever cut a piece of aluminum to cover it? That seems like a horrible design. A sheet of aluminium in between the splash well and the wood would protect the wood a whole lot better than paint.

I agree. It does not appear that it was ever even laminated or epoxied. This boat has been stored in a garage it's entire life... I can't imagine how bad it would be had it been left in the elements.

Thanks for the advice on the replacement. I'm guessing the time to do that would be at the same time I'm doing the deck?
 

recka81

Seaman Apprentice
Joined
Aug 17, 2015
Messages
33
Here's a before and after for the 18 SS big sister to yours.


That looks fantastic! Well done. Now I'm staring to think that if I have the deck and transom off, might as well paint all the yellow that's up on the gunwales, etc. Did you have to strip or sand the old stuff off before painting the aluminum?
 
Top