Mark72233
Ensign
- Joined
- Jul 11, 2014
- Messages
- 926
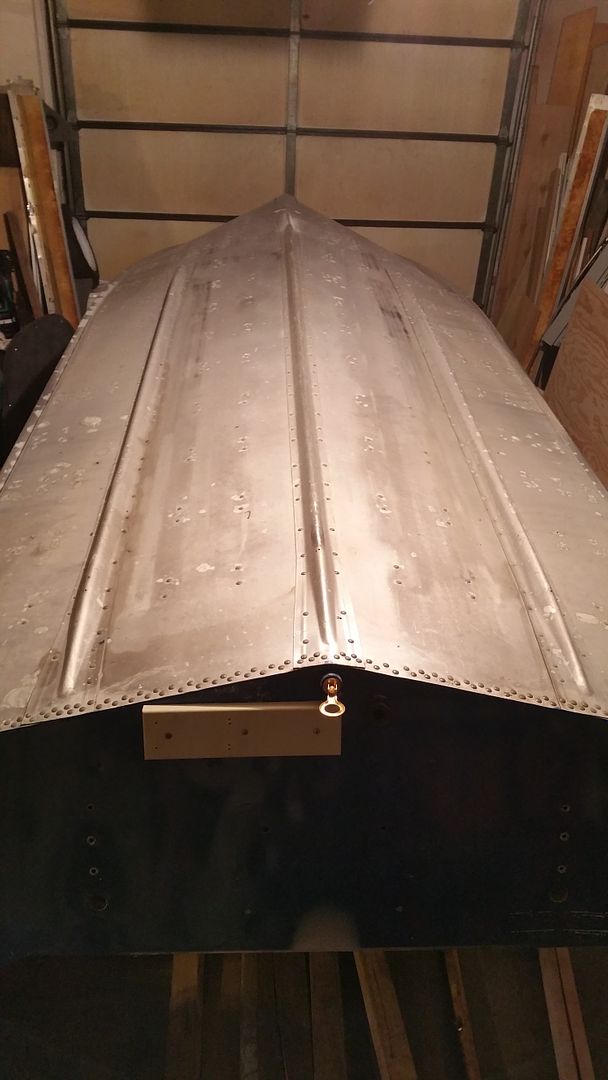
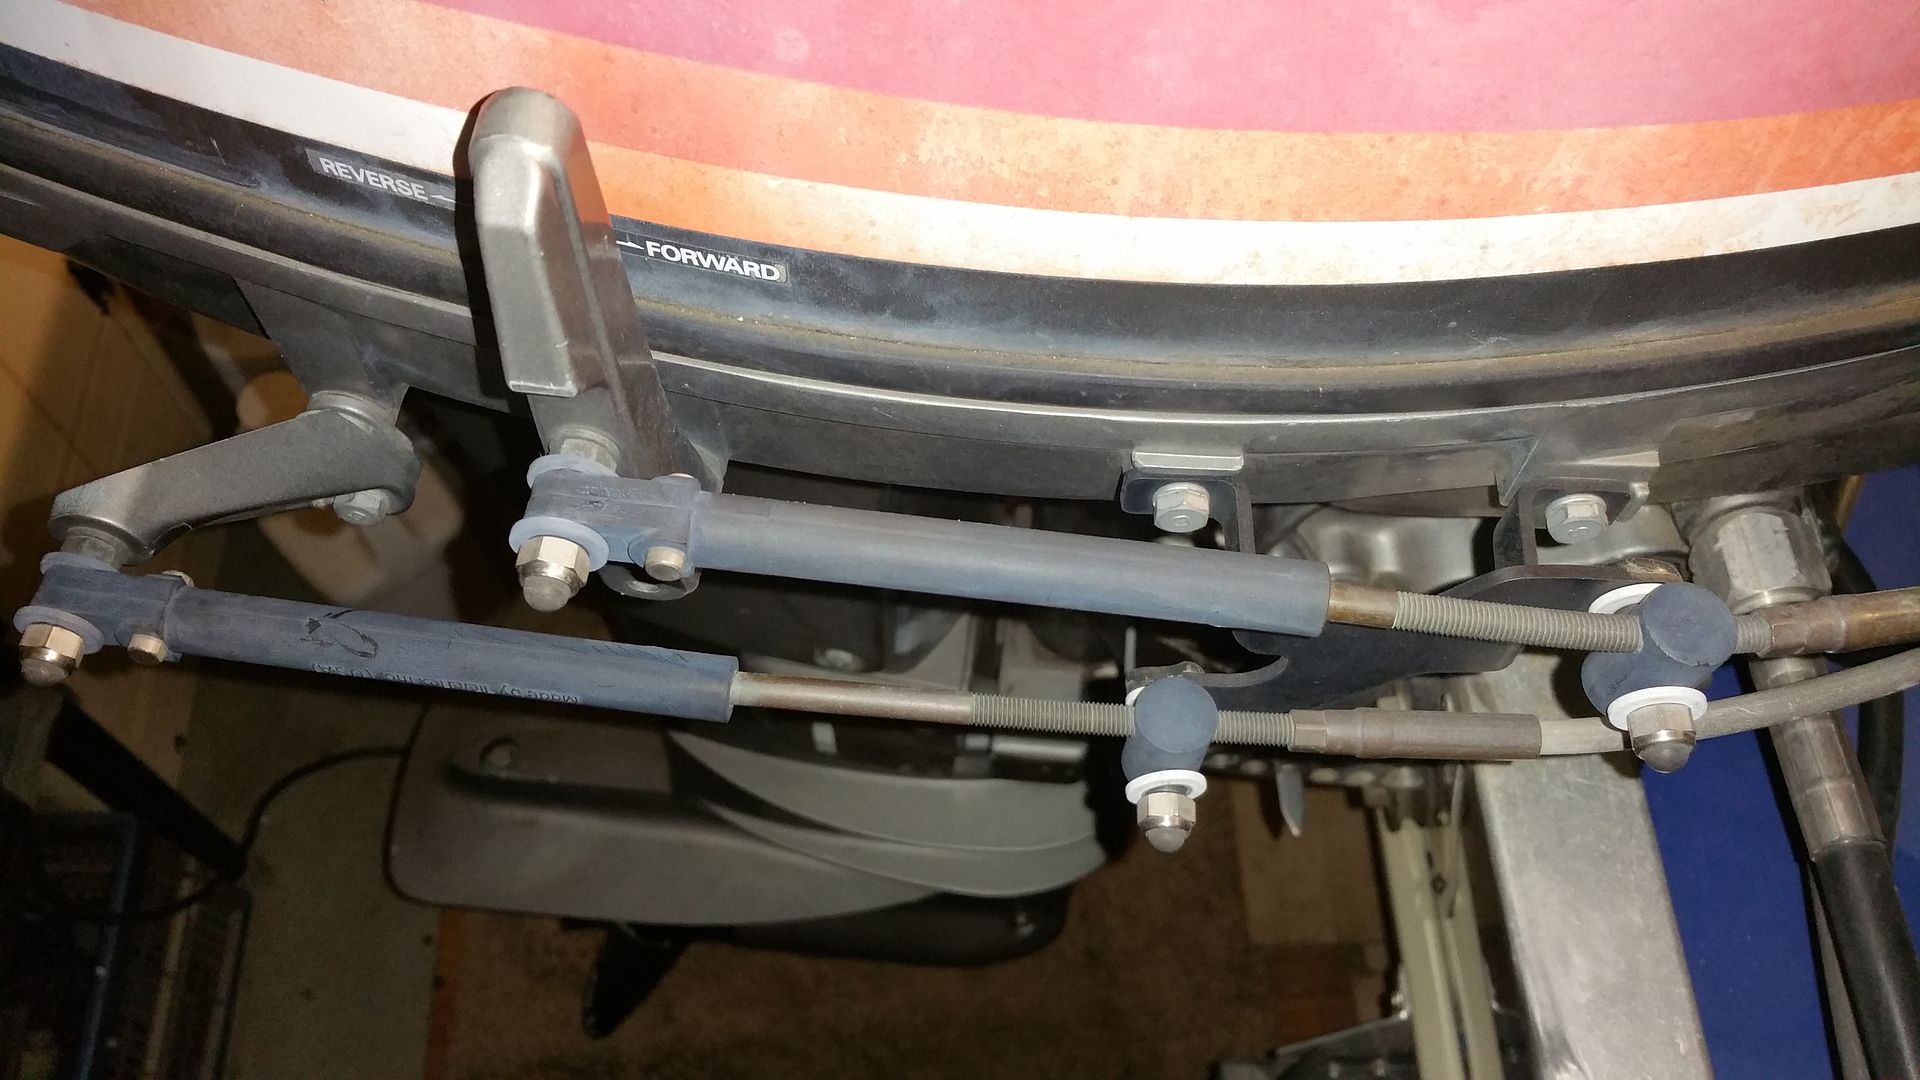
Dignified09@gmail.com, the white plastic tube is just a dust cover for the end of the steering cable. As you turn the wheel in one direction the cable loops around the U turn and the end which is covered or should be covered in grease will enter into that dust cover keeping the greasy end of the cable from drooping and getting everything nasty under the helm and prevent dirt and moisture from getting on the end of the cable.
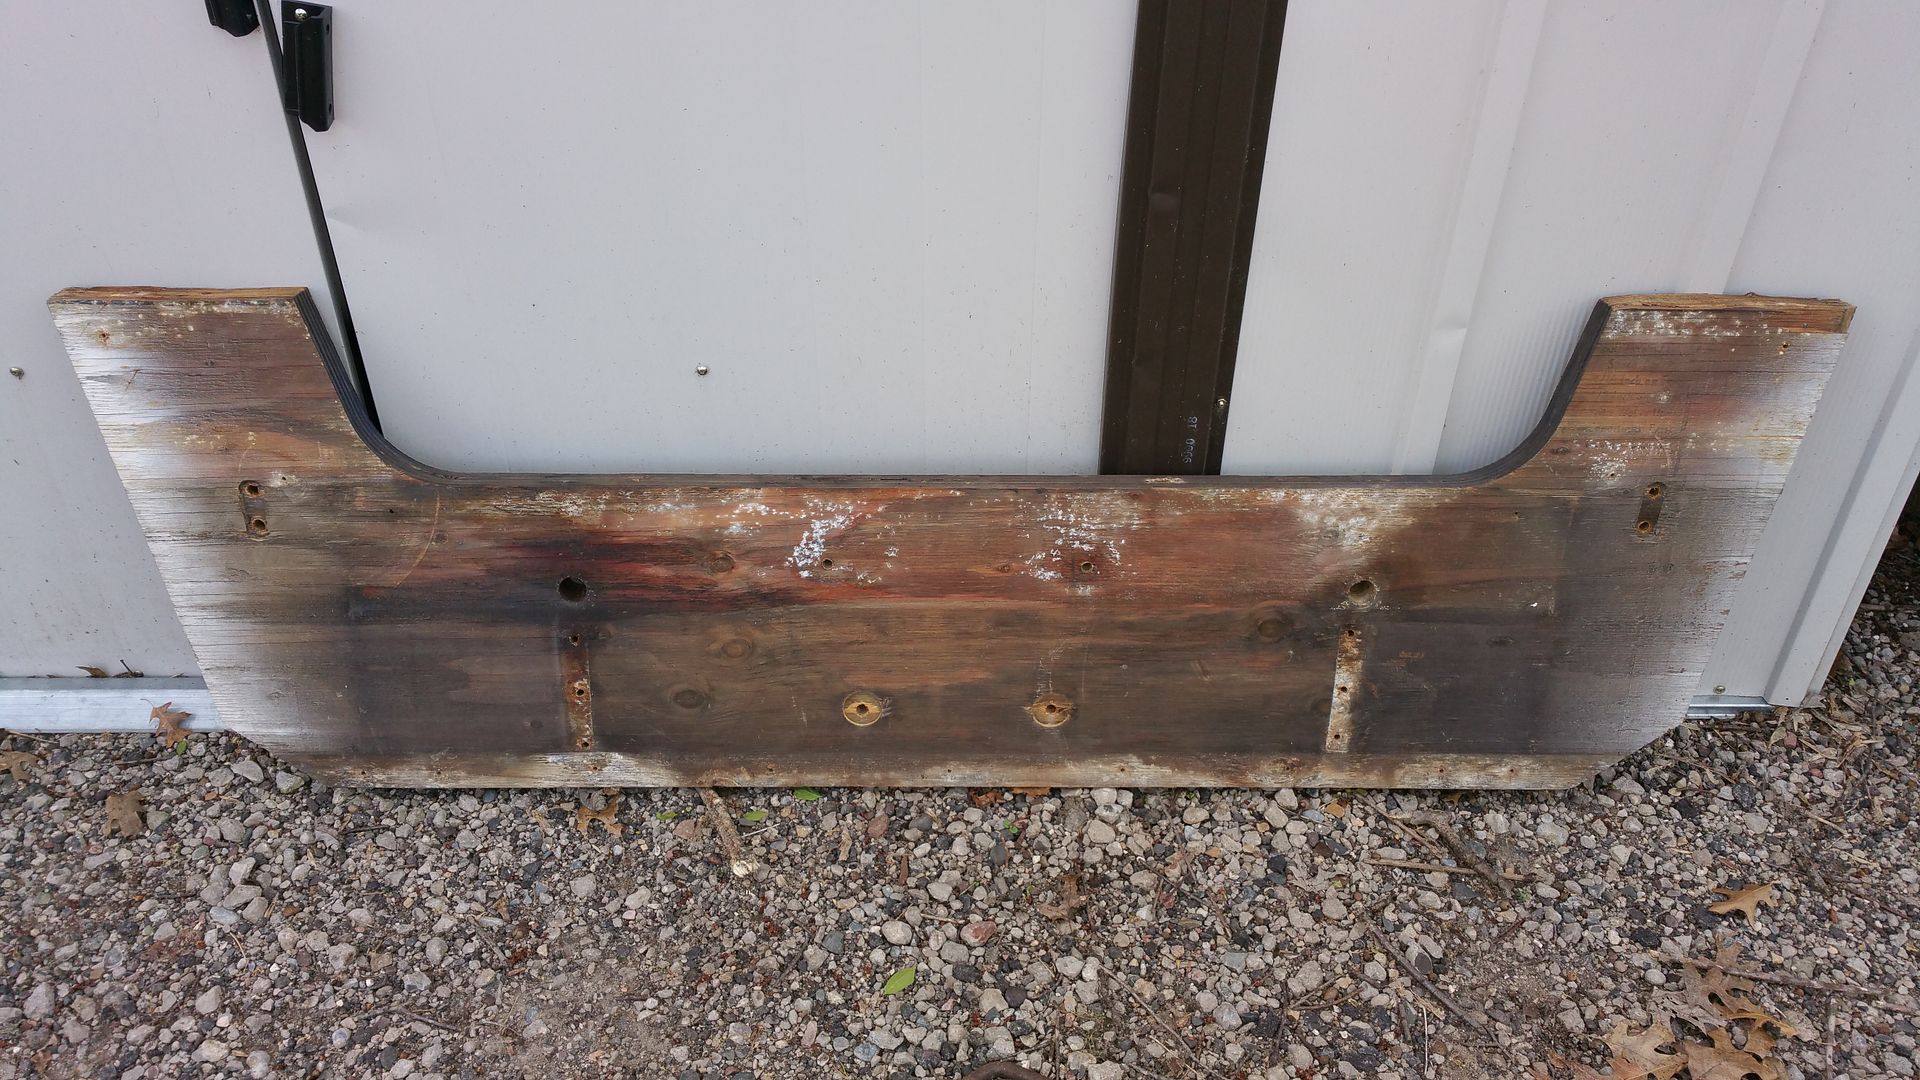
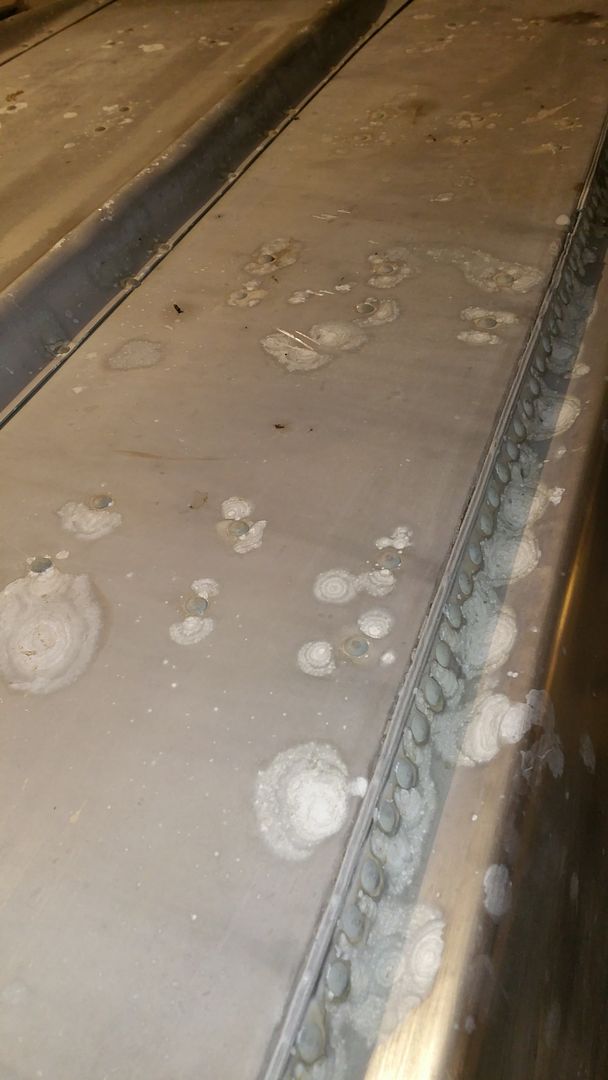
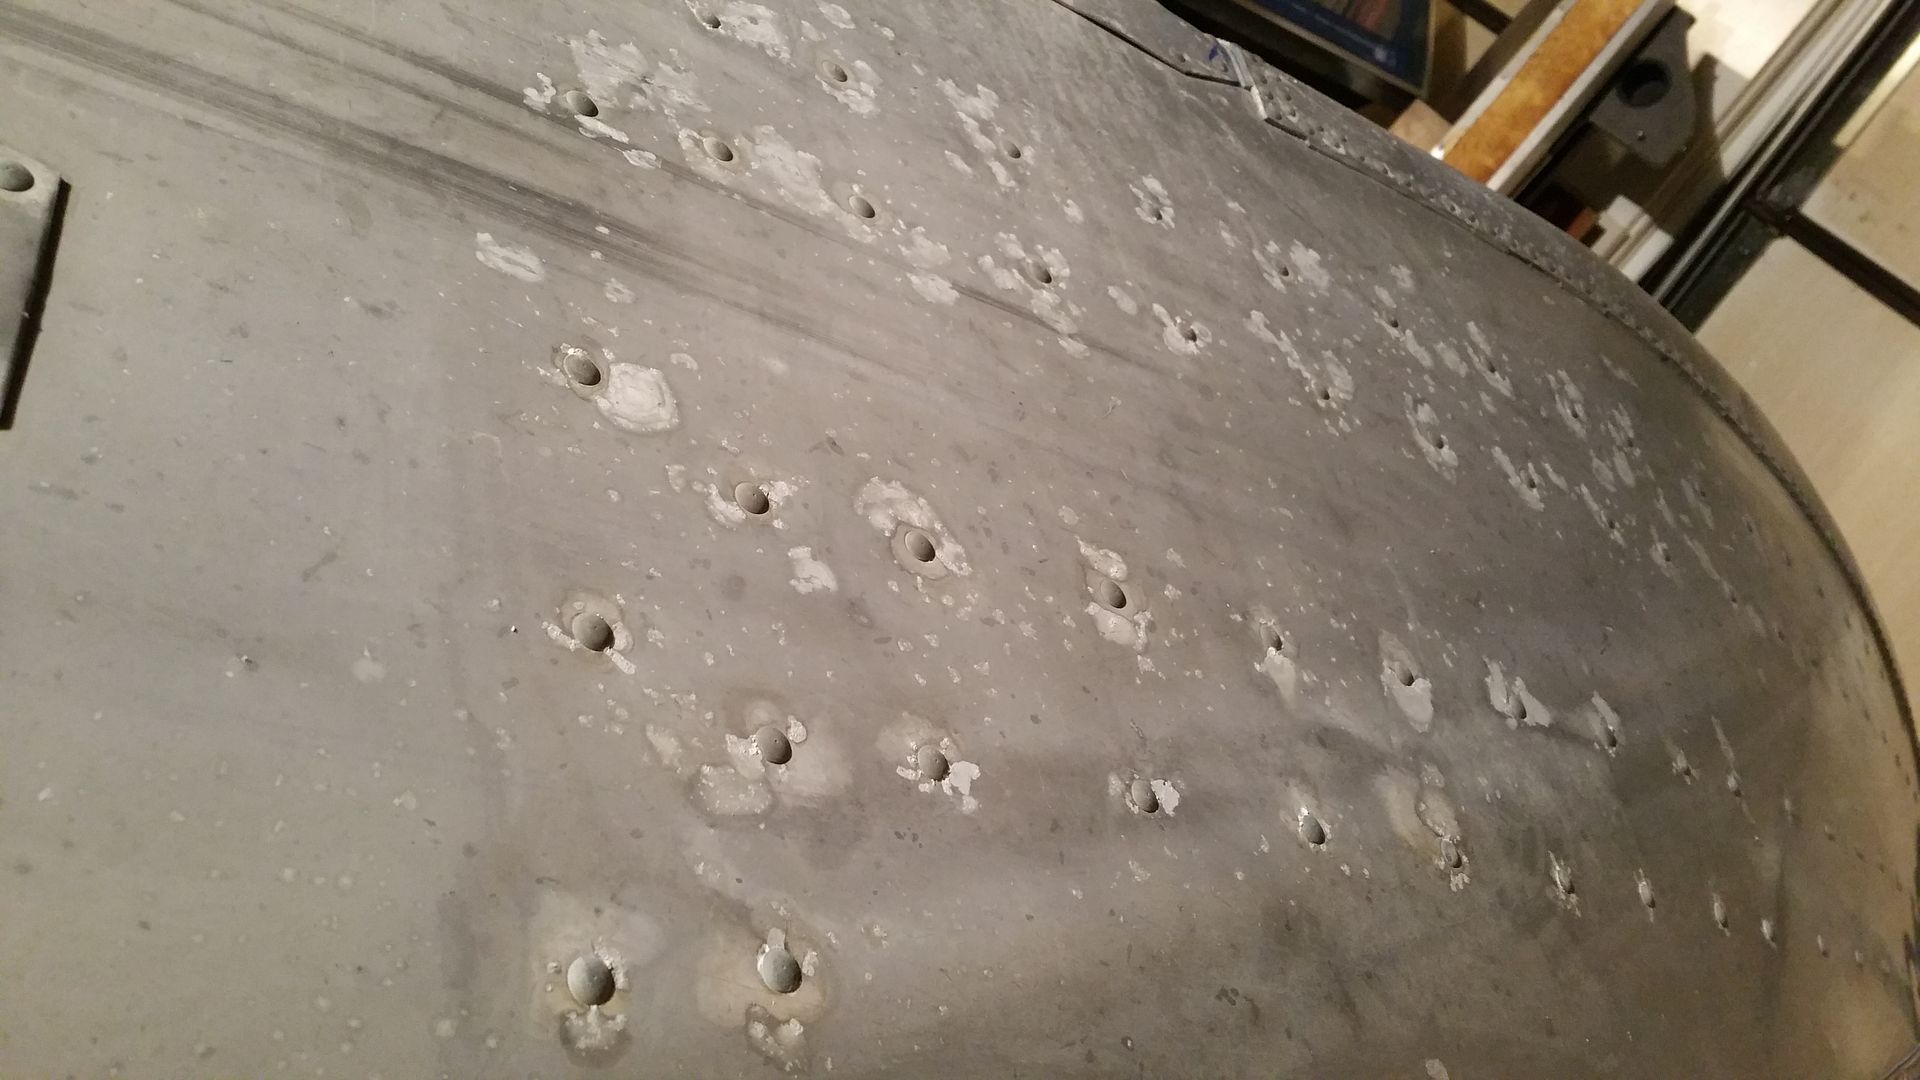
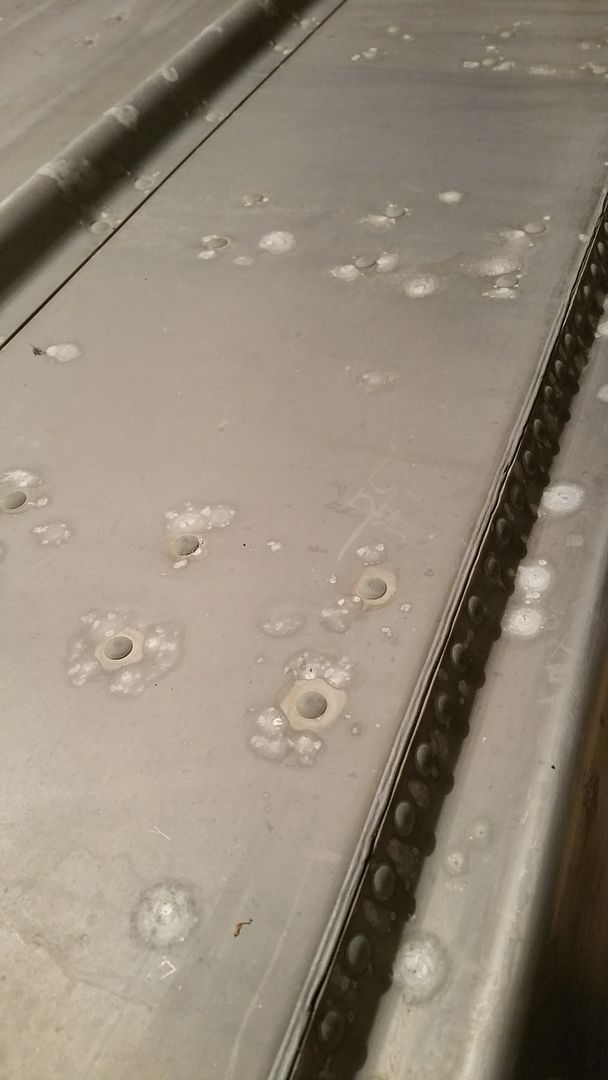
 . Ensure that the wood you use for anything on your aluminum boat is NOT pressure treated.