Pressure treated vs aluminum

mckinney004

Seaman Apprentice
Joined
Jan 26, 2016
Messages
46
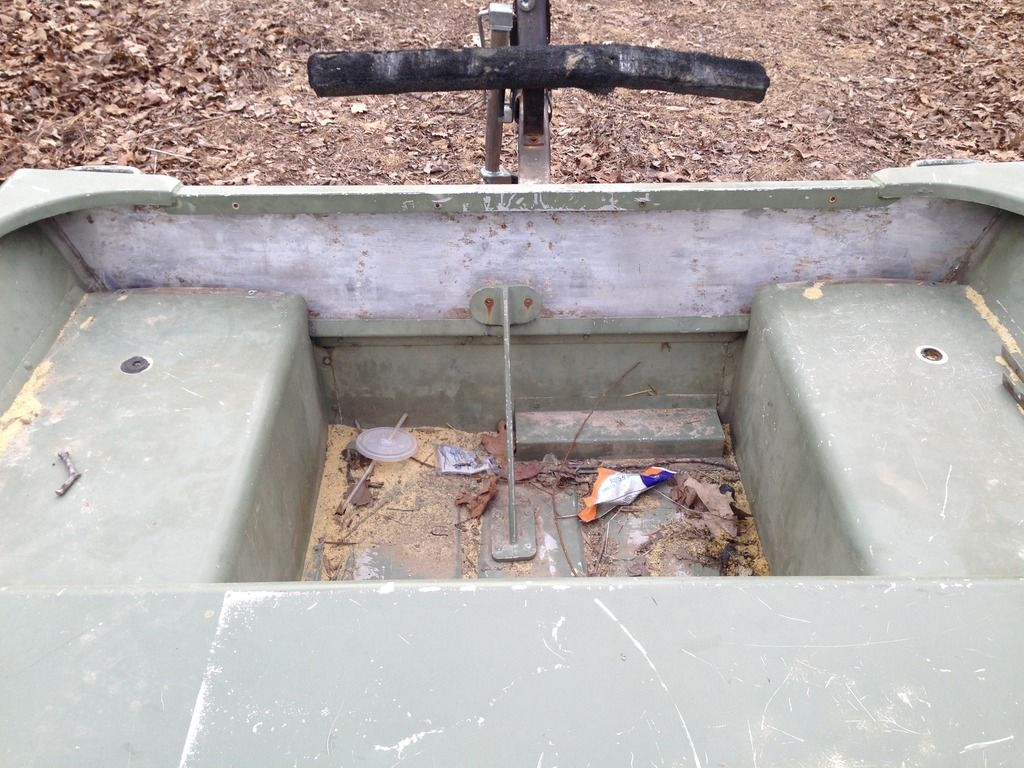
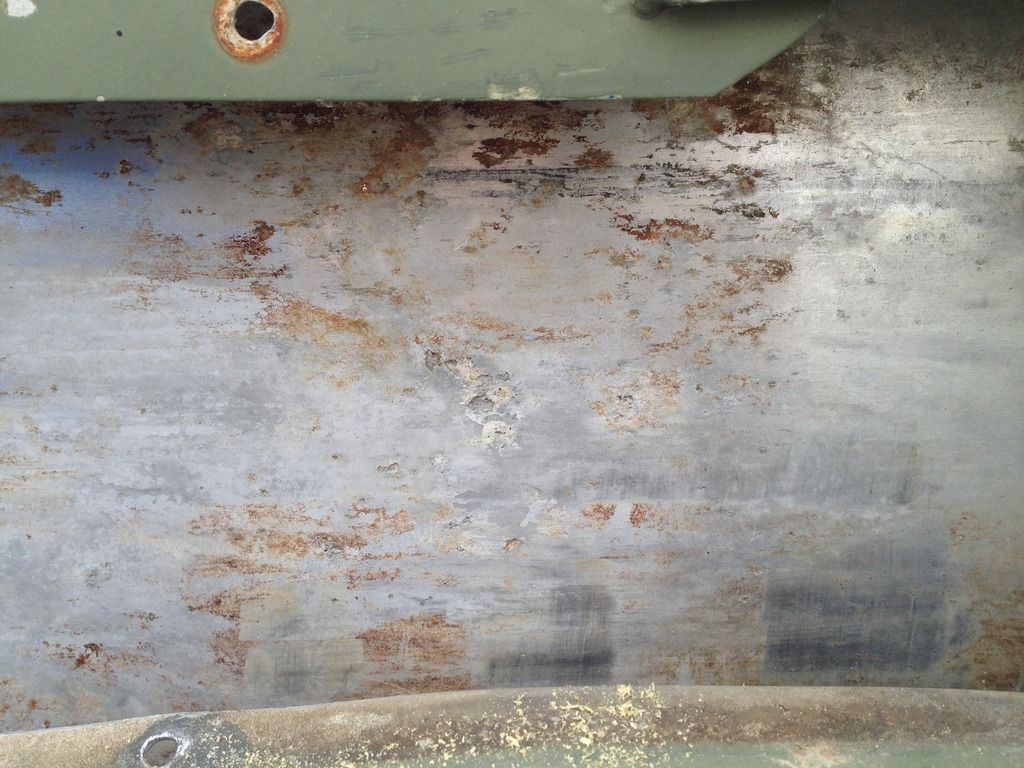
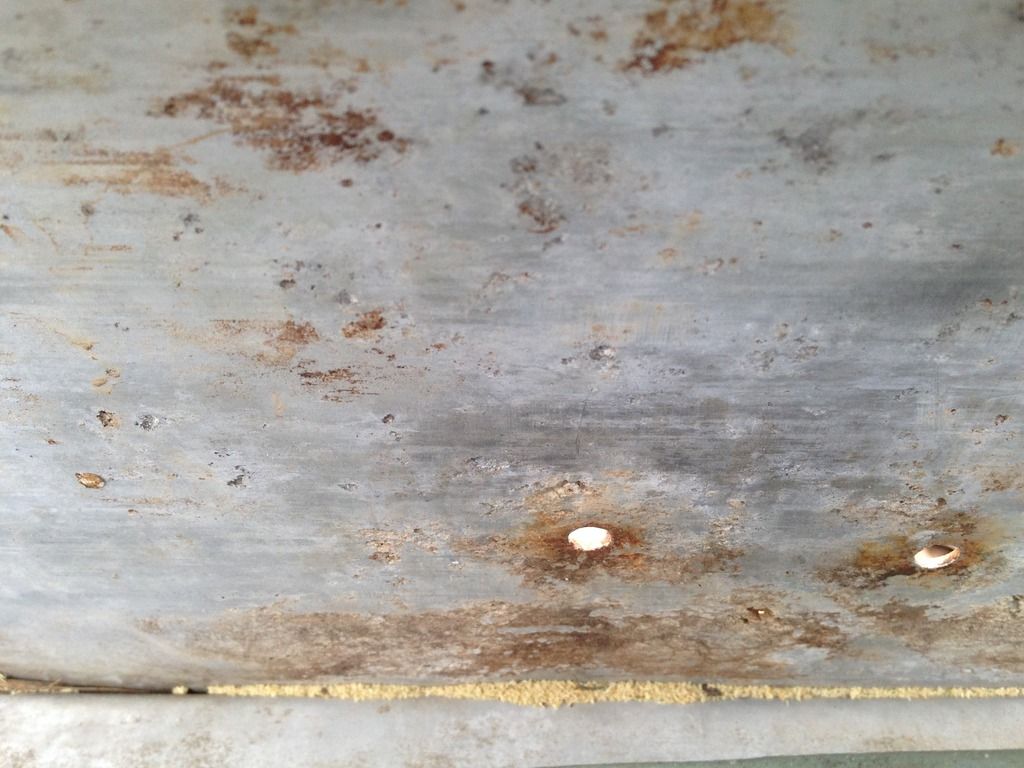
I mentioned this in another thread and it was suggested that I start a new threat for this, so here goes. I recently bought a 14' aluminum flat bottom that had no transom board. Boat looked good on inspection so I brought it home and put in a pressure treated 2x6. I had never heard of the new PT chemicals reacting with aluminum. Luckily, I only installed it a few weeks ago. I removed the board yesterday and found quite a bit of putting. I'm pretty sure the previous owner had used PT as well because there are a couple places where there are pinholes all the way through the aluminum skin. I know there was already one because the boat had a very slight leak and I couldn't figure out where it came from before. That was within hours of installing my board. Anyway, here's a few pics of the damage. Someone suggested filling with jb weld. Is that the standard procedure? I'll be buying 5200 soon for another project. Would that be any better or worse? Or gluvit? I'm assuming any of them will probably work fine. Anyway, here's a few pics of the damage. Worst area was where the knee was bolted in. I'm assuming because there was better contact there.


I'll be making a new transom with plywood laminated to proper thickness with titebond 3, then sealing, over boring holes, filling with 5200, adding nuts and bolts and sealing them with 5200.

I've covered all of the transom rebuild questions in my other thread. Just thought I'd get some quick advice on treating the pitting and show a few pics of the damage for those who are interested.

Here's the link to the transom repair. Still in progress.
 

GA_Boater

Honorary Moderator Emeritus
Joined
May 24, 2011
Messages
49,038
I'll let others weigh in on the pit repair because I've been lucky in that regard. Laminated ply is much better and stronger than the 2X6.

Seeing what looks like rust stains - Was the mounting hardware stainless?

BTW - The link is to the main forum, not your thread. :blue:
 

g0nef1sshn

Lieutenant
Joined
Feb 24, 2015
Messages
1,291
Clean that aluminum area with the pitting real good. get all the white crustiness off. I used 50/50 cleaning vinegar and water. Adding some self etching primer and paint may add some protection against future corrosion also to that area that is bare aluminum.

Id use jb weld for the pitting and sand it back smooth. Im pretty sure the 5200 and gluvit wont be long term fixes for the through hole spots.

Don't over bore and fill with 5200, I didn't use that method but I think what youd fill the over bored hole with is a 2 part resin and let it cure hard, then redrill to the correct size for your bolts. The idea behind that is to have that hole as hard as wood with out water actually contacting the wood through the bolts holes. 5200 will be good for sealing the bolts and washers after that for added protection. Use all stainless steel hardware also.

Just my thoughts.
 

Woodonglass

Supreme Mariner
Joined
Dec 29, 2009
Messages
25,924
If you thin JB Weld with just a bit of acetone it will fill and flow much better. I've used if for a Lot of aluminum repairs on motors etc and this has always worked great for me. Wet Dry sand Paper and wet sand the affected area and then give it the Vinegar water bath before applying the JBW!!! then a Light dusting of Self Etching Primer followed by several good coats of Clean Metal Primer before installing the wood core.
 
Last edited:

mckinney004

Seaman Apprentice
Joined
Jan 26, 2016
Messages
46
Thanks for the advice. I was mistaken about filling the holes with 5200. A lot of what is in the picture is rust stain. Not sure where that came from. When I bought the boat the wood and hardware were already removed. I put the 2x6 in as a quick fix since I had it laying around. I'll be cleaning and JB welding tomorrow. And I'll add the primer and paint as soon as I can locate some. Walmart didn't have any of the self etching primer tonight. I should be able to pick some up tomorrow when I get the plywood for my 20 ft project. Thanks again for the help everyone. I'll post some pics along the way.
 

g0nef1sshn

Lieutenant
Joined
Feb 24, 2015
Messages
1,291
you can pick up the self etching stuff from the auto stores. Napa, autozone, adanced and such...
 

mckinney004

Seaman Apprentice
Joined
Jan 26, 2016
Messages
46
Made some progress today. Went to the only store in town that sells plywood, only to find out that every exterior ply they carry in stock is pressure treated. Went ahead and bought the Titebond III and self etching primer though. Here's a few pics of the progress today.

Step 1: Used a wire brush on the drill to remove all the rust residue and get down to clean aluminum. What I couldn't reach with the wire brush, I did by hand with sandpaper. It was amazing to see how much pitting there was after sanding away all the residue. I started out thinking there was one pinhole all the way through the hole, but realized there were actually about a half dozen that made it all the way through.


Step 2: Clean the area. Mine was very dirty, so I blew it out, vacuumed, then cleaned/degreased. Then I mixed JB weld and a few drops of acetone to thin it down, as suggested by Woodonglass. Great idea. I used a small 87 cent plastic scraper from Walmart to apply the mixture. Fill in the gaps, then scrape it clean. I did a small batch first without acetone because I couldn't find it. I quickly realized that it would be very helpful and make things go much faster...especially important with the fast setting JB that I used. I highly recommend adding the acetone. Thanks again Woodonglass.


Step 3: Repeat sanding after JB has set. This removes all of the JB residue between the pitted areas and cleans them for primer.

Step 4: Apply light, even coats of self etching primer. I did this over the entire transom board area, but also applied it to a few areas where the paint had been rubbed off from loading in a truck, etc. 3 coats was recommended, but I ended up doing a little extra to finish off the can. BONUS, my primer was almost an exact match to my paint color.

Picture of the finished product, ready for the transom board. You can see some small dimples under the paint where the pitting was, but they're very minor. I wasn't going for 100% perfection there.


Tnstratofam

Commander
Joined
Aug 18, 2013
Messages
2,679
Looks good!:encouragement:

How far away is the next closest hardware store that sells plywood? If not as close as the next town I would try and call around to see who has what.
 

gm280

Supreme Mariner
Joined
Jun 26, 2011
Messages
14,590
Looks pretty good mckinney004, You did a good job cleaning it up in preparation for the new transom wood. How do you plan on installing the new transom wood? I see a metal cap and even a metal channel on the lower section. So what is the plan? I also see that the wood will have to go behind the two side seat like sections. Looks like that wood was originally installed before the top cap was installed. I can't see any other way to get it in when they built the hull.

Also, are there any weep holes in the lower metal channel to allow water to drain out? That would be a great idea if there are none now. Other wise its traps water in there and makes the edge of the wood sit in water until it dried out. Some holes would make the new transom last even longer. :noidea:
 

wellcraft-classic210

Master Chief Petty Officer
Joined
Sep 22, 2010
Messages
839
Many primers absorb water and are not meant to be exposed to the elements -- You may want to add a finish coat of paint for longevity.
 

mckinney004

Seaman Apprentice
Joined
Jan 26, 2016
Messages
46
Thanks for the heads up on the primer absorbing water. That bottom channel is riveted in place, there is a little wiggle room between the channel and the aluminum skin, so the water could slowly drain. However, since I already have access to it I think I'll go ahead and drill a few holes.

Fitting the transom in is never easy. The caps are welded in place. I could remove the rivets to that channel and be able to slide the new transom down, but I don't have much wiggle room with those stupid foam filled seat-like things behind the main bench seat. I hate those things. They leave me with no storage area behind that seat. I even have to put my gas tank in the middle of the boat. I'm (strongly) considering removing them at some point. I run a small motor on the boat, so I'm not overly concerned with a perfect fit for strength. I'll probably cut the transom a touch narrower than the original so that I can get it in under those transom caps. I could install one of the plywood layers at full width, cut in half vertically, followed by the other layer(s) as described before. Like I said, as little force as this transom will receive, I'm not overly concerned with it being perfect. That being said, if anyone thinks this won't hold, feel free to voice your opinion.

As for the plywood, I'll make a couple calls to make sure I can get what I need. I go to Springfield a few times a week for class and there are several lumber yards there. If I were to use marine plywood for the transom, would I still need to seal it with epoxy, spar varnish, oldtimers blend etc? I don't have any of these supplies on hand. After looking at the cost of them I would be money ahead to buy marine plywood IF I don't have to seal it.
 

gm280

Supreme Mariner
Joined
Jun 26, 2011
Messages
14,590
I have to say, I don't think I would cut either piece of transom wood in half to install. That honestly defeats the purpose of the solid transom in the first place. But that is just my opinion. Knowing how I do things, personally, I would drill out the lower metal's rivets and install the solid transom and then rivet the lower metal back into position again. The Ideal situation would be to have the top metal and side caps out of the way to install that transom. But not seeing it first hand, I don't know how all those parts are installed presently. Seems the original manufacturer never thought about replacing the wood ever. Dumb design if you ask me. JMHO!
 
Top