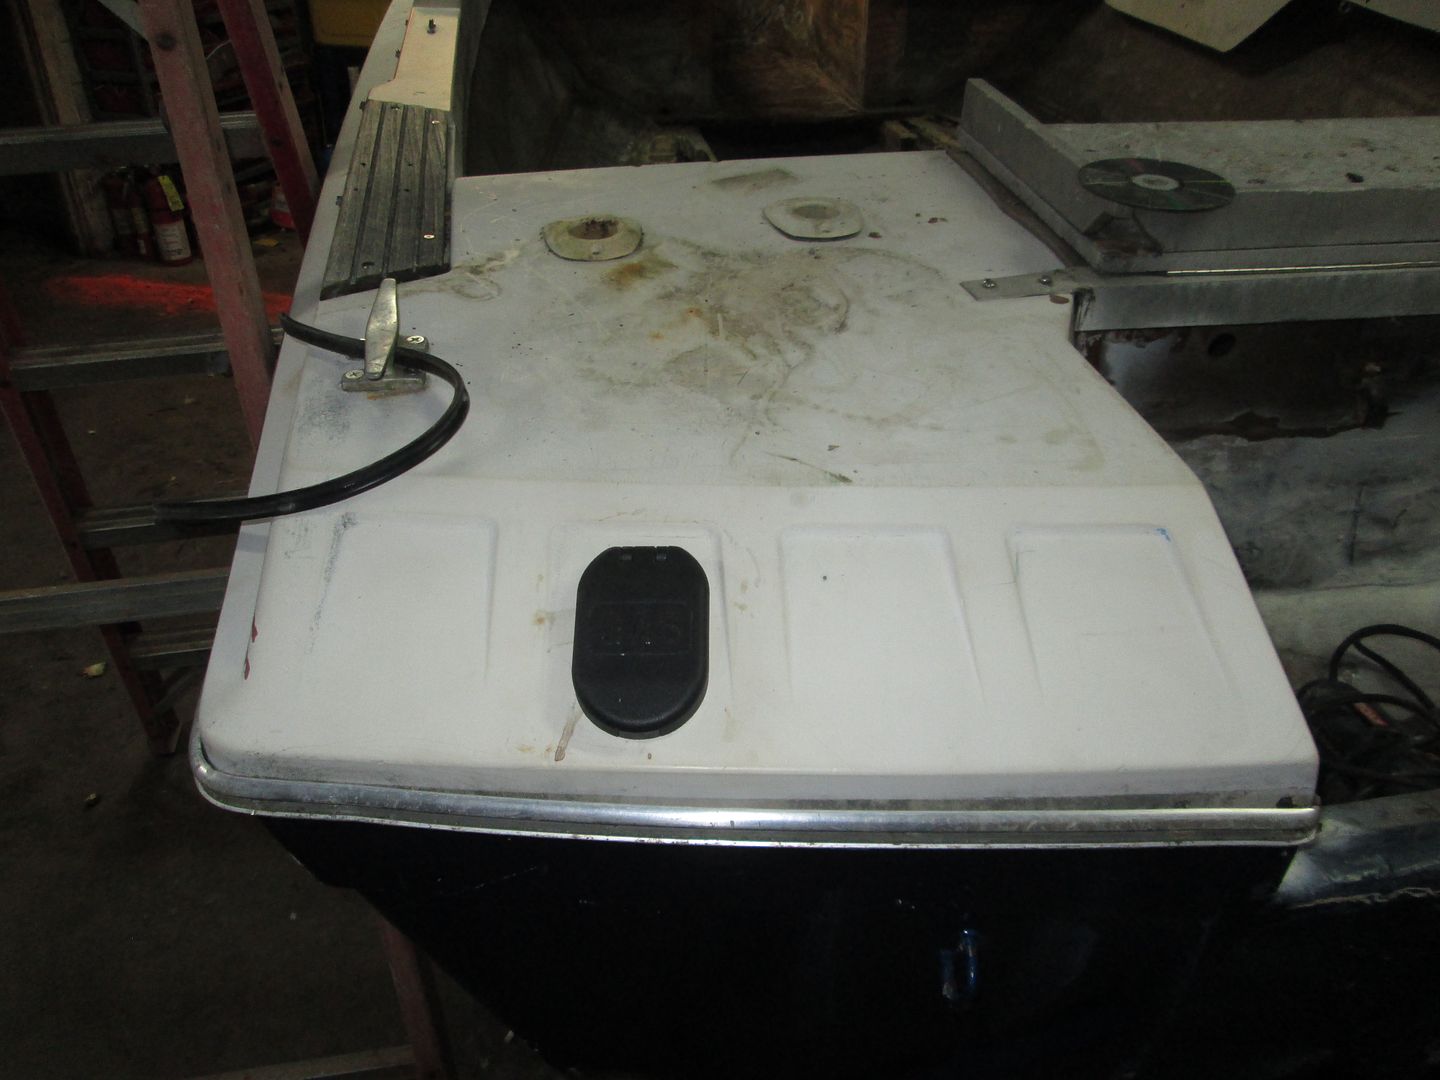
1981 Bayliner 17' Bowrider Refurb

oldoutboardkid

Seaman Apprentice
Joined
May 9, 2008
Messages
33
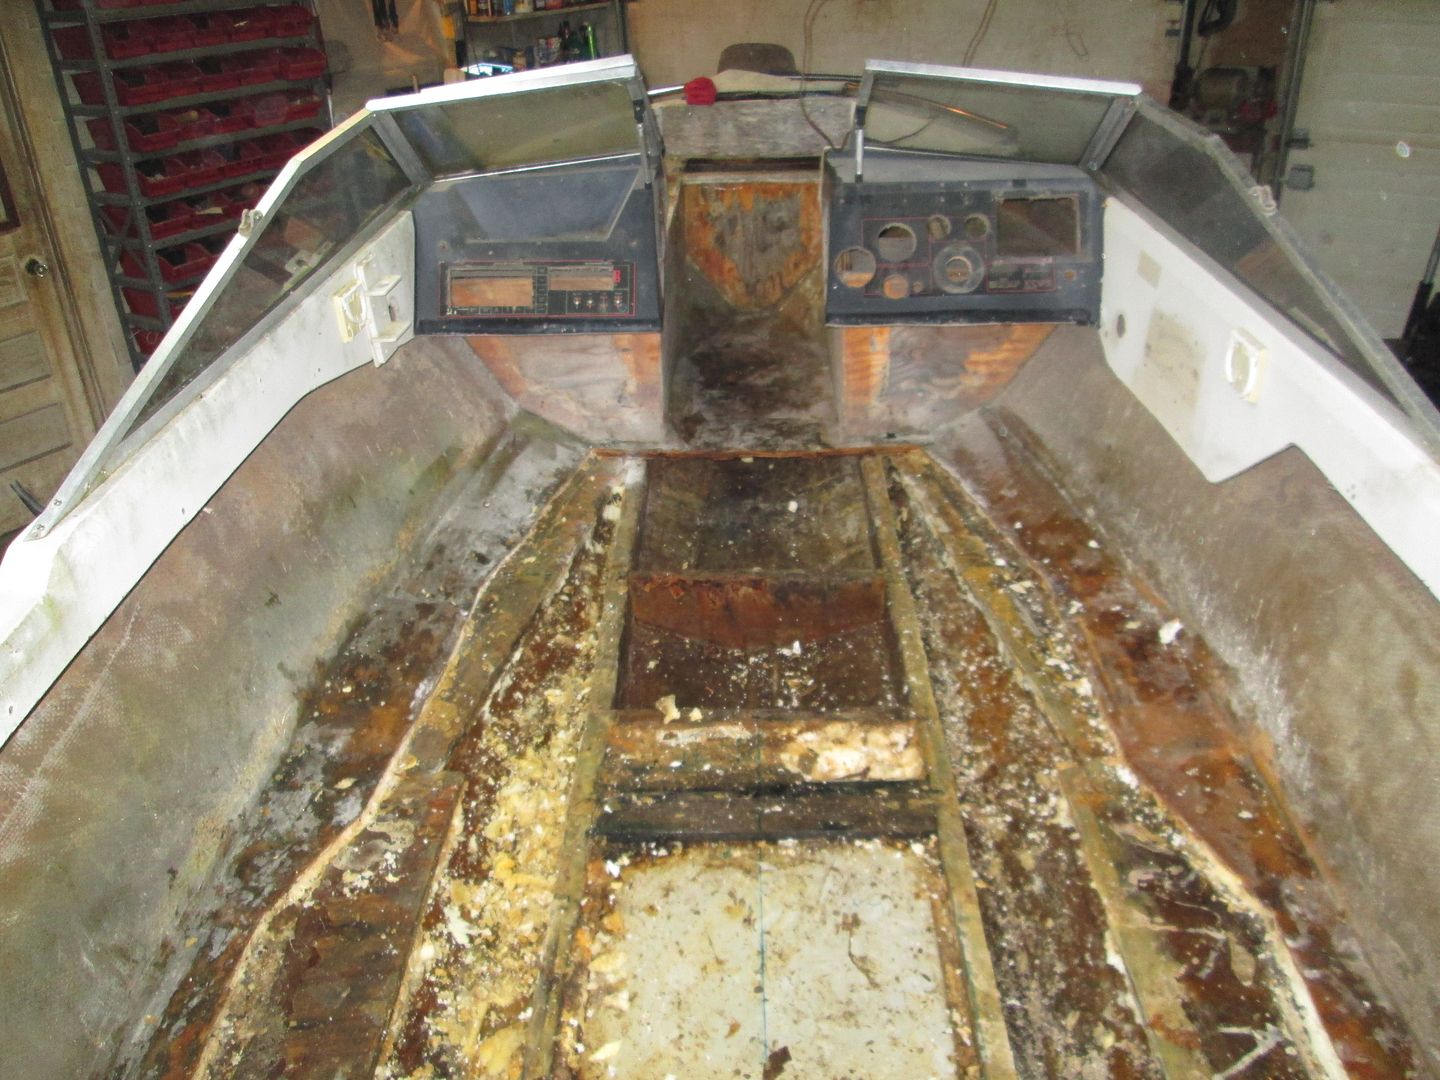
My dad and I are refurbishing this 1981 Bayliner 17' bowrider over the winter and I am going to be doing all of the electrical, rigging, and engine work, and my dad is going to be doing the fiberglass work.

Here are the first two Youtube videos of our project.

https://www.youtube.com/watch?v=mi3W1WIiiAg

Mod EDIT: Video link removed
 
Last edited by a moderator:

jbcurt00

Moderator
Staff member
Joined
Oct 25, 2011
Messages
24,863
Please edit out the for sale offer in the Part 2 video and repost a link to it if you wish.

Be prepared for lots of questions about the angle iron on the transom.

Based on the condition of the deck the transom is suspect......

Is the 1983 Johnson 140 a 25in leg? If not, whats the plan? Remove the 5in added on to the top of the transom?

How long ago was that done? New transom then?

After 6+yrs, first post, welcome to the dry dock.
 

oldoutboardkid

Seaman Apprentice
Joined
May 9, 2008
Messages
33
I will remake the part 2 video and repost it later today. The 140 is a 25" model, the transom was a 20" originally and my dad added the 5" recently. We are going to repair the soft spots in the floor, rewire the boat, and install the 140 with added power trim and tilt. The floor was new 6 years ago or so, but the boat has been sitting since then and the fberglass resin has peeled up and water got into the new floor. My dad replaced the stringers when the floor was up and the transom is solid.
 

sphelps

Supreme Mariner
Joined
Nov 16, 2011
Messages
11,432
Welcome aboard ! Yep looking at the condition I would suspect a full gut job would be in order ... The angle on the transom is probably not the ideal thing to do ... If there is any rot anywhere on the transom I would pull the top cap and replace the correct way . jmho .... Or if you plan on painting it you could cut the cap just in front of the splashwell to gain access to the transom ...
Good luck and let us know how we can help !
 

oldoutboardkid

Seaman Apprentice
Joined
May 9, 2008
Messages
33
Alrighty then, the decision has been made to replace the entire floor and stringers if needed, will post some pics when we get started (still need to get the garage cleaned out and the boat inside and off the trailer).
 

jbcurt00

Moderator
Staff member
Joined
Oct 25, 2011
Messages
24,863
I'd suggest younadd some text descriptions of whats contained in the videos.

Not everyone has the bandwidth for video or access to video when surfing from work.......

You may need to revise the only cut the deck out up to the consoles plan, so keep that in mind once the rest of the demo is done and you're testing and coring below decks.

Not sure I understand the remove the foam under the splashwell. Didnt look like the was much there preventing storage....

If you remove any foam and not put it back in the same places, plan to put it back somewhere else....
.
 

oldoutboardkid

Seaman Apprentice
Joined
May 9, 2008
Messages
33
I'd suggest younadd some text descriptions of whats contained in the videos.

Not everyone has the bandwidth for video or access to video when surfing from work.......

You may need to revise the only cut the deck out up to the consoles plan, so keep that in mind once the rest of the demo is done and you're testing and coring below decks.

Not sure I understand the remove the foam under the splashwell. Didnt look like the was much there preventing storage....

If you remove any foam and not put it back in the same places, plan to put it back somewhere else....
.

OK, I will add text descriptions of what's going on in the videos, and the deck was new about 5 or 6 years ago, so we want to replace the 3/4" plywood that's there now. Up in the bow is solid and just needs finish fiberglass work. I do understand the need to test what's under the deck for safety. My dad wants to dig out the old nasty foam under the splashwell and replace it with new stuff, but he wants to keep the deck lower there to keep storage space.
 

oldoutboardkid

Seaman Apprentice
Joined
May 9, 2008
Messages
33
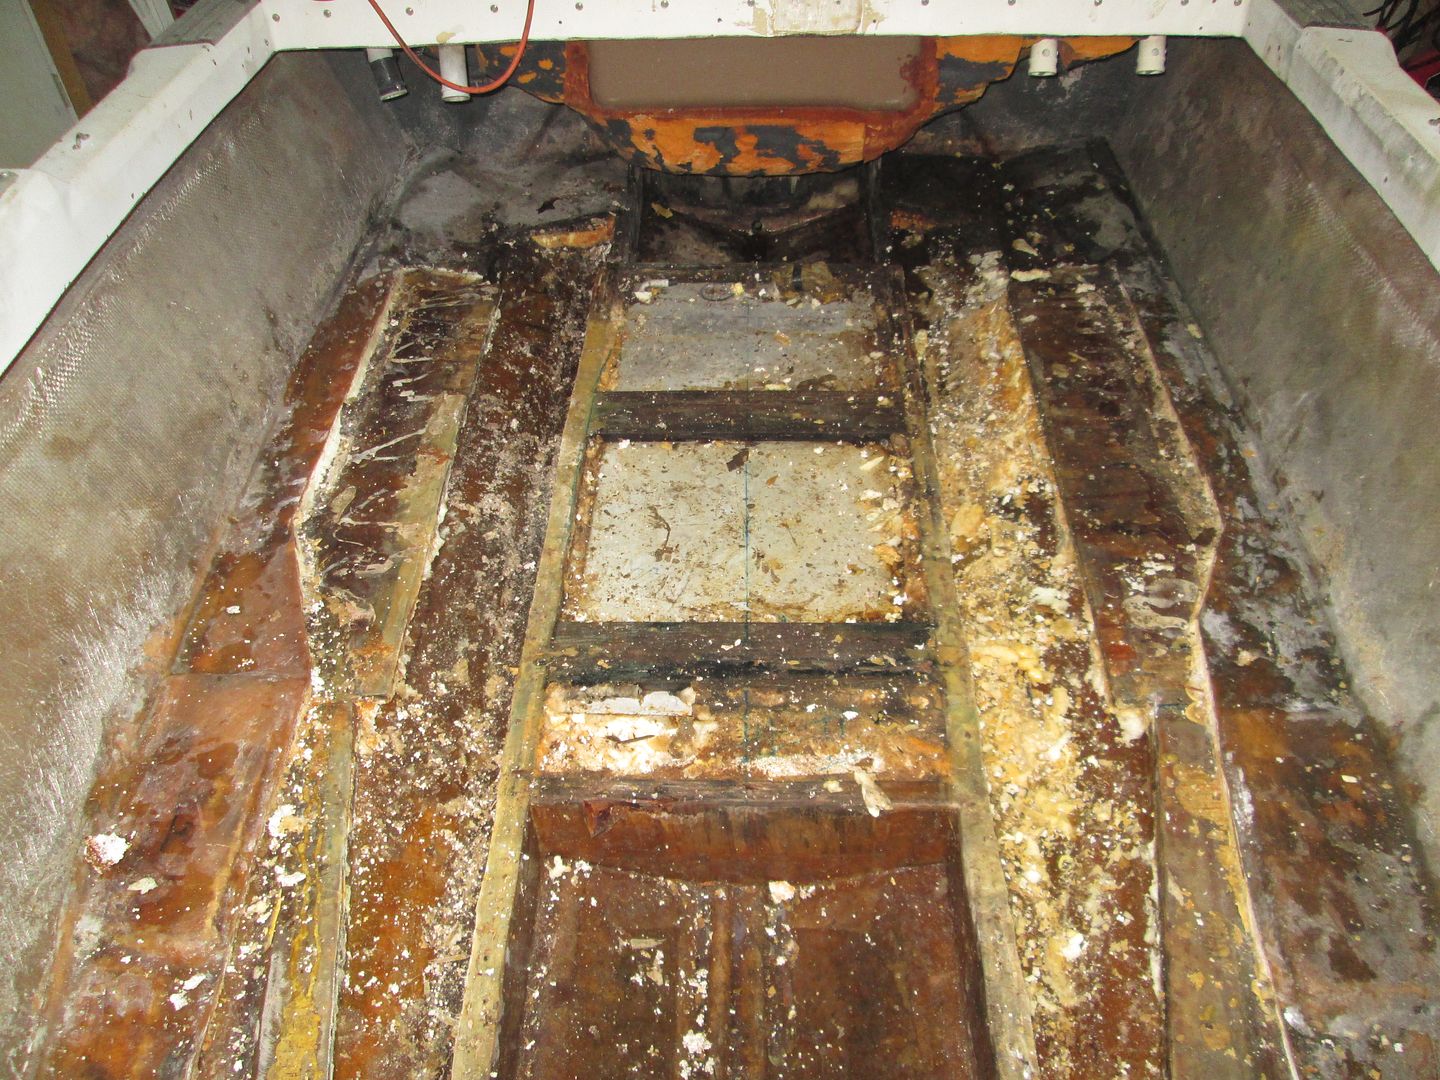
Just a quick update, got the deck ripped up and found the stringers in good shape so they are staying. Digging out all the old, nasty, waterlogged foam now, will post another video and some photos when that is all done.
 

Woodonglass

Supreme Mariner
Joined
Dec 29, 2009
Messages
25,924
Uhmm without having removed the foam, how do you know the stringers are OK???:confused:
 

oldoutboardkid

Seaman Apprentice
Joined
May 9, 2008
Messages
33
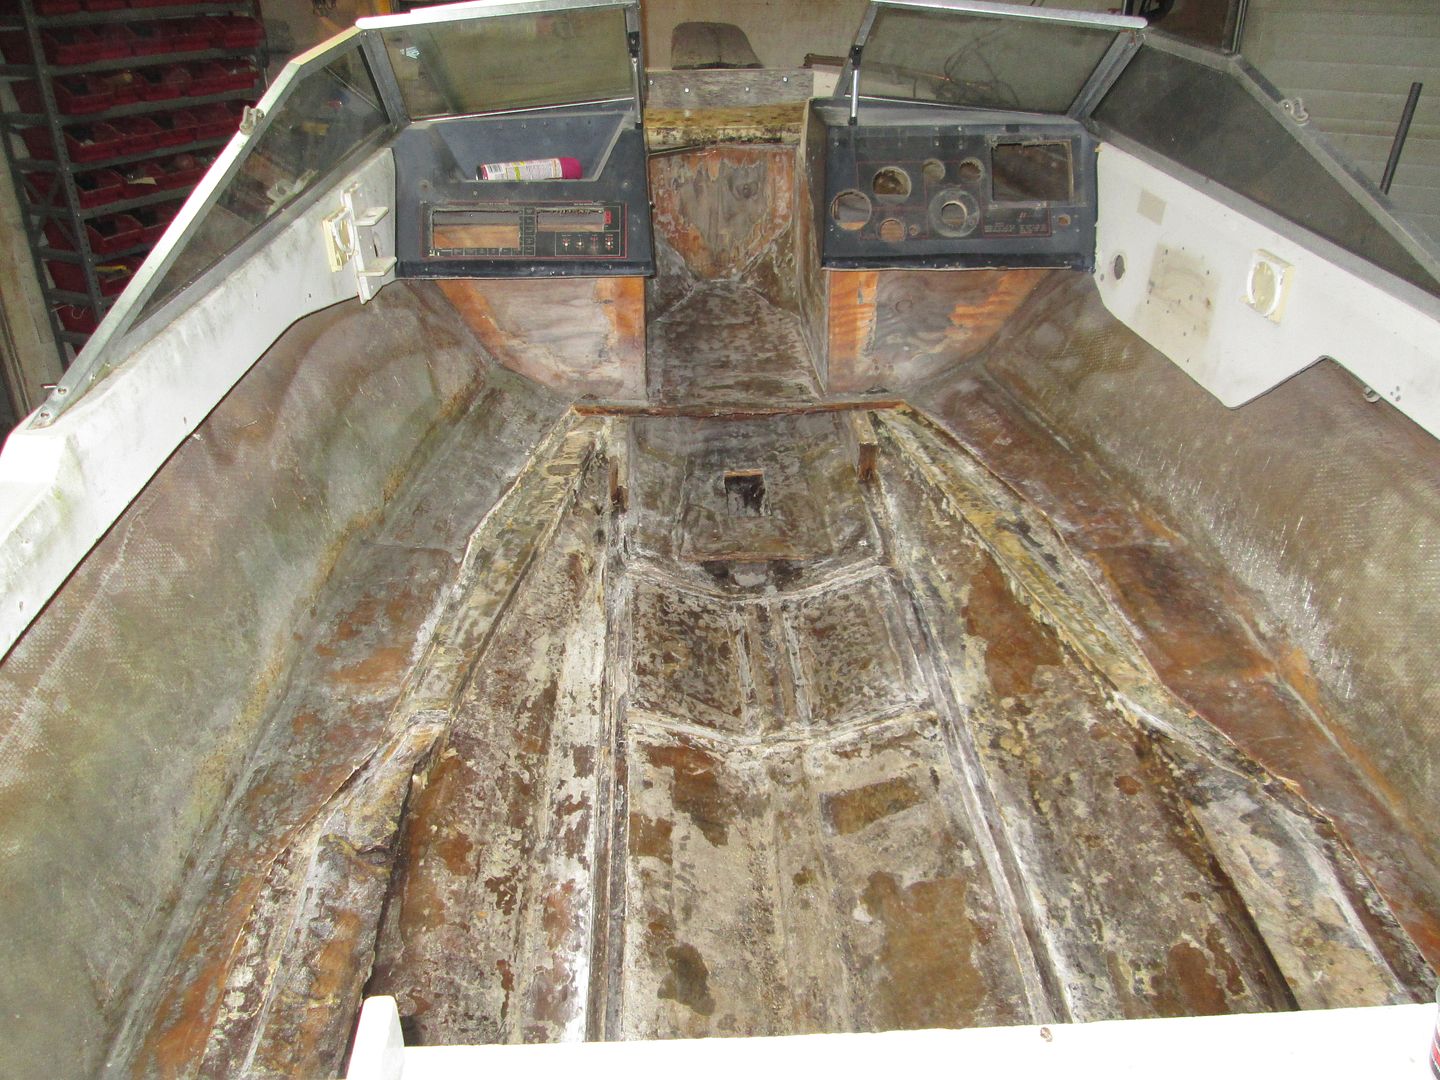
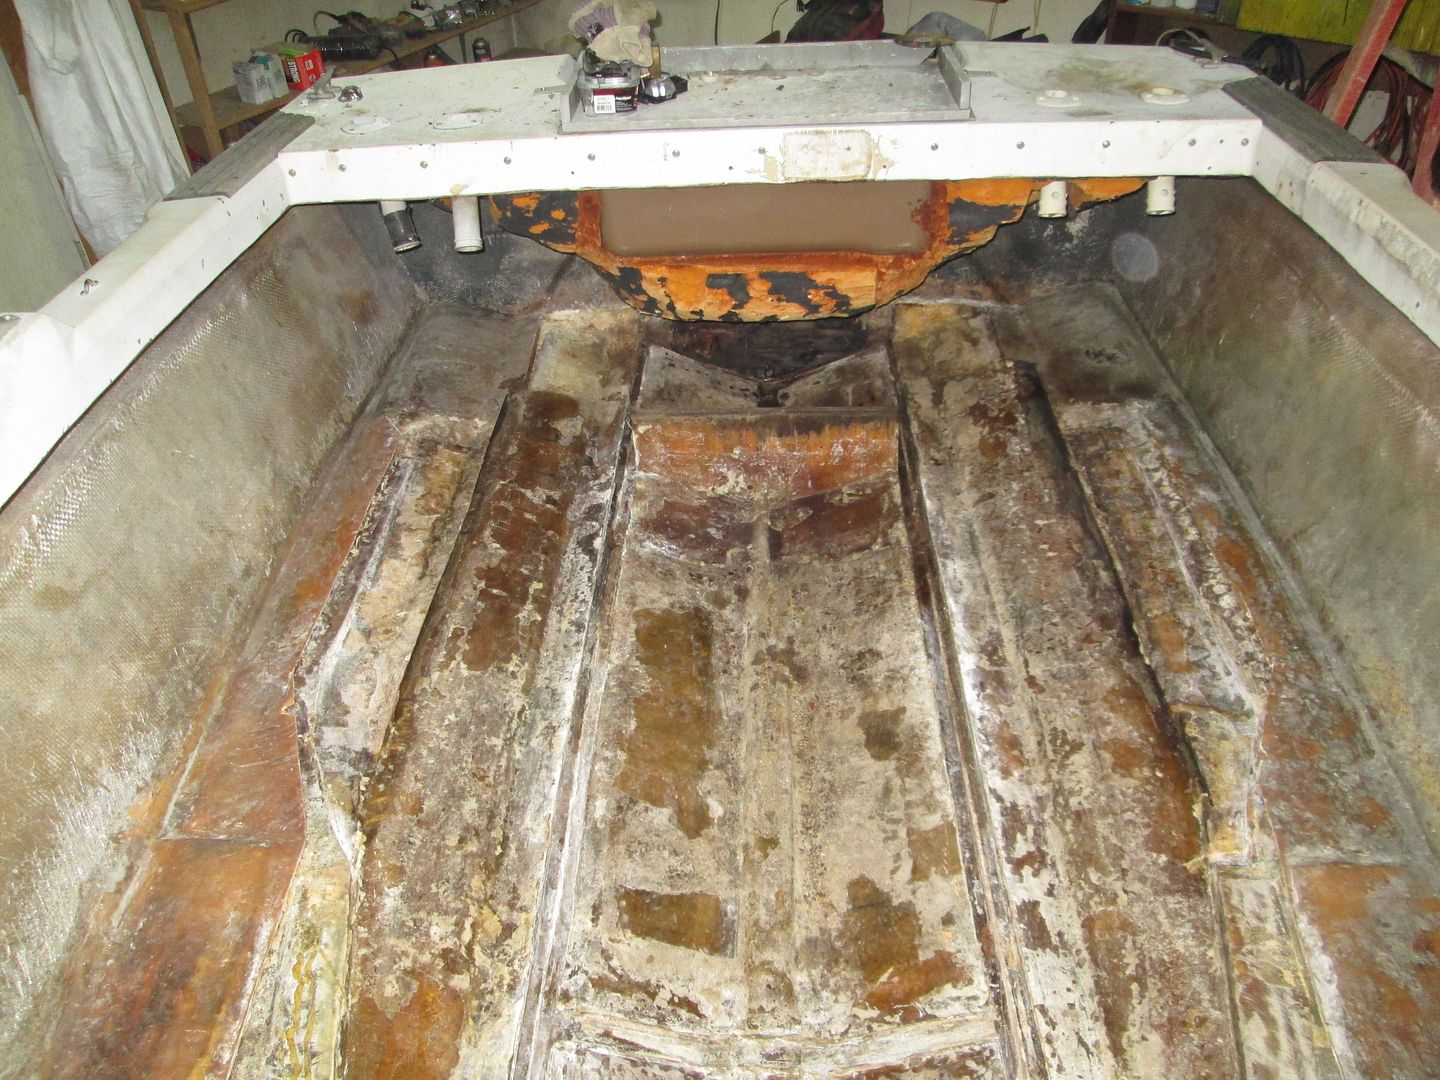
Progress as of today:


Just need to finish digging out the foam in front of the fuel tank and on the port side and all the foam will be out. The foam against the stringers is removed so I inspected them and they are solid.
 

sphelps

Supreme Mariner
Joined
Nov 16, 2011
Messages
11,432
Yep doing core samples is the best way to make sure they are not starting to rot ... Even if there is just a small bit it will keep rotting ... The transom also ... Even if it sounds solid when you knock on it that sometimes will not tell the whole story ..
With the access that you have now I would inspect every inch as thoroughly as possible ... JMHO ...
 

oldoutboardkid

Seaman Apprentice
Joined
May 9, 2008
Messages
33
I have not core sampled them and do not plan on doing so. I understand the risks involved with not doing so as well. Our plan is to just do the minimum amount of fiberglass work needed and get it going.
 

Goldie627

Lieutenant Junior Grade
Joined
Oct 28, 2013
Messages
1,010
Hello Dad and Son. Welcome to the forum. I'm new to boat restoration but I'd like to share a few things that I've learned along the way.

1.) From the pics ive seen, if you've gone that far you're kinda doing yourself a disservice by not checking the stringer and transom the best you can ie; core samples. Like you said, you know the dangers of not addressing it and thats your perogative but atleast you'll know. When i was in your shoes the risk to myself and my family didnt warrant the time and money saved by ignoring any potentially hazardous conditions. Samples can be easily taken then backfilled with peanut butter or maybe something like 5200. One consideration, if you currently have water logged foam this increases you chances greatly of associated issues. A "solid" stringer or "solid" transom casing is not an indication of a "good" stringer or transom **if** the inside is rotten. The manufactures of boats similar to ours didnt build them to last, the factory thickness of your stringer casings are probably alot thinner than you think. Couple that with a soft or mushy inside and.... well..... maybe im just being paranoid because i cant swim! :D

2.) In my resto I moved some foam around. But, I took the cubic inches of the original foam and just moved them to other places, essentially putting back the same amount i took out.

3.) Take lots of measurements and pictures they will be very valuable when it comes time to start building and putting things back.

4.) Sometimes you can use a sawsall, put a curve in the blade and cut the foam out in big chunks. saves alot of time.

I wish you and your dad all the best and Merry Christmas!
 

oldoutboardkid

Seaman Apprentice
Joined
May 9, 2008
Messages
33
Made some more progress over the last week including:

Tank removed and foam removed from fuel tank area, and while digging out the foam, my dad found a big carpenter ant nest inside the port stringer, and while cutting that out he found the original 3/4" stringer to be mostly rotten so we decided to core sample the starboard side and found that rotten too, so both stingers will be replaced with 2 pieces of 3/4" pressure treated plywood. We are also replacing the 2 original cross members and will be adding a cross member just behind the console and one just in front of the fuel tank. Once the new stringers and crossmembers are built (will be using 2 pieces of 3/4" plywood for a total thickness of 1.5") everything will be encapsulated with fiberglass. I also mounted the fuel filler and tomorrow will be installing 2 of the 6 courtesy lights (need to get my holesaw kit from work to cut in the other 4 lights).

Here are a few pictures of our progress so far and I will be making another video tomorrow.


Last edited:
Top